


服务器A 192.168.0.203
服务器B 192.168.0.204
这里假设B 服务器 为 A的备份服务器
首先 我们在A 服务器 和B 服务器 都装rsync 和 inoifty
B 服务器 rsync 服务端
开启 rsync
rsync --daemon --config=/etc/rsyncd.conf
配置文件如下
rsyncd.conf
pid file = /var/run/rsyncd.pid
#port = 873  #这个端口也注释掉 默认就是873 如果你开了这一段可能会报错
#address = 192.168.0.203   #这个注释掉
uid = root
gid = root

use chroot = yes
read only = no

hosts allow=192.168.0.203  #允许访问的ip
hosts deny=*

max connections = 5
motd file = /etc/rsyncd.motd
lock file=/var/run/rsyncd.lock
log file=/var/log/rsyncd.log


log format = %t %a %m %f %b
syslog facility = local3
timeout = 300
#exclude=a b ob.log  #禁止同步的文件


[www]
path = /home/wwwroot/default  #同步的目录
list=no
ignore errors
comment = www
auth users = user1 允许的用户
secrets file = /etc/rsyncd.secrets #用户密码
/etc/rsyncd.secrets 密码文件 格式为 用户名:密码 这里记住服务端 要写用户名和密码 客户端的话 只写密码就可以
user1:user1
密码文件需要 600 权限 必须600
chmod 600 /etc/rsyncd.secrets
启动后发现 服务运行了

centos7 里 默认安装好了 rsync 如果没安装 百度一堆教程
inotiyf 需要自己安装 其实这里服务器可以不安装的 客户端需要安装
上面服务端就完成了 接下来回到客户端
A 服务器
首先安装inofity 大致流程如下
224  ls
  225  wget http://nchc.dl.sourceforge.net/project/inotify-tools/inotify-tools/3.13/inotify-tools-3.13.tar.gz
  226  ls
  227  tar zxvf inotify-tools-3.13.tar.gz
  228  ls
  229  cd inotify-tools-3.13/
  230  ls
  231  ./configure
  232  make && make install
  233  ls
  234  inotify
  235  make
  236  make install
  237  ./configure
  238  make check
  239  make
  240  make install
  241  inotify
  242  ls
  243  cd man/
  244  ls
  245  cd ..
  246  cd src
  247  ls
  248  cd ..
  249  ls
  250  cd ..
  251  ls
  252  inotify
  253  ls
  254  cd inotify-tools-3.13/
  255  ls
  256  ./configure --prefix=/usr/local/inotify
  257  make && make install
  258  cd /usr/local/inotify/
  259  ls
  260  cd bin/
  261  ls
  262  inotifywait
  263  inotifywatch
  264  ln -s /usr/local/lib/libinotifytools.so.0 /usr/lib64/libinotifytools.so.0
  265  inotifywatch
  266  inotifywait
客户端不需要启动 rsync
rsync.conf的配置如下 也可以当做服务端 但是如果想和B 服务器同步的话 不要这样 rsync --daemon --config=/etc/rsyncd.conf 启动 就好
pid file = /var/run/rsyncd.pid
#port = 873
#address = 192.168.0.202
uid = root
gid = root

use chroot = yes
read only = no

hosts allow=192.168.0.204
hosts deny=*

max connections = 5
motd file = /etc/rsyncd.motd
lock file=/var/run/rsyncd.lock
log file=/var/log/rsyncd.log


log format = %t %a %m %f %b
syslog facility = local3
timeout = 300


[www]
path = /home/wwwroot/default
list=no
ignore errors
comment = www
auth users = user1
secrets file = /etc/rsyncd.secrets
A 服务器 只需要配置密码文件就好 如下
[root@www ~]# cat /etc/rsyncd.secrets
user1
密码文件需要 600 权限 必须600
chmod 600 /etc/rsyncd.secrets
然后 我们设置一下 inotify
vim inotify_back.sh 配置如下
#!/bin/bash
host=192.168.0.204
src=/home/wwwroot/default/
des=www
user=user1
/usr/local/inotify/bin/inotifywait -mrq --timefmt '%d/%m/%y %H:%M' --format '%T %w%f%e' -e modify,delete,create,attrib $src \
| while read files
do
#/usr/bin/rsync -aSz --delete  --exclude-from=exclude.txt  --password-file=/etc/rsyncd.secrets $src $user@$host::$des
/usr/bin/rsync -auvrtzopgP  --progress --delete  --exclude-from '/usr/local/inotify/exclude.txt'  --password-file=/etc/rsyncd.secrets $src $user@$host::$des
#/usr/bin/rsync -av --delete  --exclude-from '/usr/local/inotify/exclude.txt'  --password-file=/etc/rsyncd.secrets $src $user@$host::$des
echo "${files} was rsynced" > /var/log/rsyncd.log 2>&1
done
chmod a+x inotify_back.sh 给与执行权限
上面的文件里 如果加上 --delete 那么客户端删除的 服务器端也会删除 如果不需要删除 可以去掉 --delete参数 这个参数挺危险的
//设置一个禁止同步的文件 里面写上禁止同步的文件或者文件夹类型
比如下面的这个大概就是所有的log cache文件夹 cache文件下的所有文件 fk文件夹 fk文件下的所有 还有所有txt
这里如果出现不管用的话 记得先停止一下rysnc服务端脚本 重新启动一下 或者重新启动一下整个服务器 还有客户端
之前遇到这个问题很神奇 重启后就好了 或者杀掉所有相关的rsync进程
[root@www inotify]# cat exclude.txt
*.log*
cache/
cache/*
fk/
fk/*
*.txt

最后以这种方式启动 inotify
nohup ./inotify_back.sh &
这样就算shell 窗口关掉 也可以继续服务

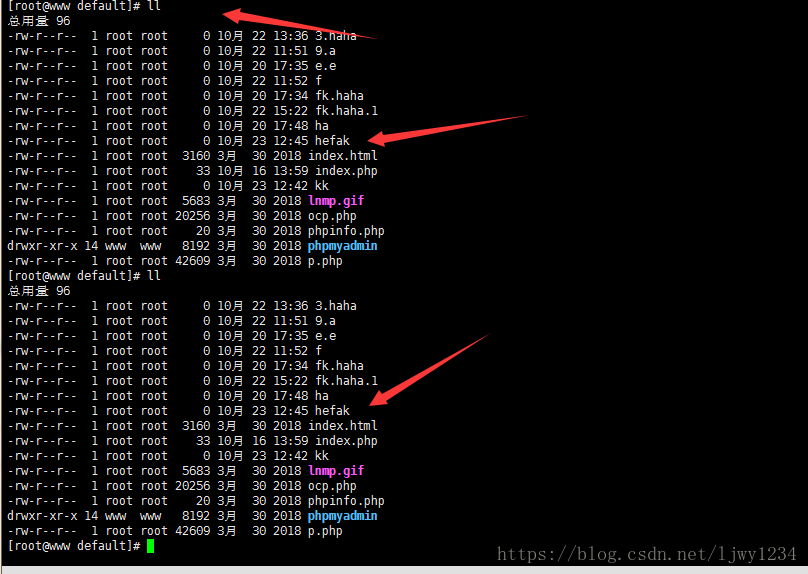
启动后 回到客户端 touch一个kk文件
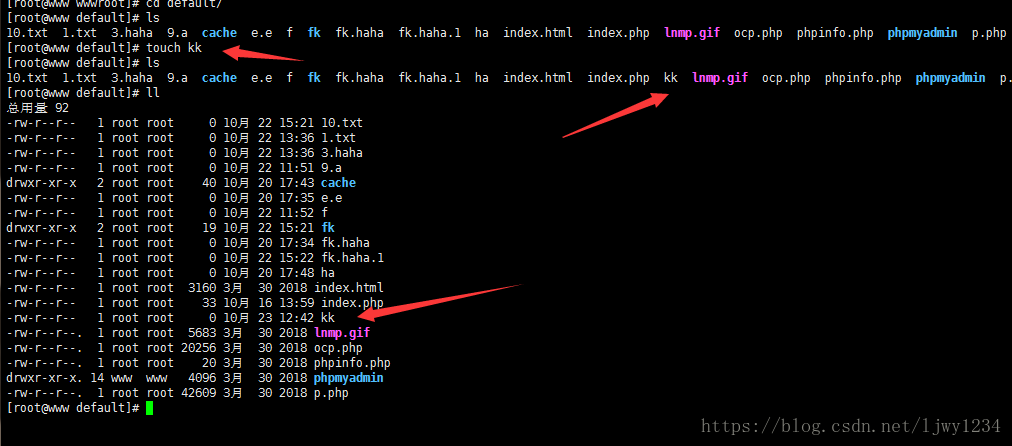
然后去服务端观察发现
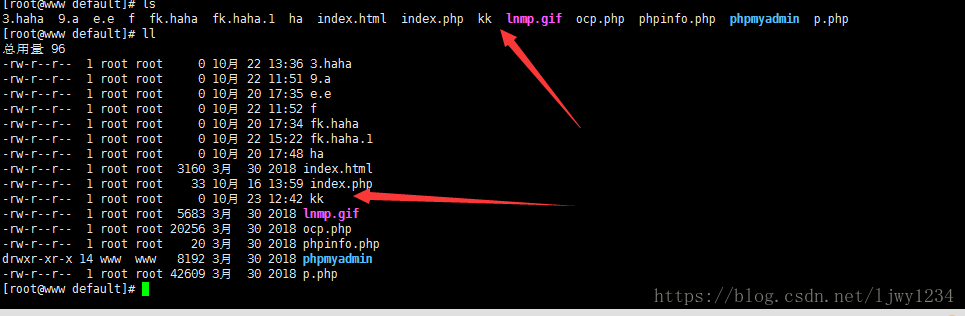
到此为止 发现文件可以同步了
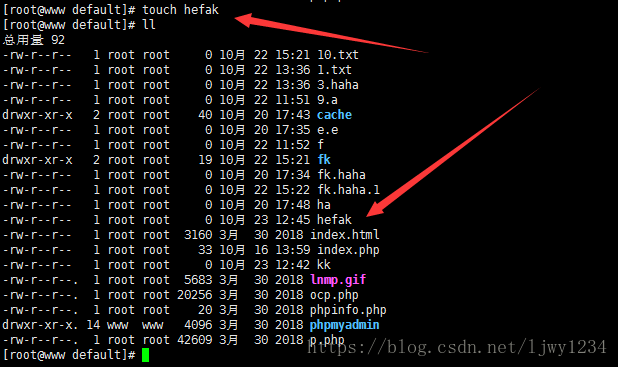
测试一下 在上传的禁止的文件里

发现禁止的txt文件 并没有被同步
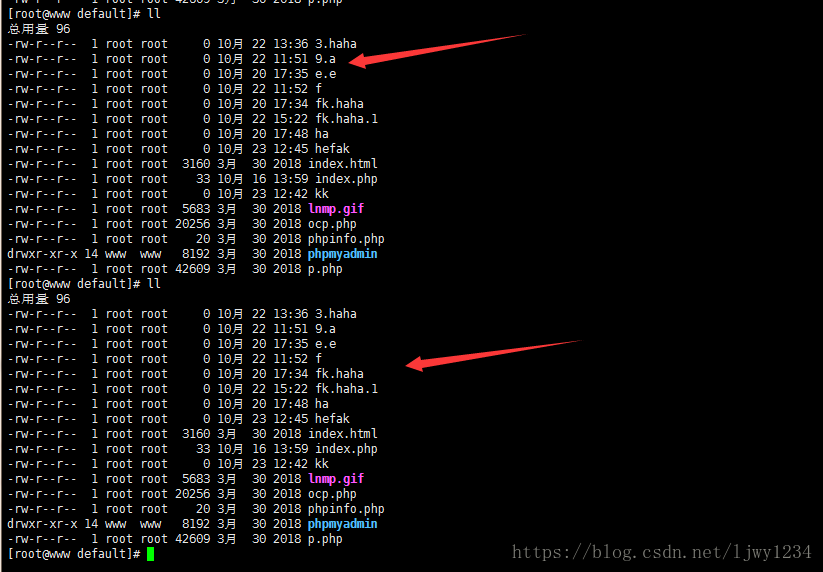
到此位置测试同步完成了


 1950
1950


 被折叠的 条评论
为什么被折叠?
被折叠的 条评论
为什么被折叠?
 到【灌水乐园】发言


