


参考文章:https://blog.csdn.net/m0_46674735/article/details/112971571
一、前置条件
1、添加zabbix源
rpm -Uvh https://mirrors.aliyun.com/zabbix/zabbix/5.0/rhel/7/x86_64/zabbix-release-5.0-1.el7.noarch.rpm
sed -i 's#http://repo.zabbix.com#https://mirrors.aliyun.com/zabbix#' /etc/yum.repos.d/zabbix.repo
2、配置网易yum
#建立备份文件
mkdir -p /etc/yum.repos.d/backup

#备份yum原配置文件
mv /etc/yum.repos.d/* /etc/yum.repos.d/backup/

#下载网易yum源
wget -O /etc/yum.repos.d/CentOS-Base-163.repo http://mirrors.163.com/.help/CentOS7-Base-163.repo

#清除yum缓存
yum clean all

#建立缓存
yum makecache
3、关闭防火墙selinux
#关闭firewalld
systemctl stop firewalld

#禁止firewalld开机自启
systemctl disable firewalld

#永久关闭selinux
sed -i "s/^SELINUX\=enforcing/SELINUX\=disabled/g" /etc/selinux/config

#临时关闭selinux
setenforce 0
二、安装zabbix(zabbix-mysql-nginx版)
vim /etc/yum.repos.d/zabbix.repo
添加以下配置,如有配置先清空
[zabbix-frontend]
name=Zabbix Official Repository frontend - $basearch
baseurl=http://repo.zabbix.com/zabbix/5.0/rhel/7/$basearch/frontend
enabled=1
1、安装zabbix相关主要软件
yum install -y  zabbix-server-mysql zabbix-agent
yum install -y zabbix-web-mysql --nogpgcheck
yum -y install zabbix-nginx-conf-scl --nogpgcheck
2、启用RedHat软件集合
yum -y install centos-release-scl
3、安装zabbix所需依赖包(非必要,避免启动报错,底层包很全安装较慢)
yum groups install "Development Tools" -y
yum install -y gcc-c++
yum install -y libmysql*
yum install -y fping
4、数据库安装启动
yum -y install mariadb mariadb-server
systemctl start mariadb
systemctl enable mariadb
5、数据库配置
命令行输入mysql进入mysql
1、 MariaDB [(none)]> create database zabbix character set utf8 collate utf8_bin;
Query OK, 1 row affected (0.00 sec)
2、 MariaDB [(none)]> create user zabbix@localhost identified by 'zabbix';
Query OK, 0 rows affected (0.00 sec)
3、 MariaDB [(none)]> grant all privileges on zabbix.* to zabbix@localhost;
Query OK, 0 rows affected (0.00 sec)
4、 MariaDB [(none)]> FLUSH PRIVILEGES;
Query OK, 0 rows affected (0.00 sec)
5、 MariaDB [(none)]> exit
Bye
6、将zabbix的sql导入到mysql数据库
执行导入大概30秒
zcat /usr/share/doc/zabbix-server-mysql*/create.sql.gz | mysql -uzabbix -pzabbix -Dzabbix
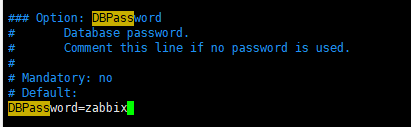
7、修改zabbix配置文件
yum -y install vim
vim /etc/zabbix/zabbix_server.conf
将DBPassword的注释#去掉,后面指定密码为zabbix
8、修改php-fpm配置文件
[root@zabbix ~]# vim /etc/opt/rh/rh-php72/php-fpm.d/zabbix.conf
需要修改的三行如下
user = nginx
group = nginx
php_value[date.timezone] = Asia/Shanghai
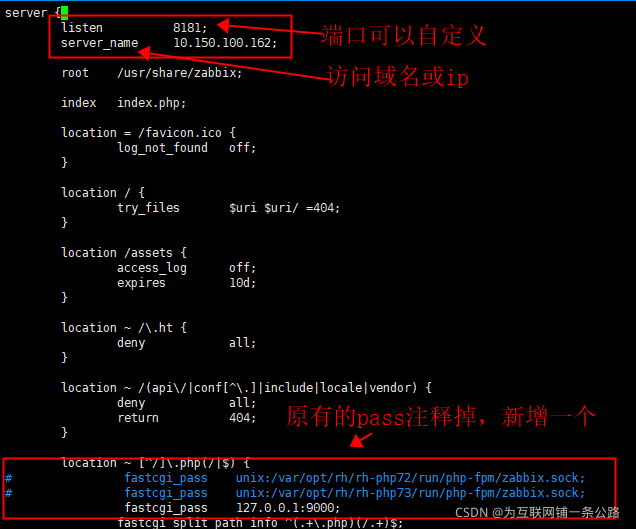
9、修改nginx配置文件
vim /etc/opt/rh/rh-nginx116/nginx/conf.d/zabbix.conf
10、修改php配置文件
vim /etc/opt/rh/rh-php72/php.ini
max_execution_time = 300
max_input_time = 300
post_max_size = 16M
date.timezone = Asia/Shanghai
11、重启所有服务并开机自启
systemctl restart zabbix-server zabbix-agent rh-nginx116-nginx rh-php72-php-fpm

systemctl enable zabbix-server zabbix-agent rh-nginx116-nginx rh-php72-php-fpm
三、页面配置
1、访问http://ip/zabbix
默认用户Admin
默认密码zabbix

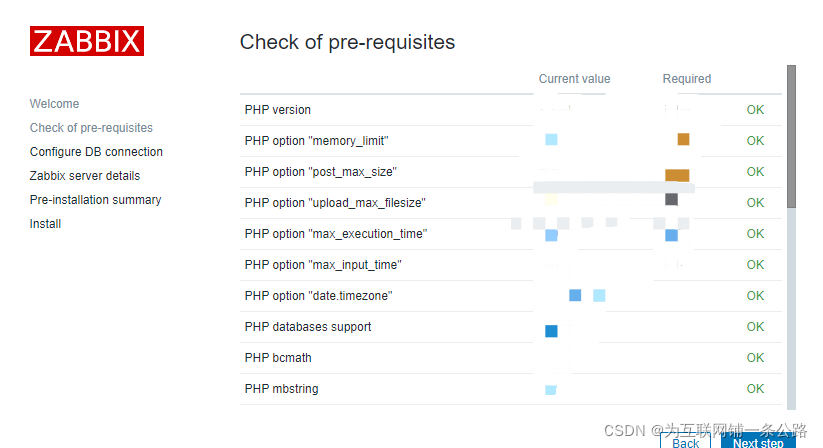
2、web插件和数据库自检,全ok继续下一步
Next step
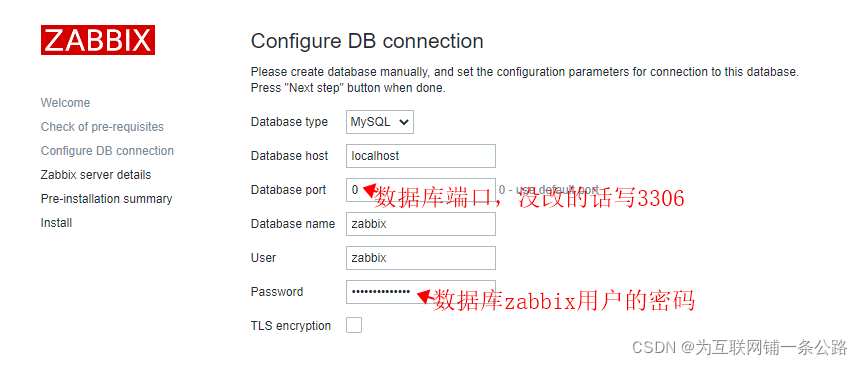
3、配置数据库
端口默认3306
用户名密码检查没问题后下一步
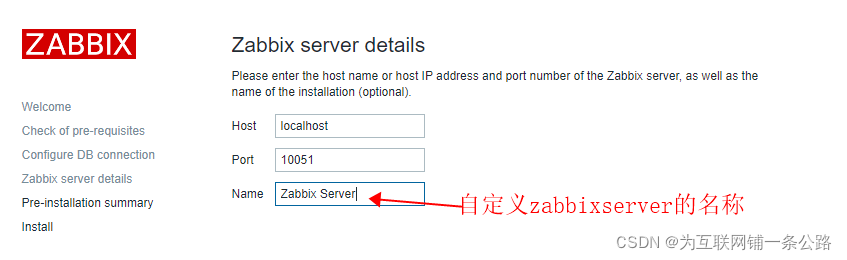
4、此页面可直接下一步,name可以自己取
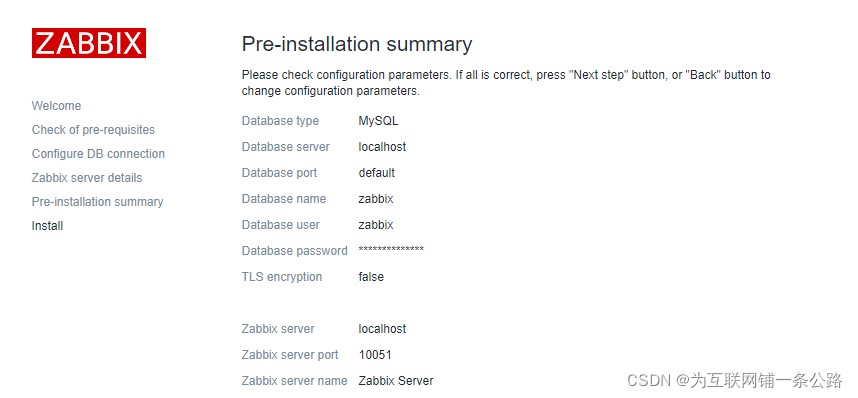
5、信息确认页面,下一步即可
Next step
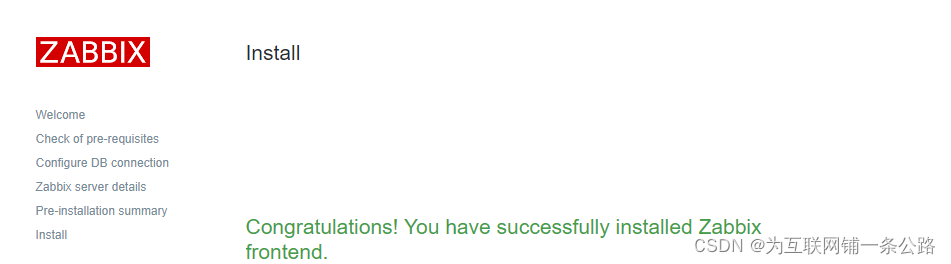
6、成功创建
Finish
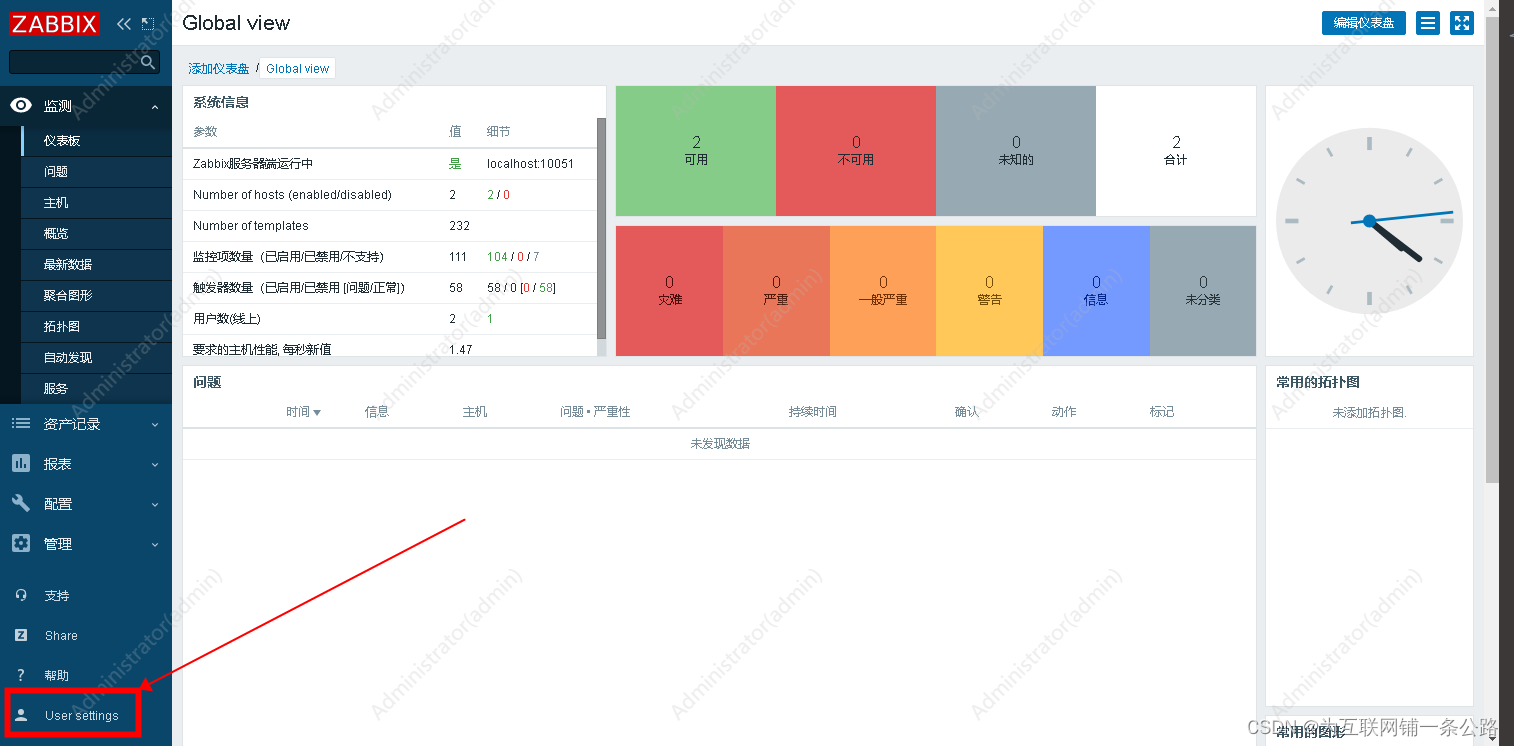
7、设置成中文
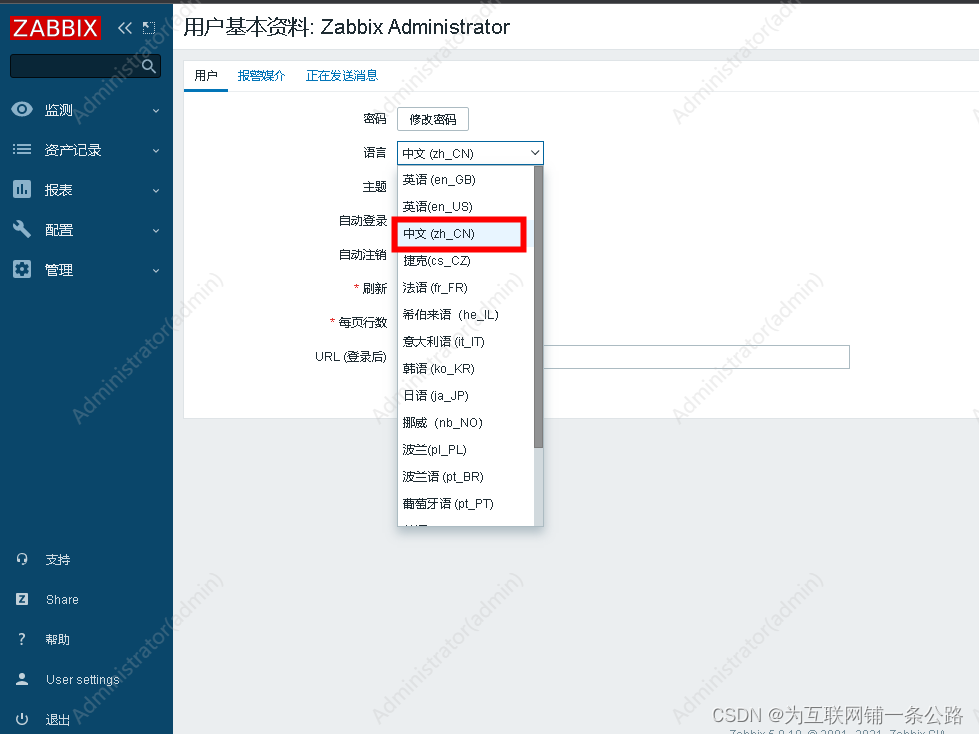
8、解决设置中文后有乱码
在zabbix-server服务器上安装字符集
yum install -y wqy-microhei-fonts
然后替换linux上默认的字符集,执行输入y确认替换
cp /usr/share/fonts/wqy-microhei/wqy-microhei.ttc /usr/share/fonts/dejavu/DejaVuSans.ttf
四、被控端安装zabbix-agent
1、将server端的yum文件复制到被监控端,然后重新加载(被控端执行)
scp root@zabbixserver的ip://etc/yum.repo.d/* /etc/yum.repo.d/
yum clean all
yum makecache
2、yum安装zabbix-agent(被控端执行)
yum -y install zabbix-agent
3、检查server和agent版本是否一致
#zabbix server服务器执行
zabbix_server --version
#zabbix agent服务器执行
zabbix_agent --version
4、编辑Zabbix Agent 配置文件(被控端执行)
vim /etc/zabbix/zabbix_agentd.conf

Server=这里写zabbixserver的ip
ServerActive=这里写zabbixserver的ip
Hostname=被控端本机主机名
5、启动并开启自启
systemctl start zabbix-agent
systemctl enable zabbix-agent
五、页面配置监控装了agent的机器
1、配置-主机群组-创建主机群组,主机组名自定义即可


2、配置-主机-创建主机
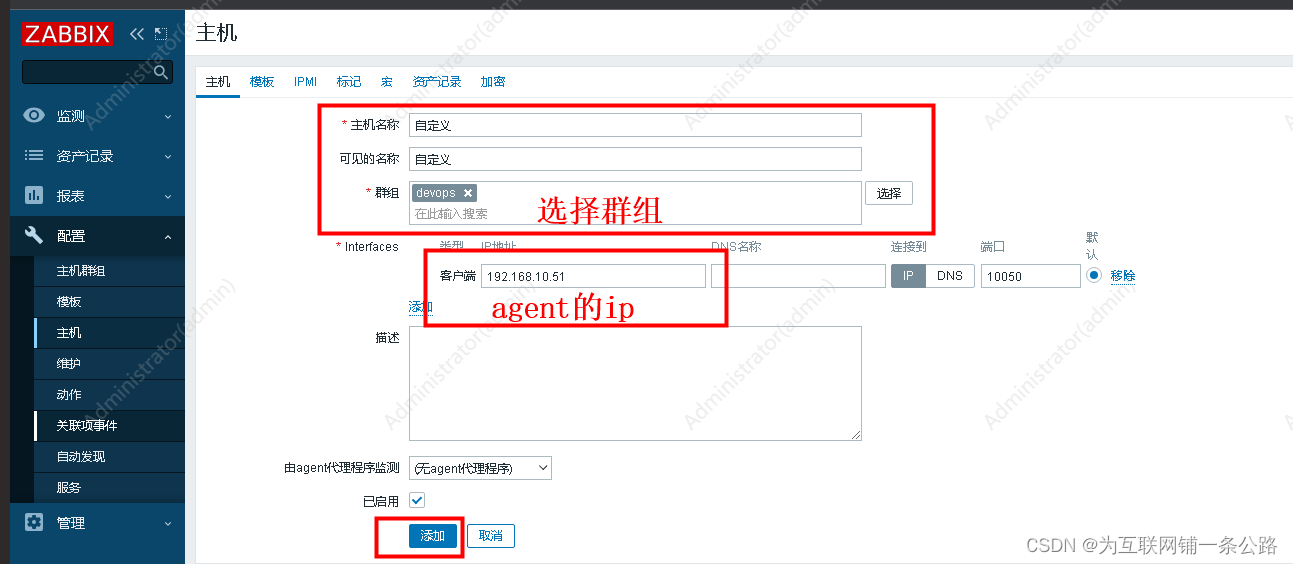
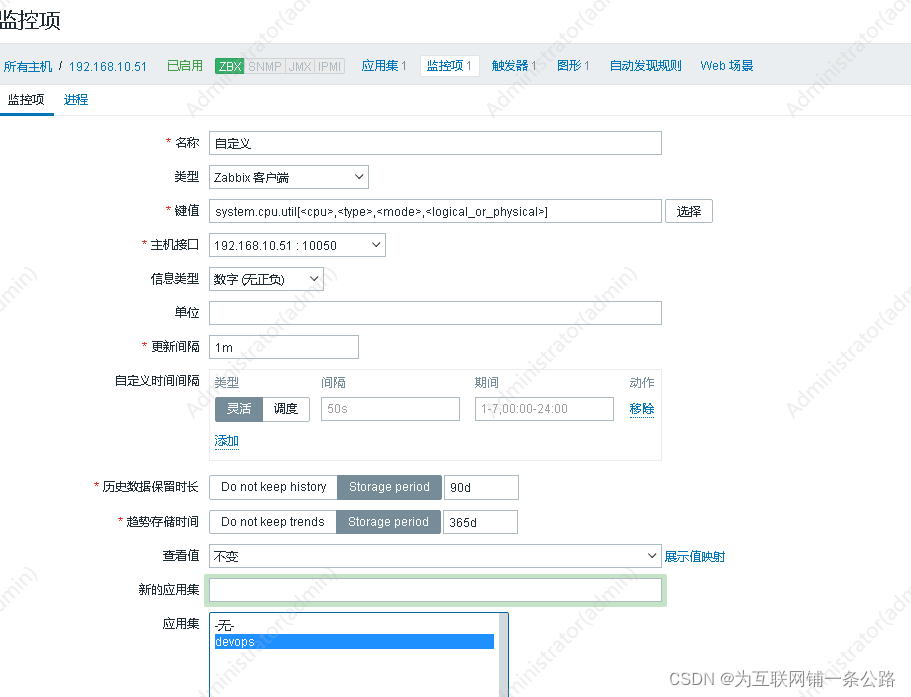
3、配置应用集-监控项
应用集是监控项的集合,随便定义个名字即可
监控项根据自己想监控的内容设置,这里选择的是cpu负载
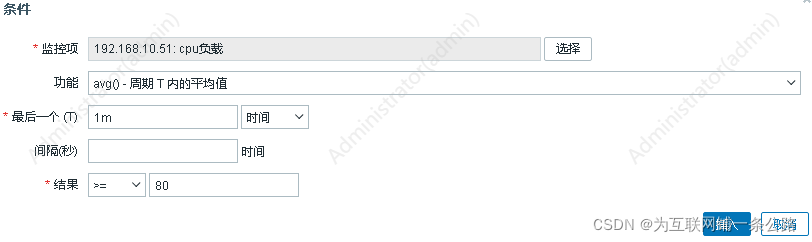
4、触发器
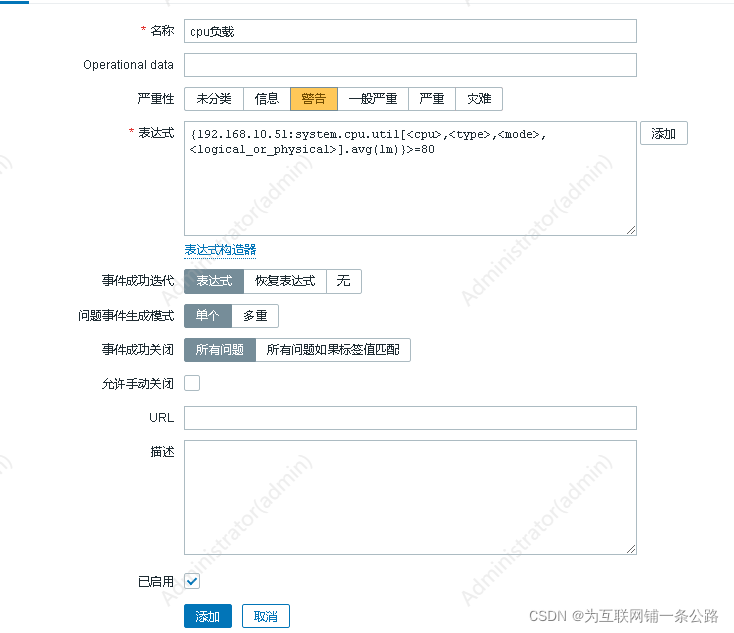
条件表达式配置
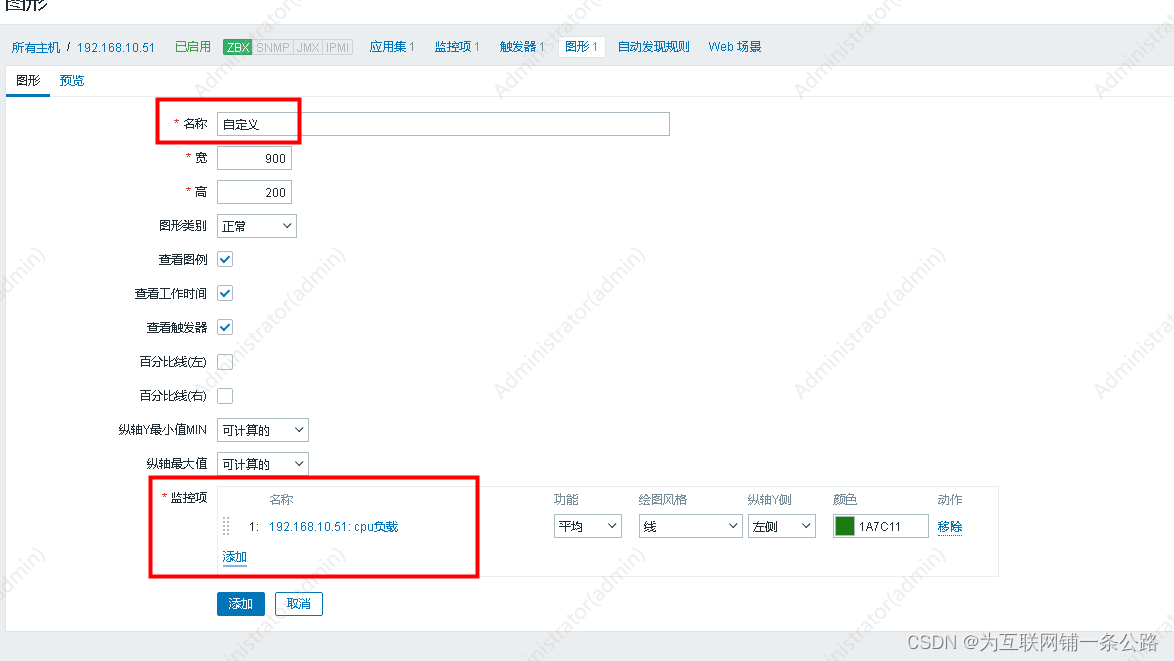
5、图形
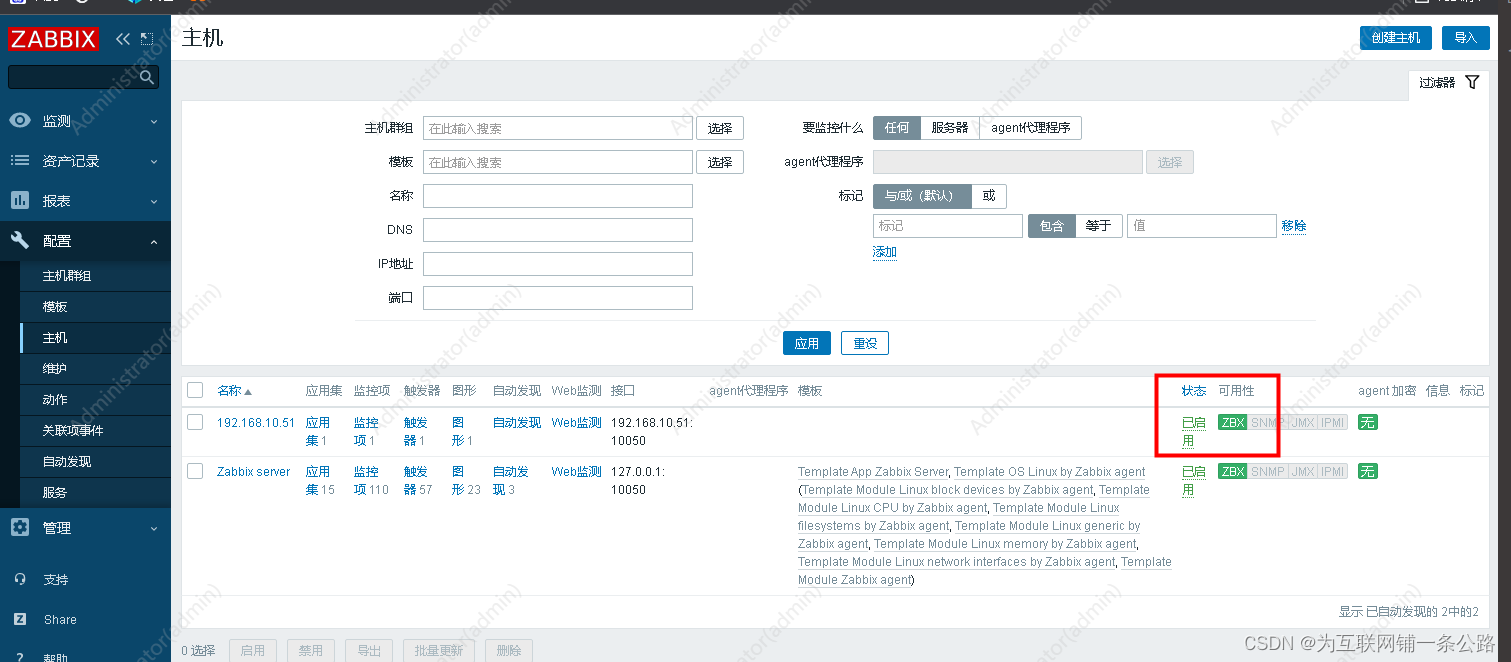
6、配置完查看状态,可用性为绿色的ZBX代表正常
此时触发器的阈值比如设置的cpu负载是80,到达阈值在问题里会有警告级别的规则,级别也是自定义的


 419
419


 被折叠的 条评论
为什么被折叠?
被折叠的 条评论
为什么被折叠?
 到【灌水乐园】发言


