


1.View的基本概念
2.在Activity当中获取代表View的对象
3.设置View的属性
4.为View设置监听器
什么是View?
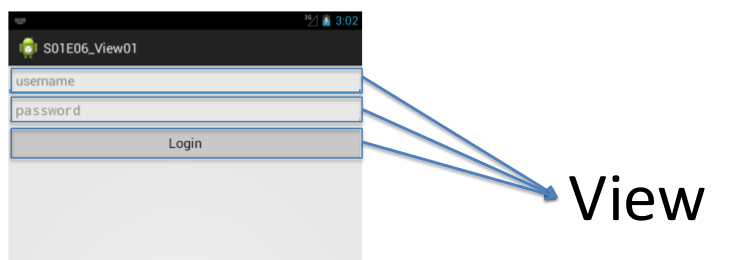
如上图所示,上面三个控件就统称为View,他们都是View的子类。
View的种类:
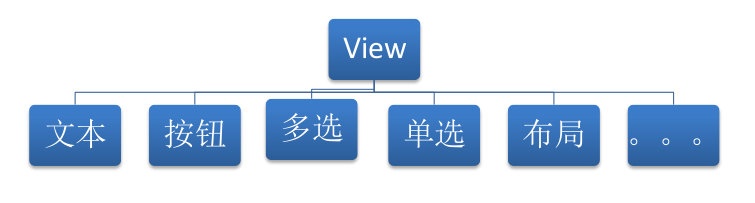
有:文本,按钮,多选,单选,布局等等
如何获取并设置view的属性?
举例:
<LinearLayout xmlns:android="http://schemas.android.com/apk/res/android"
    xmlns:tools="http://schemas.android.com/tools"
    android:layout_width="match_parent"
    android:layout_height="match_parent"
    android:paddingBottom="@dimen/activity_vertical_margin"
    android:paddingLeft="@dimen/activity_horizontal_margin"
    android:paddingRight="@dimen/activity_horizontal_margin"
    android:paddingTop="@dimen/activity_vertical_margin"
    tools:context=".MainActivity" >

    <TextView
        android:layout_width="fill_parent"
        android:layout_height="wrap_content"
        android:background="#FF0000"
        android:text="@string/hello_world" />

</LinearLayout>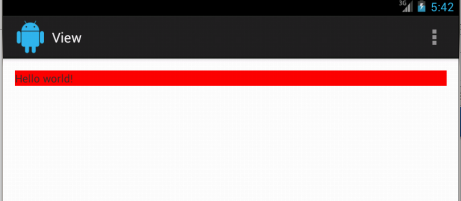
下面就使用一种方法获取并设置该TextView的属性(把Hello_World改为SHANL,背景改为蓝色):
1.在xml中加入View的id支持:android:id="@+id/textView"
2.在src代码中:
加入import包:import android.widget.TextView;
声明TextView:
private TextView textView;
获取并设置属性:
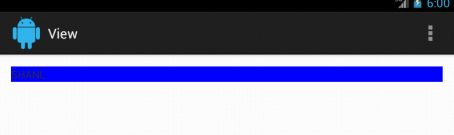
textView = (TextView)findViewById(R.id.textView); //获取TextView控件
textView.setBackgroundColor(Color.BLUE);//设置颜色
textView.setText("SHANL");//设置文本
运行的结果如下:
什么是监听器?
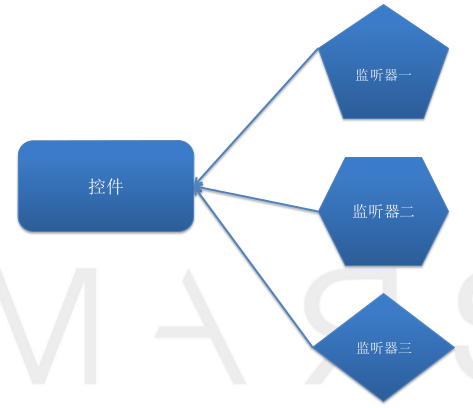
如上图所示,每个控件可以有多个监听器,每个监听器可以控件的相应行为,来做不同的动作。比如有一个按键控件,短按对应一个监听器,长按对应另一个监听器,按键的其他行为又对应其他的监听器。
那么如何为控件绑定监听器?
1 获取代表控件的对象 findViewbyId
2 定义一个类,实现监听器接口
3 生成监听器对象 new
4 为控件绑定监听器对象
小技巧:导入包的快捷键:ctrl+shit+o
实验:编写一个监听器,将button按下时,文本就做相应的变化。
    <TextView
        android:id="@+id/textView"
        android:layout_width="match_parent"
        android:layout_height="wrap_content"
        android:background="#FF0000"
        android:text="0" />

    <Button
        android:id="@+id/button"
        android:layout_width="match_parent"
        android:layout_height="wrap_content"
android:text="button"/> class ButtonListener implements OnClickListener{
@Override
public void onClick(View v) {
// TODO Auto-generated method stub
count++;
textView.setText(count + ""); //每点击一下button,数字增长
}
} private TextView textView;
private Button button;
int count = 0;
@Override
protected void onCreate(Bundle savedInstanceState) {
super.onCreate(savedInstanceState);
setContentView(R.layout.activity_main);
textView = (TextView)findViewById(R.id.textView);
button = (Button)findViewById(R.id.button);//获取代表控件的对象
ButtonListener buttonListener = new ButtonListener();//生成监听器对象
button.setOnClickListener(buttonListener);//为控件绑定监听器对象
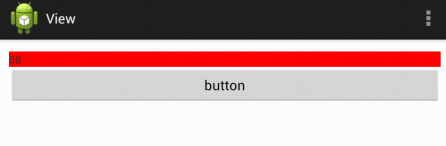
}编译运行:
每点击一下button,数字就会增1


 3083
3083


 被折叠的 条评论
为什么被折叠?
被折叠的 条评论
为什么被折叠?
 到【灌水乐园】发言


