


先记录环境变量


四件套
这篇文章很有作用:https://qiita.com/manymanyuni/items/a28acb545200f1f45c79
https://qiita.com/
我使用的步骤和命令
注意: GOPATH和GOROOT不是同一个目录!
1. 将Go和QT安装好
2. go get -v github.com/therecipe/qt
3. go install -v -tags=no_env github.com/therecipe/qt/cmd/...
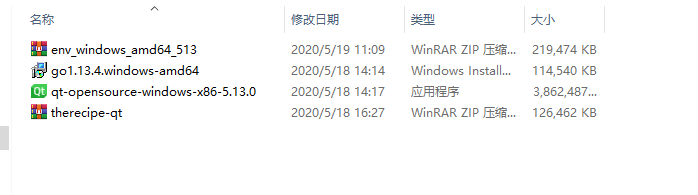
4. 将 therecipe-qt 放到 $GOPATH 目录下的github.com文件夹下面去
5. 将 env_windows_amd64_513 放到 $GOPATH/pkg/mod/github.com/therecipe/ 下面。
6. for /f %v in ('go env GOPATH') do %v\bin\qtsetup
如果出现异常情况,例如下图:

你可能需要执行set GO111MODULE=off


下面是成功的截图组:


下面是测试代码
package main
import (
	"os"

	"github.com/therecipe/qt/core"
	"github.com/therecipe/qt/widgets"
)
func main() {
	core.QCoreApplication_SetApplicationName("sample")
	core.QCoreApplication_SetOrganizationName("sample")
	core.QCoreApplication_SetAttribute(core.Qt__AA_EnableHighDpiScaling, true)
	widgets.NewQApplication(len(os.Args), os.Args)
	window := widgets.NewQMainWindow(nil, 0)
	window.SetMinimumSize2(400, 300)
	window.SetWindowTitle("Hello World")
	window.Show()
	widgets.QApplication_Exec()
}
运行命令
1. qtenv
2. go run D:\GoProjectIdea\HelloGoQT\main.go


 877
877


 被折叠的 条评论
为什么被折叠?
被折叠的 条评论
为什么被折叠?
 到【灌水乐园】发言


