


*1、优酷布局


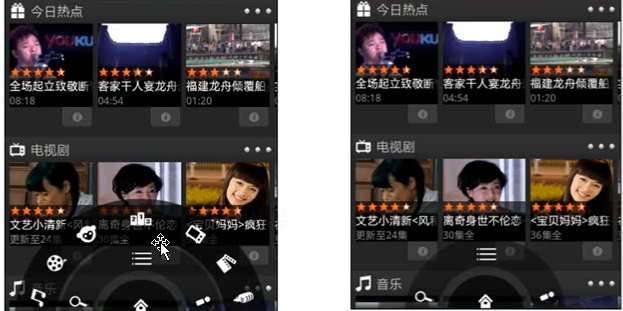
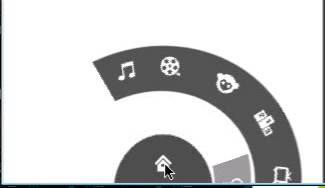
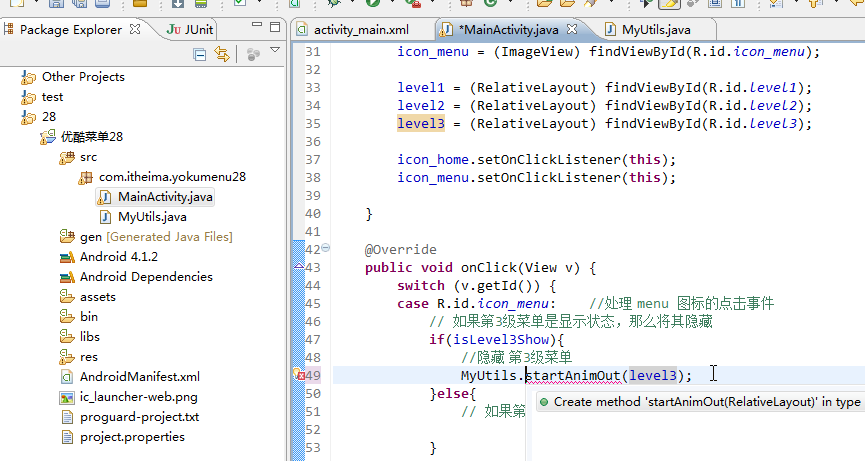
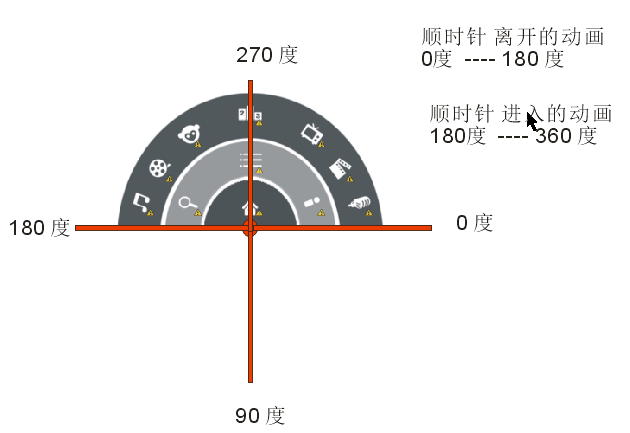
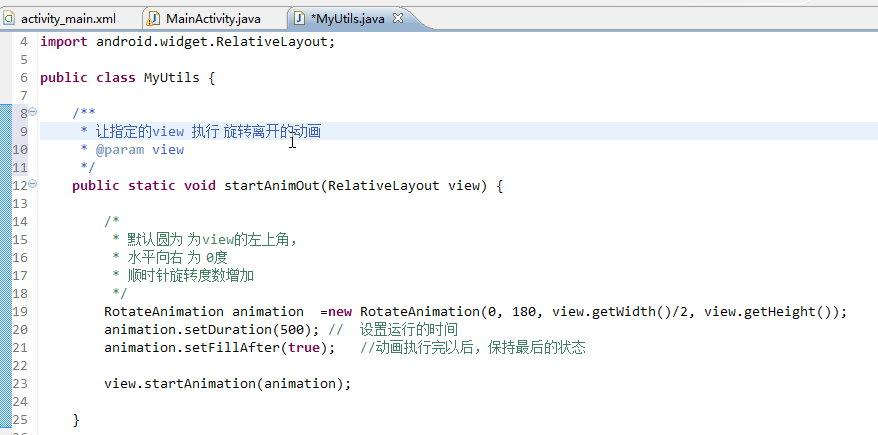
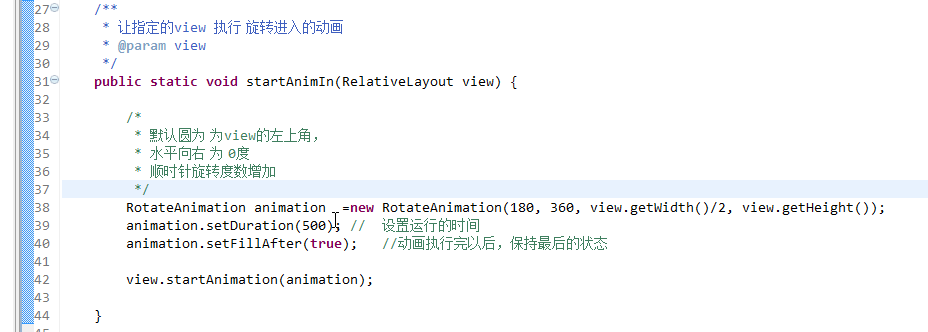
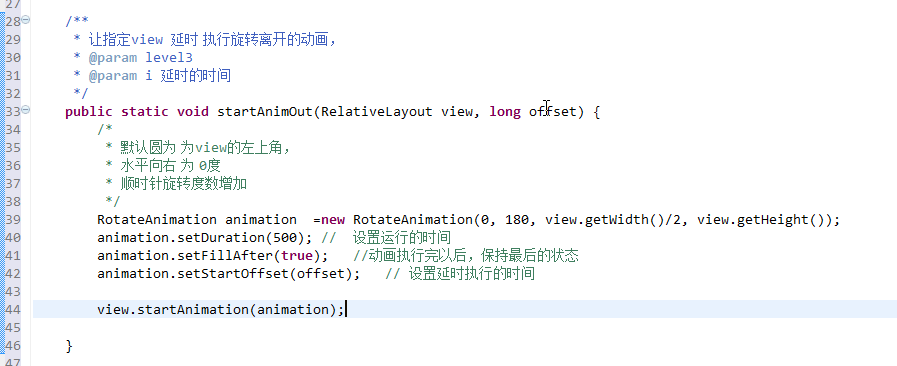
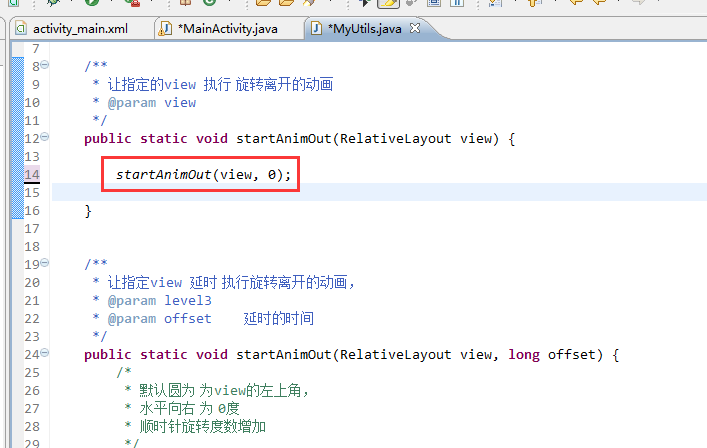
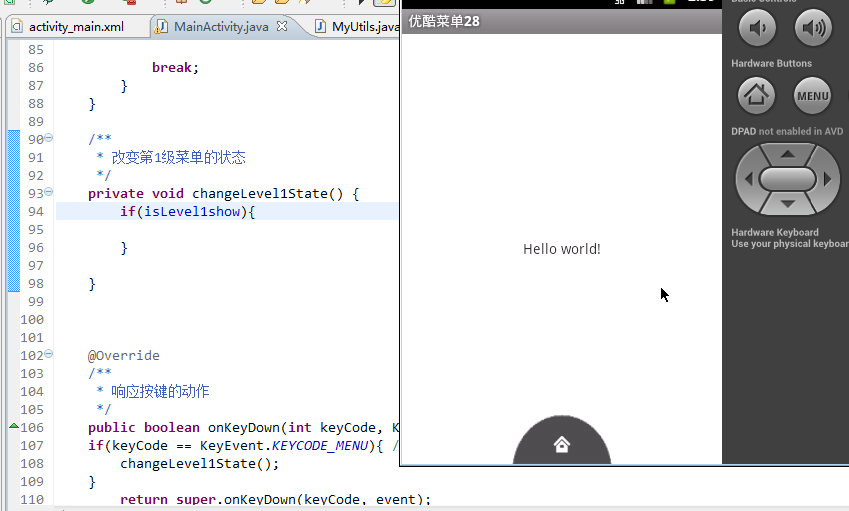
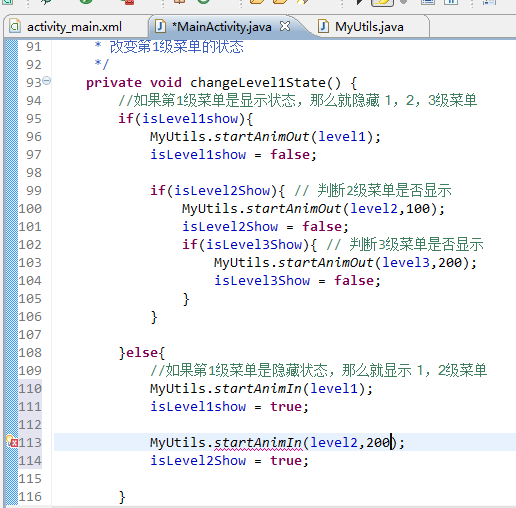
*2、优酷代码完成

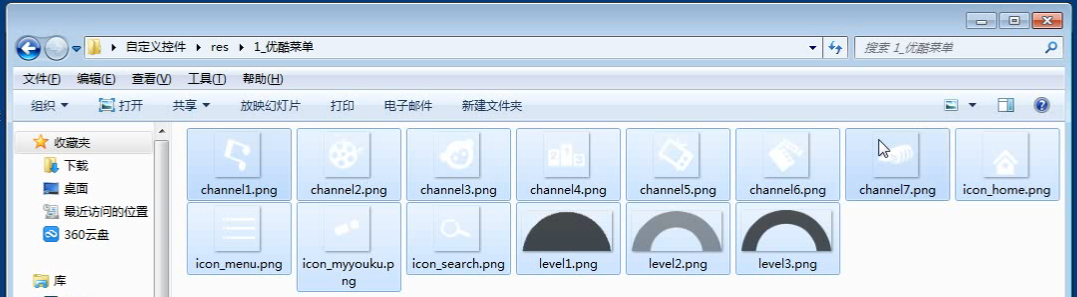
布局文件:
<RelativeLayout xmlns:android="http://schemas.android.com/apk/res/android"
xmlns:tools="http://schemas.android.com/tools"
android:layout_width="match_parent"
android:layout_height="match_parent"
tools:context=".MainActivity" >
<TextView
android:layout_width="wrap_content"
android:layout_height="wrap_content"
android:layout_centerHorizontal="true"
android:layout_centerVertical="true"
android:text="@string/hello_world" />
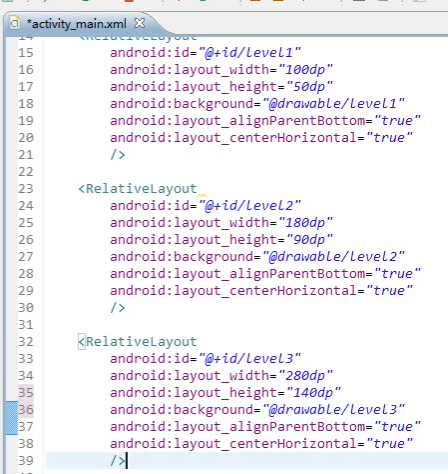
<RelativeLayout
android:id="@+id/level1"
android:layout_width="100dp"
android:layout_height="50dp"
android:layout_alignParentBottom="true"
android:layout_centerHorizontal="true"
android:background="@drawable/level1" >
<ImageView
android:id="@+id/icon_home"
android:layout_width="wrap_content"
android:layout_height="wrap_content"
android:layout_centerInParent="true"
android:background="@drawable/icon_home" />
</RelativeLayout>
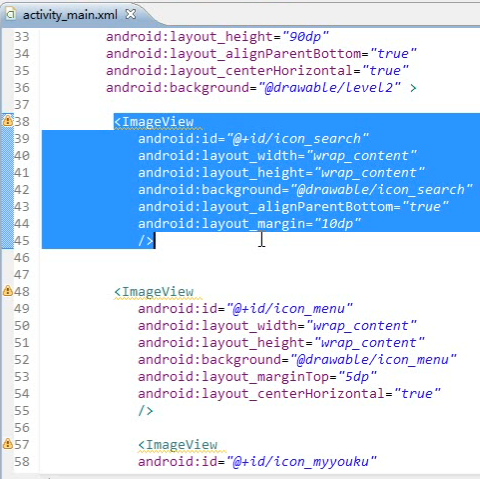
<RelativeLayout
android:id="@+id/level2"
android:layout_width="180dp"
android:layout_height="90dp"
android:layout_alignParentBottom="true"
android:layout_centerHorizontal="true"
android:background="@drawable/level2" >
<ImageView
android:id="@+id/icon_search"
android:layout_width="wrap_content"
android:layout_height="wrap_content"
android:layout_alignParentBottom="true"
android:layout_margin="10dp"
android:background="@drawable/icon_search" />
<ImageView
android:id="@+id/icon_menu"
android:layout_width="wrap_content"
android:layout_height="wrap_content"
android:layout_centerHorizontal="true"
android:layout_marginTop="5dp"
android:background="@drawable/icon_menu" />
<ImageView
android:id="@+id/icon_myyouku"
android:layout_width="wrap_content"
android:layout_height="wrap_content"
android:layout_alignParentBottom="true"
android:layout_alignParentRight="true"
android:layout_margin="10dp"
android:background="@drawable/icon_myyouku" />
</RelativeLayout>
<RelativeLayout
android:id="@+id/level3"
android:layout_width="280dp"
android:layout_height="140dp"
android:layout_alignParentBottom="true"
android:layout_centerHorizontal="true"
android:background="@drawable/level3" >
<ImageView
android:id="@+id/channel1"
android:layout_width="wrap_content"
android:layout_height="wrap_content"
android:background="@drawable/channel1"
android:layout_alignParentBottom="true"
android:layout_marginLeft="10dp"
android:layout_marginBottom="10dp"
/>
<ImageView
android:id="@+id/channel2"
android:layout_width="wrap_content"
android:layout_height="wrap_content"
android:layout_above="@id/channel1"
android:layout_alignLeft="@id/channel1"
android:layout_marginBottom="6dp"
android:layout_marginLeft="20dp"
android:background="@drawable/channel2" />
<ImageView
android:id="@+id/channel3"
android:layout_width="wrap_content"
android:layout_height="wrap_content"
android:layout_above="@id/channel2"
android:layout_alignLeft="@id/channel2"
android:layout_marginBottom="6dp"
android:layout_marginLeft="30dp"
android:background="@drawable/channel3" />
<ImageView
android:id="@+id/channel4"
android:layout_width="wrap_content"
android:layout_height="wrap_content"
android:layout_centerHorizontal="true"
android:layout_marginTop="5dp"
android:background="@drawable/channel4" />
<ImageView
android:id="@+id/channel7"
android:layout_width="wrap_content"
android:layout_height="wrap_content"
android:background="@drawable/channel7"
android:layout_alignParentBottom="true"
android:layout_alignParentRight="true"
android:layout_marginBottom="10dp"
android:layout_marginRight="10dp"
/>
<ImageView
android:id="@+id/channel6"
android:layout_width="wrap_content"
android:layout_height="wrap_content"
android:layout_above="@id/channel7"
android:layout_alignRight="@id/channel7"
android:layout_marginBottom="6dp"
android:layout_marginRight="20dp"
android:background="@drawable/channel6" />
<ImageView
android:id="@+id/channel5"
android:layout_width="wrap_content"
android:layout_height="wrap_content"
android:layout_above="@id/channel6"
android:layout_alignRight="@id/channel6"
android:layout_marginBottom="6dp"
android:layout_marginRight="30dp"
android:background="@drawable/channel5" />
</RelativeLayout>
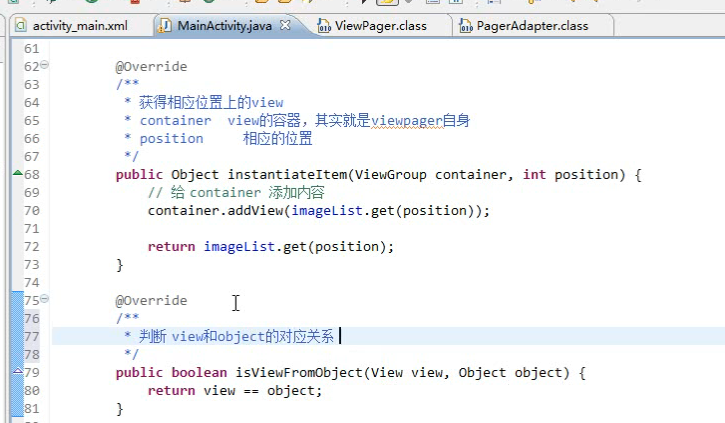
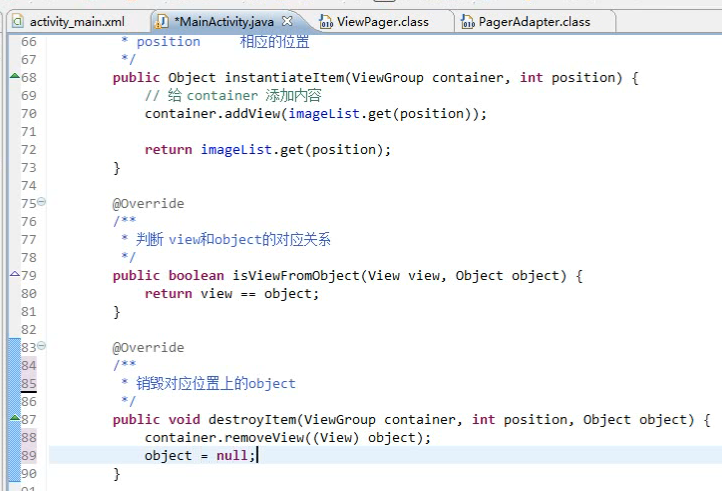
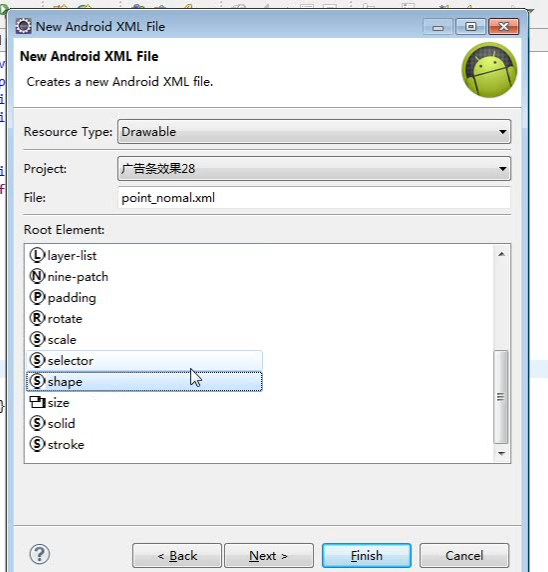
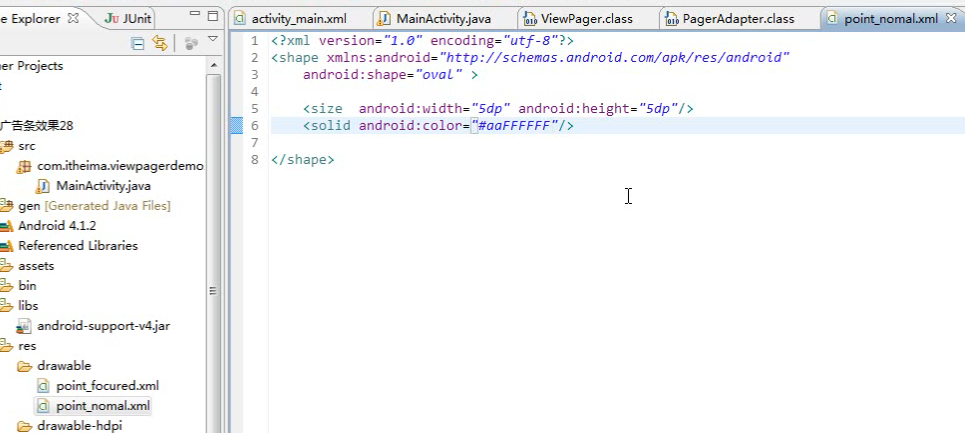
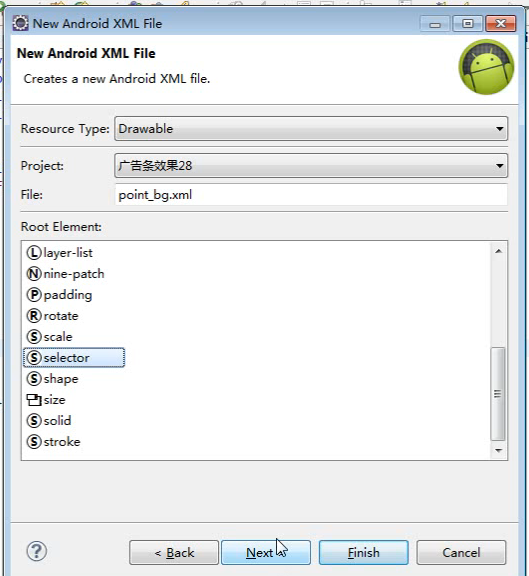
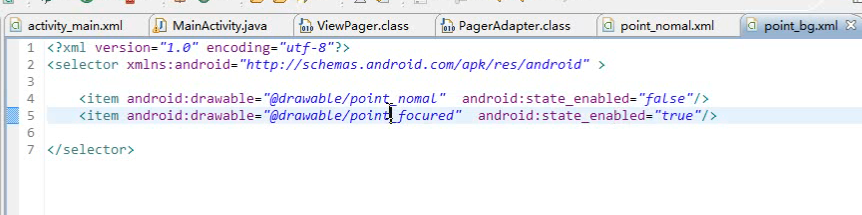
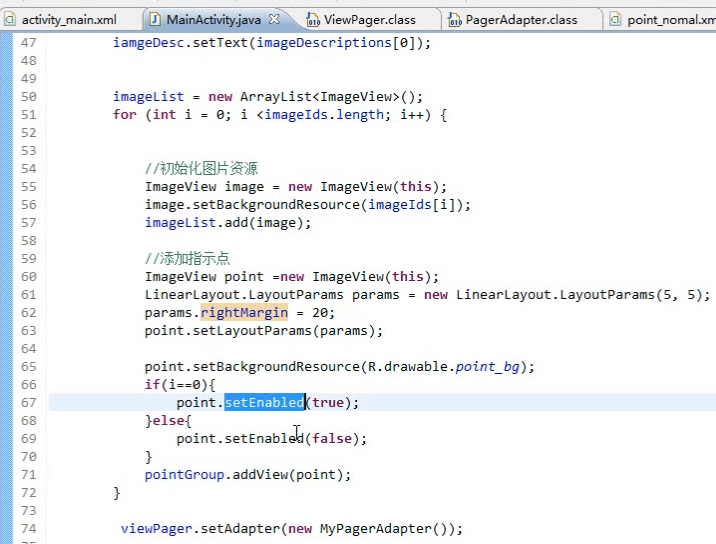
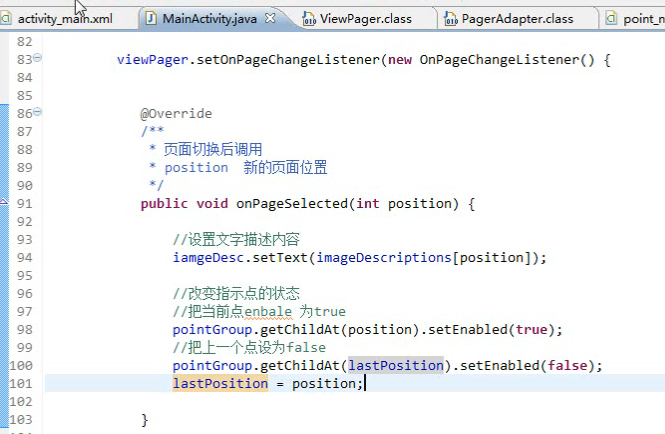
</RelativeLayout>*3、广告条布局


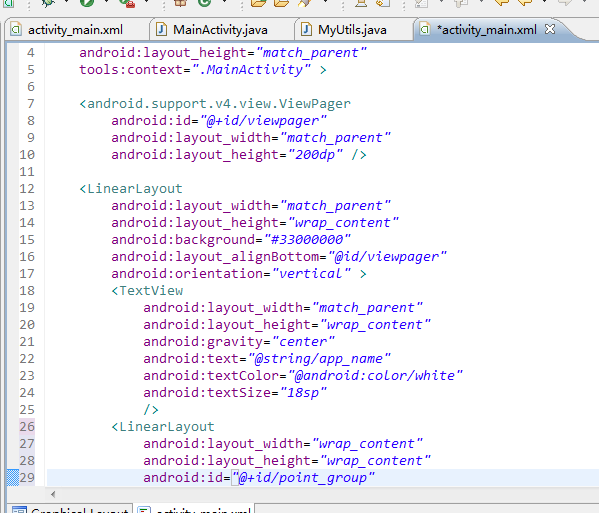
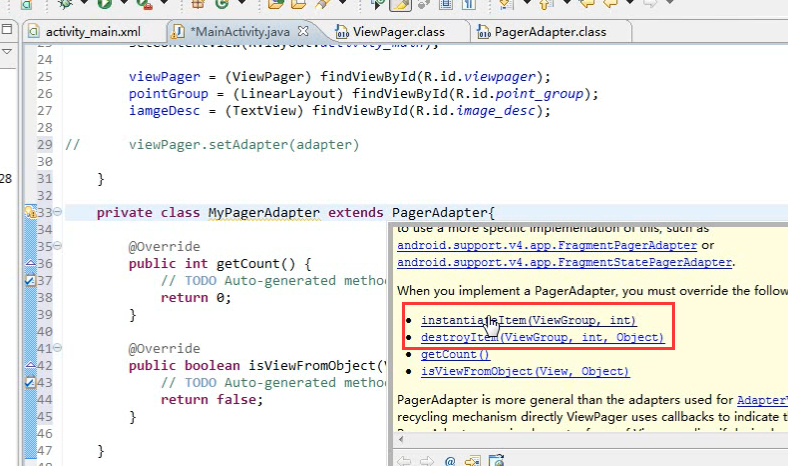
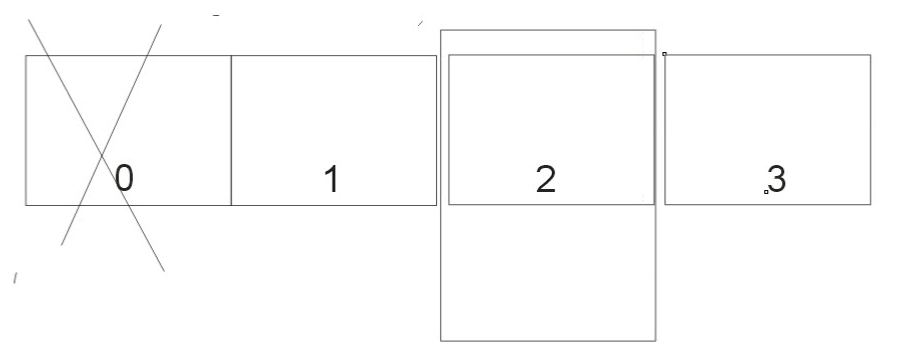
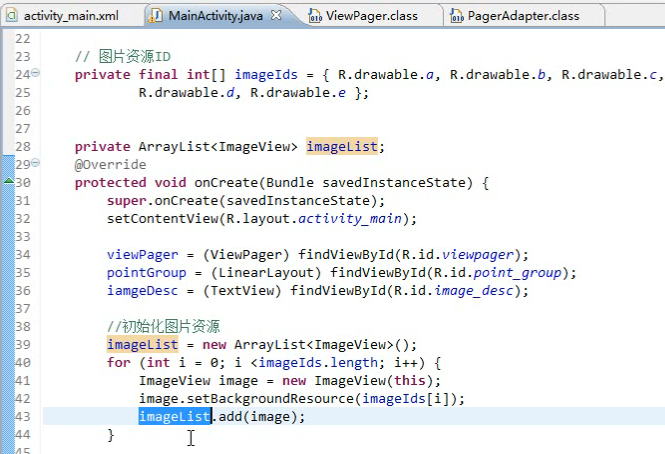
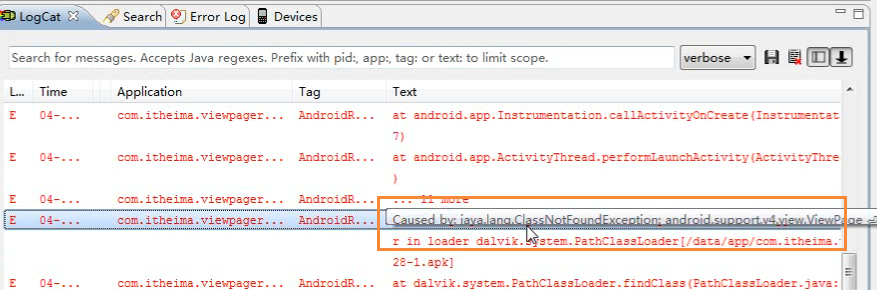
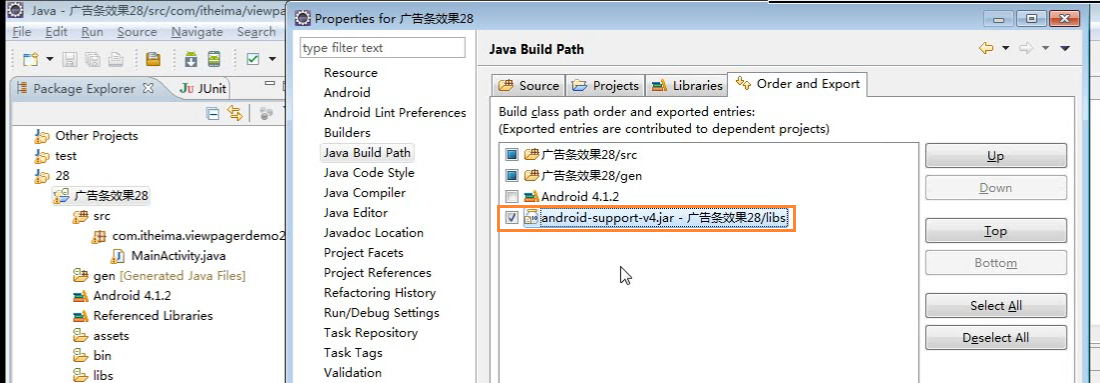
*4、广告条功能实现


 1617
1617

 被折叠的 条评论
为什么被折叠?
被折叠的 条评论
为什么被折叠?
 到【灌水乐园】发言


