


这篇文章将会给大家提到如何实现图片上传,
1.首先,搭建好ssm框架,并在WEB-INF下的lib包底下引入2个jar包,
commons-fileupload-1.2.1.jar
commons-io-1.4.jar
下载地址:https://pan.baidu.com/s/1iNQ0ekCeTJ2tIGMqaCwFtw
提取码:w24t
下载路径我百度云盘提供一个版本,也可以自己在网上找,
在此我们模拟用户上传头像的例子来实现上传图片.
2.index.jsp文件主要是上传界面:
<%@ page language="java" import="java.util.*" pageEncoding="UTF-8"%>
<%
	String path = request.getContextPath();
	String basePath = request.getScheme() + "://"
			+ request.getServerName() + ":" + request.getServerPort()
			+ path + "/";
%>
<!DOCTYPE HTML PUBLIC "-//W3C//DTD HTML 4.01 Transitional//EN">
<html>
<head>
<base href="<%=basePath%>">
<title>My JSP 'index.jsp' starting page</title>
</head>
<body>
	<form action="upload.do" method="post"
		enctype="multipart/form-data">
		<label>用户名:</label><input type="text" name="uname" required><br> <label>密码:</label><input
			type="password" name="pwd" required><br> <label>上传头像:</label><input
			type="file" name="file"><br> <input type="submit" value="展示">
	</form>
</body>
</html>
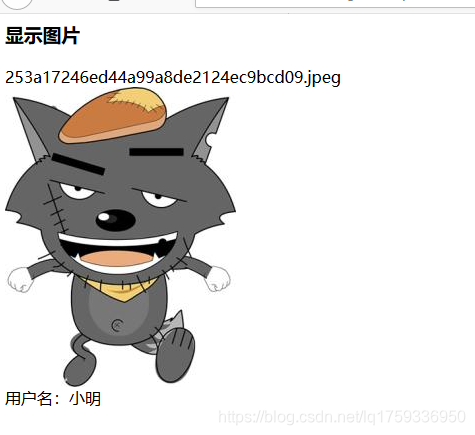
3.show.jsp文件主要讲上传的文件做以显示:
<%@ page language="java" import="java.util.*" pageEncoding="UTF-8"%>
<%@taglib prefix="c" uri="http://java.sun.com/jsp/jstl/core"%>
<%
String path = request.getContextPath();
String basePath = request.getScheme()+"://"+request.getServerName()+":"+request.getServerPort()+path+"/";
%>
<!DOCTYPE HTML PUBLIC "-//W3C//DTD HTML 4.01 Transitional//EN">
<html>
  <head>
    <base href="<%=basePath%>">
    <title>My JSP 'MyJsp.jsp' starting page</title>
  </head>
  <body>
    <h3>显示图片</h3>
    ${user.image}<br>
    <img id="image" name="image" src="images/${user.image}"><br>
        用户名:${user.uname}
  </body>
</html>
与普通增删改查不同的是,我们需要借助MultipartFile接口来实现图片上传,因此,便需要在实体类中,加上一个属性,private MultipartFile file;**并生成其get和set方法,**需要注意的是:此属性并不是用来存储图片,只是一个辅助图片上传的属性,即数据库不应该有此属性.
实体类属性(数据库自己建):
	 private Integer uid;
    private String uname;
    private String pwd;
    private String image;
    //辅助图片上传属性
    private MultipartFile file;
get,set方法自己生成
4.controller层代码(我自己起的名字为action):
import java.io.File;
import java.util.UUID;
import javax.servlet.http.HttpServletRequest;
import org.springframework.beans.factory.annotation.Autowired;
import org.springframework.stereotype.Controller;
import org.springframework.ui.Model;
import org.springframework.web.bind.annotation.RequestMapping;
import com.biz.IUserService;
import com.po.Users;
@Controller
public class UsersAction {
	@Autowired
	private IUserService userService;
	public IUserService getUserService() {
		return userService;
	}
	public void setUserService(IUserService userService) {
		this.userService = userService;
	}
	@RequestMapping("upload.do")
	public String upload(Users user, HttpServletRequest request, Model model)
			throws Exception {
		// 保存数据库的路径
		String realPath = request.getSession().getServletContext().getRealPath("/");
		//String sqlPath = null;
		// 定义文件保存的本地路径
		//String localPath = "D:\\File\\";
		// 定义 文件名
		String filename = null;
		if (!user.getFile().isEmpty()) {
			// 生成uuid作为文件名称
			String uuid = UUID.randomUUID().toString().replaceAll("-", "");
			// 获得文件类型(可以判断如果不是图片,禁止上传)
			String contentType = user.getFile().getContentType();
			// 获得文件后缀名
			String suffixName = contentType
					.substring(contentType.indexOf("/") + 1);
			// 得到 文件名
			filename = uuid + "." + suffixName;
			// 文件保存路径
			user.getFile().transferTo(new File(realPath + "/images/"+ filename));
		}
		// 把图片的相对路径保存至数据库
		//sqlPath = "/images/" + filename;
		//System.out.println(sqlPath);
		user.setImage(filename);
		userService.addUser(user);
		model.addAttribute("user", user);
		return "show.jsp";
	}
}
applicationContext.xml配置文件应该加上以下配置:
<bean id="multipartResolver" class="org.springframework.web.multipart.commons.CommonsMultipartResolver">
<property name="defaultEncoding" value="utf-8"/>
<!-- 最大内存大小 -->
<property name="maxInMemorySize" value="10240"/>
<!-- 最大文件大小,-1为不限制大小 -->
<property name="maxUploadSize" value="-1"/>
</bean>
<tx:annotation-driven transaction-manager="txmanager"/>
此时,便可以试着运行一下!效果如下:
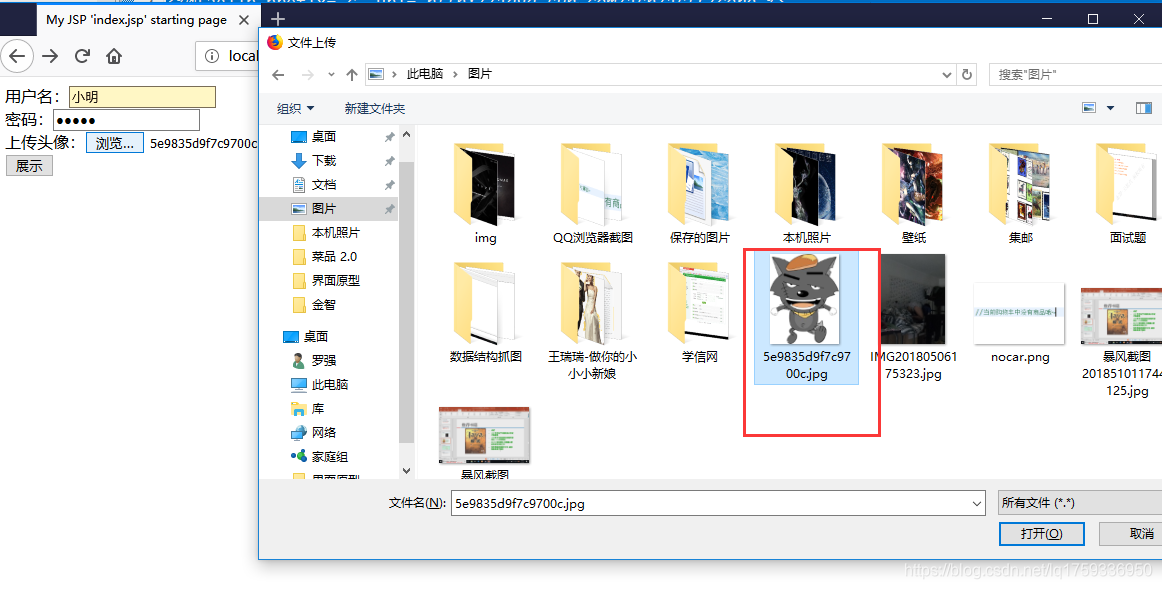
在这我们选择这张灰太狼照片,然后点击展示,图片将呈现出来,如下:
此时数据库也有了相对于的信息

图片存在服务器,Tomca下!
笔者刚开始运营公众号啦,感兴趣的可关注我的公众号,欢迎交流!


 96
96

 被折叠的 条评论
为什么被折叠?
被折叠的 条评论
为什么被折叠?
 到【灌水乐园】发言


