


因为写论文需要用到 latex,写代码需要 pytorch,所以在 ubuntu 中安装 latex。文中演示了安装 texlive 和 texstudio 的过程,以及如何安装缺少的包 package。
文章目录
安装 texlive
有很多包可供选择,可以参考文献[1],这里我选择 texlive。
sudo apt install texlive
[1] How to install LaTex on Ubuntu 20.04 Focal Fossa Linux - Linux Tutorials - Learn Linux Configuration
安装 texstudio
sudo apt-get install texstudio
[2] Ubuntu安装LaTeX
可以看到,texstudio自动配置好了。

调整界面 在options -> configure texstudio 中可以体调节texstudio的一些设置。例如在 Editor 中调节字体大小 (13 or 14)。
安装缺失的 package
- 总而言之,先用 apt-file 查看,然后选择用apt下载(建议)还是直接手动安装。
- 手动安装,看到有
*.sty文件,移动位置就好; - 看到有
*.dtx或者*.ins文件,先用 latex 或者 tex 编译出*.sty文件(有些需要 sudo)。 - 字体包复杂,建议直接 apt 节约时间
apt-file 查找 package 的名称
由于并没有安装 texlive-full,在使用过程中存在缺少 package 的可能。例如,在使用 beamer 制作 slider 的时候,运行程序报错 – File `pgfcore.sty’ not found. ^^M。根据 文献 [3],先安装 apt-file。
sudo apt-get install apt-file
再用如下命令查找所需要的 sty 文件。
apt-file -x search '/×××.sty$' (×××就是你所需要的sty文件名)
注意如果需要更新,可以根据命令行提示进行更新 sudo apt-file update。查找的结果如下。

这个时候,可以如文献 [3] 一样,直接安装 texlive-pictures 。(2024-07-18,经过多年的经验,我非常推荐这种方法。下述的手动安装方法太麻烦了,非懒人所为。)
sudo apt-get install texlive-pictures
[3] ubuntu latex缺少包的解决方案_gltangwq的博客-CSDN博客_latex没有iscv包
当然这里我们更进一步,观察
texlive-pictures: /usr/share/texlive/texmf-dist/tex/latex/pgf/basiclayer/pgfcore.sty,pgf (位于 /usr/share/texlive/texmf-dist/tex/latex/ 后面)就是所需的包的名称。这个规则,我是安装了几个缺失的包后总结出来的,如果有更加专业的解答,欢迎指正。
下载对应的 package
然后访问 https://ctan.org/pkg,找到对应的 package,并下载 zip 包。直接搜索就好。

解压之后,就能够找到对应的 pgfcore.sty。

下载后的zip文件解压后可以得到base文件夹。它包含: doc 是package的文档,然后需要的是 tex 文件夹。

安装 package
首先根据 apt-file 得到的路径,查找本地环境下的 /usr/share/texlive/texmf-dist/tex/latex/。发现很多latex package。于是确定安装的 package 应该都放置在这个位置。

于是将 base 文件夹中的 tex 文件夹重命名为pgf后移动到/usr/share/texlive/texmf-dist/tex/latex/。

最后用 sudo texhash [4] to 更新 latex package。然后运行,可以看到上述的错误已经解决了。图中还缺少了其它的package,这里仅仅演示一个。

[4] Ubuntu中如何安装LaTeX宏包_固态U盘的技术博客_51CTO博客
*.ins 文件
If
*.styis in the downloaded package file, we only need to move the unzip folder to/usr/share/texlive/texmf-dist/tex/latex. If*.ins, we need to compile the*.insfile with the commandlatex *.insbefore moving the unzip folder to the target folder [5].
根据上述报错,我们下载 algorithms package。

类似上述的步骤,解压后发现并没有 .sty 文件,但包含了 .ins 文件。

用 latex 编译 algorithms.ins 文件。

观察到生成了需要的 .sty 文件,将其移动的/usr/share/texlive/texmf-dist/tex/latex/,再执行 sudo texhash 即可。

可以看到报错已经解决。

[5] latex常见错误之缺少sty文件_疯狂的生长的博客-CSDN博客_latex sty文件
*.dtx 文件
在安装 mdframed package 的时候,显示没有 zref 包。于是我下载 zref 后,发现只有 zref.dtx 文件。然后惊奇地发现,原来安装写在该文件里。值得注意的是,好像需要加 sudo。
% Unpacking:
%    (a) If zref.ins is present:
%           tex zref.ins
%    (b) Without zref.ins:
%           tex zref.dtx
%    (c) If you insist on using LaTeX
%           latex \let\install=y\input{zref.dtx}
%        (quote the arguments according to the demands of your shell)
特殊的包
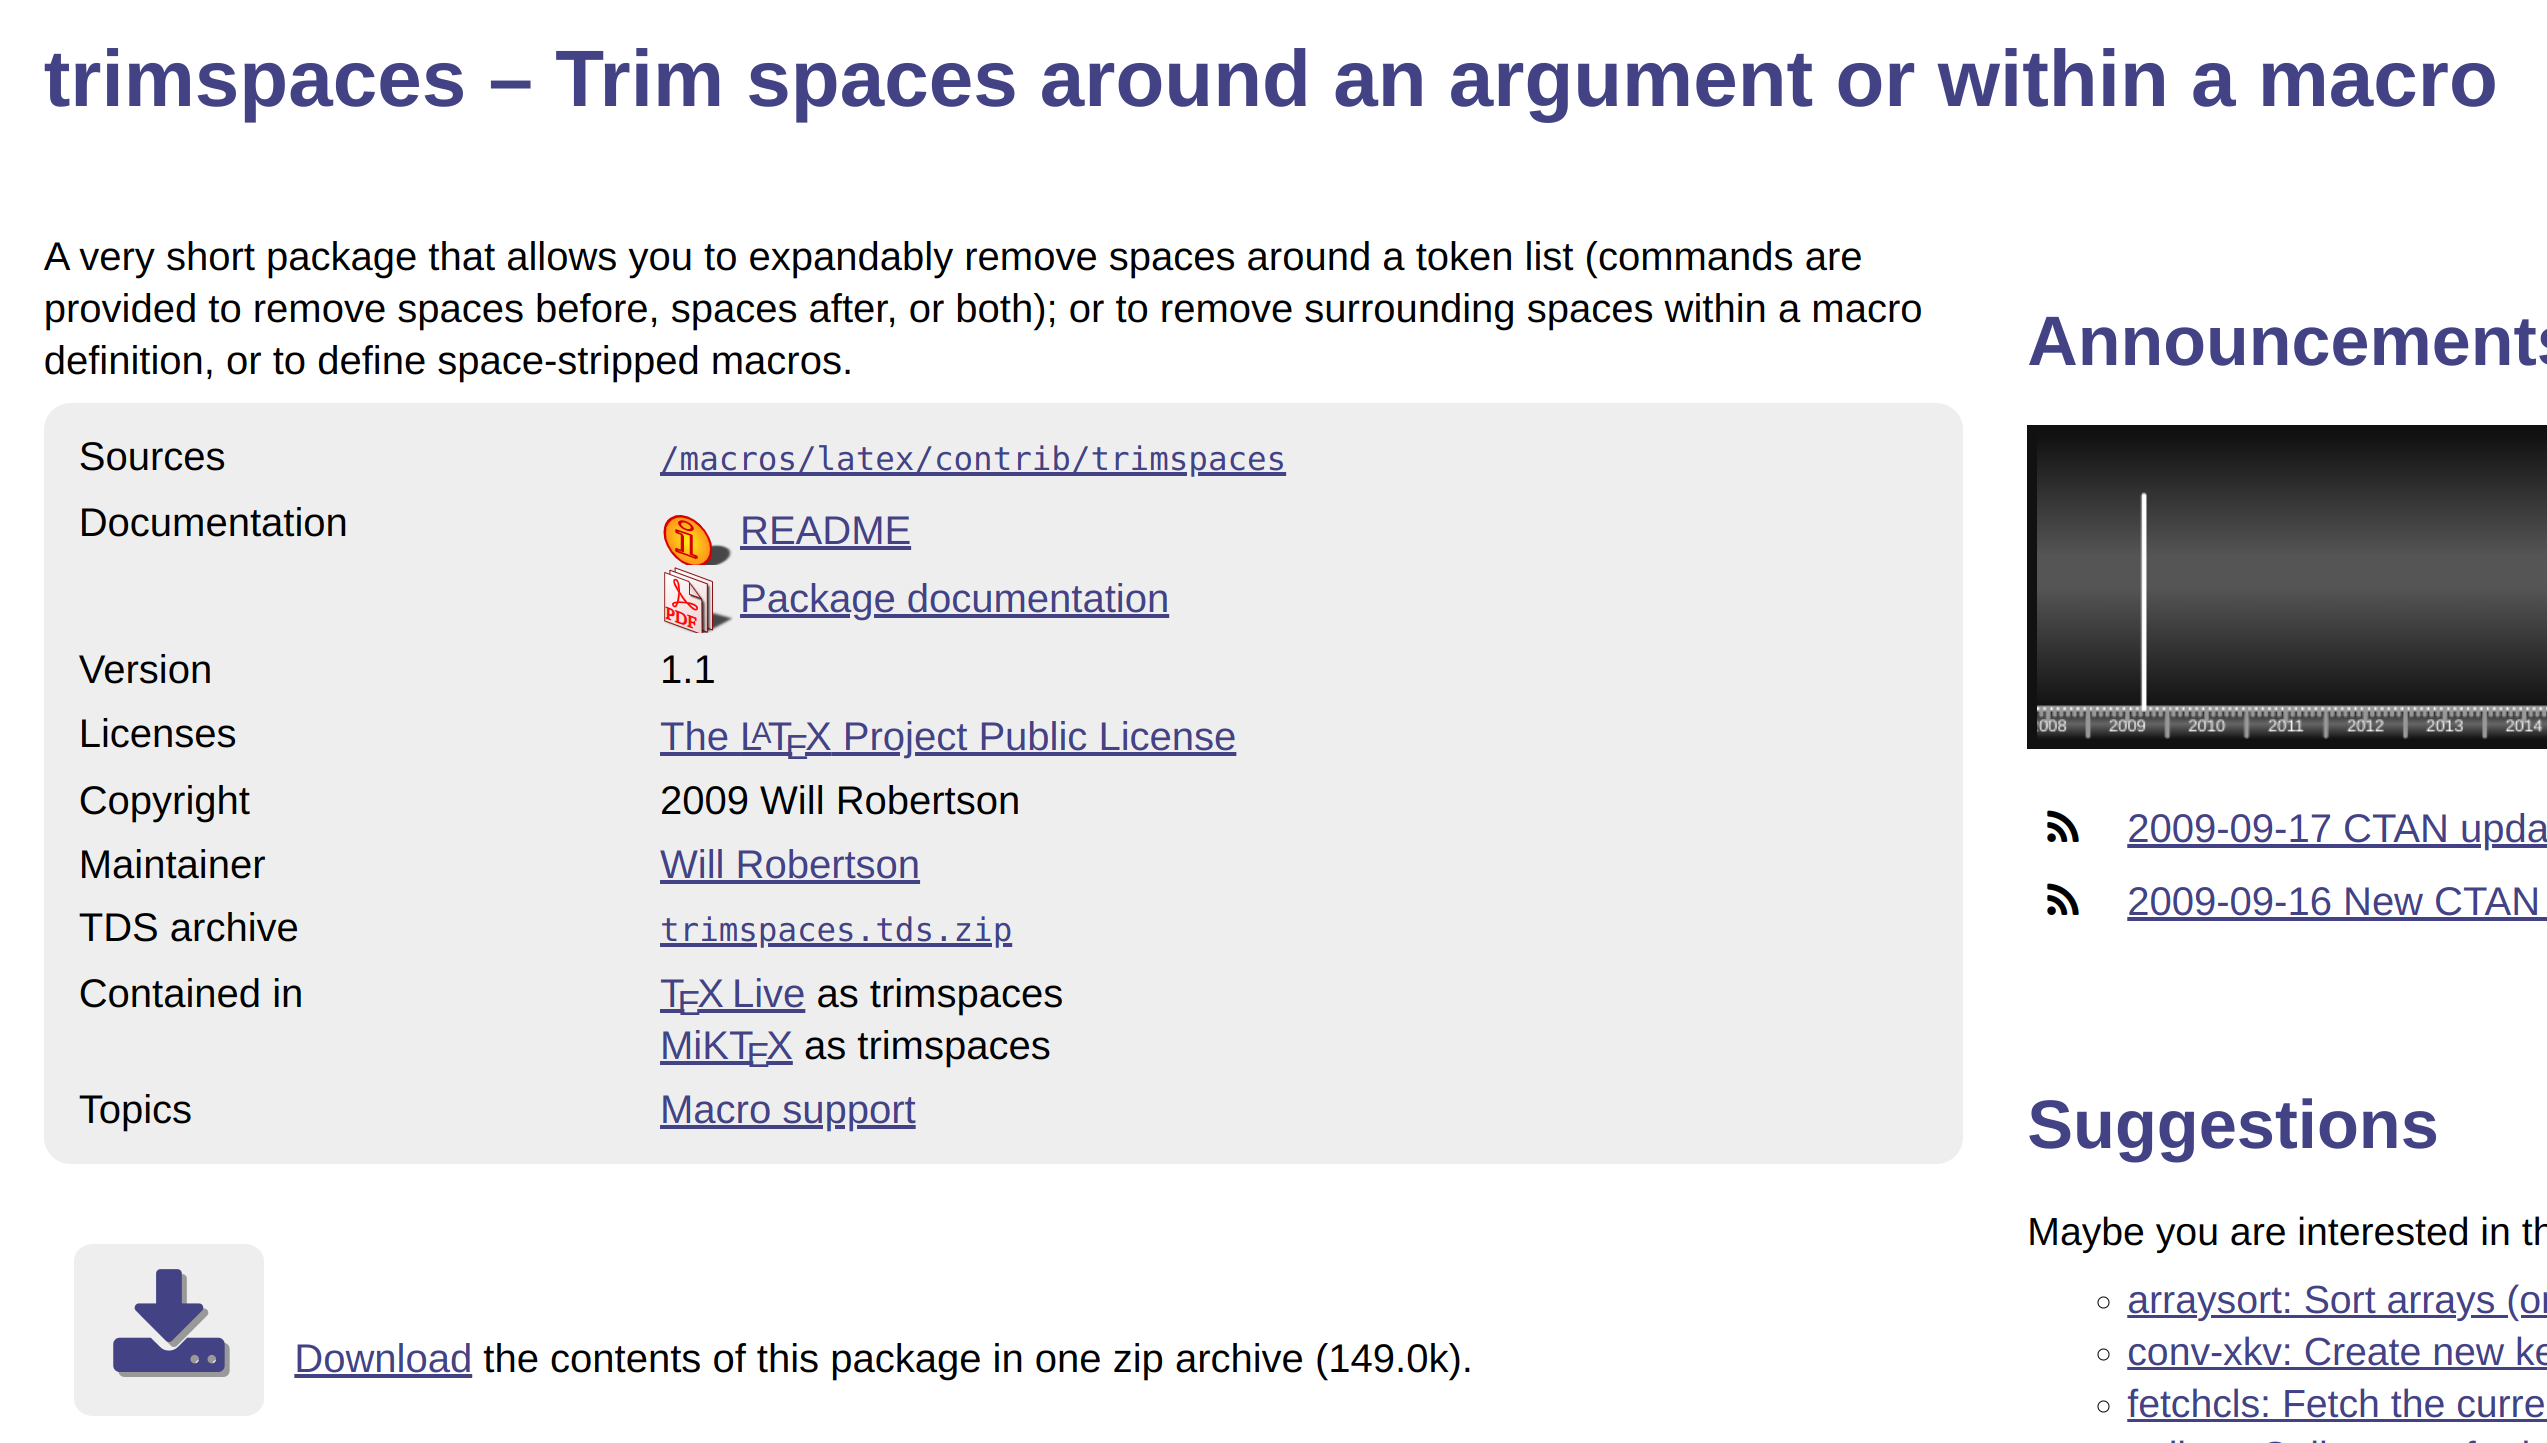
安装 trimspaces
关于trimspaces,直接下载tds archive,而不是用下面那个download。
安装 bbm and doublestroke
需要指示函数即(\mathds{1} or \mathbbm{1}),发现需要包 doublestroke 或者 bbm-macros (用上述的查找方法)。从网上找了圈发现没有合适的解决方案,因为之前一直都是需要哪个包就手动安装哪个包,因此比较难找到解决方案。
后来在 /usr/share/texlive/texmf-dist/fonts/tfm 目录下注意到有个 jknappen 包 (因为报错内容是 Font U/dsrom/m/n/10.95=dsrom10 at 10.95pt not loadable: Metric (TFM) file not found,所以就搜到了tfm目录)。所以搜索了下 jknappen 包的位置。

本着破罐子破摔的原则,就尝试把 bbm 或者 doublestroke 拷贝到了三个位置。
sudo cp -r bbm /usr/share/texlive/texmf-dist/fonts/tfm/
sudo cp -r bbm /usr/share/texlive/texmf-dist/fonts/source/
sudo cp -r bbm /usr/share/texlive/texmf-dist/tex/latex/
再用 sudo texhash 更新一下,结果就编译成功了。我本以为把bbm移除这几个位置就能够复现这个过程,结果不行,依旧可以成功编译,所以复现工作只能暂时搁置。
- 2024-05-04:可能关于字体的包都这么麻烦,最近遇到的包,包括 mathdesign,ptsans,inconsolata。不过好在这些字体包都可以通过上述的暴力法解决。其实有时候,直接安装
sudo apt-get install texlive-fonts-extra不失为一个好方法。
安装 needspace
同样也是mdframed需要的包,这个包则是直接下载 tds 文件,然后发现里面有 .sty 就直接安装上面的方法安装成功了。

Texstudio 使用
编译公式时
2024-07-18)如果把鼠标放在在公式中间(位置b),那么按F5编译后,pdf的位置有时就会变得诡异难测(大概上下一页的样子),每次都要往回翻一下,非常麻烦。然后我发现只要把鼠标放在公式的开头(位置a),那么F5后,pdf的位置就不会偏差那么大。
[位置a]\begin{align}
[位置b]a+b= c
\end{align}
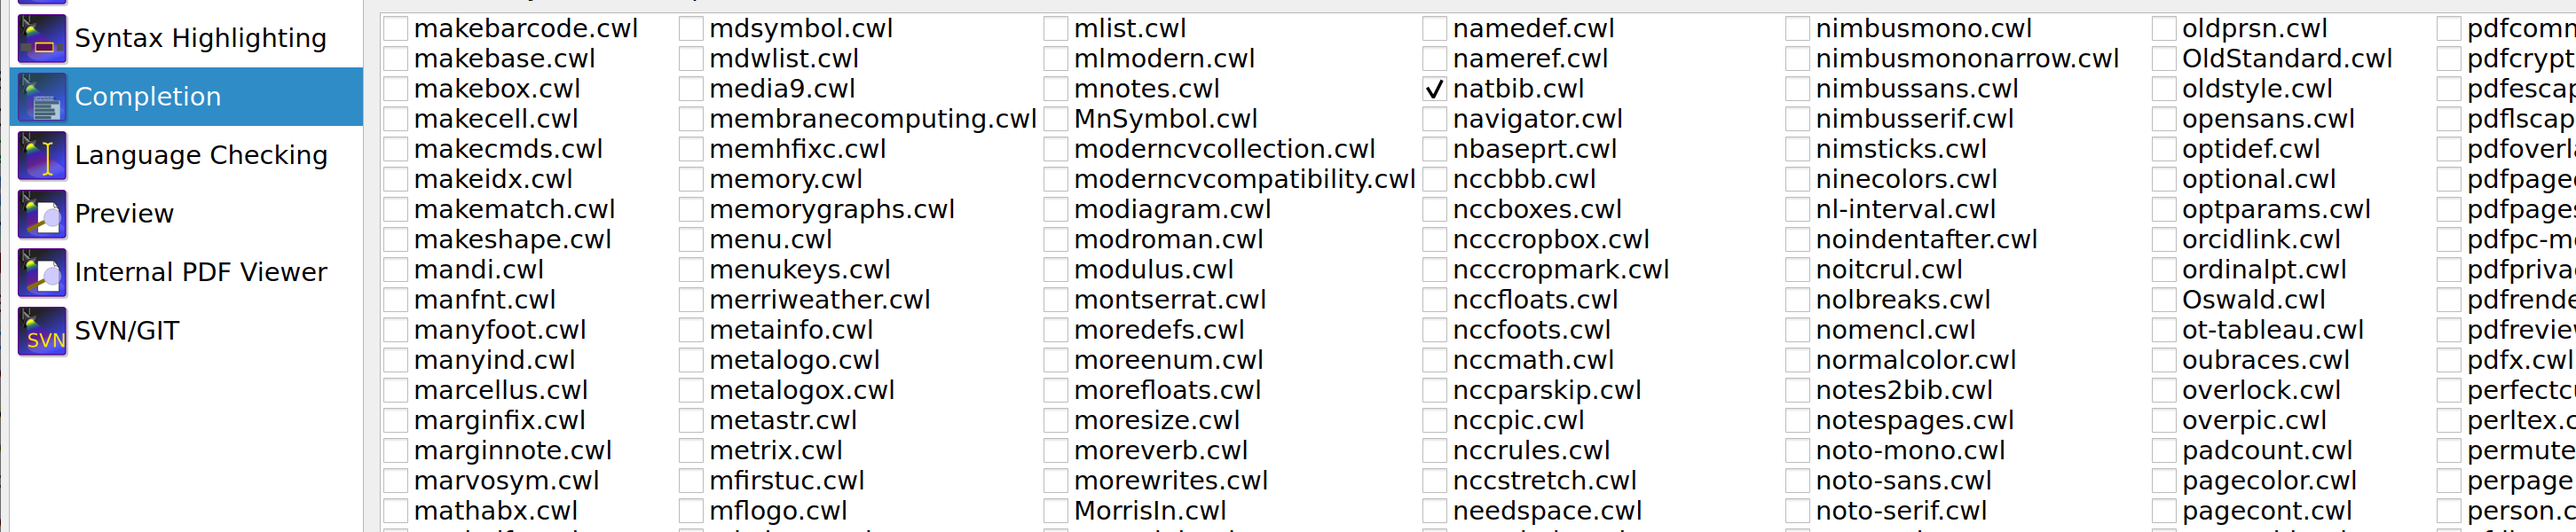
texstudio 不能识别(recognize)package
在texstudio中,可能存在安装了包之后,能够正常运行,但texstudio不能识别它,例如\citep(),根据 Citep or citet does not display references list?,在options -> configure texstudio -> completion 中,勾选相应的.cwl文件即可,例如natbib.cwl。


 2969
2969


 被折叠的 条评论
为什么被折叠?
被折叠的 条评论
为什么被折叠?
 到【灌水乐园】发言


