


Typora 很好用。尽管我在2022年使用了几个月的 marktext。因为我最常用的是源代码模式和github主题,本文的自定义主要会针对这两个模式。
源代码模式
调节源代码模式的宽度和主题的宽度
在preferences下找到
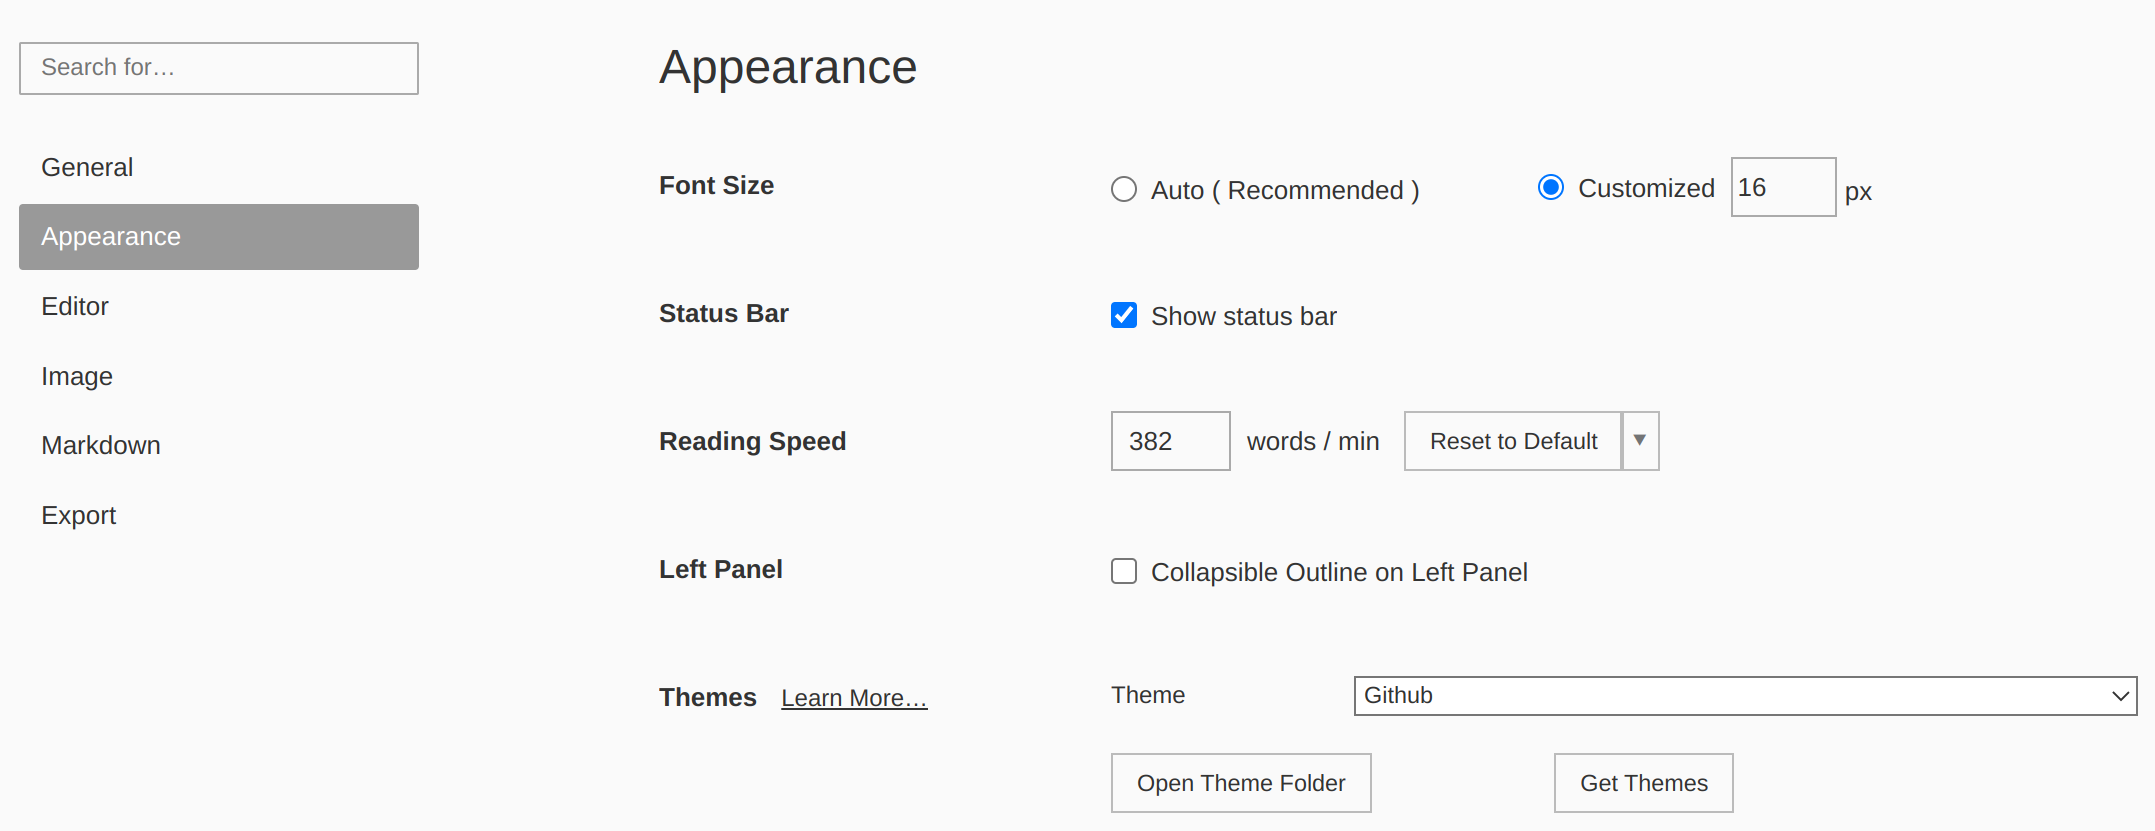
打开主题文件夹,然后新建一个 base.user.css 文件,然后添加
#write {
  max-width: 80%; /*adjust writing area position*/
}

/*源代码模式*/
#typora-source .CodeMirror-lines {
  max-width: 90%; /*or 1000px*/
}
修改后的参数就可以应用到所有主题。


Add Custom CSS
markdown - Increase the editor width or viewable area in Typora - Stack Overflow
隐藏或者显示行号
在我询问了chatgpt后,依然无法得到有效的答案后(尽管近乎90%地接近了,遗憾的是具体我忘了),我搜索了typora的 issue,还算幸运地找到了答案 Display line numbers in source code mode on all lines。在base.user.css 文件里添加
#typora-source .CodeMirror-linenumber {
visibility: visible !important;
}
当然,同理可以得到隐藏行号的方法(这也是问chatgpt的,我对css并不熟悉)
#typora-source .CodeMirror-linenumber {
    visibility: hidden !important;
}
减少白边
在typora中,一个非常令人郁闷的是,在源代码模式中,这左边的白边太大了(注意下面是一张白色的图片)。关于这个问题我在这里找到了答案,总之非常凑巧,我一度以为解决不了。

#typora-source .CodeMirror-lines {
  padding: 2px 2px;
  max-width: 96%; /*or 1000px*/
}
Github主题
还是在 base.user.css 文件中添加,必要时删掉github主题中对应的部分。
将表格宽度设置为根据内容进行调整
在github主题中,我发现表格内容如果太短,表格默认长度很长,那么就会显得非常奇怪,所以调整了宽度为自动(只要把原始的github主题提供给chatgpt,然后让它帮忙回答就可以)。

table {
    padding: 0;
    word-break: initial;
    width: auto; /* Set width to auto to let it fit the content*/
}
修改字体
将英文字体修改为Times New Roman, 中文字体修改为宋体(SimSun)

最终我选择了中英文都用微软雅黑 ‘Microsoft YaHei’ 🐶。
修改表格样式
因为有了ChatGPT后,很多代码我都是直接问它得到的,就算不正确,也能给出很多启发。因为原始的表格样式我太欣赏,比较欣赏openreview的表格样式,于是我半自己半chatgpt地得到了如下样式。
/* customize table according to https://openreview.net/ */
table {
    padding: 0;
    word-break: initial;
    width: auto;
}
table th {
    font-weight: bold;
    margin: 0;
    padding: 3px 13px;
}
table td {
    margin: 0;
    padding: 3px 13px;
}
table thead tr {
    border-top: 0px solid black;
    border-bottom: 0;
}
table tbody tr {
    border-top: 1px solid lightgray;
    border-bottom: 1px solid lightgray;
}
table tbody tr:first-child {
    border-top: 2px solid gray;
}
table tbody tr:last-child {
    border-bottom: 0px solid black;
}
就变成了
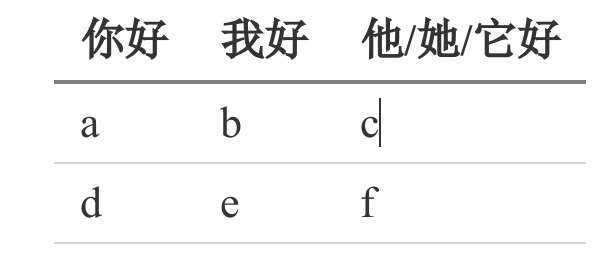
Markdown 使用
惊奇地发现图片可以直接当作表格单元格的内容,非常美观。


 1万+
1万+


 被折叠的 条评论
为什么被折叠?
被折叠的 条评论
为什么被折叠?
 到【灌水乐园】发言


