


关键字: ADF BC,AM,EO,VO,定义,实现,初始化
开发环境:JDeveloper 11.1.1.3.0
1, 测试代码介绍
基于HR Schema,创建Employees、Departments表的EO、VO对象。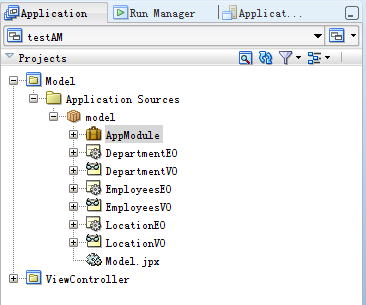
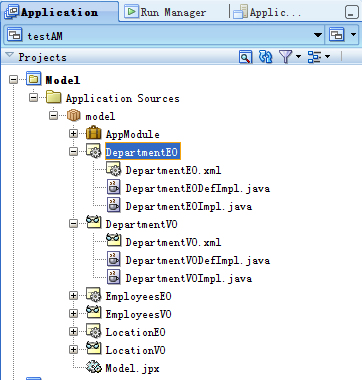
2, 创建DepartmentEO,DepartmentVO, EmployeeEO, EmployeeVO的定义类和对象类。
3,在类中添加输出信息
例如:
public AppModuleImpl() {
        System.out.println("create application module instance impliment...");
}
4, 运行业务组件浏览器
得到测试结果如下:
create applicaton moduledefination...
create application moduleinstance impliment...
employee VO defination...
employee eo defination ...
employee VO instance ...
department VO defination
department EO impliment
department VO impliment
5, 修改ViewUsage顺序,再次测试
不同VO的初始化顺序不会和AM实现类中的getXXXVO顺序一致,而是与AM的XML定义中的‘ViewUsage’的定义顺序一致。
create applicaton moduledefination...
create application moduleinstance impliment...
department VO defination
department EO impliment
department VO impliment
employee VO defination...
employee eo defination ...
employee VO impliment ...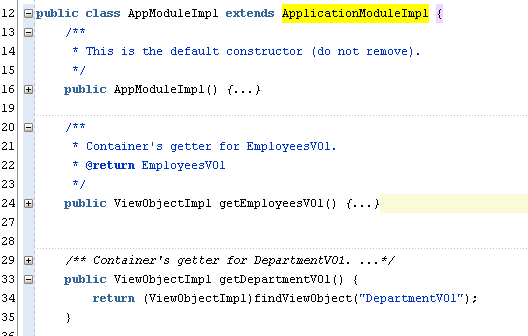

6, 运行页面
1)保持EmployeeVO的使用早于DepartmentVO的使用的情况下,运行Departments.jspx页面。结果如下。
createapplicaton module defination impliment...
createapplication module instance impliment...
employeeVO defination...
employeeeo defination ...
employeeVO impliment ...
departmentVO defination
departmentEO impliment
departmentVO impliment
… …2)接着运行Employees.jspx页面:
create application module instanceimpliment...
employee VO impliment ...
department VO impliment
employee EO instance ...
employee EO instance ...
employee EO instance ...
… …3)等待页面超时,Session无效后再打开,此时AM实例没有超时:
employee VO impliment ...
department VO impliment
employee EO instance ...
employee EO instance ...
employee EO instance ...
… …4)在AM超时后:
<StateManagerImpl><restoreView>无法为标记 etzaygn6g 找到保存的视图状态
employee VO impliment ...
department VO impliment
employee EO instance ...
employee EO instance ...
employee EO instance ...
… …7, 总结
1) 在第一次打开ADF页面的时候,初始化AM、EO、VO的定义;顺序是AM,VO,EO。
2) VO对象类的初始化晚于EO的定义,晚于VO的定义。
3) EO对象类对应的是table中的一行数据,所以log中打印出多行EO对象类的初始化。并且,EO对象类的初始化晚于VO对象类的初始化。
4) 不同VO的初始化顺序定义在AppModule.xml文件中,同‘ViewUsage’的顺序。
5) 在页面Session失效后,再次打开页面,只进行了VO对象类的初始化。AM、EO、VO的定义类并没有重新初始化。
6) 默认,AM实例的time out时间是600s。AM超时后,AM、EO、VO的定义类也没有重新初始化,说明这些类的初始化只进行了一次,是在ADF应用部署完成后的首次访问。
8,测试代码下载


 被折叠的 条评论
为什么被折叠?
被折叠的 条评论
为什么被折叠?
 到【灌水乐园】发言


