


Angular 8 自定义指令@Directive使用
一、概述
所谓指令就是用于改变一个DOM元素的外观或行为,Angular8为我们封装了很多的内置指令,项目中也无时无刻不在使用指令,Angular8中有三类指令
1.1、结构型指令
通过添加和移除 DOM 元素改变 DOM 布局的指令,例如:Ngif和Ngfor
1.2、属性型指令
改变元素、组件或其它指令的外观和行为的指令,例如:NgClass
1.3、组件(模板指令)
组件是一个模板指令,相信大家都很熟悉
二、实例
2.1、创建自定义指令
通过操作命令新建directive文件

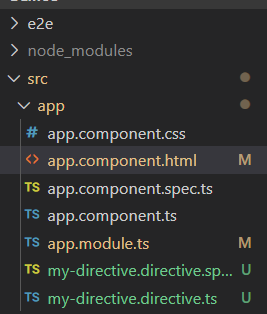
此时的文件结构,初始my-directive.directive.ts如下:
import { Directive } from '@angular/core';

@Directive({
  selector: '[appMyDirective]'
})
export class MyDirectiveDirective {

  constructor() { }

}
在这里要说明一下, 此指令作用:在输入框输入值时,如果值中包含空格,我们把空客去掉。
my-directive.directive.ts
import { Directive, ElementRef, HostListener } from '@angular/core';

@Directive({
  selector: '[appMyDirective]'
})
export class MyDirectiveDirective {

  constructor(public elementRef: ElementRef) { }
  @HostListener('keyup', ['$event.target'])
  keyupFun(evt) {
    if (evt.value) {
      console.log(this.elementRef);
      this.elementRef.nativeElement.value = evt.value.trim();
    }
  }

}
我们通过import从core库中导入Directive,HostListener,ElementRef的引入,下面我们分别来看看的作用。
Directive
用于@Directive装饰器功能,用于定义这个class是一个指令,通过@Directive修饰这样就拥有了指令的功能,我们在元组中声明selector属性值为[appMyDirective],方括号的写法表示是一个属性指令 还有以下几种写法:
element-name: 使用元素名称选择
.class: 使用类名选择
[attribute]: 使用属性选择
[attribute=value]:使用属性和值选择
:not(sub_selector):只有当元素与sub_selector不匹配时才选择
selector1,selector2:选择择selector1或selector2 这里我们采用属性的方式指定选择器。
这里我们采用属性的方式指定选择器,在页面的使用是这样的
@Directive({
  selector: '[appMyDirective]'
})
在模版中使用的时候,直接写appMyDirective
<input type="text" id="name" appMyDirective>
如果你使用类名选择
<input type="text" id="name" class="appMyDirective">
其他方式不再详说。
HostListener
HostListener 是属性装饰器,用来为宿主元素添加事件监,类似于我们原生JavaScript的addEventListener。 这里我们监听了keyup事件(还可以定义原生JavaScript中的其他事件),当表单中有输入的时候我们就会调用方法,传递了一个$event对象进去,后面紧跟我们触法keyup事件的方法体。
 @HostListener('keyup', ['$event.target'])
  keyupFun(evt) {
    if (evt.value) {
      console.log(this.elementRef);
      this.elementRef.nativeElement.value = evt.value.trim();
    }
  }
ElementRef(注意:需要在构造函数中注入进去)
用于获取获取DOM节点相关的属性
这里我们当我们在页面表单输入的时候,会调用keyupFun方法,首先判断是否有值输入,有的情况下,我们通过传递进来的evt获取表单的value值,在调用trim()方法去除空格,赋值给elementRef.nativeElement.value渲染到页面。
2.2、声明指令
指令写好之后还要在app.module的declarations中声明才能生效
import { BrowserModule } from '@angular/platform-browser';
import { NgModule } from '@angular/core';

import { AppComponent } from './app.component';
import { MyDirectiveDirective } from './my-directive.directive';

@NgModule({
  declarations: [
    AppComponent,
    MyDirectiveDirective
  ],
  imports: [
    BrowserModule
  ],
  providers: [],
  bootstrap: [AppComponent]
})
export class AppModule { }
2.3、模板文件(组件)引用指令
app.component.html
<h1>Angular 8 自定义指令@Directive使用</h1>
<label for="name">姓名</label>
<input type="text" id="name" appMyDirective>
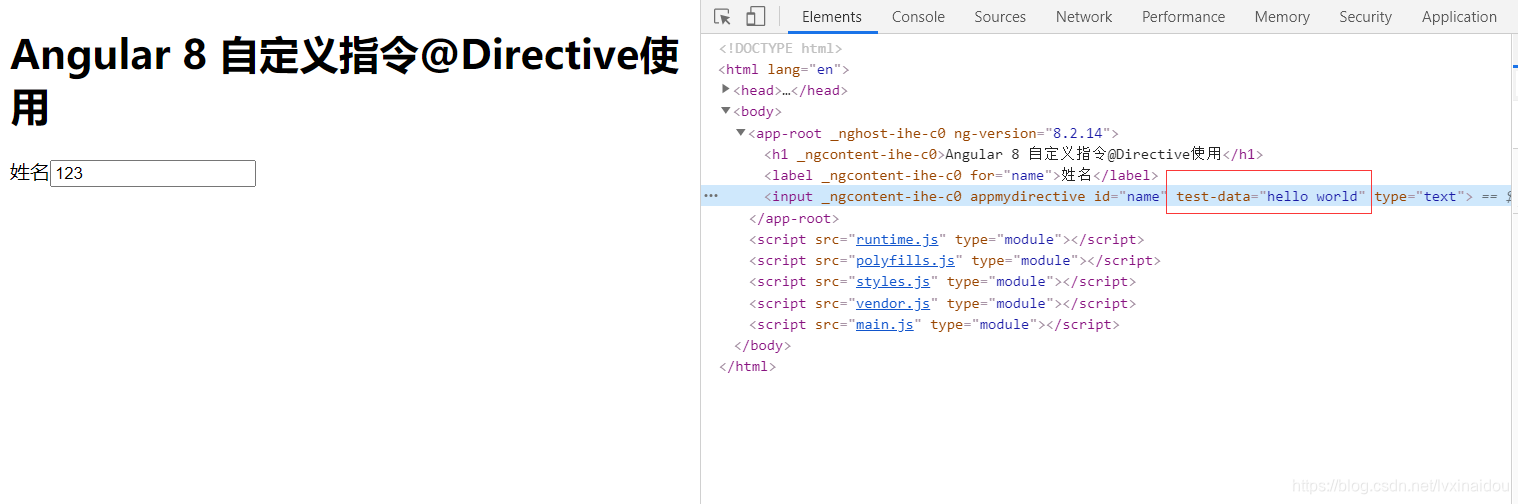
2.4、运行效果

三、扩展
| 选项 | 说明 |
|---|---|
| selector | 这个 CSS 选择器用于在模板中标记出该指令,并触发该指令的实例化。 |
| inputs | 列举某个指令的一组可供数据绑定的输入属性。 |
| outputs | 列举一组可供事件绑定的输出属性。 |
| providers | 一组依赖注入令牌,它允许 DI 系统为这个指令或组件提供依赖。 |
| exportAs | 定义一个名字,用于在模板中把该指令赋值给一个变量。 |
| queries | 配置一些查询,它们将被注入到该指令中。 |
| host | 使用一组键-值对,把类的属性映射到宿主元素的绑定(Property、Attribute 和事件)。 |
| jit | 如果为 true,则该指令/组件将会被 AOT 编译器忽略,始终使用 JIT 编译。 |
3.1、host
这里如果我们不采用HostListener属性装饰器来监听事件,我们可以在指令的 metadata 信息中,设定宿主元素的事件监听信息,具体示例如下:
import { Directive, ElementRef, HostListener } from '@angular/core';

@Directive({
  selector: '[appMyDirective]',
  host: {
    '(keyup)' : 'keyupFun($event.target)'
  }
})
export class MyDirectiveDirective {

  constructor(public elementRef: ElementRef) { }
  keyupFun(evt) {
    if (evt.value) {
      console.log(this.elementRef);
      this.elementRef.nativeElement.value = evt.value.trim();
    }
  }
}
这种方式的实现效果跟上面是一样,这里不仅可以是监听事件,还可以自定义属性,看看下面代码:
@Directive({
  selector: '[appMyDirective]',
  host: {
    '(keyup)' : 'keyupFun($event.target)',
    'test-data': 'hello world'
  }
})
3.2、其他
inputs、outputs、exportAs、providers、queries、jit暂时未使用过。


 133
133


 被折叠的 条评论
为什么被折叠?
被折叠的 条评论
为什么被折叠?
 到【灌水乐园】发言


