


系统是centots8, crowd版本为5.0.6, 6版本以上就不支持jdk8了
开始部署
1、安装java环境,默认为1.8版本
dnf install java -y2、下载crowd压缩包
mkdir -pv /data/crowd
cd /data/crowd
wget https://www.atlassian.com/software/crowd/downloads/binary/atlassian-crowd-5.0.6.tar.gz
3、下载破解包
cd /data/crowd
wget https://github.com/nineaiyu/atlassian-agent/releases/download/v1.0.0/atlassian-agent.jar
4、解压安装
cd /data/crowd
tar xvf atlassian-crowd-5.0.6.tar.gz
5、添加home目录
mkdir -pv /data/crowd/crowd-home
6、修改配置文件,并指向该目录
vi /data/crowd/atlassian-crowd-5.0.6/crowd-webapp/WEB-INF/classes/crowd-init.properties

# 添加配置如下:
crowd.home=/data/crowd/crowd-home
7、创建crowd用户,并启动
useradd --create-home --comment 'Account for running Crowd Software' --shell /bin/bash crowd
chown -R crowd.crowd /data/crowd/
8、启动服务
su - crowd
export JAVA_HOME=/usr/java/latest/

export LIB_PATH="/data/crowd/atlassian-crowd-5.0.6/crowd-webapp/WEB-INF/lib/"
export JAVA_OPTS="-javaagent:/data/crowd/atlassian-agent.jar=${LIB_PATH}"

cd /data/crowd/atlassian-crowd-5.0.6
sh start_crowd.sh
9、web访问,浏览器打开 ip:8095端口,服务默认是8095端口
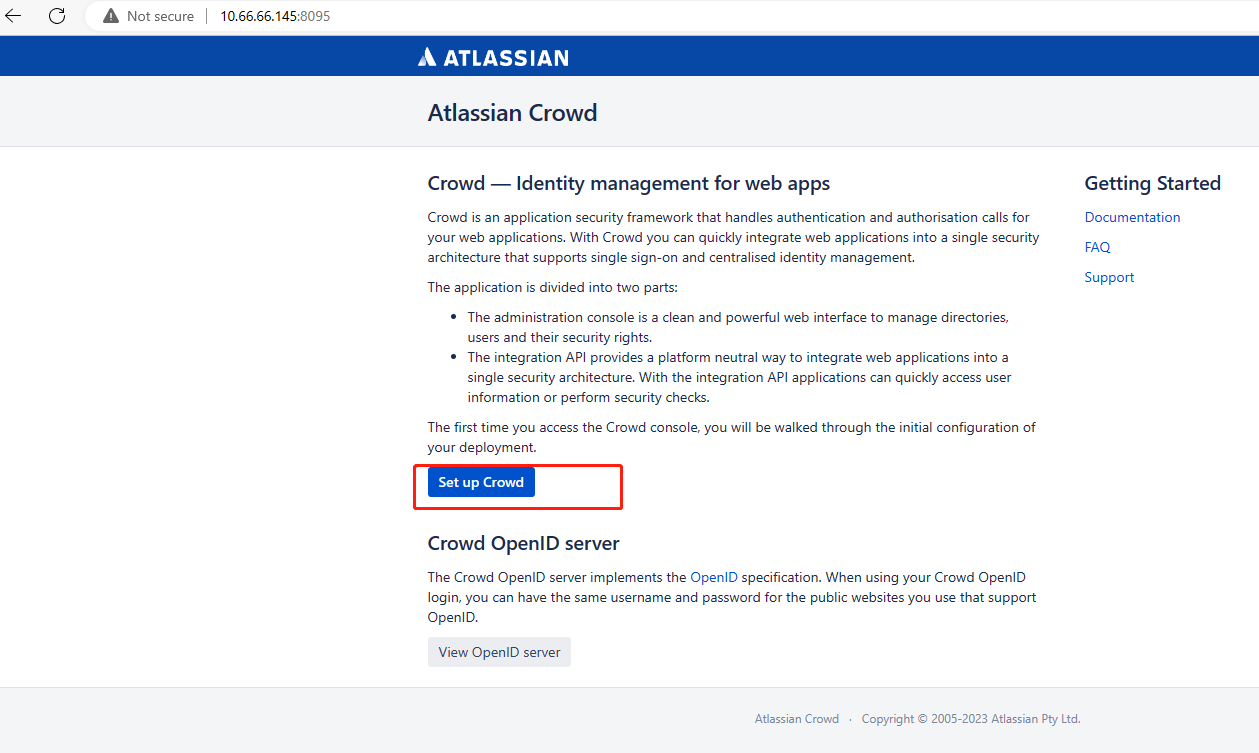
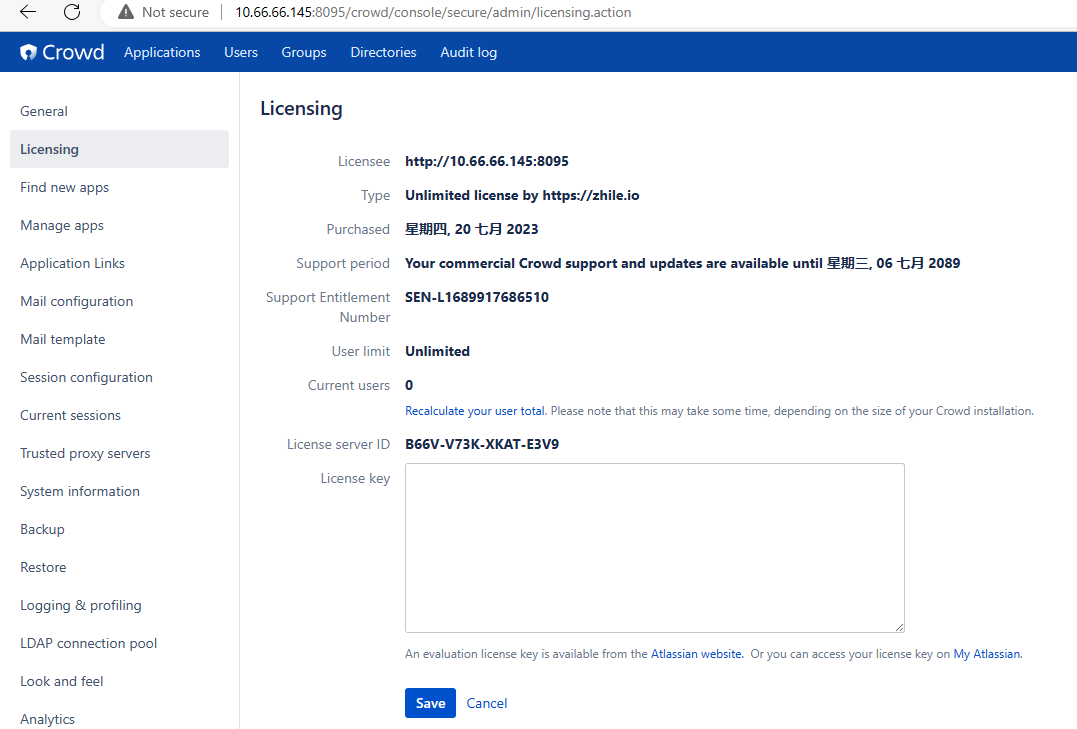
10、激活,在服务器输出下面命令

cd /data/crowd/
java -jar atlassian-agent.jar -m 'crowd@qq.com' -p crowd  -o 'htp://10.66.66.145:8095' -stp://10.66.66.145:8095' -s 'B66V-V73K-XKAT-E3V9'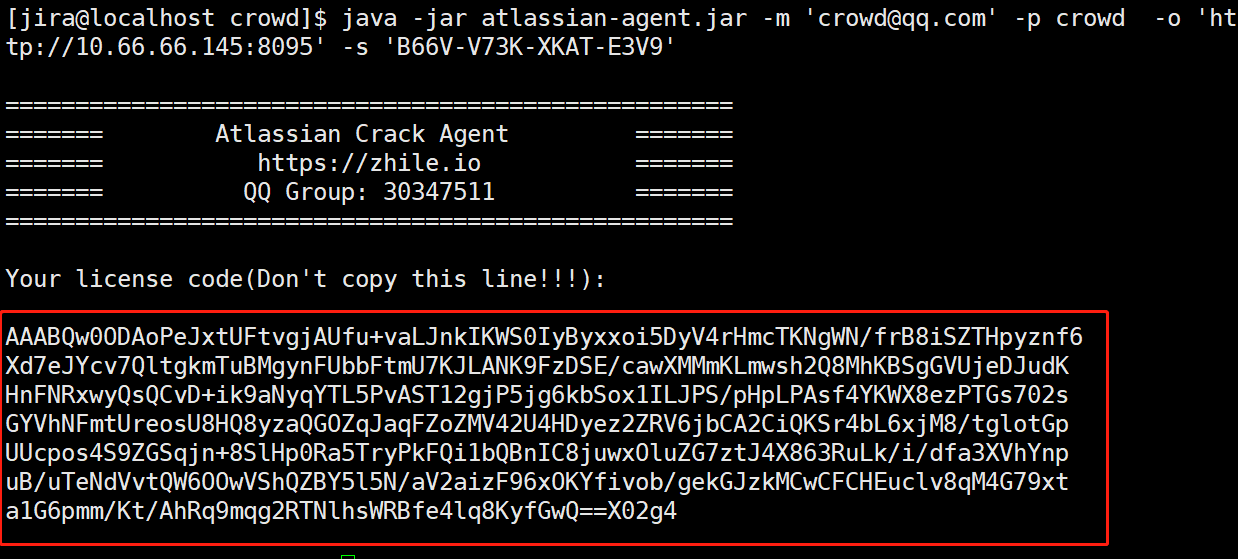
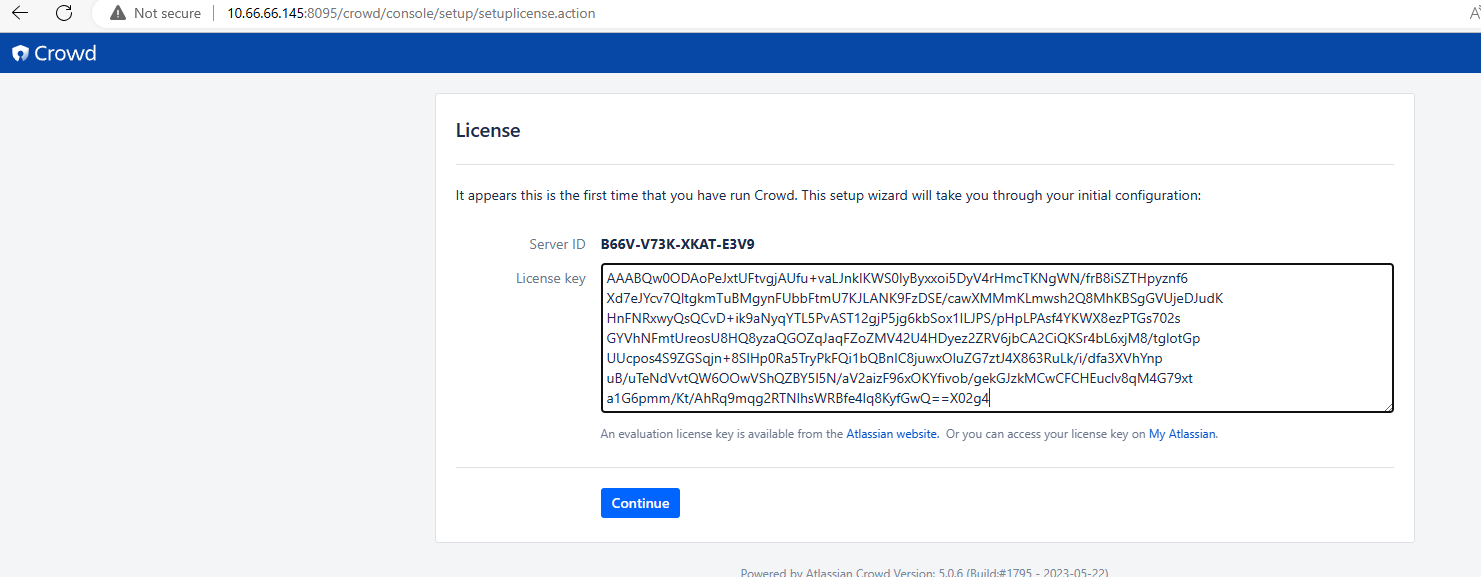
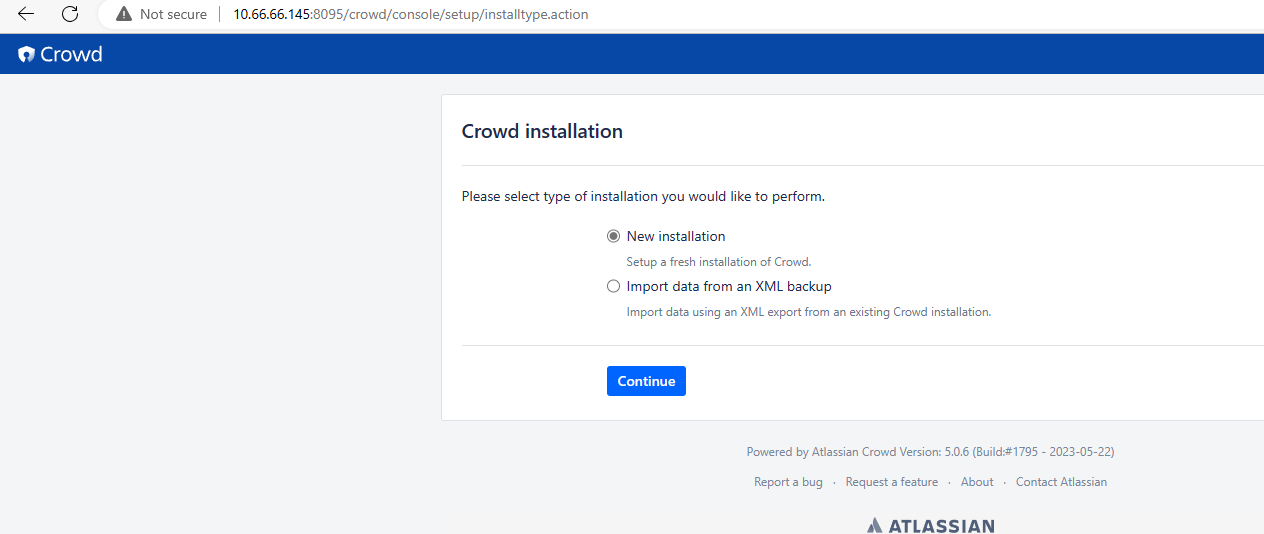
登录之后,可以看到已经激活
本次未使用数据库服务,如果要使用数据库,请参考文档:Connecting Crowd to a Database | Crowd Data Center and Server 5.1 | Atlassian Documentation
官方安装文档参考:Installation and Upgrade Guide | Crowd Data Center and Server 5.1 | Atlassian Documentation


 2522
2522

 被折叠的 条评论
为什么被折叠?
被折叠的 条评论
为什么被折叠?
 到【灌水乐园】发言


