


ElasticSearch是一个基于Lucene的搜索服务器。它提供了一个分布式多用户能力的全文搜索引擎,基于RESTful web接口,同时也可以作为一个近实时的数据存储系统。接下来我们快速安装一个集群模式的ES. ## 1.安装JDK1.8
mv jdk-8u301-linux-x64.tar.gz /usr/local/
cd /usr/local/
tar -xzvf jdk-8u301-linux-x64.tar.gz
修改配置/etc/profile配置文件,加上如下配置
export JAVA_HOME=/usr/local/jdk1.8.0_30
export PATH=$PATH:/usr/local/jdk1.8.0_30/bin
2.配置ES主服务器
 mkdir /app/soft/ -p
 cd /app/soft/
 wget https://artifacts.elastic.co/downloads/elasticsearch/elasticsearch-6.4.3.tar.gz
 tar -xzvf elasticsearch-6.4.3.tar.gz
修改elasticsearch.yml配置文件,elasticsearch绑定地址0.0.0.0,即可远程访问
cluster.name: my-application
node.name: node-1
network.host: 0.0.0.0
添加es用户,命令:
useradd es
给es用户授文件夹权限,命令
chown es:es elasticsearch-6.4.3 -R
vi /etc/security/limits.conf
加入下面4行,修改软连接数和硬连接数目 *号代表全局域
*                soft    nofile          65536
*                hard    nofile          65536
*                soft    noproc          65536
*                hard    noproc          65536
vi /etc/security/limits.d/90-nproc.conf 修改如下字段
* soft nproc 65536
一个进程可以拥有的VMA(虚拟内存区域)的数量太少了,至少要262144,修改文件
命令:vi /etc/sysctl.conf
增加内容为:
vm.max_map_count=262144
切换es用户,运行es
 su - es
 cd /app/soft/elasticsearch-6.4.3
./bin/elasticsearch
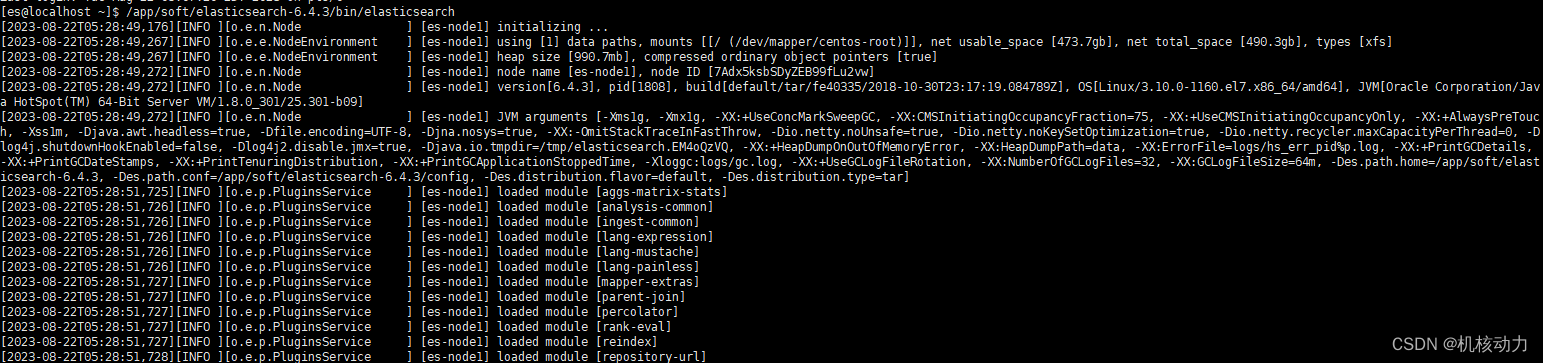
启动没问题后,我们安装elasticsearch-head
修改 elasticsearch.yml //加上如下配置
http.cors.enabled: true
http.cors.allow-origin: "*"
配置加载完成后,重启ES。
接下来安装nodejs,然后下载elasticsearch-head源码
curl -sL -o /etc/yum.repos.d/khara-nodejs.repo  https://copr.fedoraproject.org/coprs/khara/nodejs/repo/epel-7/khara-nodejs-epel-7.repo
yum install -y nodejs nodejs-npm
yum -y install bzip2 git
cd /app/soft/
git clone git://github.com/mobz/elasticsearch-head.git
cd elasticsearch-head
npm install
npm run start

3.配置ES的集群模式
重新配置上面node1节点的配置文件
先用root用户创建数据目录
mkdir -p /app/soft/esdata ; chown es:es /app/soft/esdata -R
vi /app/soft/elasticsearch-6.4.3/config/elasticsearch.yml
#这是集群名字,起名为 elasticsearch。es启动后会将具有相同集群名字的节点放到一个集群下。
cluster.name: elasticsearch
#节点名字
node.name: "es-node1"
#是否数据节点
node.data: true
#能选出master节点
node.master: true
#存放数据路径
path.data: /app/soft/esdata/node1/data
#存放日志路径
path.logs: /app/soft/esdata/node1/log
#指定集群中的节点中有几个有master资格的节点。对于大集群可以写3个以上。
discovery.zen.minimum_master_nodes: 2
#默认是3s,这是设置集群中自动发现其它节点时ping连接超时时间,为避免因为网络差而导致启动报错,我设成了40s。
discovery.zen.ping_timeout: 40s
#设置是否打开多播发现节点。
#discovery.zen.ping.multicast.enabled: false
#设置绑定的ip地址,这是我的master的IP。对外暴露
network.bind_host: 10.10.52.155
#设置其他节点和该节点交互的IP地址
#同时设置bind_host和publish_host上面两个参数
network.publish_host: 10.10.52.155
network.host: 10.10.52.155
#集群ip
discovery.zen.ping.unicast.hosts: ["10.10.52.155:9300", "10.10.52.156:9300"]
transport.tcp.port: 9300
http.port: 9200
# 是否支持跨域 head插件参数
http.cors.enabled: true
# *表示支持所有域名 head插件参数
http.cors.allow-origin: "*"
配置完成后,启动ES
/app/soft/elasticsearch-6.4.3/bin/elasticsearch
配置集群中的第二个数据节点10.10.52.156
配置改成这样
cluster.name: elasticsearch
node.name: "es-node2"
node.data: true
node.master: true
path.data: /app/soft/esdata/node1/data
path.logs: /app/soft/esdata/node1/log
discovery.zen.minimum_master_nodes: 2
discovery.zen.ping_timeout: 40s
#discovery.zen.ping.multicast.enabled: false
network.bind_host: 10.10.52.156
network.publish_host: 10.10.52.156
network.host: 10.10.52.156
discovery.zen.ping.unicast.hosts: ["10.10.52.155:9300", "10.10.52.156:9300"]
transport.tcp.port: 9300
http.port: 9200
# 是否支持跨域 head插件参数
http.cors.enabled: true
# *表示支持所有域名 head插件参数
http.cors.allow-origin: "*"
配置完成后,启动ES
/app/soft/elasticsearch-6.4.3/bin/elasticsearch
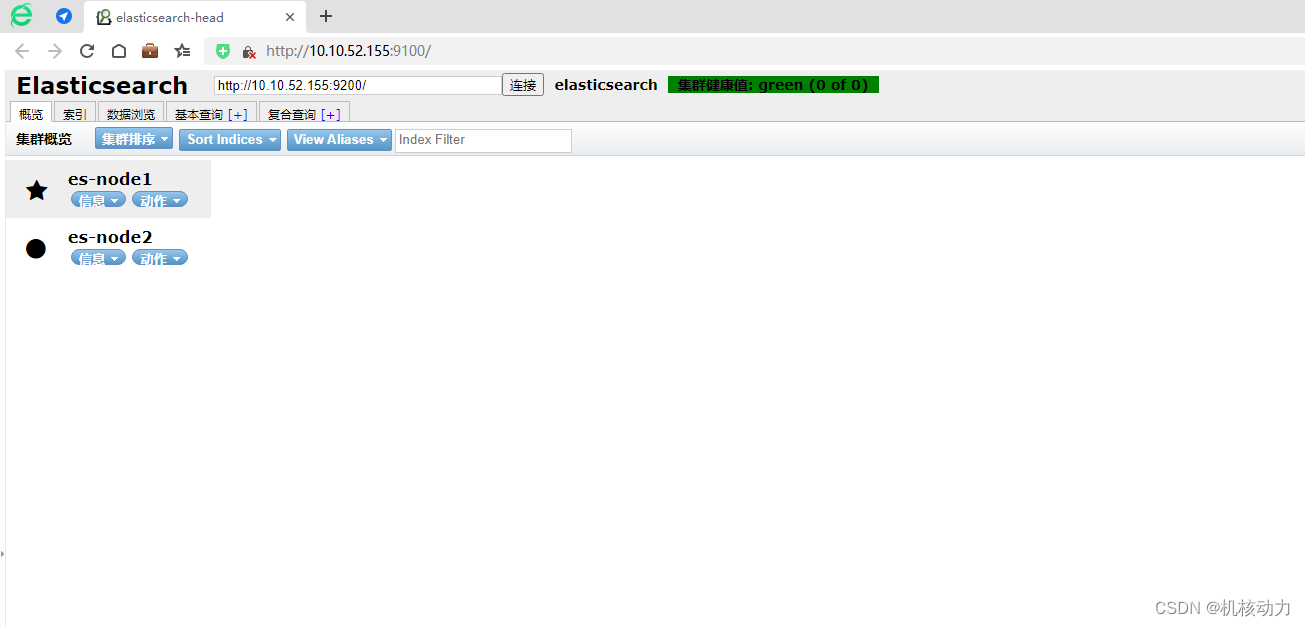
再按上面的步骤重启elasticsearch-head,用浏览器访问9100端口,并且连接http://10.10.52.155:9200/这个ES集群,这样就可以看到集群的当前状态了。


 2852
2852


 被折叠的 条评论
为什么被折叠?
被折叠的 条评论
为什么被折叠?
 到【灌水乐园】发言


