


目录
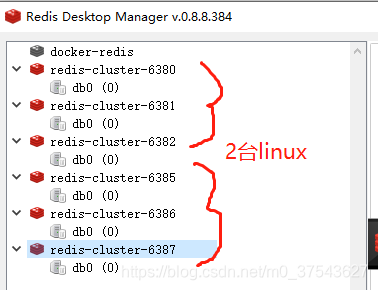
搭建redis的cluster集群:2台linux系统的服务器(docker实现),每台服务器创建3个redis服务器,共6台redis服务器:3主3从。
step1:解压redis-6.0.6.tar.gz
tar -zxvf redis-6.0.6.tar.gz
step2:编译make
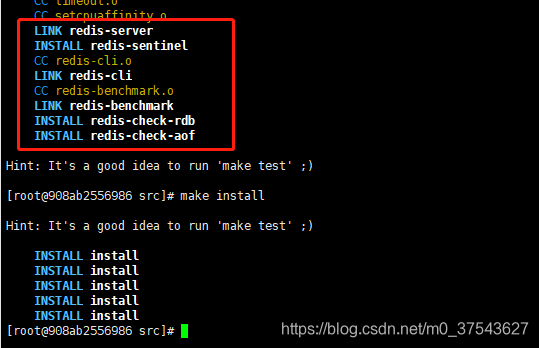
a. 进入./src目录下,命令:make
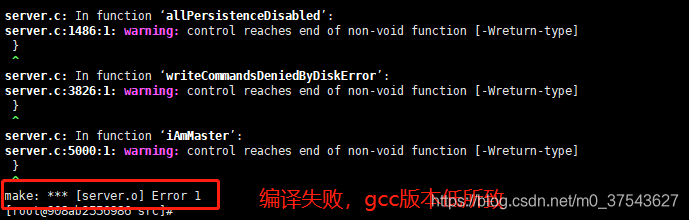
yum -y install centos-release-scl
yum -y install devtoolset-9-gcc devtoolset-9-gcc-c++ devtoolset-9-binutils
scl enable devtoolset-9 bash
#修改环境变量
echo "source /opt/rh/devtoolset-9/enable" >> /etc/profile
gcc -v
make
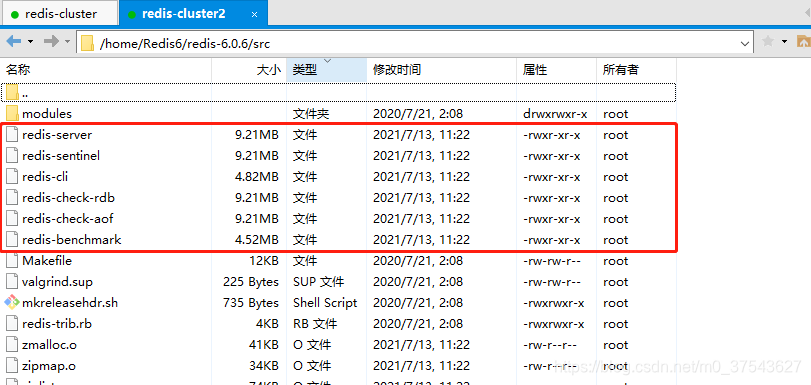
make installb. make成功后:./src下出现可执行文件
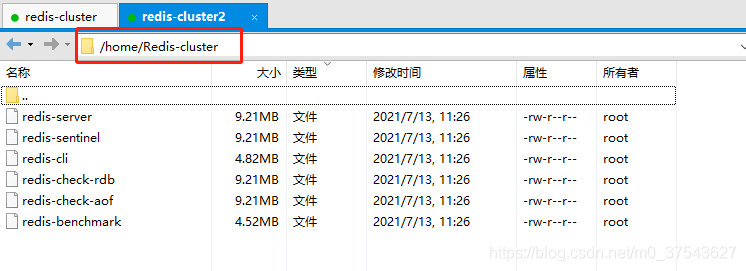
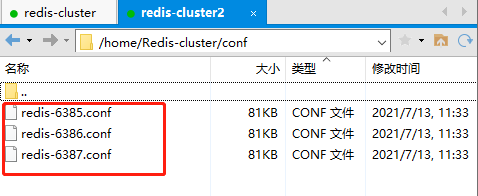
step3:复制编译后的文件
step4:修改配置文件
port  6379              //端口6382、6383、6384、6385、6386、6387
bind 本机ip             //默认ip为127.0.0.1 需要改为其他节点机器可访问的ip 否则创建集群时无法访问对应的端口,无法创建集群
requirepass abcdef      //密码
daemonize    yes        //redis后台运行
pidfile  /var/run/redis_6379.pid       //pidfile文件对应6382、6383、6384、6385、6386、6387
cluster-enabled  yes                   //开启集群  把注释#去掉
cluster-config-file  nodes_6379.conf   //集群的配置  配置文件首次启动自动生成不同端口的文件
cluster-node-timeout  15000            //请求超时  默认15秒,可自行设置
appendonly  yes                        //aof日志开启  有需要就开启,它会每次写操作都记录一条日志
appendfilename "appendonly6379.aof"    //aof文件
dbfilename dump6379.rdb                //rdb文件
masterauth abcdef                      //主从同步时auth密码,否则无法主从同步
# docker部署redis的配置
cluster-announce-ip 192.168.1.3        //docker外网地址
cluster-announce-port 6384             //集群端口
cluster-announce-bus-port 16384        //集群总线端口
step5:复制配置文件并修改
step6:不同配置启动redis服务
./redis-server ./conf/redis-6385.conf
./redis-server ./conf/redis-6386.conf
./redis-server ./conf/redis-6387.conf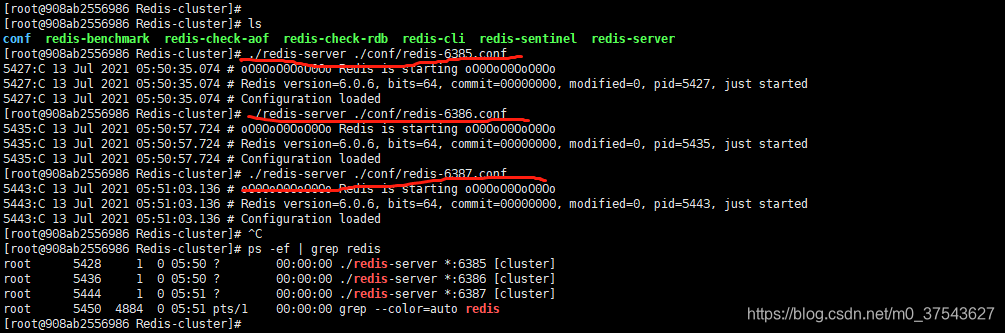
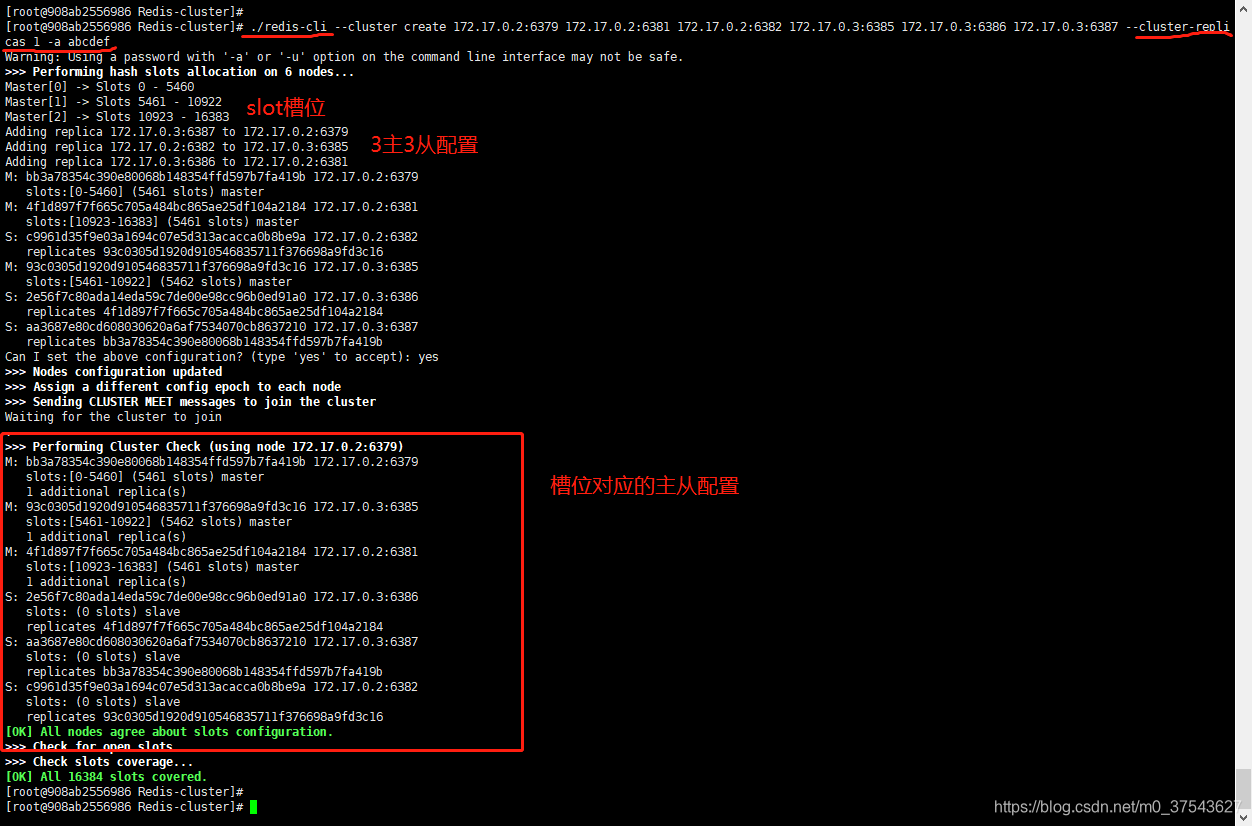
step7:创建cluster集群
./redis-cli --cluster create 172.17.0.2:6382 172.17.0.2:6383 172.17.0.2:6384 172.17.0.3:6385 172.17.0.3:6386 172.17.0.3:6387 --cluster-replicas 1 -a abcdef注意:
a. --cluster-replicas 1:创建3台服务器集群,且每个都有一个slave,3主3从;
b. -a abcdef:需要输密码,因为配置了requirepass abcdef的参数;
c. redis5之前linux需要安装:ruby和gem:yum -y install ruby ruby-devel rubygems rpm-build;gem install redis
step8:查看集群
redis-cli -h 127.0.0.1 -p 6385 -a abcdef cluster info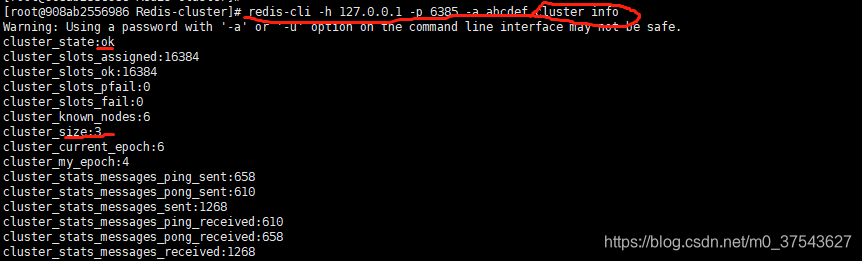
step9:验证集群
主:./redis-cli -h 172.17.0.3 -c -p 6385 -a abcdef
从:./redis-cli -h 172.17.0.2 -c -p 6382 -a abcdef


step10:创建启动脚本
q. 启动命令:cd /home/Redis-cluster
./redis-server ./conf/redis-6385.conf
b. 脚本实例startall.sh:
cd /home/redis-cluster
./redis-server ./conf/redis-6385.conf
cd /home/redis-cluster
./redis-server ./conf/redis-6386.conf
cd /home/redis-cluster
./redis-server ./conf/redis-6387.conf
step11:创建停止脚本
a. 停止命令:cd /home/Redis-cluster
./redis-cli -h 127.0.0.1 -p 6385 -a $1 shutdown
b. 脚本实例stopall.sh:
cd /home/redis-cluster
./redis-cli -h 127.0.0.1 -p 6385 -a $1 shutdown
cd /home/redis-cluster
./redis-cli -h 127.0.0.1 -p 6386 -a $1 shutdown
cd /home/redis-cluster
./redis-cli -h 127.0.0.1 -p 6387 -a $1 shutdown


 6399
6399


 被折叠的 条评论
为什么被折叠?
被折叠的 条评论
为什么被折叠?
 到【灌水乐园】发言


