


春光不自留,莫怪东风恶

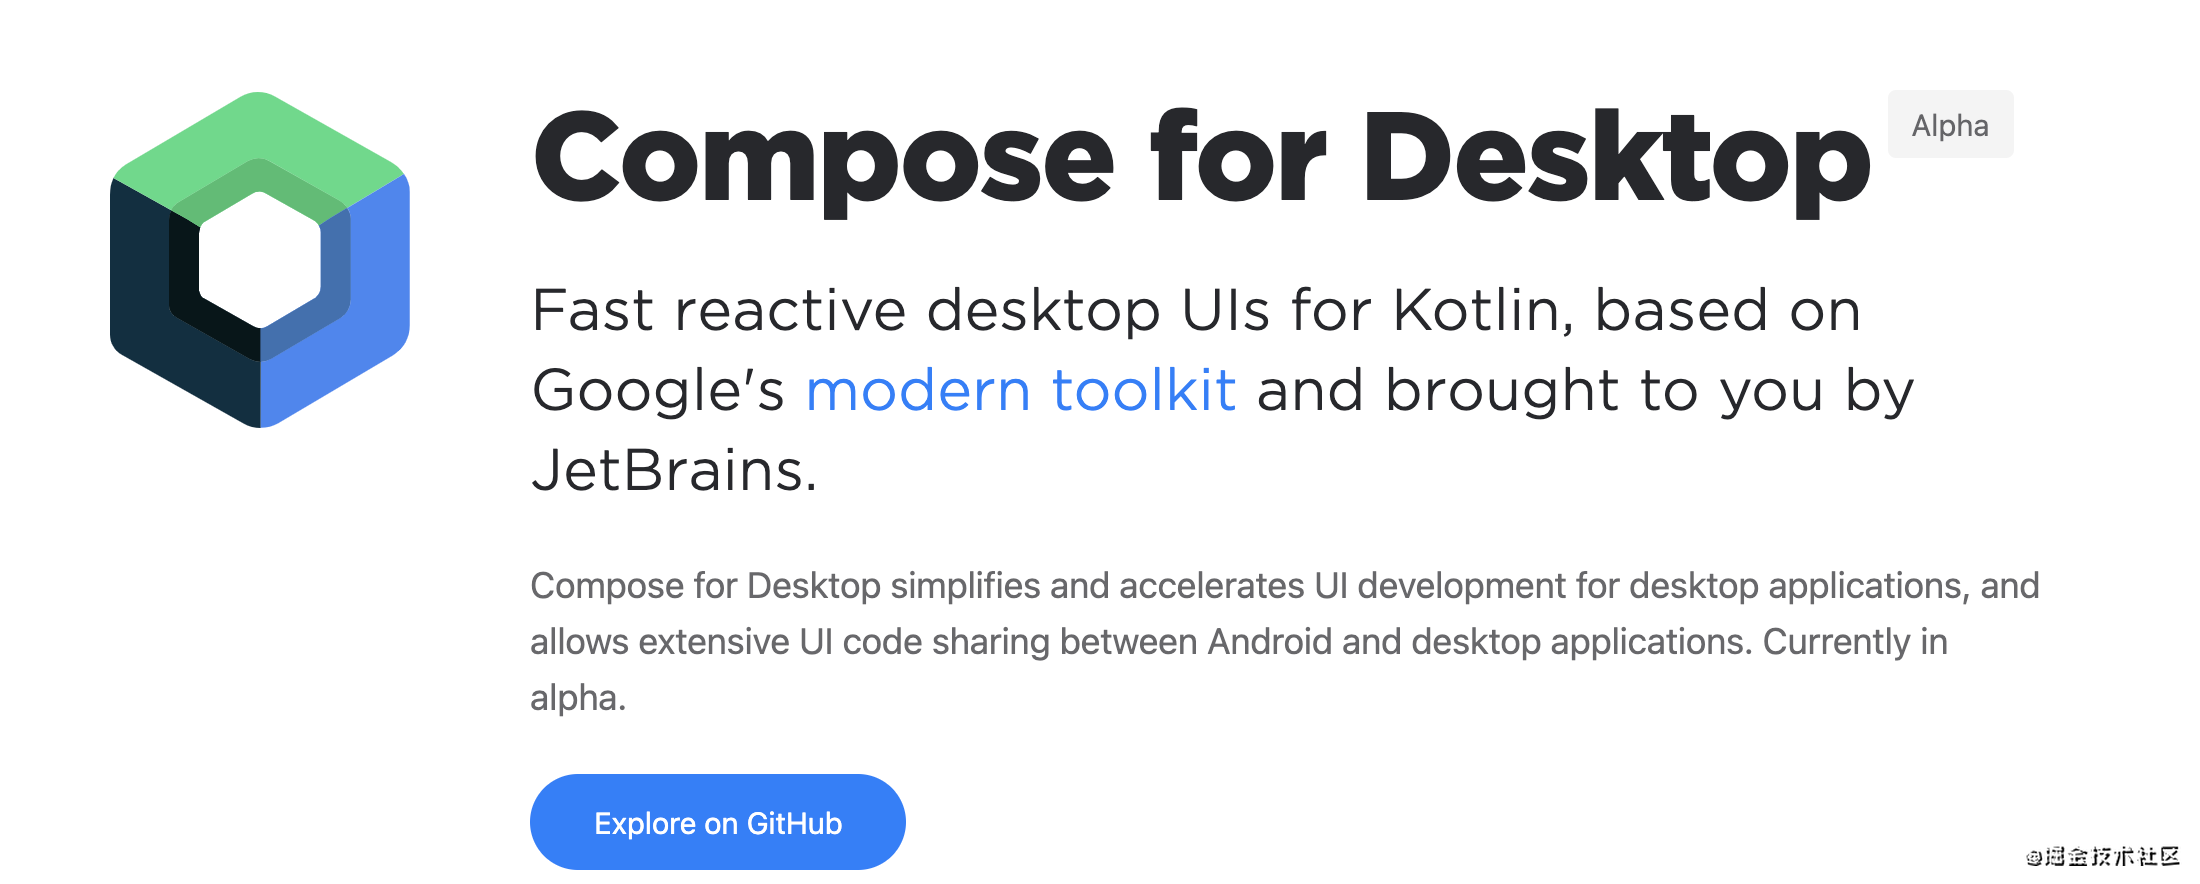
Compose for Desktop
Compose是由Kotlin语言快速编辑界面的框架,基于谷歌的现代工具箱,由JetBrains为您带来。
Compose for Desktop简化并加速了桌面应用程序的UI开发,并允许Android和桌面应用程序之间大量的UI代码共享,这是来自官方的一些阐述解释。Compose初忠是声明式UI,当然了跨平台的纷争乱战时代,它也有着跨平台的梦想。在桌面端还未流行和普及之时为何不用划水的时间来尝试一下Compose for
Desktop!
一、环境
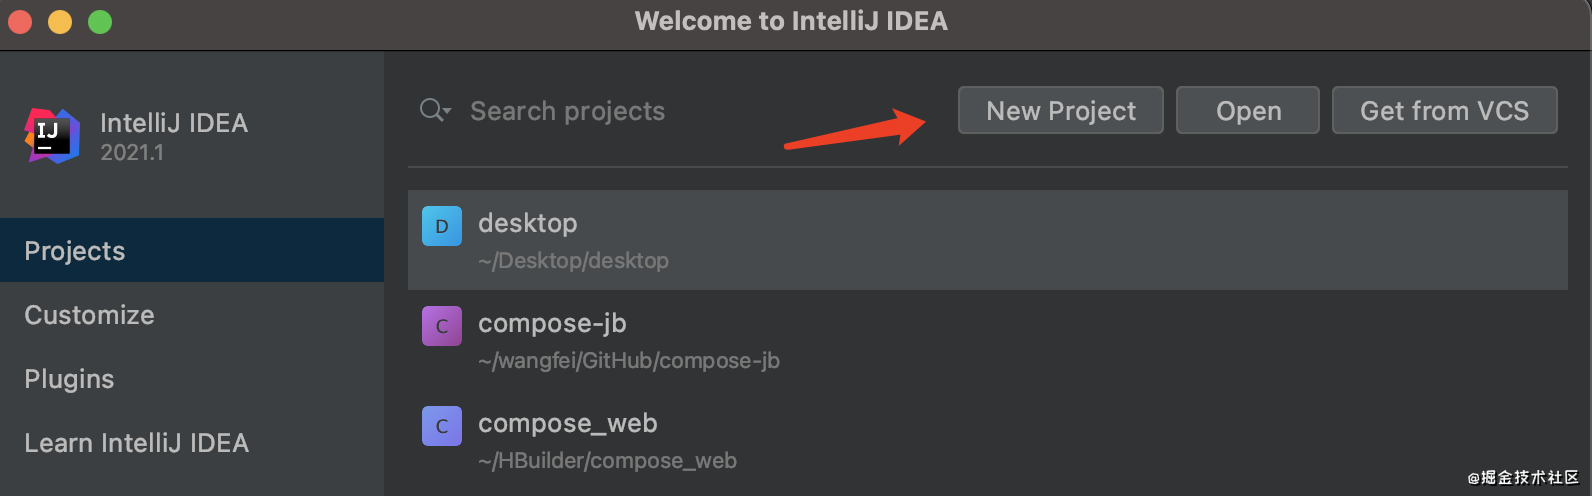
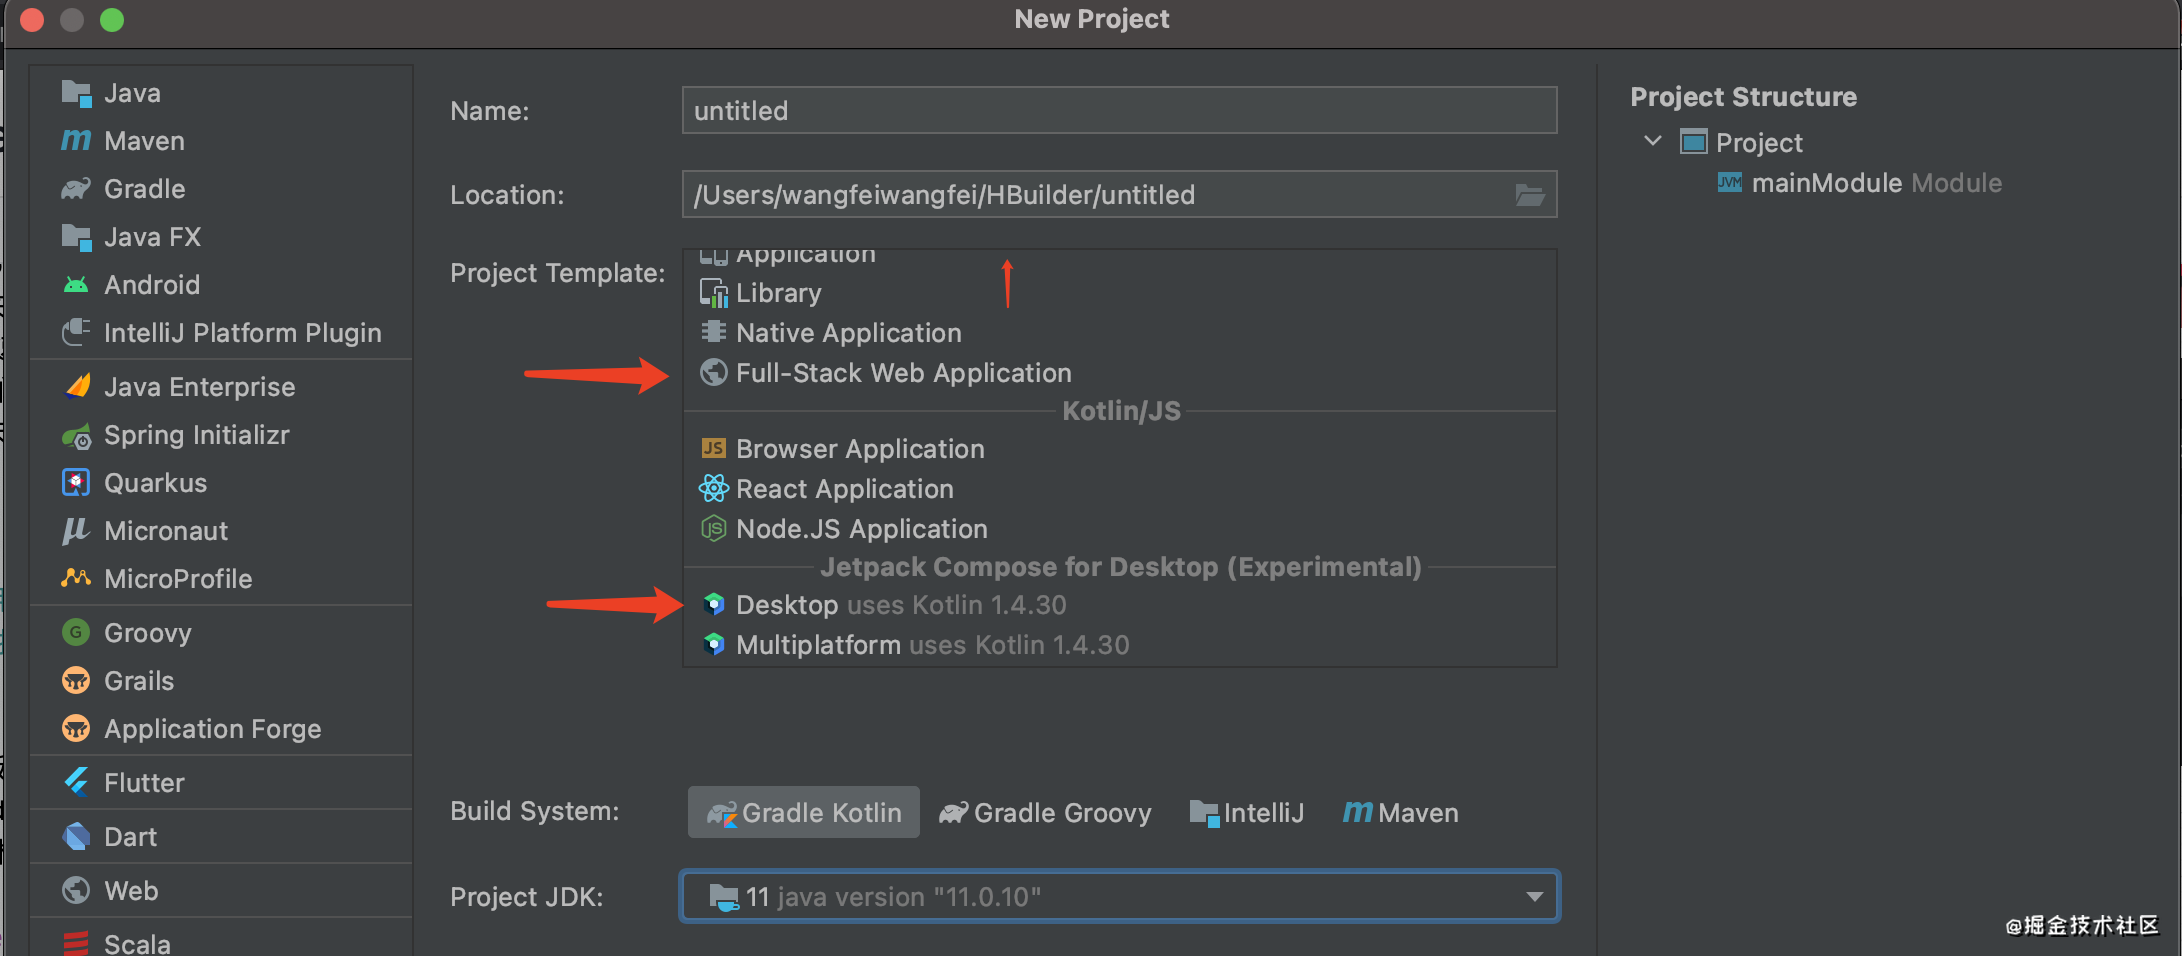
IntelliJ IDEA 2020.3以后的版本根据新建的类型compose desktop、compose app、compose web都可以自动依赖相关的gradle。我下载的最新版本,pojie有点辣手,之前的注册码和.jar方式都可以,如果由大佬知道破解方式可以楼下指点,先试用30天。截图看文字,相信大佬们都能看懂?左边选择Kotlin,右边会出现各种kotlin能干的事:Desktop、Web、Mobile…kotlin牛逼!

一、Desktop
Name、Location、Project Template->Desktopo即可、Build System 随便、Project JDK->11以上即可,继续finish完成。
你可以点击一下下图的main函数前面的绿色运行箭头…等待奇迹出现
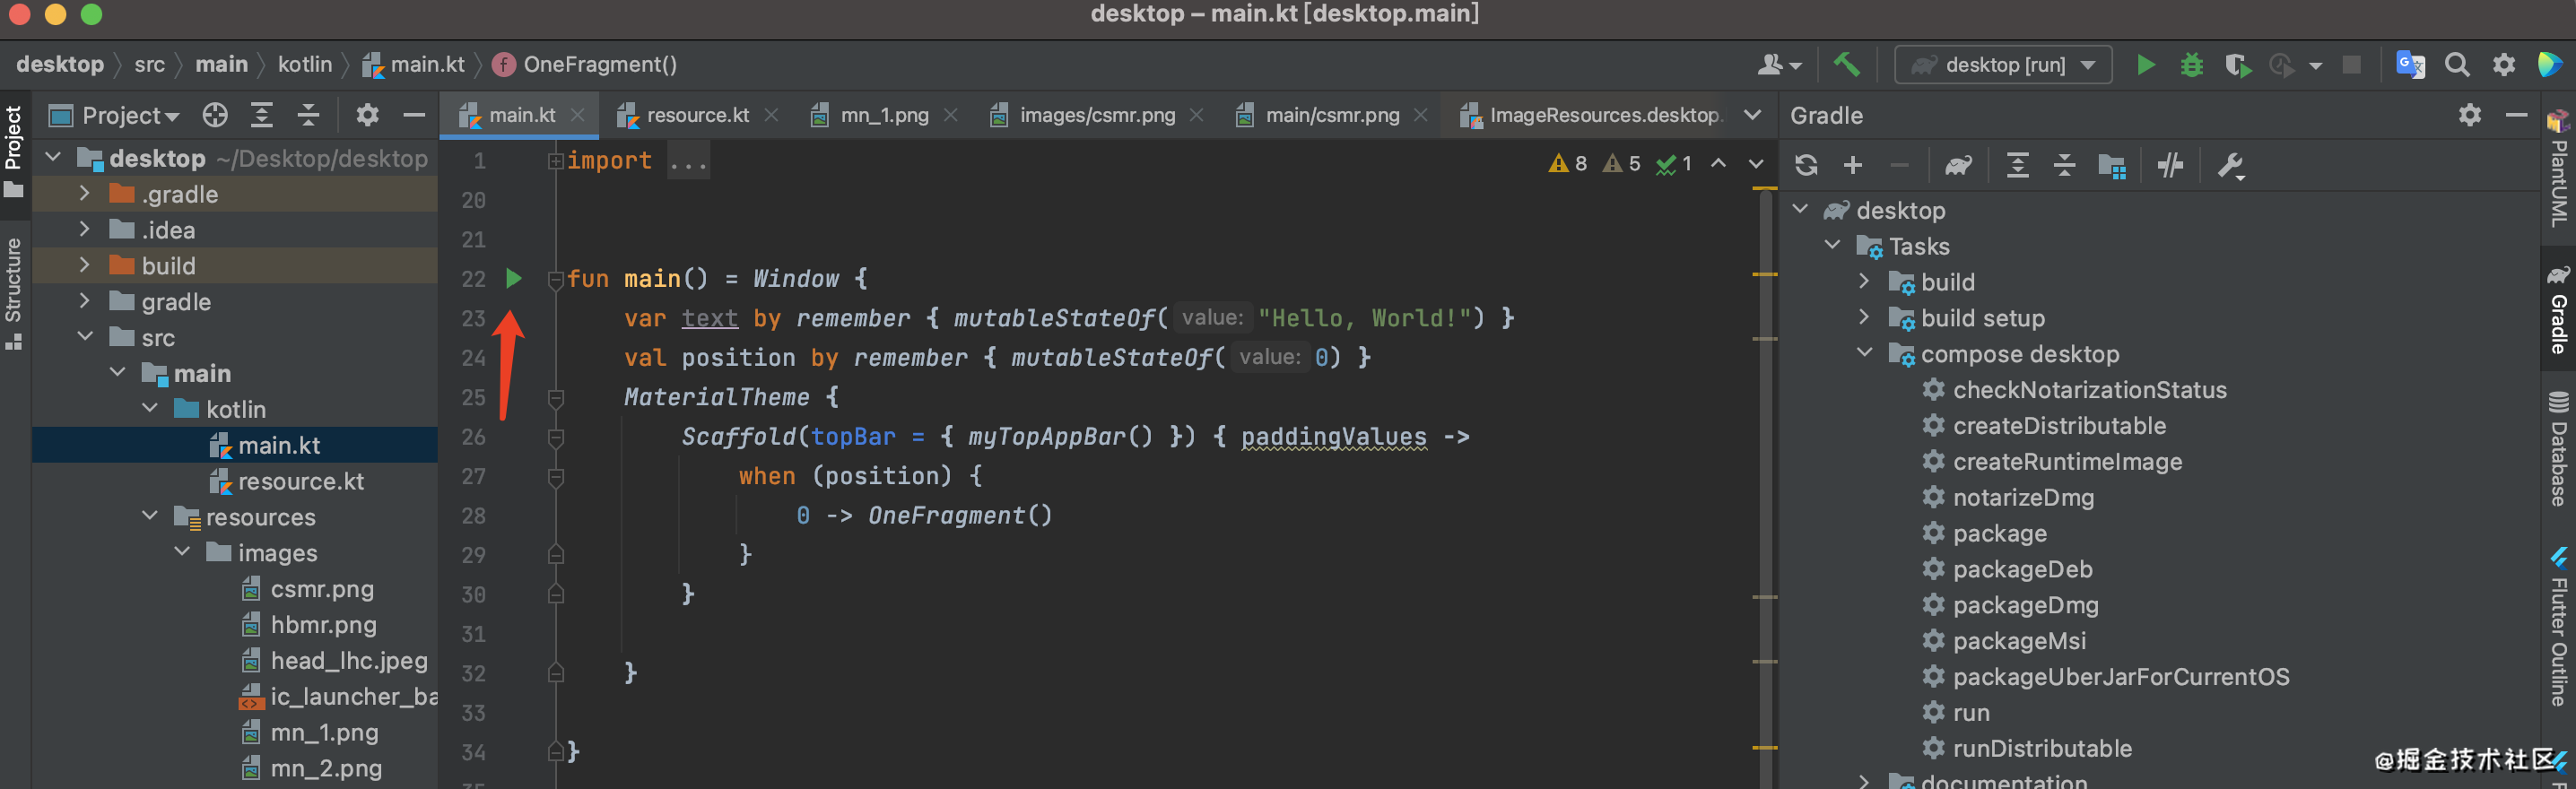
运行的效果,当然了这是我没事干用贝塞尔曲线绘制的那个男人,时间问题没绘制完。大家如果看过我的自定义相信绘制不是难题!!

上面我们开发环境已经完毕,接下来是不是有点小激动,我们开始代码编写。
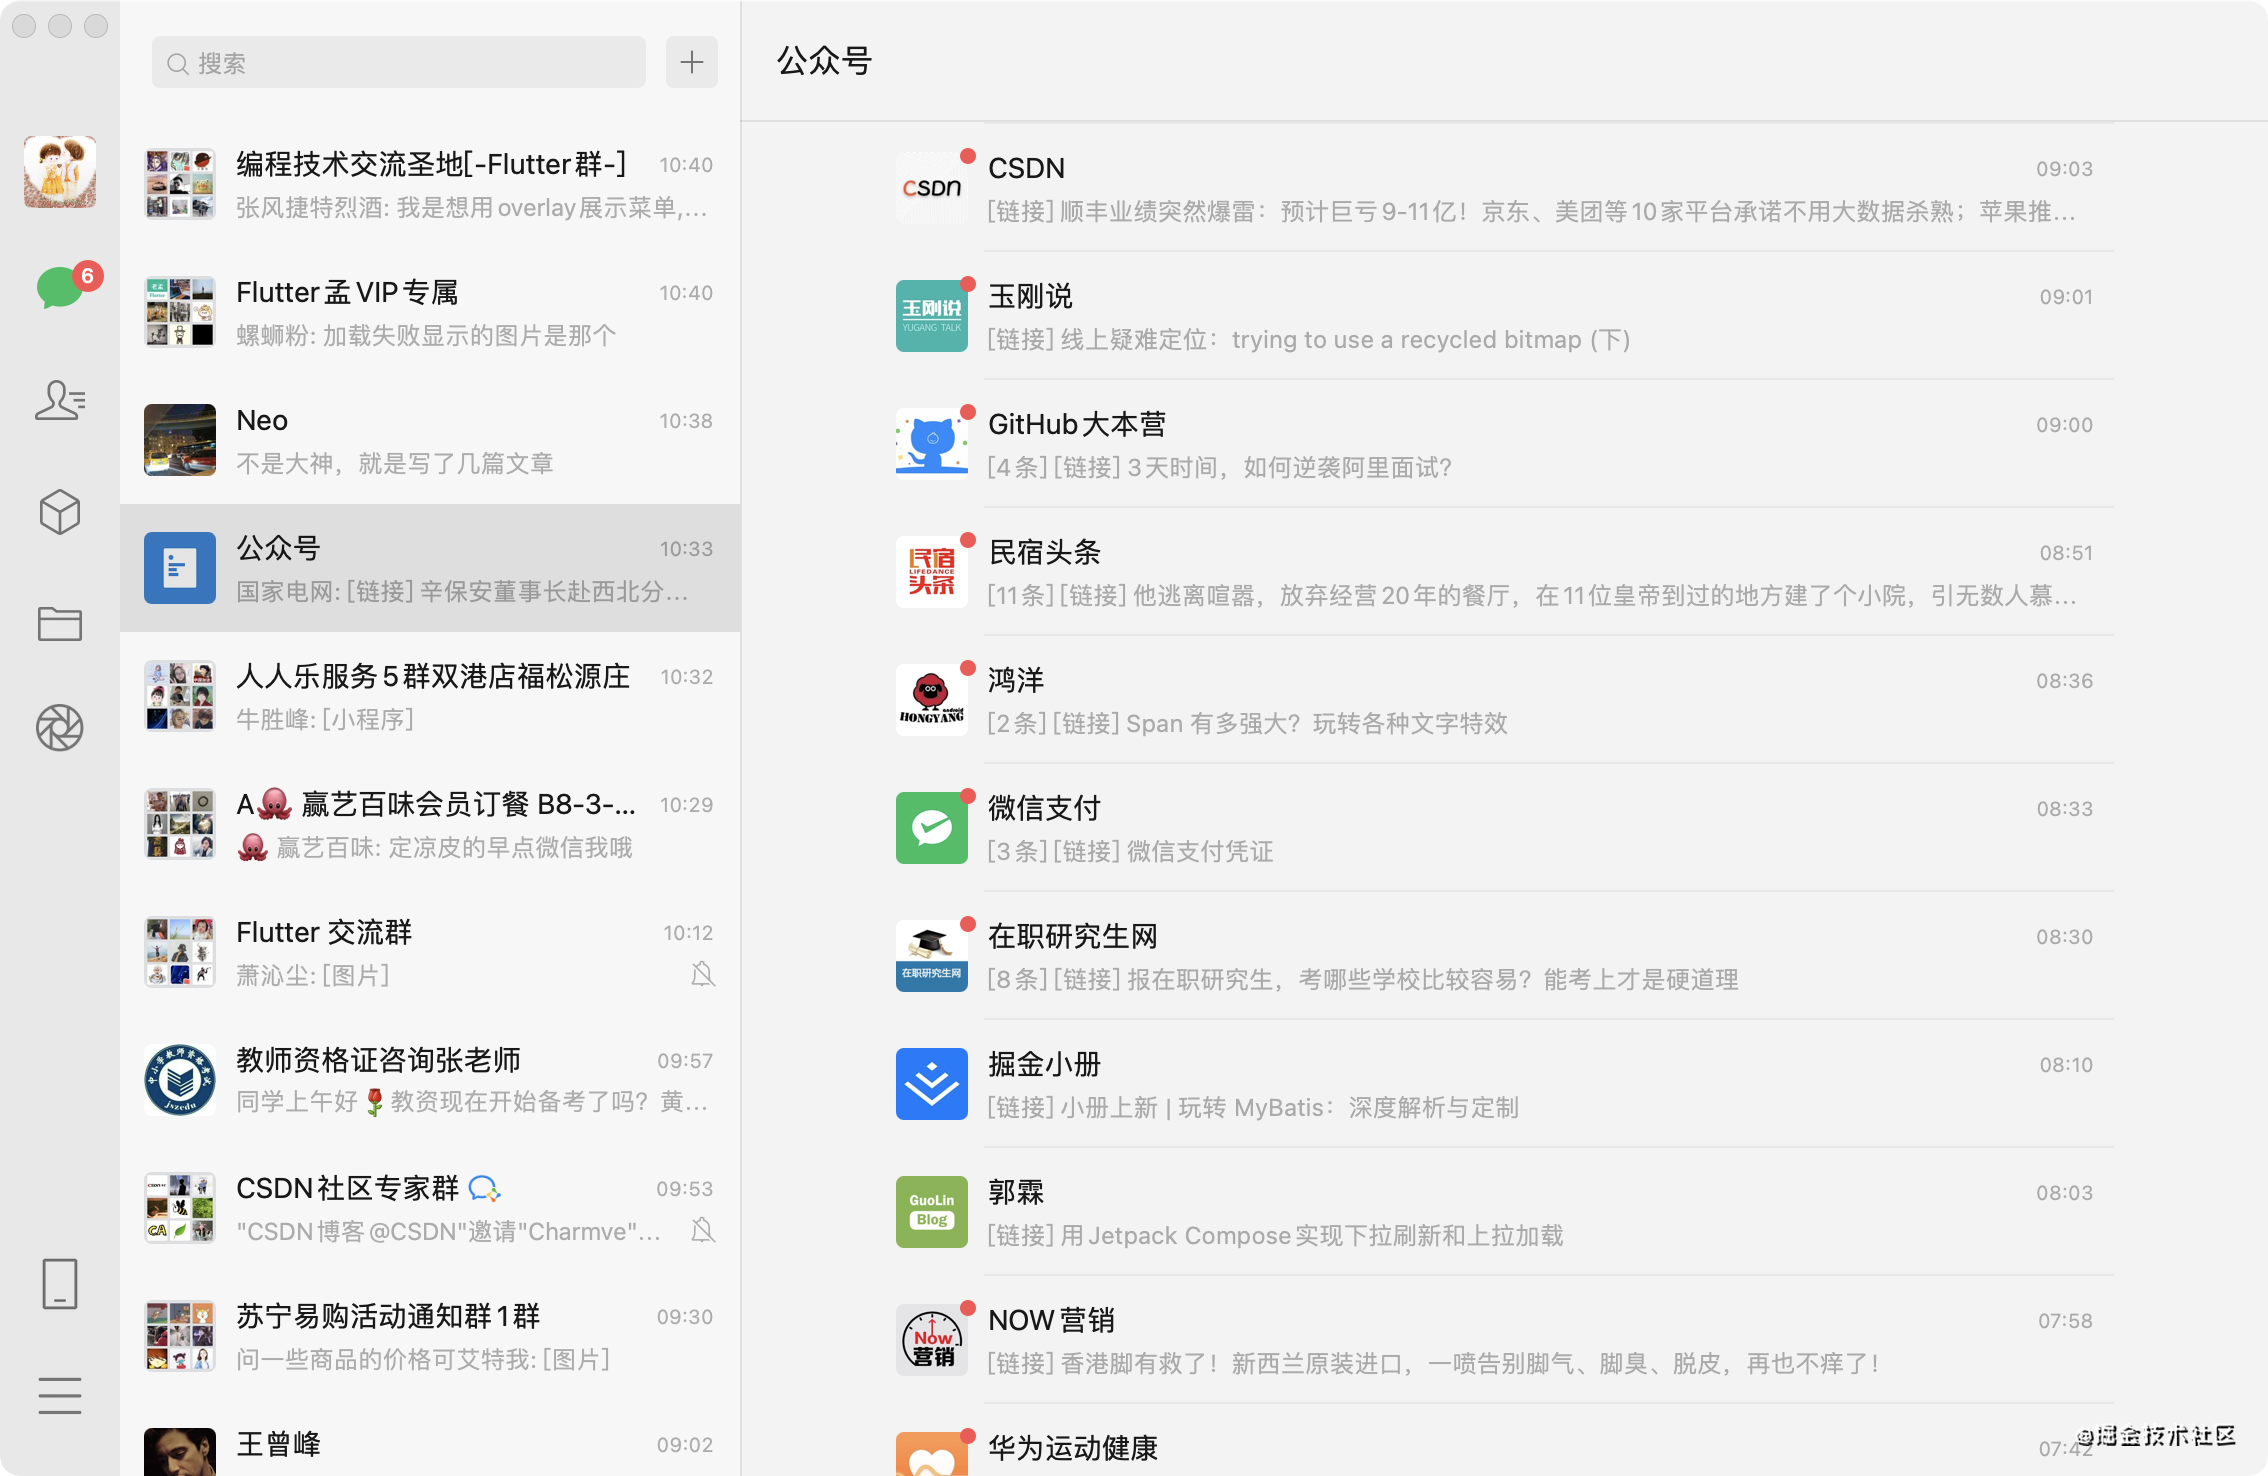
二、Desktop UI分析 - 微信
微信的桌面端说不上花里胡哨,但是很优雅简约不缺美观。我们这篇文字主要模仿这个UI进行尝试Compose for Desktop
素材准备
为了达到比较一致的效果,我们通过PS进行素材获取。
1.打开微信截图需要图标。
2.PS截图用魔术棒进行选区删除不需要部分。
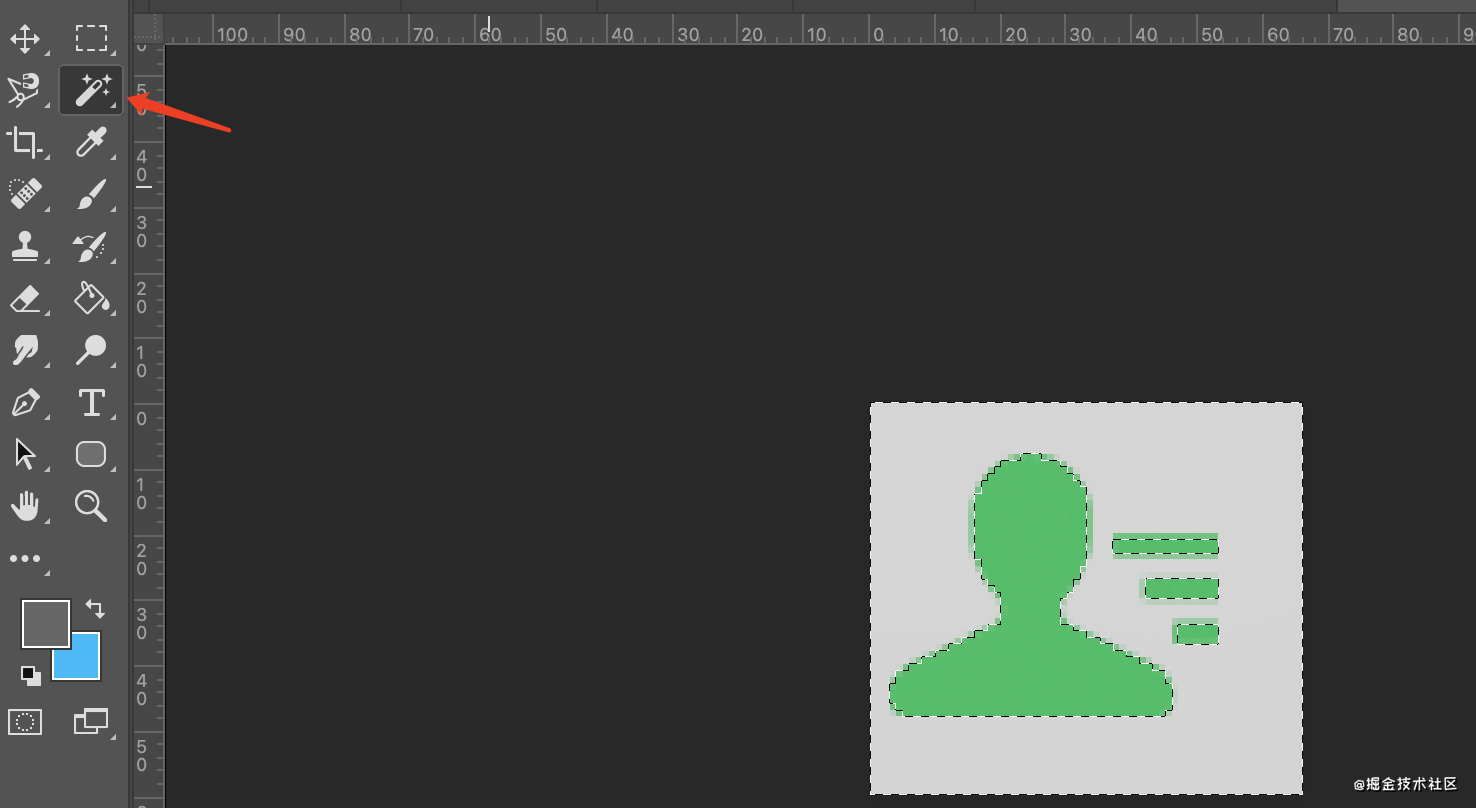
3.通过选区缩放来进行调试边界。
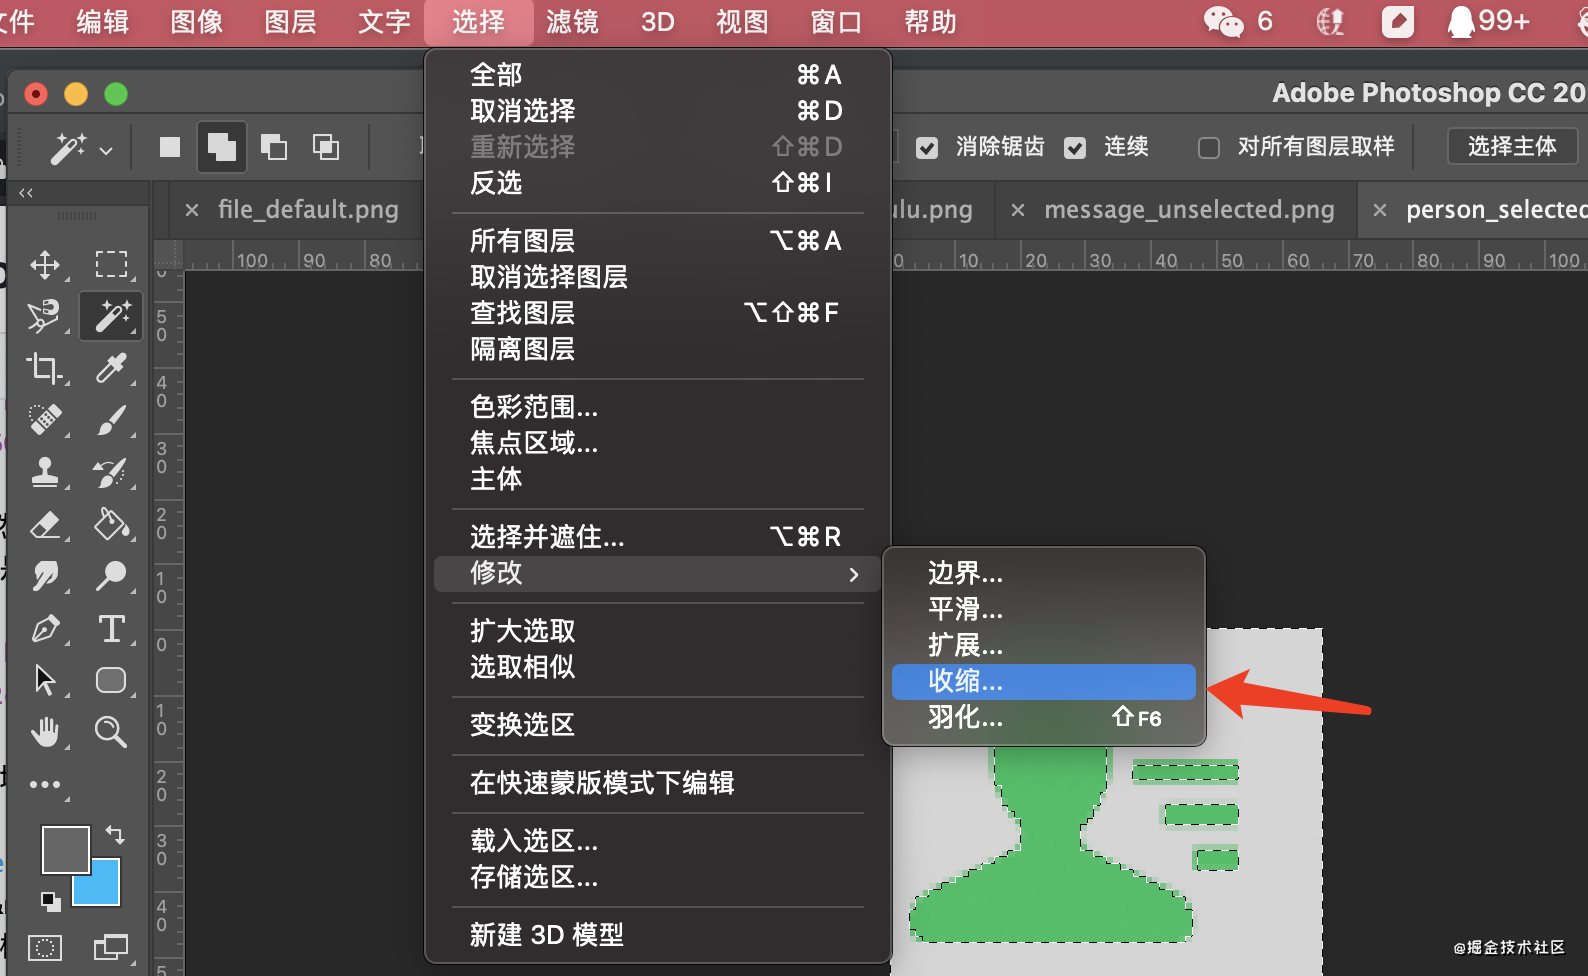
保存图片即可。逐步操作需要图片。
布局分析
布局我们经常用,也知道可分为这三块从左到右都有联动。所以我们先进行一级布局UI。
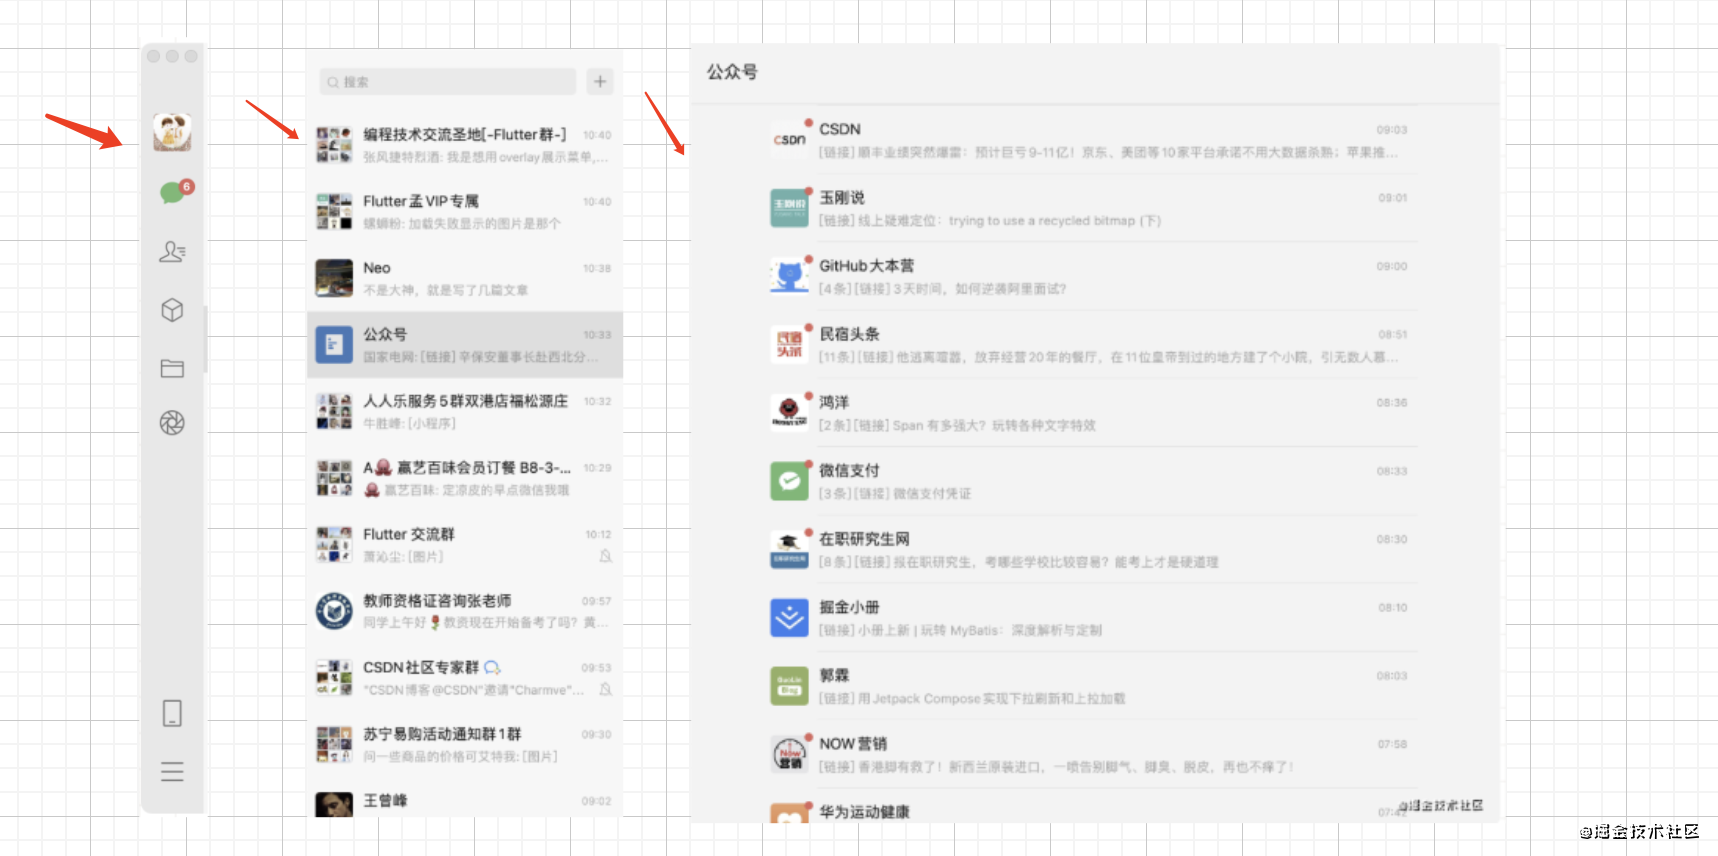
1.左侧Colum又上到下配合Spacer完美
2.中间的Box内部ListView加搜索框
3.右侧ListView
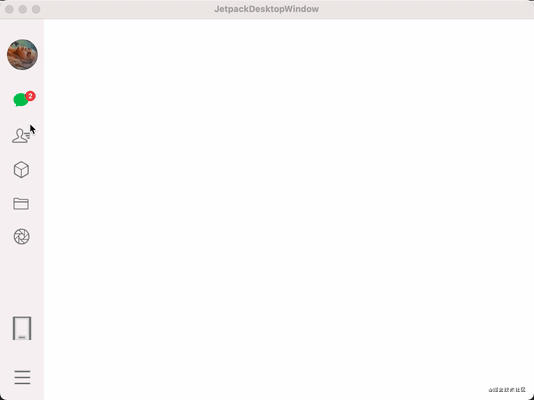
三、Desktop UI编写 - 微信-Left
Compose for Desktop简化并加速了桌面应用程序的UI开发,并允许Android和桌面应用程序之间大量的UI代码共享既然官方如此说了和Android端的UI大量共享,我们接下来体验一下。当然了我感受了一波的却大量的组件都基本一致。就自定义方面缺少一些API,阴影的设置,如果你发现了可以告诉一下我,感激不尽。既然和Android一致那么接下来大量的代码,接住了…
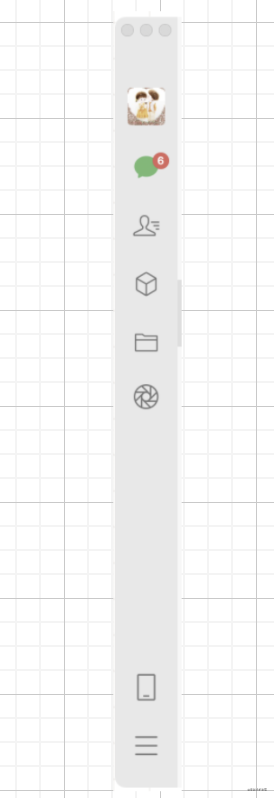
上面分析:1.左侧Colum又上到下配合Spacer完美
实体类封装点击图片路径
/**
 * @param defaultPath 默认图片路径
 * @param selectedPath 选择路径
 * @param path 实际路径
 * @param selected 是否选中
 */
data class WxSelectedBean(val defaultPath:String,var selectedPath:String,var path:String,var selected:Boolean)
负值图片路径
object WxViewModel : RememberObserver {
    val isAppReady = mutableStateOf(false)
    val position = ArrayList<WxSelectedBean>()
    fun initData() {
        var selectedDatas = arrayListOf<WxSelectedBean>()
        selectedDatas.add(
            WxSelectedBean(
                "images/head_lhc.png",
                "images/head_lhc.png",
                "images/head_lhc.png",
                 false
            )
        )
        selectedDatas.add(
            WxSelectedBean(
                "images/message_unselected.png",
                "images/message_selected.png",
                "images/message_selected.png",
                 true
            )
        )
        selectedDatas.add(
            WxSelectedBean(
                "images/person_unselected.png",
                "images/person_selected.png",
                "images/person_unselected.png",
                false
            )
        )
        selectedDatas.add(
            WxSelectedBean(
                 "images/connected_unselecte.png",
                "images/connected_selected.png",
                "images/connected_unselecte.png",
                 false
            )
        )
        selectedDatas.add(
            WxSelectedBean(
                "images/file_default.png",
                "images/file_default.png",
                "images/file_default.png",
                false
            )
        )
        selectedDatas.add(
            WxSelectedBean(
                "images/frends.png",
                "images/frends.png",
                "images/frends.png",
                false
            )
        )

        selectedDatas.add(
            WxSelectedBean(
                "images/phone.png",
                "images/phone.png",
                "images/phone.png",
                false
            )
        )
        selectedDatas.add(
            WxSelectedBean(
                "images/mulu.png",
                "images/mulu.png",
                "images/mulu.png",
                false
            )
        )
        position.addAll(selectedDatas)
    }


    override fun onAbandoned() {

    }

    override fun onForgotten() {
    }

    override fun onRemembered() {
    }
}
界面
import androidx.compose.animation.core.TweenSpec
import androidx.compose.animation.core.animateFloatAsState
import androidx.compose.desktop.Window
import androidx.compose.foundation.Canvas
import androidx.compose.foundation.background
import androidx.compose.foundation.clickable
import androidx.compose.foundation.layout.*
import androidx.compose.material.*
import androidx.compose.runtime.*
import androidx.compose.ui.Alignment
import androidx.compose.ui.Modifier
import androidx.compose.ui.draw.rotate
import androidx.compose.ui.draw.shadow
import androidx.compose.ui.graphics.*
import androidx.compose.ui.graphics.Color
import androidx.compose.ui.graphics.drawscope.drawIntoCanvas
import androidx.compose.ui.semantics.Role
import androidx.compose.ui.unit.dp
import module_view.WxSelectedBean
import module_view.WxViewModel

fun main() = Window {
    WxViewModel.initData()
    var wxData by remember { mutableStateOf(WxViewModel.position) }
    //选中的索引
    var selectedIndex by remember { mutableStateOf(1) }
    //图片选中动画执行与否
    var imageAnimal by remember { mutableStateOf(true) }
    //图片旋转动画
    val imageAngle: Float by animateFloatAsState(
        if (imageAnimal) {
            0f
        } else {
            360f
        }, animationSpec = TweenSpec(durationMillis = 1001)
    )
    MaterialTheme {
        Scaffold {
            Row {
                Column(
                    horizontalAlignment = Alignment.CenterHorizontally,
                    modifier = Modifier.fillMaxHeight().width(66.dp)
                        .background(Color(247, 242, 243))
                ) {
                    ImageRes(
                        getPath(wxData, selectedIndex, 0),
                        modifier = Modifier.padding(top = 30.dp).size(48.dp)
                            .clickable(role = Role.Image) {
                            imageAnimal = !imageAnimal
                        }.rotate(imageAngle)
                    )

                    ImageRes(
                        getPath(wxData, selectedIndex, 1),
                        modifier = Modifier.padding(vertical = 20.dp).size(42.dp).clickable {
                            selectedIndex = 1
                        })
                    ImageRes(getPath(wxData, selectedIndex, 2),
                        modifier = Modifier.size(32.dp).clickable {
                            selectedIndex = 2
                        })
                    ImageRes(
                        getPath(wxData, selectedIndex, 3),
                        modifier = Modifier.padding(vertical = 20.dp).size(30.dp).clickable {
                            selectedIndex = 3
                        }
                    )
                    ImageRes(getPath(wxData, selectedIndex, 4), modifier = Modifier.size(30.dp))
                    ImageRes(
                        getPath(wxData, selectedIndex, 5),
                        modifier = Modifier.padding(vertical = 20.dp).size(30.dp)
                    )
                    Spacer(modifier = Modifier.weight(1f))
                    ImageRes(
                        getPath(wxData, selectedIndex, 6),
                        modifier = Modifier.padding(vertical = 20.dp).size(35.dp)
                    )
                    ImageRes(
                        getPath(wxData, selectedIndex, 7),
                        modifier = Modifier.padding(vertical = 20.dp).size(30.dp)
                    )
                }
            }
        }

    }

}


/**
 * @param wxData 数据集合
 * @param selectedIndex 选中的索引
 * @param currenIndex 当前Image对应的索引
 * return 返回各个按钮选中和未选中图片路径
 */
private fun getPath(
    wxData: ArrayList<WxSelectedBean>,
    selectedIndex: Int,
    currenIndex: Int
): String {
    return if (selectedIndex == currenIndex) {
        wxData[currenIndex].selectedPath
    } else {
        wxData[currenIndex].defaultPath
    }

}
看看效果?
四、Desktop UI编写 - 微信-Center
中间部分如下图分析可见Box里面一个Row一个列表搞定?对于UI代码编写之前,大概的代码框架构思还是比较重要的。<
 最低0.47元/天 解锁文章


 408
408


 被折叠的 条评论
为什么被折叠?
被折叠的 条评论
为什么被折叠?
 到【灌水乐园】发言


