


这次使用node构建一个本地的服务器,然后以两种方式显示html页面:
PLAN A:输入IP地址+端口号,直接显示固定页面。
PLAN B:输入IP地址+端口号+URL,选择已有的页面显示。
好的,在执行方案前先复习一下node是怎么构建HTTP服务器的。
HTTP服务器构建:
var http = require('http');
http.createServer(function (request, response) {
    // 发送 HTTP 头部
    // HTTP 状态值: 200 : OK 网络通信正常
    // 内容类型: text/plain
    response.writeHead(200, {'Content-Type': 'text/plain'});
    // 发送响应数据 "Hello World"
    response.write('hello world!\n');
    response.end();
}).listen(8888,'127.0.0.1');//使用网络端口 8888 本地服务器默认地址为127.0.0.1

// 终端打印如下信息
console.log('Server running at http://127.0.0.1:8888/');
高级语言果然不同凡响,区区几行就构建了一个本地服务器。node自带的http模块已经将TCP链接以及HTTP解析处理好了。在应用端只需要操作http模块提供的request和response对象即可。
request对象封装了HTTP请求,我们调用request对象的属性和方法就可以拿到所有HTTP请求的信息;
response对象封装了HTTP响应,我们操作response对象的方法,就可以把HTTP响应返回给浏览器。
开发工具与准备工作:
开发工具:VScode,用过都说好。
准备工作很简单,不是说要显示html页面么,那html文件就得先备好。html文件怎么做就不加赘述了,来看这个的都是前端内部人员。这次我用的上次博客中设计的一个页面web_csdn.html。将html文件与js文件放在一个目录下。
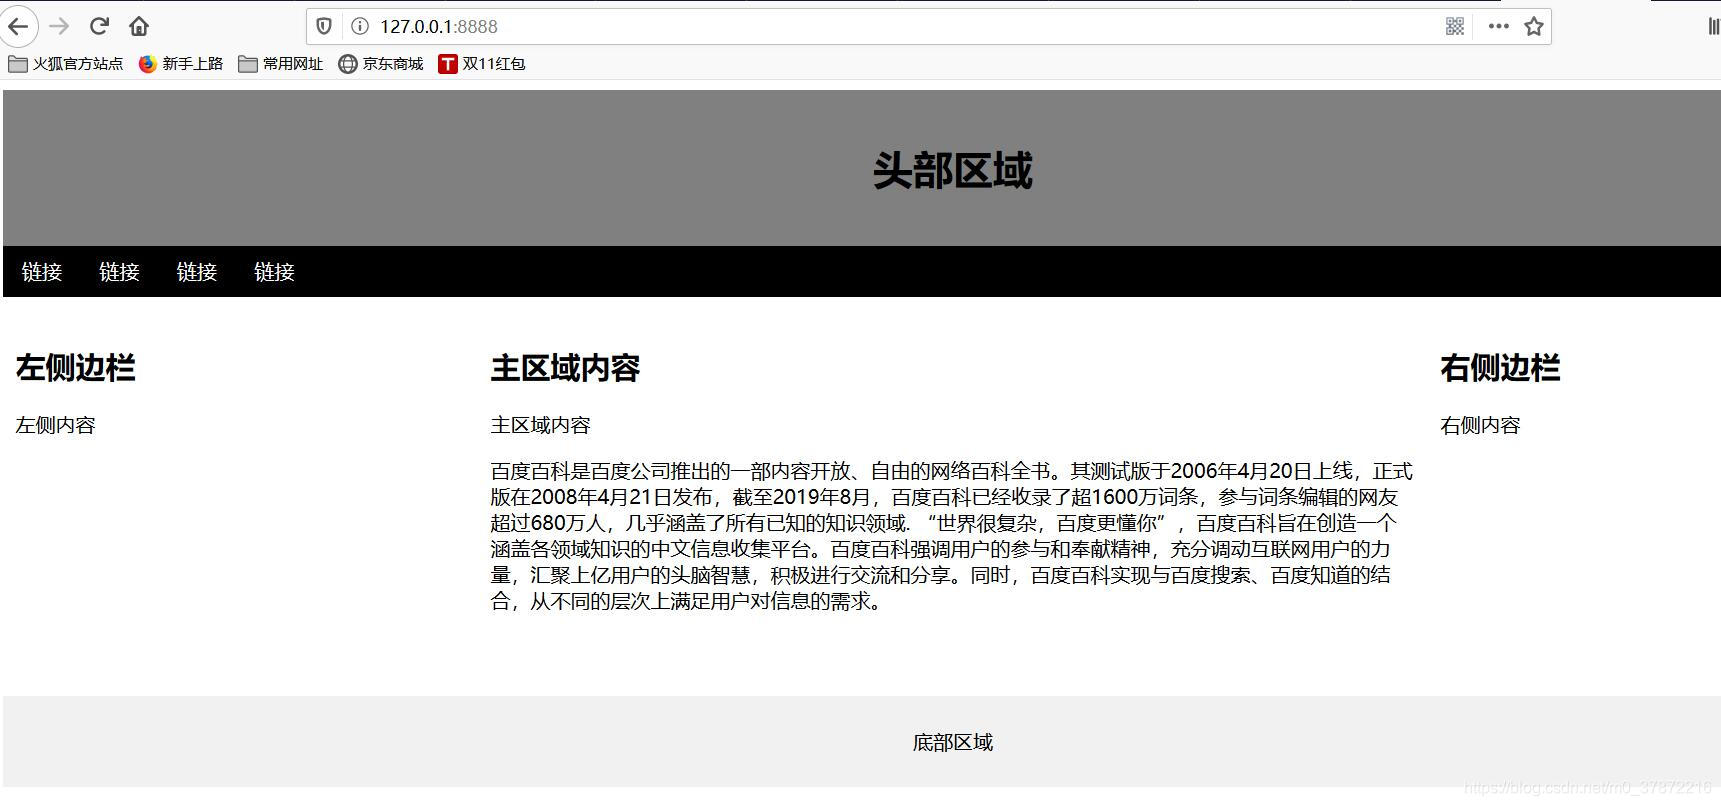
方案一:输入IP地址+端口号,直接显示固定页面
新建文件html1.js,与web_csdn.html放在一个目录下。js文件内代码如下:
var http = require('http');
var fs = require('fs');
var htmlName ='/web_csdn.html';
function onRequest(request,response){
    console.log('request received');
    response.writeHead(200,{'Content-Type':'text/html'});
    var myReadStream = fs.createReadStream(__dirname + htmlName ,'utf8');
    myReadStream.pipe(response);
}
http.createServer(onRequest).listen(8888,'127.0.0.1');
console.log('server has started');
在VScode的调试台启动该本地服务器:

打开一个浏览器,在地址栏中输入:127.0.0.1:8888 。
效果图如下:
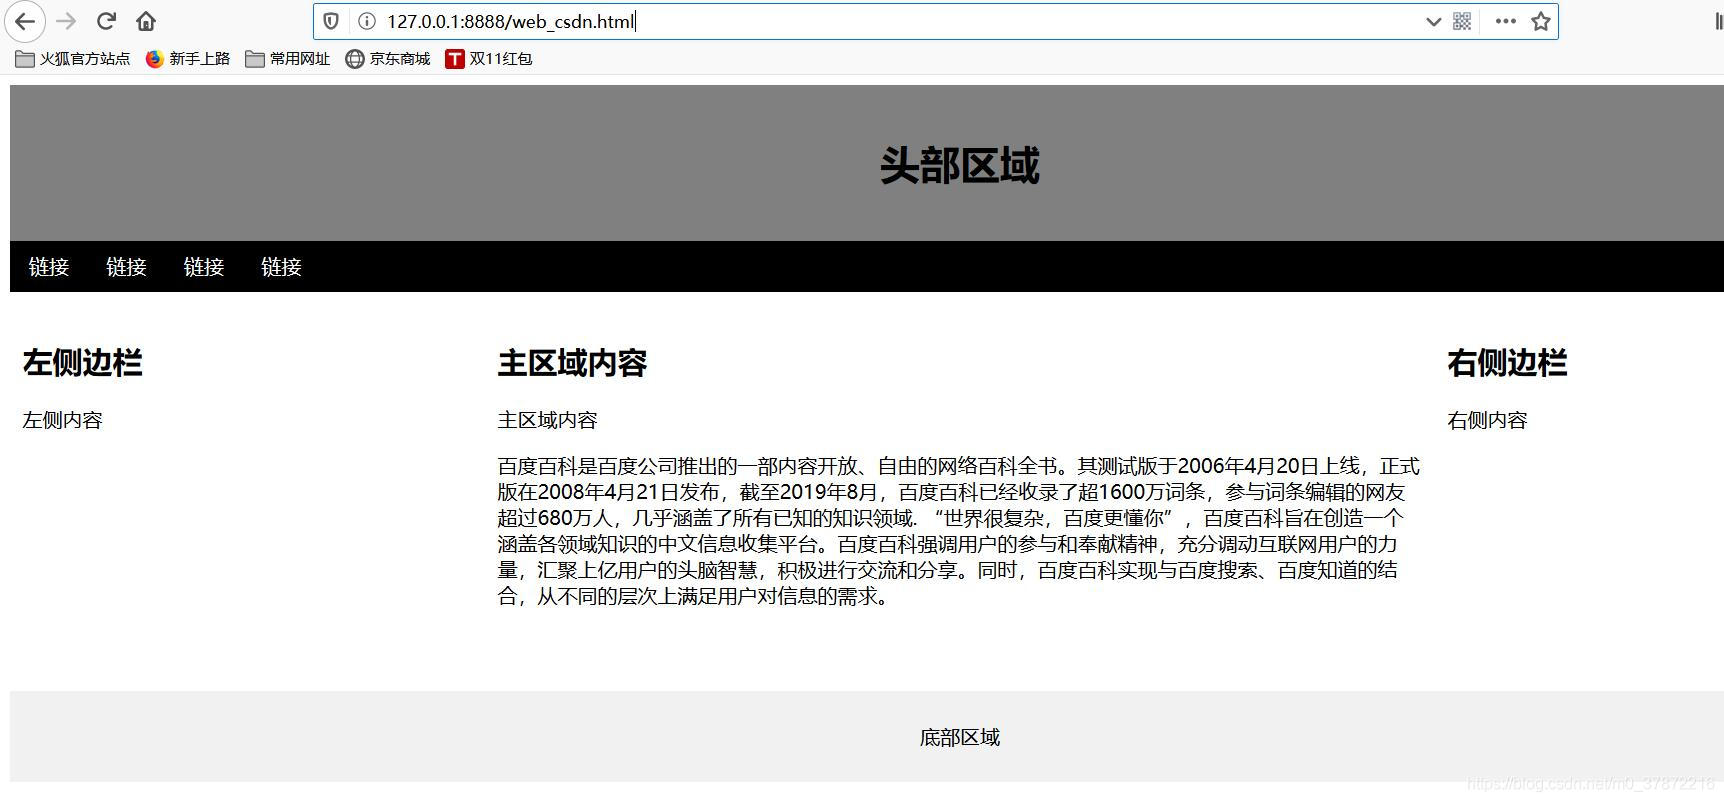
方案二:输入IP地址+端口号+URL,选择已有的页面显示
新建文件html.js,与web_csdn.html放在一个目录下。这个方案是根据用户输入的URL选择html文件的,因此可以在目录里面多放几个html文件试验。js文件内代码如下:
var http = require('http');
var fs = require('fs');
var url = require('url');

function onRequest(request,response){
    var pathname = url.parse(request.url).pathname;//读取请求中的html名称
    console.log(pathname+'request received');
    fs.readFile(pathname.substr(1),function(err,data){
        if(err){
            console.log(err);//没读到文件就报错
            response.writeHead(404,{'Content-Type':'text/html'});
        }else{
            response.writeHead(200,{'Content-Type':'text/html'});
            response.write(data.toString());//读文件数据(回调)
        }
        response.end();
    });
}
http.createServer(onRequest).listen(8888,'127.0.0.1');
console.log('server has started');
在VScode的调试台启动该本地服务器:

打开一个浏览器,在地址栏中输入:http://127.0.0.1:8888/web_csdn.html
效果如下图所示:
附录:EXPRESS框架下的服务器搭建:
EXPRESS是一个应用广泛的node.js框架。与原生态的node相比,EXPRESS使用起来更加简单。EXPRESS构建服务器源码如下:
var express = require('express');
var app = express();
app.get('/',function(request,response){
    response.send('hello world!');
});
var server = app.listen(8888, function () {
  console.log('Server running at http://127.0.0.1:8888/');
});
以上代码与第一个代码示例相同。都是搭建一个本地服务器,端口为8888,IP仍为127.0.0.1。
搭建服务器后显示web页面的操作也很简单。只需要使用response.sendFile()函数就可以直接按HTTP协议传输文件。代码如下:
var express = require('express');
var app = express();
app.get('/',function(request,response){
    response.sendFile(__dirname + '/web_csdn.html');
});
var server = app.listen(8888, function () {
  console.log('Server running at http://127.0.0.1:8888/');
});


 730
730


 被折叠的 条评论
为什么被折叠?
被折叠的 条评论
为什么被折叠?
 到【灌水乐园】发言


