


xinference官网安装方式:
https://inference.readthedocs.io/zh-cn/latest/getting_started/installation.html
pip install "xinference[all]"通过该命令,可一键下载安装。
先在macOS上一键部署,中途没有遇到任何障碍,奈何模型太大,mac的内存不够
又配了一遍win10,然而在win10环境下,这条命令
pip install "xinference[all]"在安装中出现了众多问题,下面描述各种遇到的问题和解决方法:
llama-cpp-python
安装llama-cpp-python包时,出现以下问题
Collecting llama-cpp-python
  Using cached llama_cpp_python-0.2.28.tar.gz (9.4 MB)
  Installing build dependencies ... done
  Getting requirements to build wheel ... done
  Installing backend dependencies ... done
  Preparing metadata (pyproject.toml) ... done
Requirement already satisfied: typing-extensions>=4.5.0 in d:\software\anaconda3\lib\site-packages (from llama-cpp-python) (4.8.0)
Collecting diskcache>=5.6.1
  Using cached diskcache-5.6.3-py3-none-any.whl (45 kB)
Requirement already satisfied: numpy>=1.20.0 in d:\software\anaconda3\lib\site-packages (from llama-cpp-python) (1.23.5)
Building wheels for collected packages: llama-cpp-python
  Building wheel for llama-cpp-python (pyproject.toml) ... error
  error: subprocess-exited-with-error

  × Building wheel for llama-cpp-python (pyproject.toml) did not run successfully.
  │ exit code: 1
  ╰─> [20 lines of output]
      *** scikit-build-core 0.7.1 using CMake 3.28.1 (wheel)
      *** Configuring CMake...
      2024-01-15 02:55:12,546 - scikit_build_core - WARNING - Can't find a Python library, got libdir=None, ldlibrary=None, multiarch=None, masd=None
      loading initial cache file C:\Windows\TEMP\tmpyjbtivnu\build\CMakeInit.txt
      -- Building for: NMake Makefiles
      CMake Error at CMakeLists.txt:3 (project):
        Running

         'nmake' '-?'

        failed with:

         no such file or directory


      CMake Error: CMAKE_C_COMPILER not set, after EnableLanguage
      CMake Error: CMAKE_CXX_COMPILER not set, after EnableLanguage
      -- Configuring incomplete, errors occurred!

      *** CMake configuration failed
      [end of output]

  note: This error originates from a subprocess, and is likely not a problem with pip.
  ERROR: Failed building wheel for llama-cpp-python
Failed to build llama-cpp-python
ERROR: Could not build wheels for llama-cpp-python, which is required to install pyproject.toml-based projects
解决方案
似乎是程序在寻找C编译器,但是失败了
笔者通过安装VisualStudio 2022 中的 C++ building tool来解决的
首先去vs官网
https://visualstudio.microsoft.com/zh-hans/vs/
下载安装器
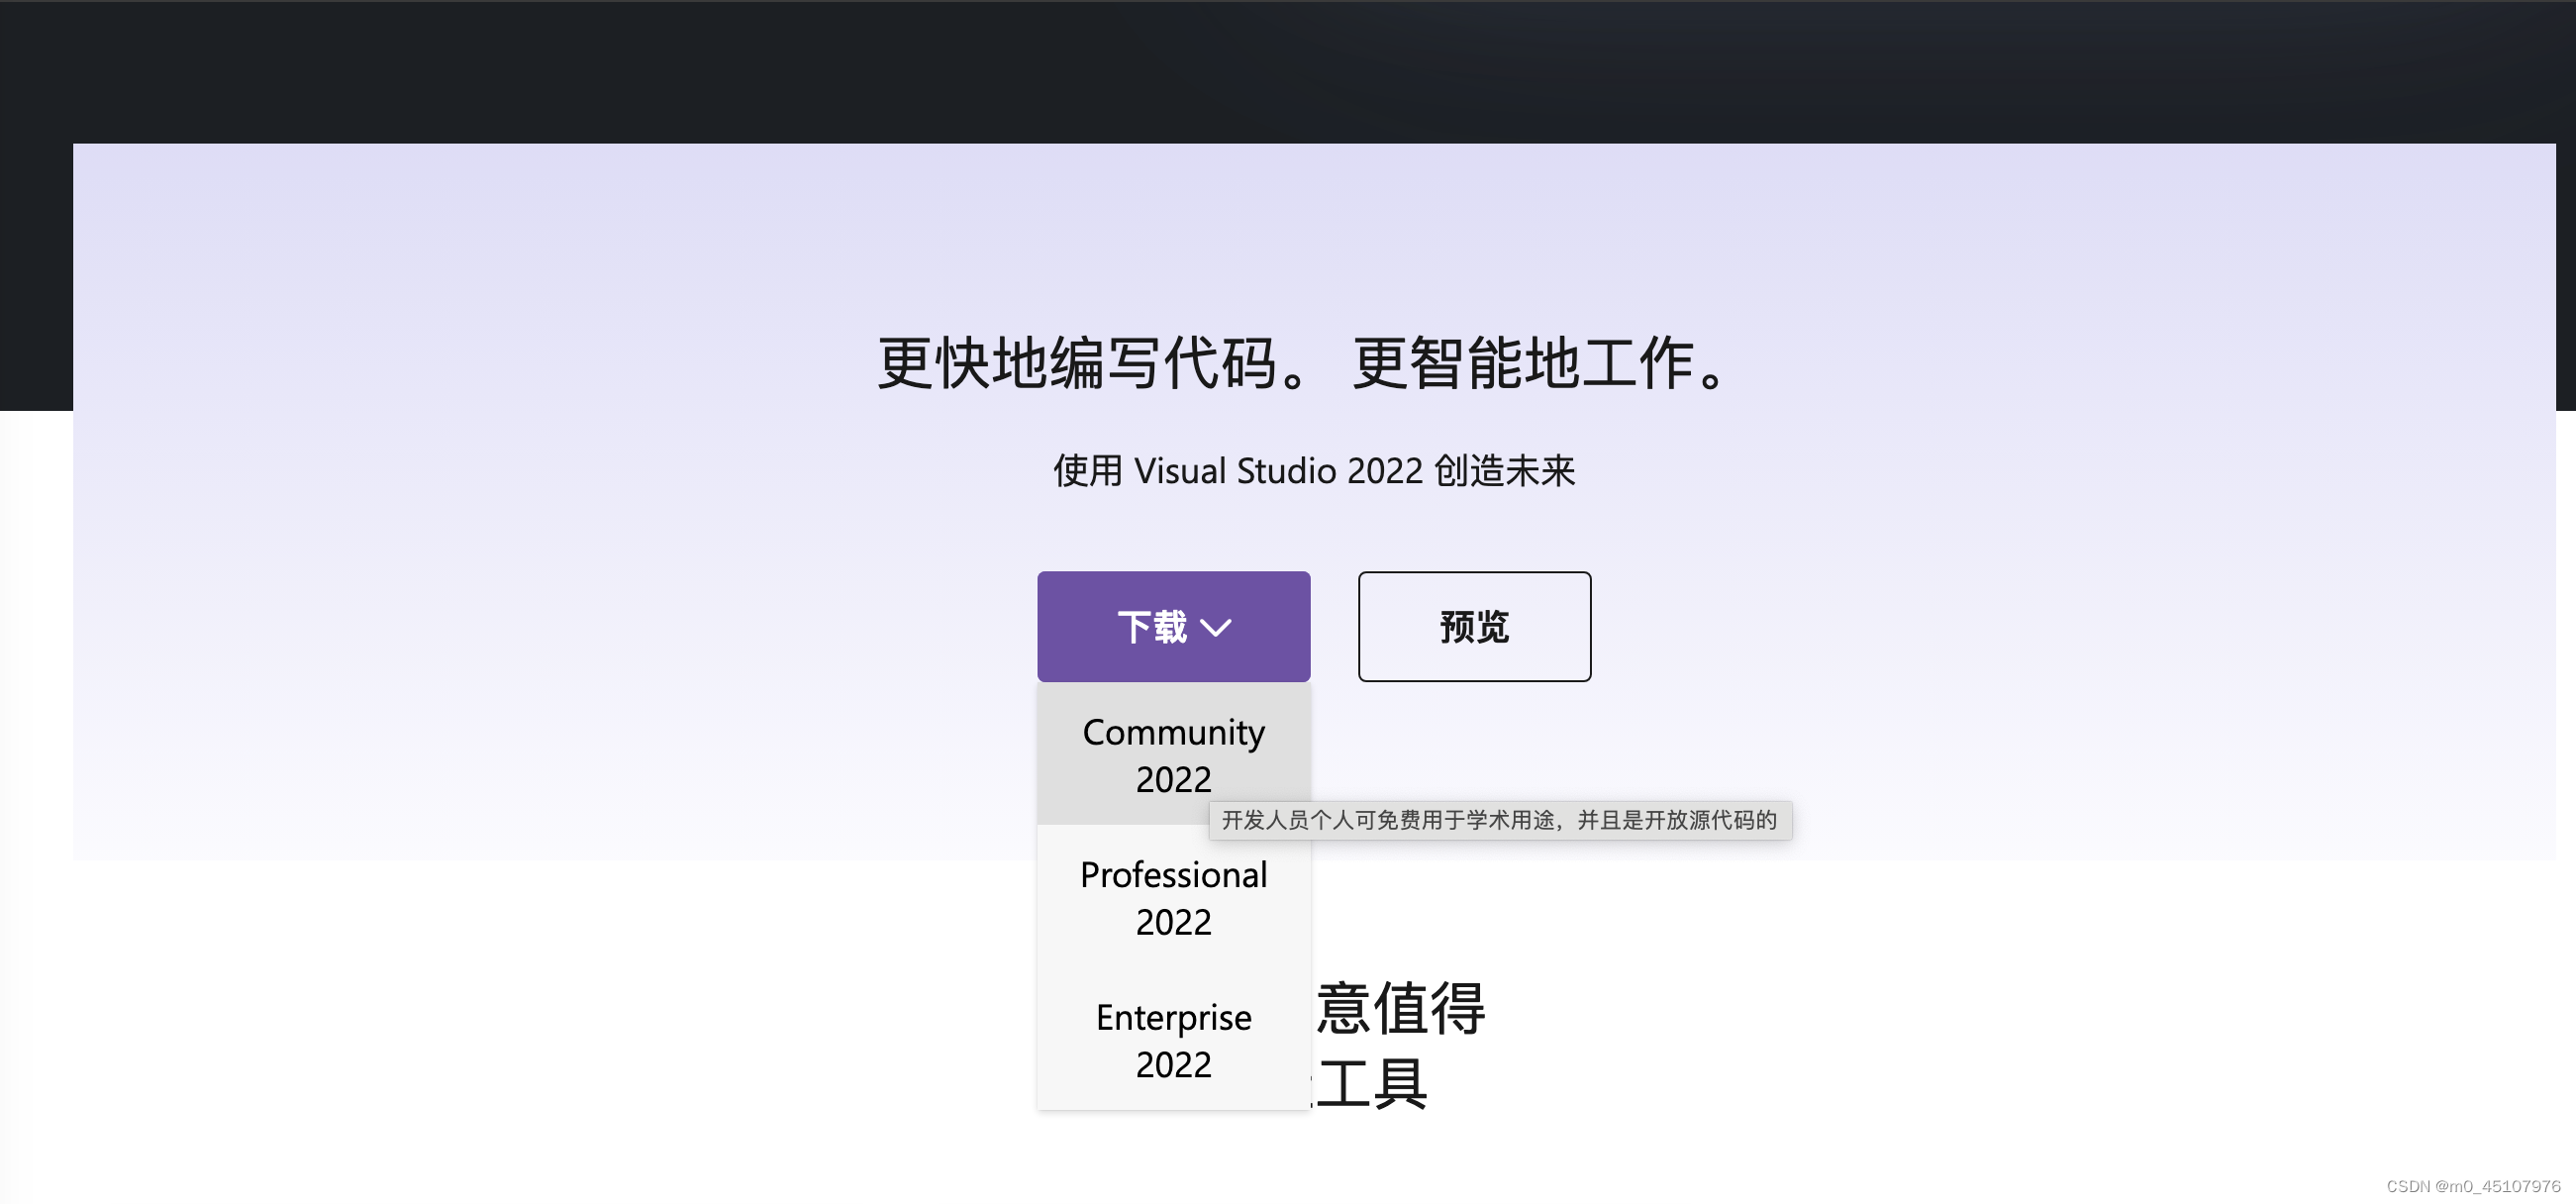
然后在安装时,选择“使用C++的桌面开发”,大概需要10个G的空间

VS安装完成,再次执行,此错误解决
chatglm-cpp
安装chatglm-cpp时报错:
subprocess.CalledProcessError: Command '['cmake', '--build', '.', '--config', 'Release', '-j']' returned non-zero exit status 1.
      [end of output]

  note: This error originates from a subprocess, and is likely not a problem with pip.
  ERROR: Failed building wheel for chatglm-cpp
Failed to build chatglm-cpp
ERROR: Could not build wheels for chatglm-cpp, which is required to install pyproject.toml-based projects

解决方案
直接去官网下载对应版本的chatglm-cpp
https://github.com/li-plus/chatglm.cpp/releases

cpXX对应的python版本,笔者的版本是3.9,所以下载了
chatglm_cpp-0.3.1-cp39-cp39-win_amd64.whl
在该文件对应的目录,使用命令安装该包即可
pip install chatglm_cpp-0.3.1-cp39-cp39-win_amd64.whl编码错误
运行
xinference-local --host 127.0.0.1 --port 9997时,遇到以下错误
Traceback (most recent call last):
  File "D:\workTool\lib\runpy.py", line 197, in _run_module_as_main
    return _run_code(code, main_globals, None,
  File "D:\workTool\lib\runpy.py", line 87, in _run_code
    exec(code, run_globals)
  File "D:\workTool\Scripts\xinference-local.exe\__main__.py", line 7, in <module>
  File "D:\workTool\lib\site-packages\click\core.py", line 1128, in __call__
    return self.main(*args, **kwargs)
  File "D:\workTool\lib\site-packages\click\core.py", line 1053, in main
    rv = self.invoke(ctx)
  File "D:\workTool\lib\site-packages\click\core.py", line 1395, in invoke
    return ctx.invoke(self.callback, **ctx.params)
  File "D:\workTool\lib\site-packages\click\core.py", line 754, in invoke
    return __callback(*args, **kwargs)
  File "D:\workTool\lib\site-packages\xinference\deploy\cmdline.py", line 225, in local
    start_local_cluster(
  File "D:\workTool\lib\site-packages\xinference\deploy\cmdline.py", line 112, in start_local_cluster
    main(
  File "D:\workTool\lib\site-packages\xinference\deploy\local.py", line 125, in main
    from ..api import restful_api
  File "D:\workTool\lib\site-packages\xinference\api\restful_api.py", line 27, in <module>
    import gradio as gr
  File "D:\workTool\lib\site-packages\gradio\__init__.py", line 3, in <module>
    import gradio._simple_templates
  File "D:\workTool\lib\site-packages\gradio\_simple_templates\__init__.py", line 1, in <module>
    from .simpledropdown import SimpleDropdown
  File "D:\workTool\lib\site-packages\gradio\_simple_templates\simpledropdown.py", line 6, in <module>
    from gradio.components.base import FormComponent
  File "D:\workTool\lib\site-packages\gradio\components\__init__.py", line 40, in <module>
    from gradio.components.multimodal_textbox import MultimodalTextbox
  File "D:\workTool\lib\site-packages\gradio\components\multimodal_textbox.py", line 28, in <module>
    class MultimodalTextbox(FormComponent):
  File "D:\workTool\lib\site-packages\gradio\component_meta.py", line 198, in __new__
    create_or_modify_pyi(component_class, name, events)
  File "D:\workTool\lib\site-packages\gradio\component_meta.py", line 92, in create_or_modify_pyi
    source_code = source_file.read_text()
  File "D:\workTool\lib\pathlib.py", line 1267, in read_text
    return f.read()
UnicodeDecodeError: 'gbk' codec can't decode byte 0xb2 in position 1972: illegal multibyte sequence
这是因为gradio的4.22版本有问题,可以安装旧版本来解决
pip install gradio==4.21.0安装成功后,可以正常运行

模型未启用GPU
启动模型后总是感觉卡卡的,试了以下命令
python -c "import torch; print(torch.cuda.is_available())"结果输出为False,说明根本没有启用CUDA
看了一下torch的版本

说明这个版本的torch是cpu版的,没有用到CUDA加速
后面发现是conda的问题,conda默认下载的torch都是CPU版本。
所以只能去官网下载cuda版本的torch
解决方法
1. 卸载原组件
在conda的目录\anaconda3\Lib\site-packages下,找到torch和torch-2.2.1.dist.info两个文件夹删除

接着去torch网站下载:
https://pytorch.org/get-started/locally/#no-cuda-1
然后选择相应的配置,即可得到下载链接
 可以直接在控制台执行命令:
pip3 install torch --index-url https://download.pytorch.org/whl/cu121安装成功后,再输入
python -c "import torch; print(torch.cuda.is_available())"输出True,可以正常使用CUDA加速了


 981
981


 被折叠的 条评论
为什么被折叠?
被折叠的 条评论
为什么被折叠?
 到【灌水乐园】发言


