


目录
一 官网创建版(IDEA不联网版)
适用于:IDEA联不了网,能上spring官网
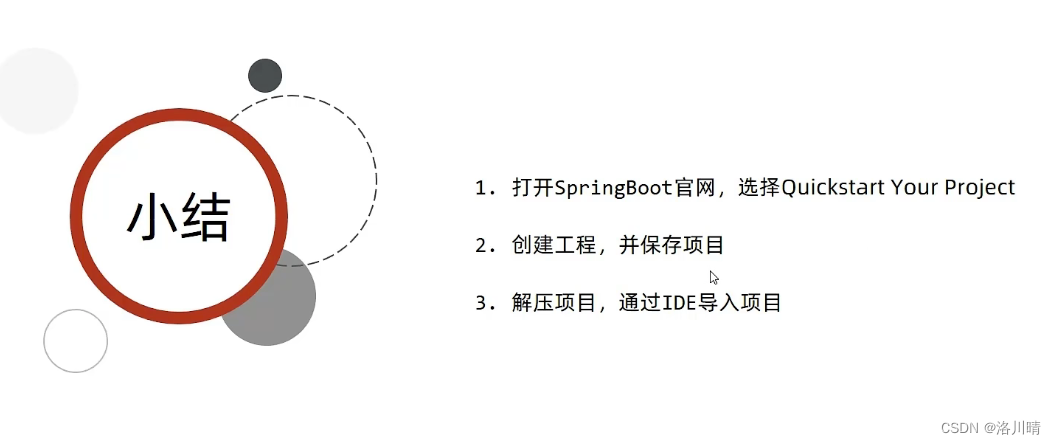
1 在spring官网填写项目信息
打开Spring官网:spring.io
Project--spring boot
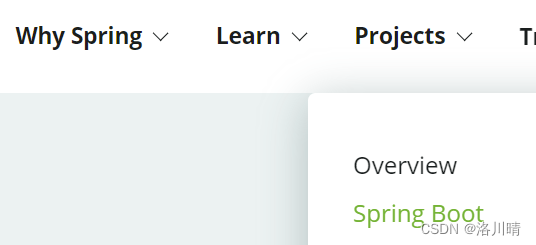
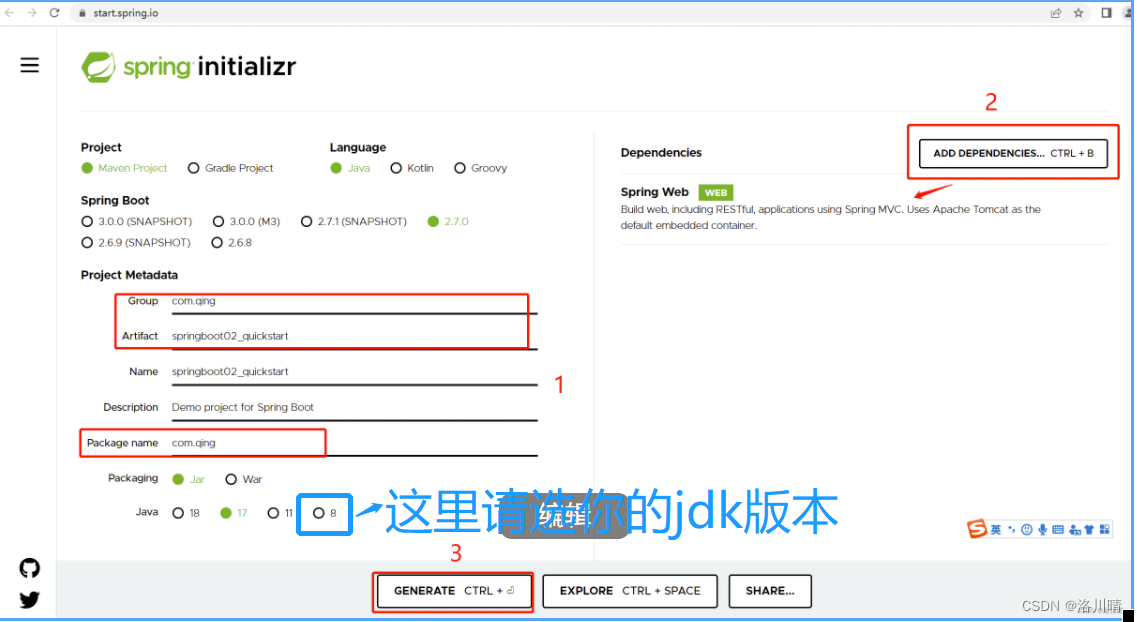
拖到网页的下面 -- Spring Initializr 填写项目信息,下载文件,解压缩
注意改一下jdk版本

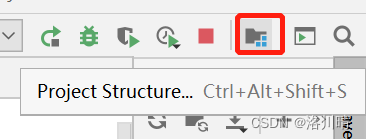
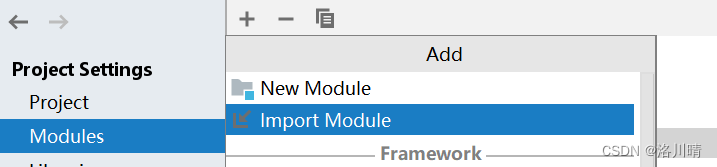
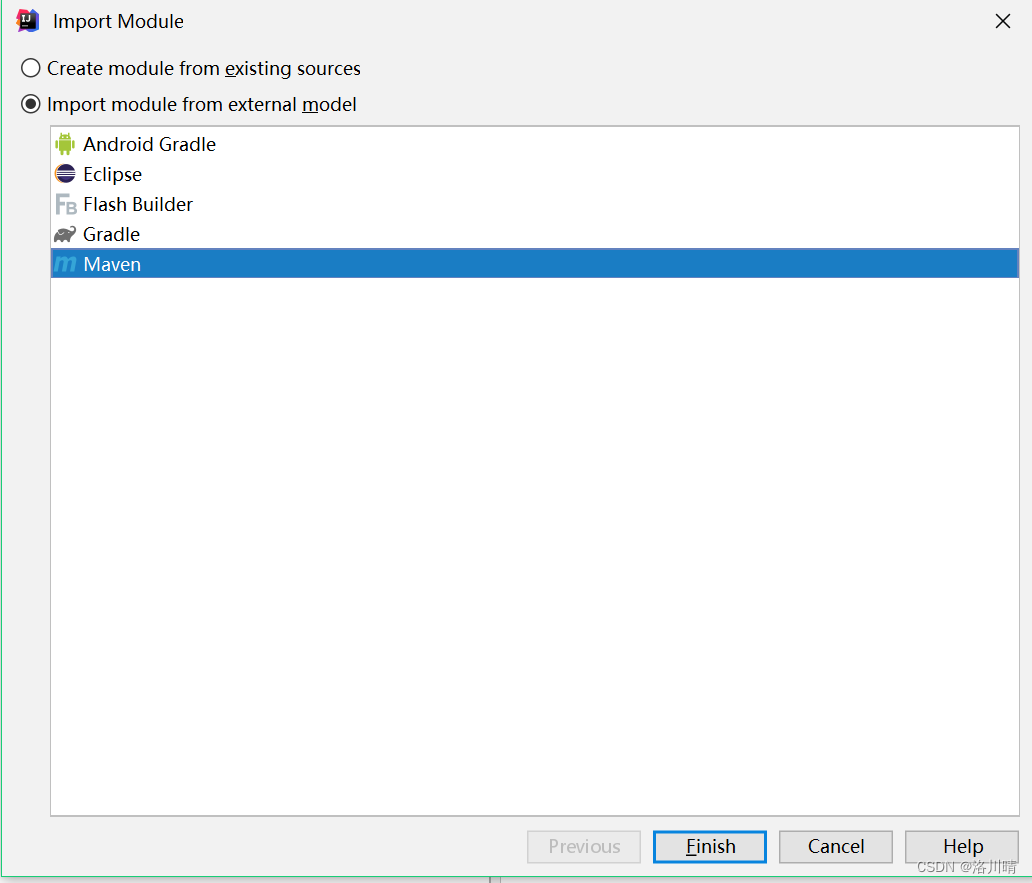
2 导入模块
project structure--modules-- + -- import module--选择刚下载到本地的文件--ok--finish
3 写控制器
package com.qing.controller;
import org.springframework.web.bind.annotation.GetMapping;
import org.springframework.web.bind.annotation.RequestMapping;
import org.springframework.web.bind.annotation.RestController;
//rest模式:写在类上,把类变成控制器
@RestController
//请求的url
@RequestMapping("/books")
public class BookController {
//请求方式是get
@GetMapping
public String getById(){
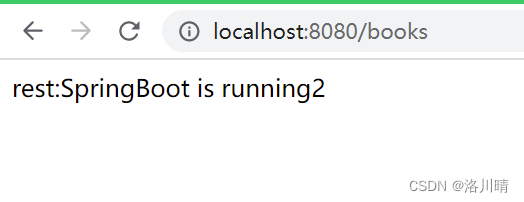
System.out.println("console:SpringBoot is running2");
return "rest:SpringBoot is running2";
}
}
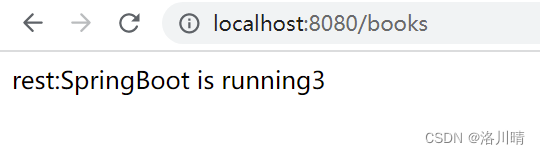
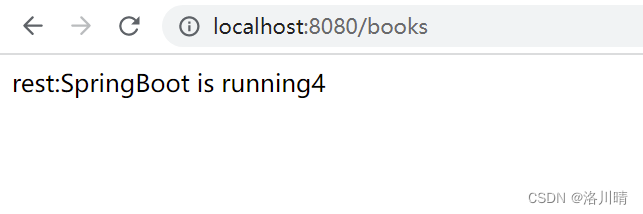
4 运行
如果出现这个错误请点这里:Error:java: 无效的源发行版
总结
二 阿里云版
https://start.aliyun.com
适用于:IDEA联不了网,spring的官网也上不去,能上国内的网
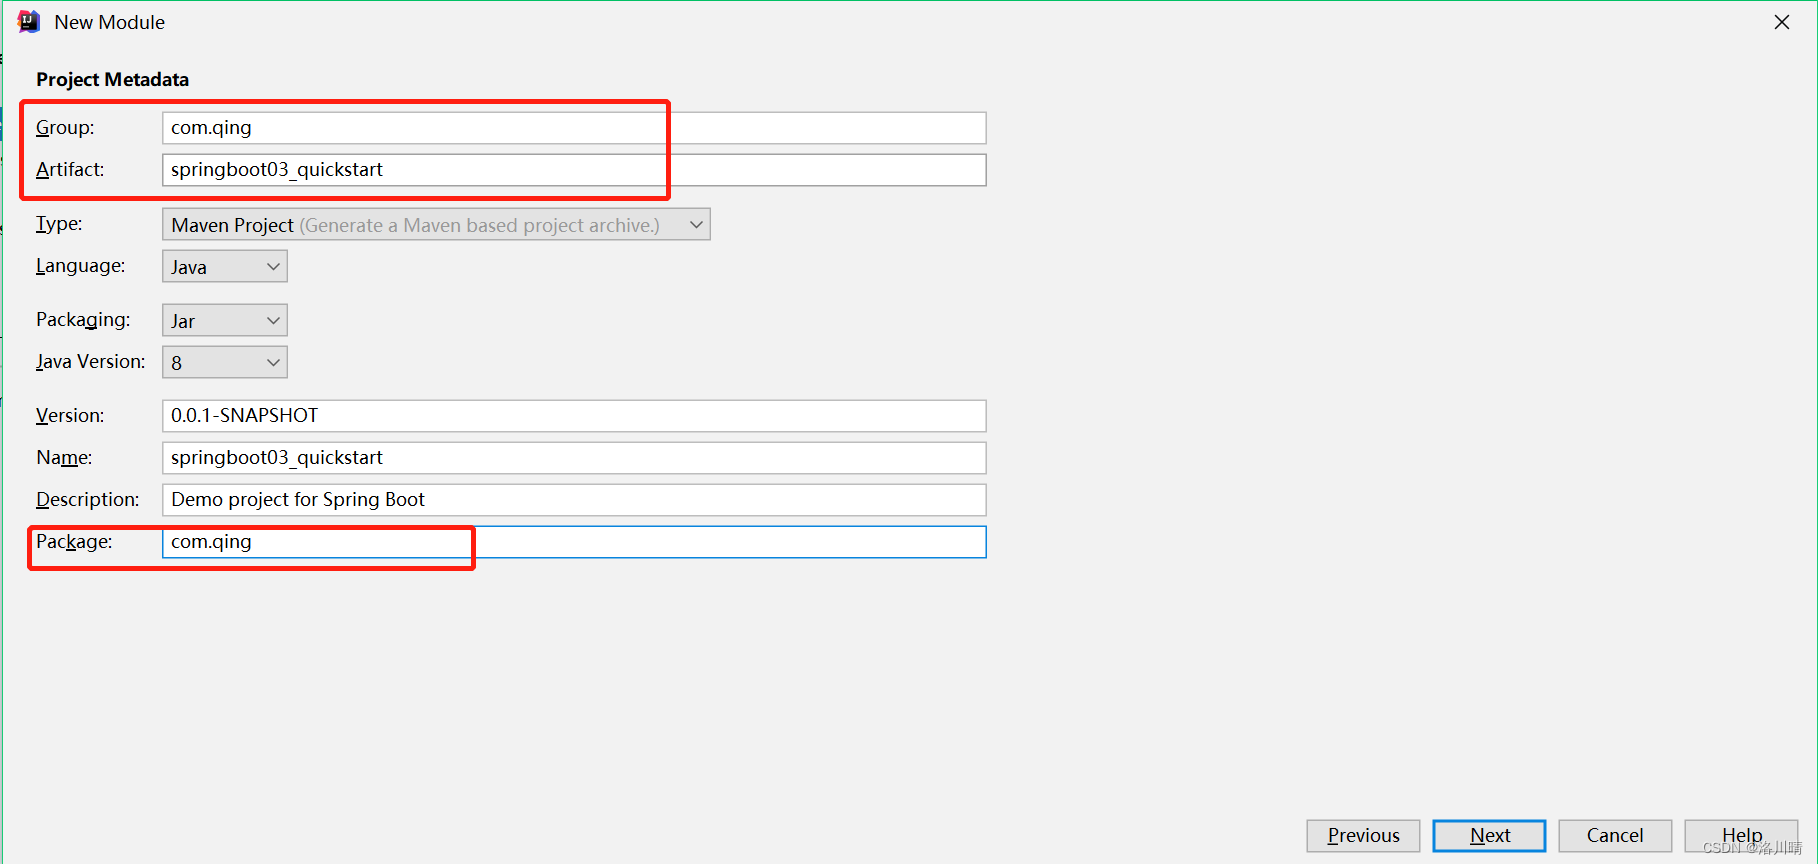
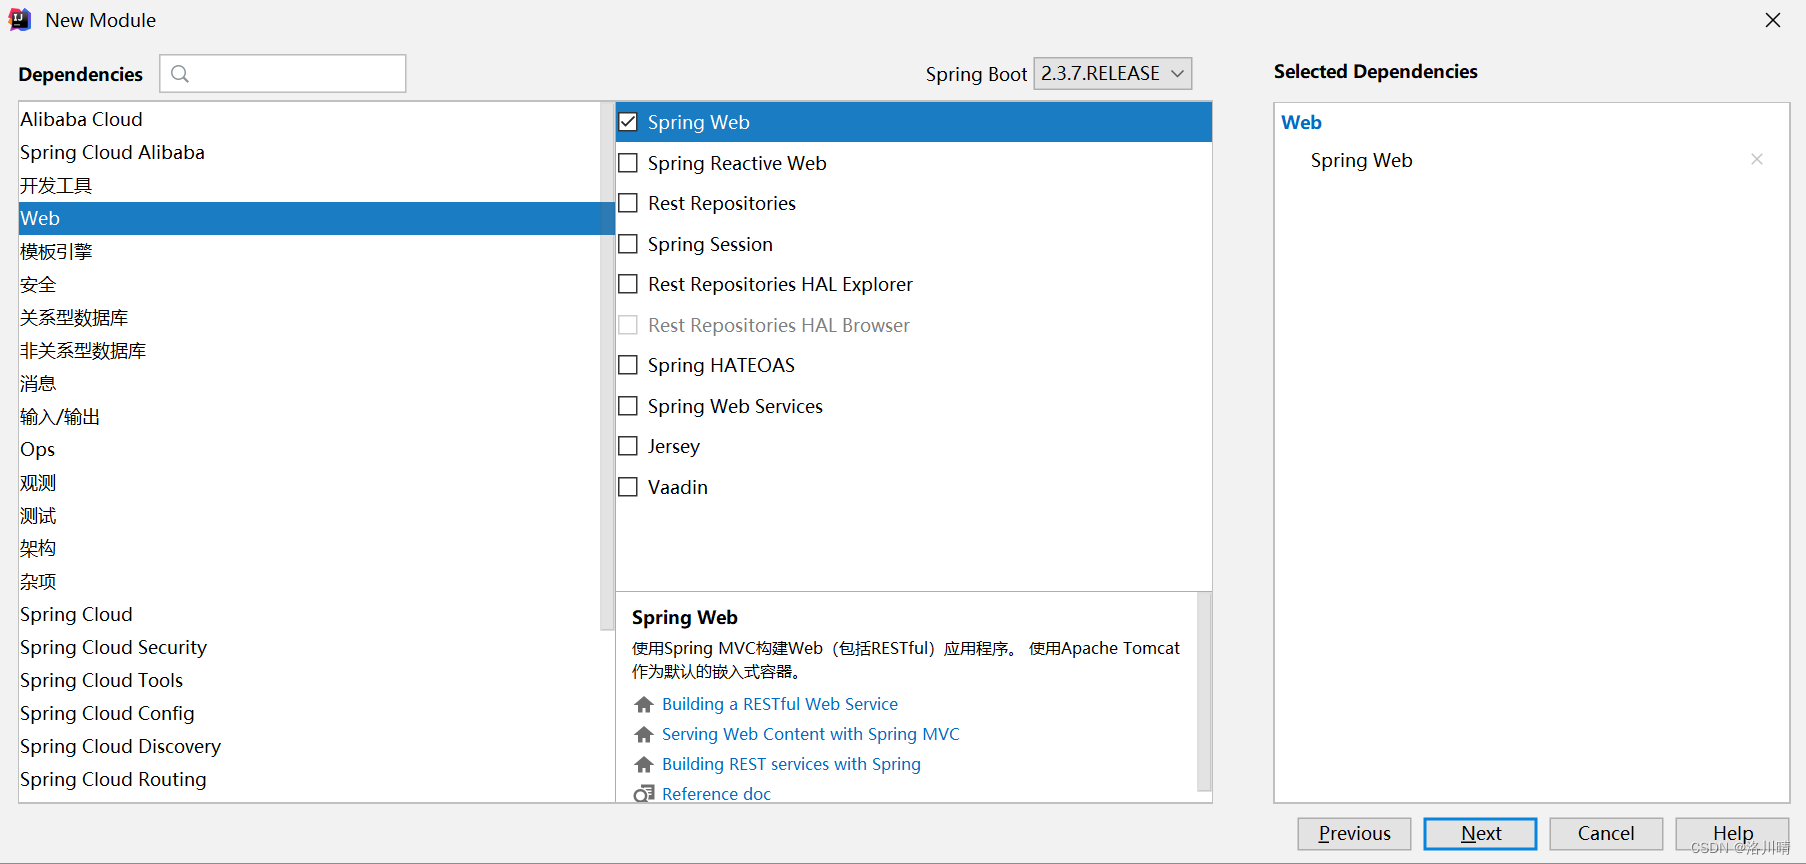
1 file -- project structure -- + -- new module -- spring initializr --custom:https://start.aliyun.com -- next -- 起模块名子 -- next -- 选择项目类型 -- next -- finish -- ok

java 文件夹上右键 -- make directory as -- resources root
pom.xml文件右键 -- add as a maven project -- 然后就开始下载依赖
2 复制controller的代码过去,运行
三 手工制作版
适用于:这台电脑曾经联过网,曾经启动过maven项目,现在联不了网
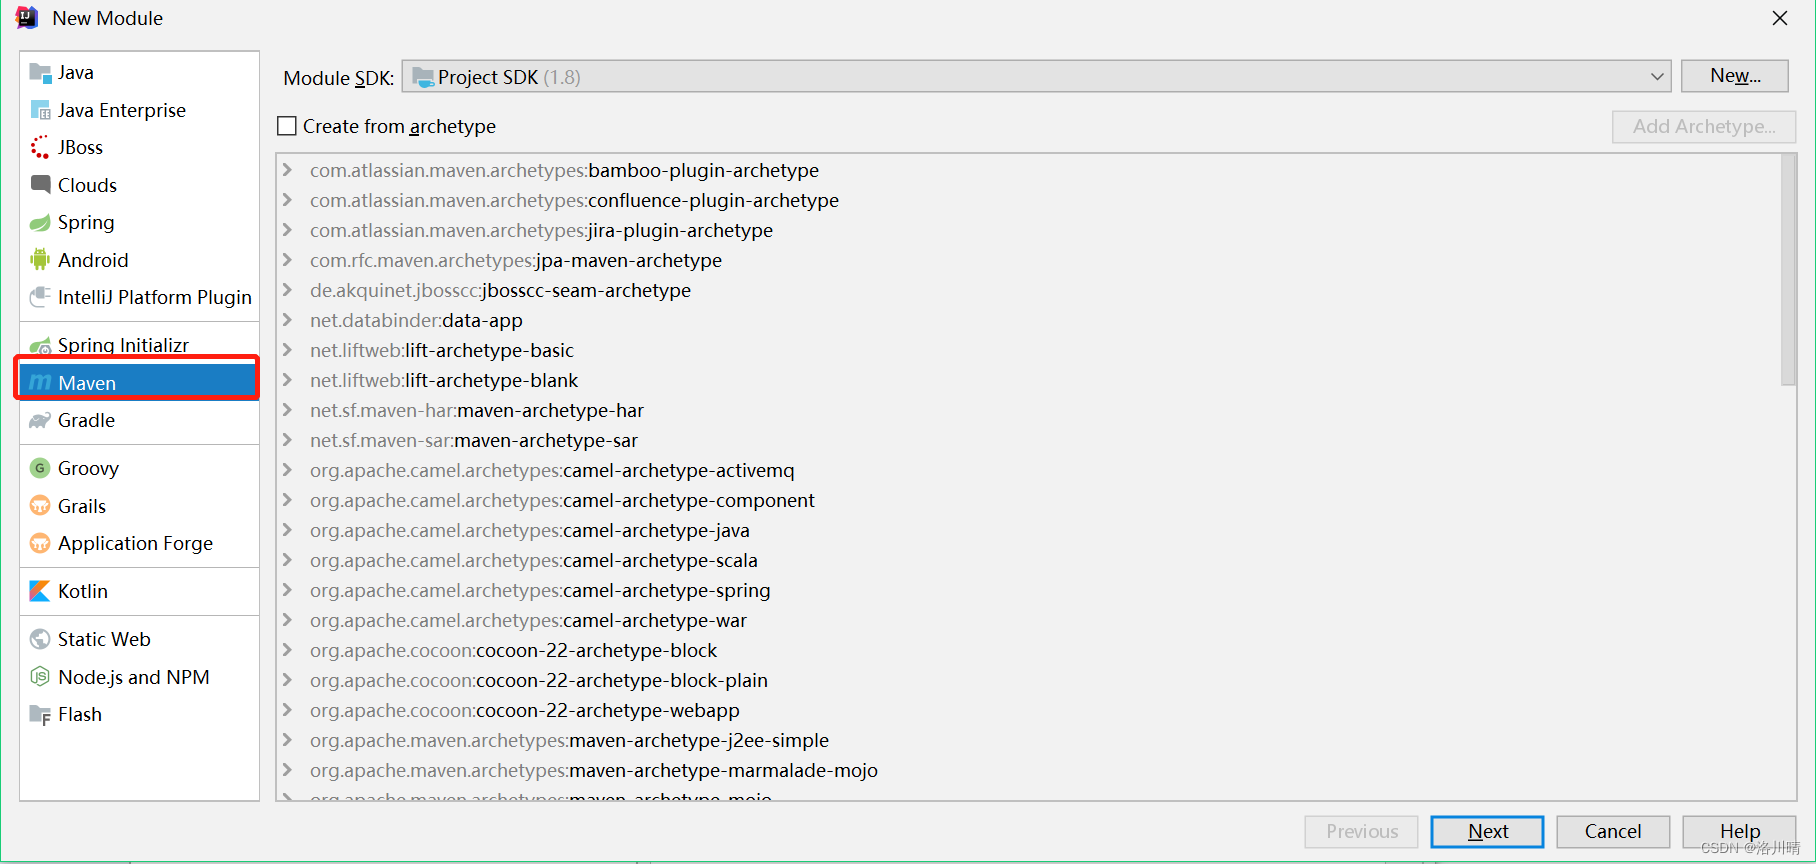
1 创建模块
file -- project structure --new module -- 选maven -- next -- 起模块名字 -- finish -- ok

2 修改pom.xml 文件
从以前的项目复制<parent>
从以前的项目复制<dependencies>
需要复制的如下代码:
<parent>
    <groupId>org.springframework.boot</groupId>
    <artifactId>spring-boot-starter-parent</artifactId>
    <version>2.7.0</version>
    <relativePath/> <!-- lookup parent from repository -->

</parent>
 <dependencies>
        <dependency>
            <groupId>org.springframework.boot</groupId>
            <artifactId>spring-boot-starter-web</artifactId>
        </dependency>
 </dependencies>
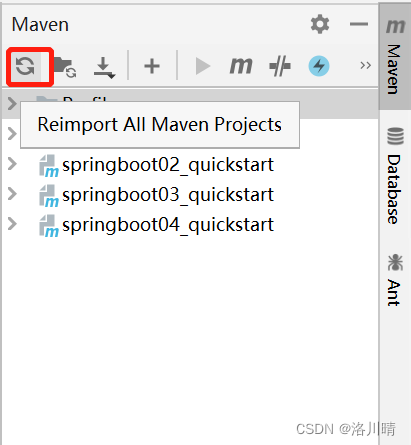
3 刷新maven,写一个启动应用程序
package com.qing;

import org.springframework.boot.SpringApplication;
import org.springframework.boot.autoconfigure.SpringBootApplication;

@SpringBootApplication
public class MyStartApplication {
    public static void main(String[] args) {
        SpringApplication.run(MyStartApplication.class, args);
    }
}
4 复制controller过去,启动


 2万+
2万+


 被折叠的 条评论
为什么被折叠?
被折叠的 条评论
为什么被折叠?
 到【灌水乐园】发言


