


@PropertySource 、 @ImportResource 、@Bean 三个注解讲解:
@PropertySource
之前4-1、4-2、4-3 做实验的时候 ,把配置数据都写在了SpringBoot的根配置文件上,是全局的,那这样肯定是不行的,如果写很多个yml文件或properties文件也会很乱,也可能会重复。
@PropertySource:加载指定的配置文件;
新建一个s1.properties 文件

person.last-name=BiHu
person.age=18
person.boss=false
person.birth=2025/10/10
person.maps.k1=value1
person.maps.k2=value2
person.lists=v1,v2,v3,v4
person.dog.name=小勾勾
person.dog.age=2
然后JavaBean中指定用某个配置文件:
package com.bihu.Bean;

import org.hibernate.validator.constraints.Email;
import org.springframework.beans.factory.annotation.Value;
import org.springframework.boot.context.properties.ConfigurationProperties;
import org.springframework.context.annotation.PropertySource;
import org.springframework.stereotype.Component;

import java.util.Date;
import java.util.List;
import java.util.Map;

@PropertySource("classpath:s1.properties")      //这个类 指定用这个配置文件【classpath 这个不多说了】
@Component
@ConfigurationProperties(prefix = "person")

public class JavaBean {

        private String lastName;
        private Integer age;
        private Boolean boss;
        private Date birth;
        private Map<String,Object> maps;
        private List<Object> lists;
        private Dog dog;

        @Override
        public String toString() {
            return "Person{" +
                    "lastName='" + lastName + '\'' +
                    ", age=" + age +
                    ", boss=" + boss +
                    ", birth=" + birth +
                    ", maps=" + maps +
                    ", lists=" + lists +
                    ", dog=" + dog +
                    '}';
        }

        public String getLastName() {
            return lastName;
        }

        public void setLastName(String lastName) {
            this.lastName = lastName;
        }

        public Integer getAge() {
            return age;
        }

        public void setAge(Integer age) {
            this.age = age;
        }

        public Boolean getBoss() {
            return boss;
        }

        public void setBoss(Boolean boss) {
            this.boss = boss;
        }

        public Date getBirth() {
            return birth;
        }

        public void setBirth(Date birth) {
            this.birth = birth;
        }

        public Map<String, Object> getMaps() {
            return maps;
        }

        public void setMaps(Map<String, Object> maps) {
            this.maps = maps;
        }

        public List<Object> getLists() {
            return lists;
        }

        public void setLists(List<Object> lists) {
            this.lists = lists;
        }

        public Dog getDog() {
            return dog;
        }

        public void setDog(Dog dog) {
            this.dog = dog;
        }
    }
可以看到 里面指定了用 classpath 目录下的s1.properties [classpath 是什么 自己去百度]
注意事项: 如果你SpringBoot 配置 也有一样的 Person 数据,那么因为权限大范围大 所以无论是否指定配置文件 都用SpringBoot的,但一般不会那样做。一般SpringBoot配置文件都是配SpringBoot自己。
有了这个注解 除了SpringBoot配置文件,其他的配置文件你都不用担心 "名字" 冲突。

就算s1 和 s2 一样的配置都是 Person 都不怕,因为指定了用s1。
完整写法: @PropertySource(value = {"classpath:xxx.properties"})
@ImportResource:
@ImportResource:导入Spring的配置文件,让配置文件里面的内容生效;
因为 Spring Boot里面没有Spring的配置文件,我们自己编写的配置文件,也不能自动识别; 想让Spring的配置文件生效,加载进来 就在主配置类上用这个注解,相当于导入了Spring配置文件xml
主配置类其实就是那个入口函数。
测试: 新建一个Spring配置文件 => 在主配置类 Application.java 使用@ImportResource注解 => 用SpringBoot单元测试 测试配置文件是否存在Bean:
<?xml version="1.0" encoding="UTF-8"?>
<beans xmlns="http://www.springframework.org/schema/beans"
       xmlns:xsi="http://www.w3.org/2001/XMLSchema-instance"
       xsi:schemaLocation="http://www.springframework.org/schema/beans http://www.springframework.org/schema/beans/spring-beans.xsd">
<!--     创建Bean s1   -->
        <bean id="s1" class="com.bihu.Bean.JavaBean"></bean>

</beans>
主配置类 Application.java:
package com.bihu;

import org.springframework.boot.SpringApplication;
import org.springframework.boot.autoconfigure.SpringBootApplication;
import org.springframework.context.annotation.ImportResource;

@ImportResource(locations = {"classpath:SpringApplication.xml"})  //导入Spring配置文件,可以导入多个【注意属性是locations】
@SpringBootApplication
public class Application {

    public static void main(String[] args) {
        SpringApplication.run(Application.class, args);
    }

}
Test.java :测试类:
package com.bihu;

import com.bihu.Bean.JavaBean;
import org.junit.Test;
import org.junit.runner.RunWith;
import org.springframework.beans.factory.annotation.Autowired;
import org.springframework.boot.test.context.SpringBootTest;
import org.springframework.context.ApplicationContext;
import org.springframework.test.context.junit4.SpringRunner;


@RunWith(SpringRunner.class)
@SpringBootTest
public class ApplicationTests {

    //测试Bean
    @Autowired
    ApplicationContext ioc;


    @Test
    public void contextLoads() {
        //如果主配置类未导入@ImportResource注解,那么会显示false
        System.out.println(ioc.containsBean("s1"));    //查看Spring配置文件是否存在Bean : s1
    }

}
运行可以发现 是teue,所以说 ,Spring配置可以导入多个,但如果不用@ImportSource 相当于没有,其次注意不是Value属性 是 locations 属性!
我们都是SpringBoot 了 ,怎么可能还用那种?退化? 我们要用全注解方式:
SpringBoot推荐给容器中添加组件的方式;推荐使用全注解的方式
配置文件 = 配置类 所以我们用配置类!
1、@Configuration : 指明一个类是 配置类,用来替代Spring配置文件。
2、使用@Bean给容器中添加组件
其中:配置类中方法名相当于组件默认ID,返回的值会添加到容器中。
新建一个配置类:
package com.bihu.config;


import com.bihu.Contorller.HelloController;
import org.springframework.context.annotation.Bean;
import org.springframework.context.annotation.Configuration;


@Configuration  //指明当前类是 配置类,用来替代Spring配置文件
public class MyAppConfig {

    @Bean   //将方法的返回值添加到容器中;容器中这个组件默认的id就是方法名
    public HelloController helloController(){
        System.out.println("注解@Bean生效 组件返回值将被加入到容器 默认id为:helloController");
        return new HelloController();
    }

}
然后在测试文件测试 看下 helloController 组件是否被加入到容器:
package com.bihu;

import org.junit.Test;
import org.junit.runner.RunWith;
import org.springframework.beans.factory.annotation.Autowired;
import org.springframework.boot.test.context.SpringBootTest;
import org.springframework.context.ApplicationContext;
import org.springframework.test.context.junit4.SpringRunner;


@RunWith(SpringRunner.class)
@SpringBootTest
public class ApplicationTests {

    @Autowired
    ApplicationContext ioc;

    @Test
    public void contextLoads() {
        System.out.println(ioc.containsBean("helloController"));
    }

}
运行结果:
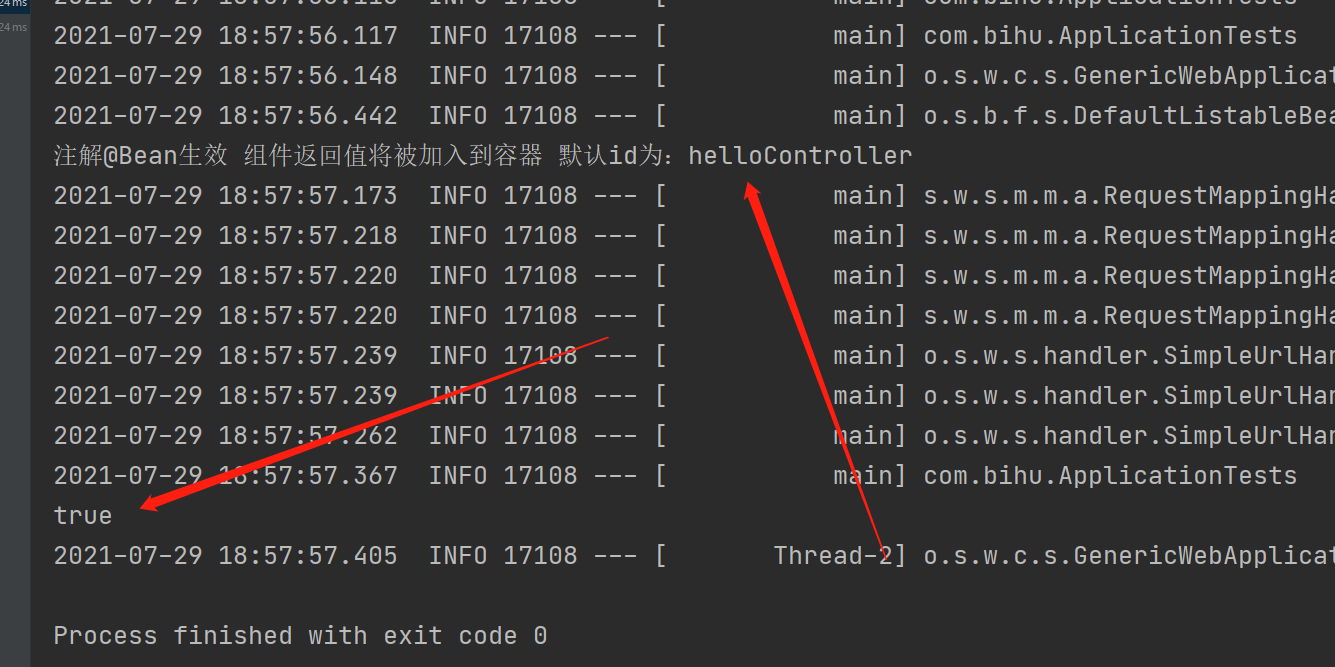
所以我们用配置类就好了 他制动会执行加入的。。。其他的你也要懂。


 783
783


 被折叠的 条评论
为什么被折叠?
被折叠的 条评论
为什么被折叠?
 到【灌水乐园】发言


