


1. 添加zabbix的yum源
将阿里云的 zabbix yum源上传到 /etc/yum.repos.d/ 目录下
[root@localhost ~]# cd /etc/yum.repos.d/
[root@localhost yum.repos.d]# ls zabbix_Aliyun.repo
zabbix_Aliyun.repo
[root@localhost yum.repos.d]#
1.2 zabbix_Aliyun.repo文件内容为
[zabbix]
name=Zabbix Official Repository - $basearch
baseurl=http://mirrors.aliyun.com/zabbix/zabbix/4.2/rhel/7/$basearch/
enabled=1
gpgcheck=0
gpgkey=file:///etc/pki/rpm-gpg/RPM-GPG-KEY-ZABBIX-A14FE591

[zabbix-debuginfo]
name=Zabbix Official Repository debuginfo - $basearch
baseurl=http://mirrors.aliyun.com/zabbix/zabbix/4.2/rhel/7/$basearch/debuginfo/
enabled=0
gpgkey=file:///etc/pki/rpm-gpg/RPM-GPG-KEY-ZABBIX-A14FE591
gpgcheck=0

[zabbix-non-supported]
name=Zabbix Official Repository non-supported - $basearch
baseurl=http://mirrors.aliyun.com/zabbix/non-supported/rhel/7/$basearch/
enabled=1
gpgkey=file:///etc/pki/rpm-gpg/RPM-GPG-KEY-ZABBIX
gpgcheck=0
2. 安装所需组件
yum -y install mariadb mariadb-server zabbix-web-mysql zabbix-server-mysql zabbix-agent httpd
3. 创建数据库和用户
启动数据库
[root@localhost ~]# systemctl start mariadb
[root@localhost ~]# mysql

创建zabbix数据库
MariaDB [(none)]> create database zabbix charset utf8;
Query OK, 1 row affected (0.00 sec)

给zabbix用户授权,密码为123
MariaDB [(none)]> grant all on zabbix.* to 'zabbix'@'localhost' identified by '123';
Query OK, 0 rows affected (0.00 sec)
4. 导入zabbix的初始数据到数据库中
zcat /usr/share/doc/zabbix-server-mysql-4.2.8/create.sql.gz | mysql zabbix
5. 配置zabbix-server配置文件,连接数据库
vim /etc/zabbix/zabbix_server.conf
   DBHost=localhost    # 数据库的主机
   DBName=zabbix       # 数据库的名字
   DBUser=zabbix       # 连接数据库的用户
   DBPassword=123      # 用户密码
   DBPort=3306         # 数据库端口
6. 配置php的时区
vim /etc/httpd/conf.d/zabbix.conf
修改第20行的时区
20 php_value date.timezone Asia/Shanghai
7. 启动所有服务并设置为开机自启
systemctl start httpd zabbix-server zabbix-agent
systemctl enable httpd zabbix-server zabbix-agent
systemctl stop firewalld
setenforce 0
查看端口服务是否开启成功
mysqld:3306   zabbix_agentd:10050
httpd:80      zabbix_server:10051
[root@localhost lamp]# netstat -nltp
Active Internet connections (only servers)
Proto Recv-Q Send-Q Local Address           Foreign Address         State       PID/Program name
tcp        0      0 127.0.0.1:25            0.0.0.0:*               LISTEN      1398/master
tcp        0      0 0.0.0.0:10050           0.0.0.0:*               LISTEN      3823/zabbix_agentd
tcp        0      0 0.0.0.0:10051           0.0.0.0:*               LISTEN      19697/zabbix_server
tcp        0      0 0.0.0.0:3306            0.0.0.0:*               LISTEN      3593/mysqld
tcp        0      0 0.0.0.0:22              0.0.0.0:*               LISTEN      1137/sshd
tcp6       0      0 ::1:25                  :::*                    LISTEN      1398/master
tcp6       0      0 :::10050                :::*                    LISTEN      3823/zabbix_agentd
tcp6       0      0 :::10051                :::*                    LISTEN      19697/zabbix_server
tcp6       0      0 :::80                   :::*                    LISTEN      4883/httpd
tcp6       0      0 :::22                   :::*                    LISTEN      1137/sshd
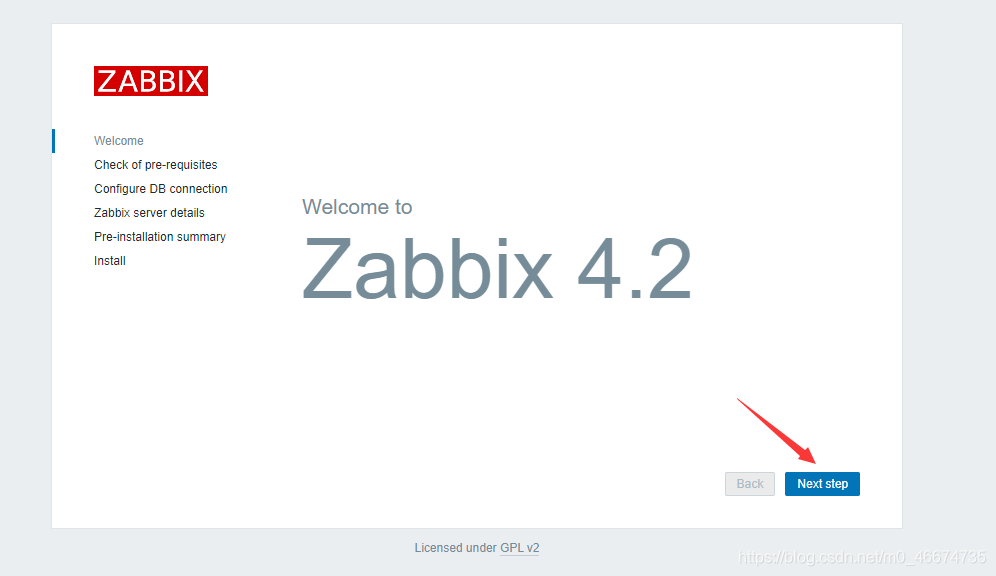
8. 打开浏览器设置zabbix
8.1 浏览器输入 IP/zabbix
例如:http://192.168.153.183/zabbix
可成功访问zabbix设置页面
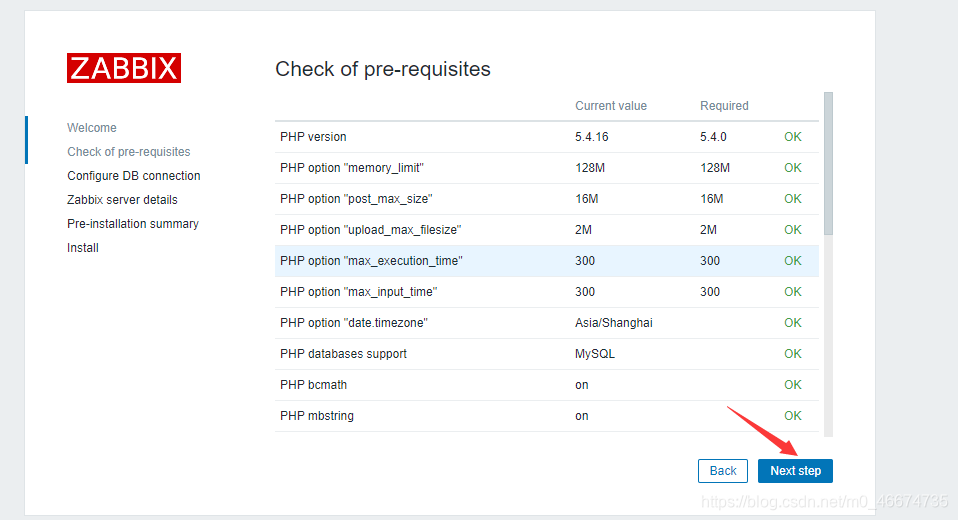
8.2
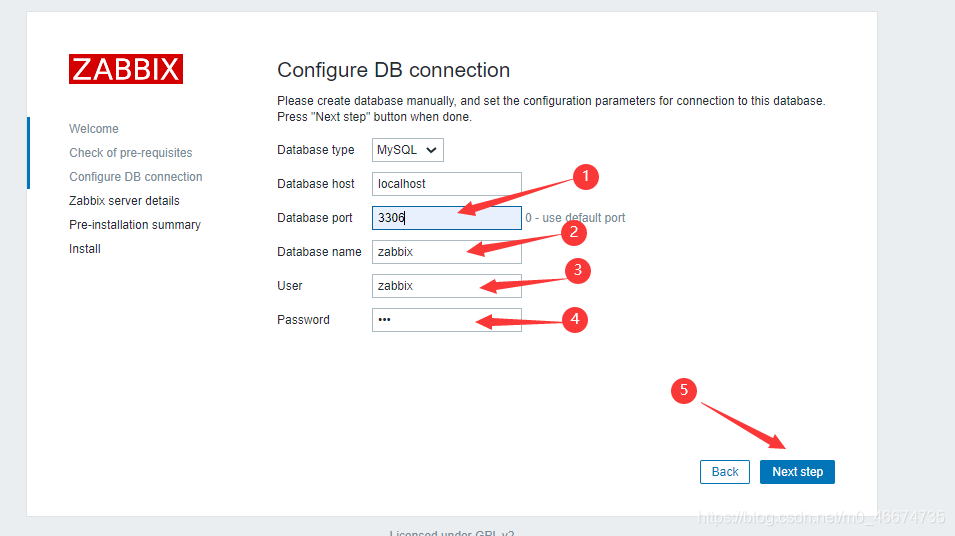
8.3 输入数据库的端口3306 用户名 zabbix 密码 123
8.4

8.5
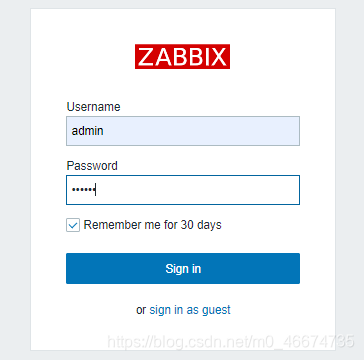
8.6 输入用户名 admin 密码 zabbix
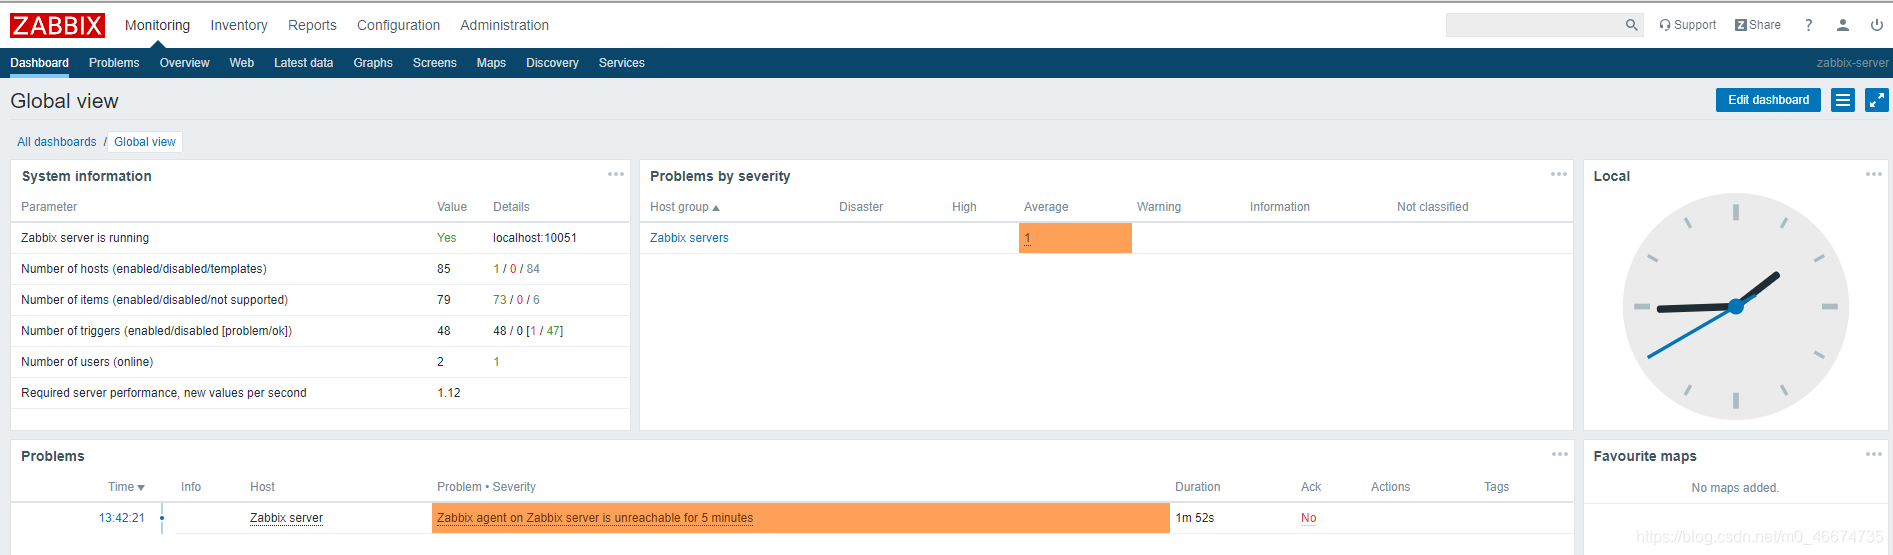
8.7 成功访问zabbix web页面
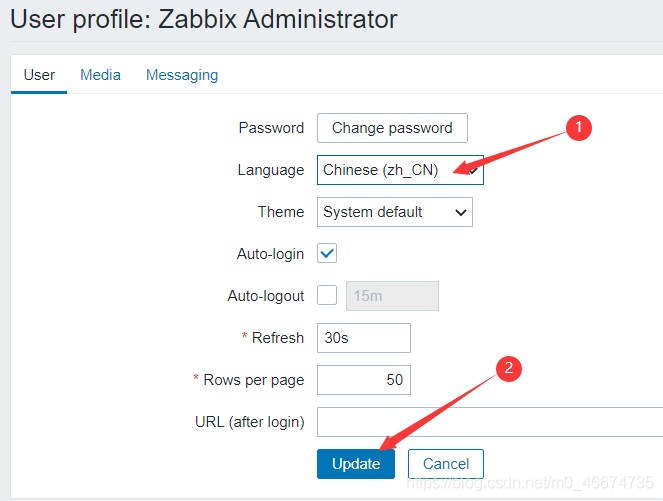
8.8 修改中文
8.8.1
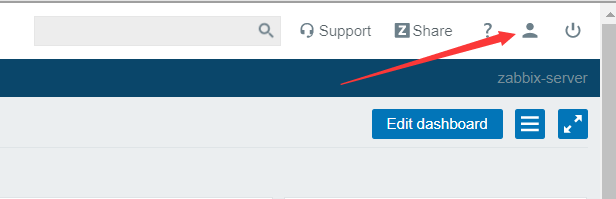
8.8.2
9. 图形中文乱码
9.1上传字体
上传电脑的字体到目录 /usr/share/zabbix/assets/fonts 下
例如黑体:
[root@localhost fonts]# ls
graphfont.ttf SIMHEI.TTF
9.2 上传完毕后重命名覆盖原先的字体
输入y覆盖即可
  [root@localhost fonts]# mv SIMHEI.TTF graphfont.ttf
   mv: overwrite ‘graphfont.ttf’? y
刷新页面之后乱码问题解决


 6811
6811


 被折叠的 条评论
为什么被折叠?
被折叠的 条评论
为什么被折叠?
 到【灌水乐园】发言


