


学习目标
1、 了解Spring Boot的默认安全管理
2、 掌握自定义用户认证的实现
3、 掌握自定义用户授权管理的实现
4、 掌握Security实现页面控制的实现
(一)创建简单的电影展示页面
- 引入依赖
<!-- Security与Thymeleaf整合实现前端页面安全访问控制 -->
<dependency>
<groupId>org.thymeleaf.extras</groupId>
<artifactId>thymeleaf-extras-springsecurity5</artifactId>
</dependency>
- 将index.html页面引入到resource文件夹下
- 将detail文件夹复制到templates文件夹下

- 新建FilmeController 控制类
//影片详情
@GetMapping("detail/{type}/{path}")
public String toDetail(@PathVariable("type") String type,
@PathVariable("path") String path){
return "detail/"+type+"/"+path;
}
- 测试
http://localhost:8080/index.html 或者 http://localhost:8080
(二)引入安全控制(框架自带)
- 引入依赖
<!-- 开启spring security安全验证-->
<dependency>
<groupId>org.springframework.boot</groupId>
<artifactId>spring-boot-starter-security</artifactId>
</dependency>
- 测试
观察控制台显示的内容。(仅引入上面依赖,没有添加任何启动安全验证。框架自动做了安全验证,浏览页面自动跳转到登录页面)
访问任意路径均自动跳转到了登录页面。该登录页面是框架建立。
http://localhost:8080/index.html 或者 http://localhost:8080
(三)内存身份认证(以下三种均为用户自定义)
- 新建SecurityConfig配置类
//@EnableWebSecurity是 @Configuration @Import @EnableGlobalAuthentication组合用法
@EnableWebSecurity
public class SecurityConfig extends WebSecurityConfigurerAdapter {
}
- 使用内存进行身份认证
新建方法,并添加下面代码:
@Override
protected void configure(AuthenticationManagerBuilder auth) throws Exception{
//1. 内存身份验证
//设置密码编码器(仅限于学习、测试用)
BCryptPasswordEncoder encoder = new BCryptPasswordEncoder();
//设置内存用户信息(仅限于学习、测试用)
auth.inMemoryAuthentication().passwordEncoder(encoder)
.withUser("shitou").password(encoder.encode("123456")).roles(("common"))
.and()
.withUser("admin").password(encoder.encode("123456")).roles(("vip"));
}
- 测试
输入用户名和密码,可以正常跳转到首页。
此种方法仅限于学习测试用,生产环境不可用(比赛中如果实在想不到其他方法,可以用。但可能会扣些分)。

(四)JDBC身份认证
- 往t_customer 和 t_authority插入数据
insert into t_customer values('1','shitou','$2a$10$PlJATR.VawcPErOc2ckjAutzFZZYzyumSQkFNMxQG74eWFzhk8Axe','1'),
('2','admin','$2a$10$PlJATR.VawcPErOc2ckjAutzFZZYzyumSQkFNMxQG74eWFzhk8Axe','1');

PS: 如何获得密码的密文:
//此方法也可以用在比赛中验证密码
@Test
void contextLoads() {
String password = "123456";
BCryptPasswordEncoder encoder = new BCryptPasswordEncoder();
String encodPwd = encoder.encode(password);
System.out.println("加密后的密码为:" + encodPwd);
// 校验这两个密码是否是同一个密码
// $2a$10$PlJATR.VawcPErOc2ckjAutzFZZYzyumSQkFNMxQG74eWFzhk8Axe
// matches方法第一个参数是原密码,第二个参数是加密后的密码
boolean matches = encoder.matches(password, encodPwd);
System.out.println("两个密码一致:" + matches);
}
- 添加依赖
<!-- JDBC数据库连接启动器 -->
<dependency>
<groupId>org.springframework.boot</groupId>
<artifactId>spring-boot-starter-jdbc</artifactId>
</dependency>
<!-- MySQL数据连接驱动 -->
<dependency>
<groupId>mysql</groupId>
<artifactId>mysql-connector-java</artifactId>
<version>8.0.32</version>
<scope>runtime</scope>
</dependency>
- 数据库配置连接
# MySQL???????
spring.datasource.url=jdbc:mysql://localhost:3306/blog_system?serverTimezone=UTC
spring.datasource.username=root
spring.datasource.password=root123
- 使用JDBC进行验证
protected void configure(AuthenticationManagerBuilder auth) throws Exception{
//2 JDBC验证(核心还是通过查询用户信息进行验证)
String userSQL ="select username,password,valid from t_customer " +
"where username = ?";
String authoritySQL="select c.username,a.authority from t_customer c,t_authority a,"+
"t_user_authority ca where ca.user_id=c.id " +
"and ca.authority_id=a.id and c.username =?";
auth.jdbcAuthentication().passwordEncoder(encoder)
.dataSource(dataSource)
.usersByUsernameQuery(userSQL)
.authoritiesByUsernameQuery(authoritySQL);
}
- 测试
输入用户名和密码,可以正常跳转到首页。
(五)使用UserDetailsService进行身份认证
- 新建CustomerService 服务类
方法一:根据用户名查询用户信息
首先从redis获取,若redis不存在,则从数据库查询,存在则放入redis
@Autowired
private CustomerRepository customerRepository;
// @Autowired
// private AuthorityRepository authorityRepository;
@Autowired
private RedisTemplate redisTemplate;
public Customer getCustomer(String username){
Customer customer=null;
//首先从redis查询用户信息
Object o = redisTemplate.opsForValue().get("customer_"+username);
if(o!=null){
customer=(Customer)o;
}else {
customer = customerRepository.findByUsername(username);
if(customer!=null){
redisTemplate.opsForValue().set("customer_"+username,customer);
}else{
return null ; //应该抛出记录不存在的异常
}
}
return customer;
}
方法二:业务控制:使用唯一用户名查询用户权限
根据用户名查询权限信息。
首先从redis获取,若redis不存在,则从数据库查询,存在则放入redis
- 定义实现类 UserDetailsServiceImpl
@Service
public class UserDetailsServiceImpl implements UserDetailsService {
@Autowired
private CustomerService customerService;
@Override
public UserDetails loadUserByUsername(String s) throws UsernameNotFoundException {
// 通过业务方法获取用户及权限信息
Customer customer = customerService.getCustomer(s);
List<Authority> authorities = customerService.getCustomerAuthority(s);
// 对用户权限进行封装(可能有多权限)
List<SimpleGrantedAuthority> list = authorities.stream().map(authority -> new SimpleGrantedAuthority(authority.getAuthority())).collect(Collectors.toList());
// 返回封装的UserDetails用户详情类
if(customer!=null){
UserDetails userDetails= new User(customer.getUsername(),customer.getPassword(),list);
return userDetails;
} else {
// 如果查询的用户不存在(用户名不存在),必须抛出此异常
throw new UsernameNotFoundException("当前用户不存在!");
}
}
}
- 使用UserDetailsService进行身份认证 SecurityConfig
protected void configure(AuthenticationManagerBuilder auth) throws Exception{
// 3、使用UserDetailsService进行身份认证
auth.userDetailsService(userDetailsService).passwordEncoder(encoder);
}
- redis序列化
新增 RedisConfig 配置类。源码略。
输入用户名和密码验证
(六)自定义用户访问控制(以下均为自定义用户授权管理内容)
6.1 自定义用户访问 SecurityConfig
/**
* 自定义用户访问控制
* @param http
* @throws Exception
*/
@Override
protected void configure(HttpSecurity http) throws Exception{
// 自定义用户授权管理
http.authorizeRequests()
.antMatchers("/").permitAll()
// 需要对static文件夹下静态资源进行统一放行
.antMatchers("/login/**").permitAll()
.antMatchers("/detail/common/**").hasRole("common") //普通权限可以访问
.antMatchers("/detail/vip/**").hasRole("vip") //vip权限才可以访问
.anyRequest().authenticated();
}
测试。不同权限用户登录测试验证。重启启动服务器后,刷新静态页面不会跳转到登录页面,因为对静态页面进行放行。
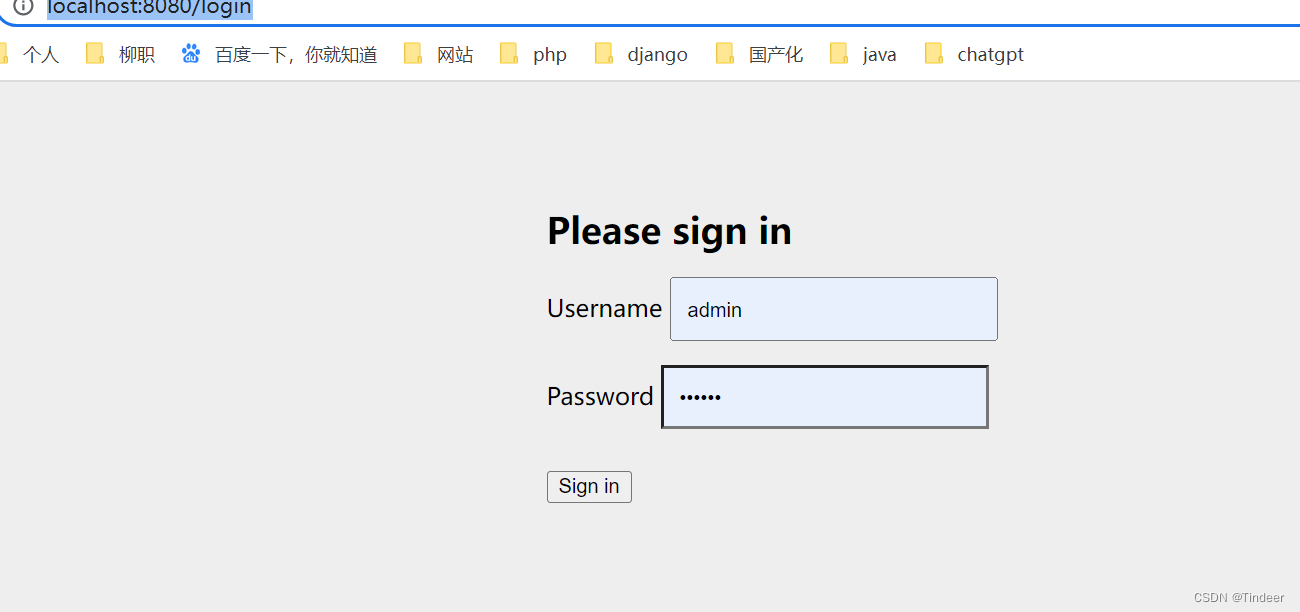
6.2 自定义登录页面(用户权限:shitou 均无法访问详细页面)
- 编写登录页面 login.html(并将css控制添加到resource文件夹下)
- 自定义用户登录跳转
@GetMapping("/userLogin")
public String toLogin(){
return "login/login";
}
- 自定义用户登录控制 SecurityConfig
@Override
protected void configure(HttpSecurity http) throws Exception{
// 自定义用户登录控制
http.formLogin()
.loginPage("/userLogin").permitAll()
.usernameParameter("name").passwordParameter("pwd")
.defaultSuccessUrl("/")
.failureUrl("/userLogin?error");
}
- 测试(正常登录到首页)
6.3自定义用户退出
- 在inde.html主页添加
<form th:action="@{/mylogout}" method="post">
<input th:type="submit" th:value="注销" />
</form>
- 自定义用户退出控制
- SecurityConfig
@Override
protected void configure(HttpSecurity http) throws Exception{
// 自定义用户退出控制
http.logout()
.logoutUrl("/mylogout")
.logoutSuccessUrl("/");
- 测试
(七)用户登录信息获取
- 通过传统的HttpSession获取Security控制的登录用户信息
详见: FilmeController 的getUser 方法
测试 http://localhost:8080/getuserBySession
- 通过Security提供的SecurityContextHolder获取登录用户信息
详见: FilmeController 的getUser2 方法
测试 http://localhost:8080/getuserByContext
(八)登录界面 记住我功能 实现
8.1 基于简单加密token的方式
- 在登录页面login.html添加代码
<div class="checkbox mb-3">
<label>
<input type="checkbox" name="rememberme"> 记住我
</label>
</div>
- 配置类
@Override
protected void configure(HttpSecurity http) throws Exception{
// 定制Remember-me记住我功能
http.rememberMe()
.rememberMeParameter("rememberme")
.tokenValiditySeconds(10000) //失效时间 毫秒
}
- 测试
8.2 基于持久化token的方式
- 新建 persistent_logins 表

- 配置文件类 SecurityConfig
@Override
protected void configure(HttpSecurity http) throws Exception{
// 定制Remember-me记住我功能
http.rememberMe()
.rememberMeParameter("rememberme")
.tokenValiditySeconds(10000) //失效时间 毫秒
// 对cookie信息进行持久化管理
.tokenRepository(tokenRepository());
}
/**
* 持久化Token存储
* @return
*/
@Bean
public JdbcTokenRepositoryImpl tokenRepository(){
JdbcTokenRepositoryImpl jr=new JdbcTokenRepositoryImpl();
jr.setDataSource(dataSource);
return jr;
}
- 测试
(九)CSRF防护
- 在templates下添加静态页面 csrfTest.html页面
<input type="hidden" th:name="${_csrf.parameterName}" th:value="${_csrf.token}"/>
<form method="post" action="/updateUser">
<input type="hidden" th:name="${_csrf.parameterName}" th:value="${_csrf.token}"/> (注释掉此行)
用户名: <input type="text" name="username" /><br />
密 码: <input type="password" name="password" /><br />
<button type="submit">修改</button>
</form>
使用了thymeleaf模板。 th:action="@{/updateUser}"自动携带了csrf的token
<form method="post" th:action="@{/updateUser}">
<!-- <input type="hidden" th:name="${_csrf.parameterName}" th:value="${_csrf.token}"/>-->
用户名: <input type="text" name="username" /><br />
密 码: <input type="password" name="password" /><br />
<button type="submit">修改</button>
</form>
- 新建CSRFController
@Controller
public class CSRFController {
// 向用户修改页跳转
@GetMapping("/toUpdate")
public String toUpdate() {
return "csrf/csrfTest";
}
// 用户修改提交处理
@ResponseBody
@PostMapping(value = "/updateUser")
public String updateUser(@RequestParam String username, @RequestParam String password,
HttpServletRequest request) {
System.out.println(username);
System.out.println(password);
String csrf_token = request.getParameter("_csrf");
System.out.println(csrf_token);
return "ok";
}
}
- 测试 会报错,证明被拦截。
关闭csrf拦截 SecurityConfig
/**
* 自定义用户访问控制
* @param http
* @throws Exception
*/
@Override
protected void configure(HttpSecurity http) throws Exception{
// 可以关闭Spring Security默认开启的CSRF防护功能
http.csrf().disable();
}
再次测试验证。
(十)Security管理前端页面
- 添加依赖
<!-- Security与Thymeleaf整合实现前端页面安全访问控制 -->
<dependency>
<groupId>org.thymeleaf.extras</groupId>
<artifactId>thymeleaf-extras-springsecurity5</artifactId>
</dependency>
- index.html主页添加代码
<h2 align="center"><span sec:authentication="name" style="color: #007bff"></span>您好,您的用户权限为<span sec:authentication="principal.authorities" style="color:darkkhaki"></span>,您有权观看以下电影</h2>
- 测试
项目结构:


附件:依赖
<dependencies>
<dependency>
<groupId>org.springframework.boot</groupId>
<artifactId>spring-boot-starter-freemarker</artifactId>
</dependency>
<dependency>
<groupId>org.springframework.boot</groupId>
<artifactId>spring-boot-starter-groovy-templates</artifactId>
</dependency>
<dependency>
<groupId>org.springframework.boot</groupId>
<artifactId>spring-boot-starter-mustache</artifactId>
</dependency>
<dependency>
<groupId>org.springframework.boot</groupId>
<artifactId>spring-boot-starter-thymeleaf</artifactId>
</dependency>
<!-- 开启spring security安全验证-->
<dependency>
<groupId>org.springframework.boot</groupId>
<artifactId>spring-boot-starter-security</artifactId>
</dependency>
<!-- JDBC数据库连接启动器 -->
<dependency>
<groupId>org.springframework.boot</groupId>
<artifactId>spring-boot-starter-jdbc</artifactId>
</dependency>
<!-- MySQL数据连接驱动 -->
<dependency>
<groupId>mysql</groupId>
<artifactId>mysql-connector-java</artifactId>
<version>8.0.32</version>
<scope>runtime</scope>
</dependency>
<dependency>
<groupId>org.springframework.boot</groupId>
<artifactId>spring-boot-starter-test</artifactId>
<scope>test</scope>
</dependency>
<!-- Spring Data JPA操作数据库 编写类时 -->
<dependency>
<groupId>org.springframework.boot</groupId>
<artifactId>spring-boot-starter-data-jpa</artifactId>
</dependency>
<!-- Redis缓存启动器-->
<dependency>
<groupId>org.springframework.boot</groupId>
<artifactId>spring-boot-starter-data-redis</artifactId>
</dependency>
<!-- get set-->
<dependency>
<groupId>org.projectlombok</groupId>
<artifactId>lombok</artifactId>
</dependency>
<!-- Security与Thymeleaf整合实现前端页面安全访问控制 -->
<dependency>
<groupId>org.thymeleaf.extras</groupId>
<artifactId>thymeleaf-extras-springsecurity5</artifactId>
</dependency>
</dependencies>
附件2:application.properties配置(注意使用到了redis)
# MySQL???????
spring.datasource.url=jdbc:mysql://localhost:3306/blog_system?serverTimezone=UTC
spring.datasource.username=root
spring.datasource.password=root123
# Redis?????
spring.redis.host=127.0.0.1
# Redis???????
spring.redis.port=6379
# Redis?????????????
spring.redis.password=
# thymeleaf??????????true?????????????false???????????true
spring.thymeleaf.cache=false
server.port=8081


 1080
1080


 被折叠的 条评论
为什么被折叠?
被折叠的 条评论
为什么被折叠?
 到【灌水乐园】发言


