


1、支付宝沙箱应用申请
https://open.alipay.com/develop/sandbox/app
打开支付宝沙箱能够看到如下信息:
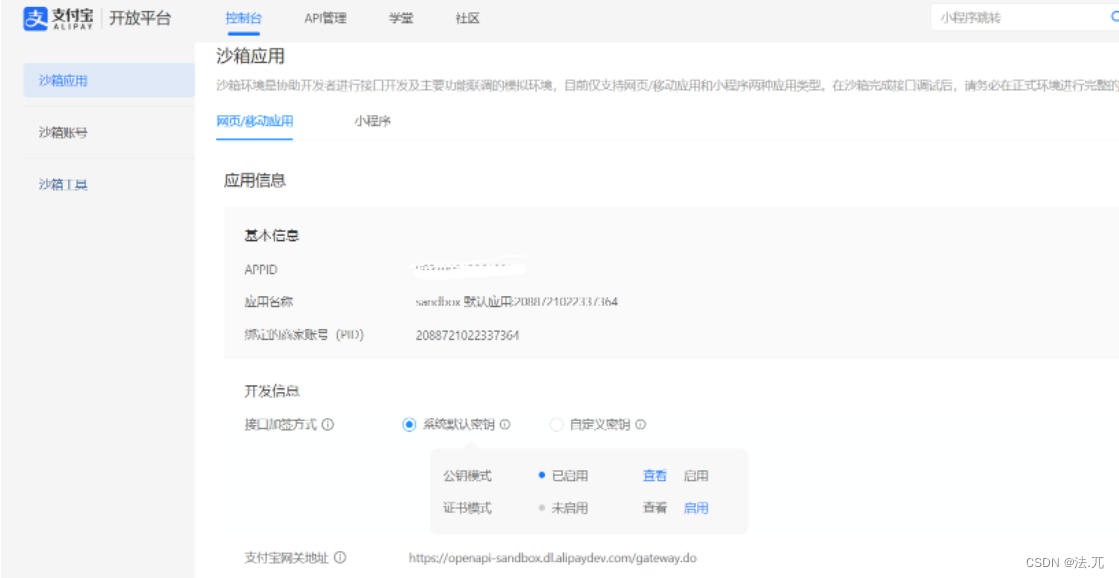
获取到appid;
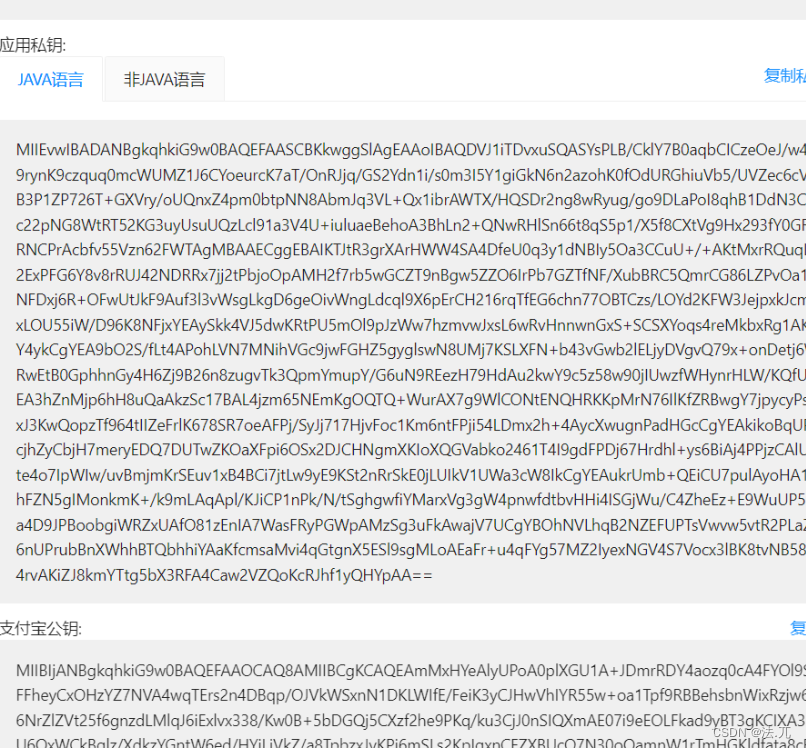
2、获取应用私钥以及支付宝公钥
在接口加密方式选择公钥模式启用,根据操作即可获取应用公钥、应用私钥以及支付宝公钥。
其中,我们需要用到的为支付宝公钥以及应用私钥
3、创建springboot项目并引入sdk
创建springboot就不在这里赘述,在开发支付宝支付功能中需要引入的maven依赖如下
<dependency>
    <groupId>com.alipay.sdk</groupId>
    <artifactId>alipay-easysdk</artifactId>
    <version>2.2.3</version>
</dependency>
以上依赖为编写时最新依赖,若开发时需要用到当时最新依赖请到maven查询
https://mvnrepository.com/artifact/com.alipay.sdk/alipay-easysdk
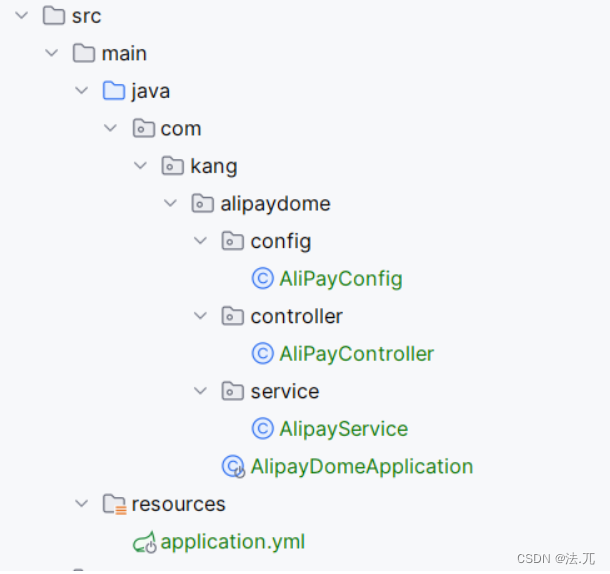
4、后端代码
后端结构如下
1)yml文件配置
alipay:
  # 应用ID,沙箱应用id
  appId: XXXXX
  # 应用私钥
  appPrivateKey: XXXX
  # 支付宝公钥
  alipayPublicKey: XXXXX
  # 异步回调地址,当前dome中并未使用
  notifyUrl:
2) config引入
import com.alipay.easysdk.factory.Factory;
import com.alipay.easysdk.kernel.Config;
import jakarta.annotation.PostConstruct;
import lombok.Data;
import org.springframework.boot.context.properties.ConfigurationProperties;
import org.springframework.stereotype.Component;

/**
 * @author <a href="https://github.com/fawu-K">fawu.K</a>
 * @since 2023-11-20 17:40
 **/

@Data
@Component
@ConfigurationProperties(prefix = "alipay")
public class AliPayConfig {
    private String appId;
    private String appPrivateKey;
    private String alipayPublicKey;
    private String notifyUrl;

    @PostConstruct
    public void init() {
        // 设置参数(全局只需设置一次)
        Config config = new Config();
        config.protocol = "https";
        // 沙箱网关
        config.gatewayHost = "openapi-sandbox.dl.alipaydev.com";
        config.signType = "RSA2";
        config.appId = this.appId;
        config.merchantPrivateKey = this.appPrivateKey;
        config.alipayPublicKey = this.alipayPublicKey;
        config.notifyUrl = this.notifyUrl;
        Factory.setOptions(config);
        System.out.println("=======支付宝SDK初始化成功=======");
    }
}
3)service层处理
import com.alipay.easysdk.factory.Factory;
import com.alipay.easysdk.kernel.util.ResponseChecker;
import com.alipay.easysdk.payment.page.models.AlipayTradePagePayResponse;
import org.springframework.stereotype.Service;

import java.math.BigDecimal;
import java.time.LocalDateTime;
import java.time.ZoneOffset;
import java.time.format.DateTimeFormatter;

/**
 * @author <a href="https://github.com/fawu-K">fawu.K</a>
 * @since 2023-11-20 17:40
 **/

@Service
public class AlipayService {

    /**
     * 生成支付表单
     * @param subject
     * @param money
     * @return
     * @throws Exception
     */
    public String toPay(String subject, BigDecimal money) throws Exception {
        // 最后一个参数是支付完成之后跳转到的界面, 一般为项目的首页
        AlipayTradePagePayResponse pay = Factory.Payment.Page().pay(subject, this.generateTradeNo(),
                String.valueOf(money), "http://localhost:8080");
        String payForm = null;
        if (ResponseChecker.success(pay)) {
            payForm = pay.getBody();
        }
        return payForm;
    }

    /**
     * 通过时间生成外部订单号 out_trade_no
     * @return
     */
    private String generateTradeNo() {
        DateTimeFormatter formatter = DateTimeFormatter.ofPattern("yyyyMMddHHmmssSSS");
        String tradeNo = LocalDateTime.now(ZoneOffset.of("+8")).format(formatter);
        return tradeNo;
    }
}
4)controller层
import com.kang.alipaydome.service.AlipayService;
import org.springframework.beans.factory.annotation.Autowired;
import org.springframework.web.bind.annotation.CrossOrigin;
import org.springframework.web.bind.annotation.GetMapping;
import org.springframework.web.bind.annotation.RequestMapping;
import org.springframework.web.bind.annotation.RestController;

import java.math.BigDecimal;

/**
 * @author <a href="https://github.com/fawu-K">fawu.K</a>
 * @since 2023-11-20 17:40
 **/

@RestController
@RequestMapping
@CrossOrigin(origins = "*")
public class AliPayController {
    @Autowired
    private AlipayService alipayService;

    @GetMapping("/pay")
    public String toPay() throws Exception {
        String form = alipayService.toPay("苹果15", new BigDecimal("100.00"));
        return form;
    }
}
5、测试
访问:http://localhost:8080/pay
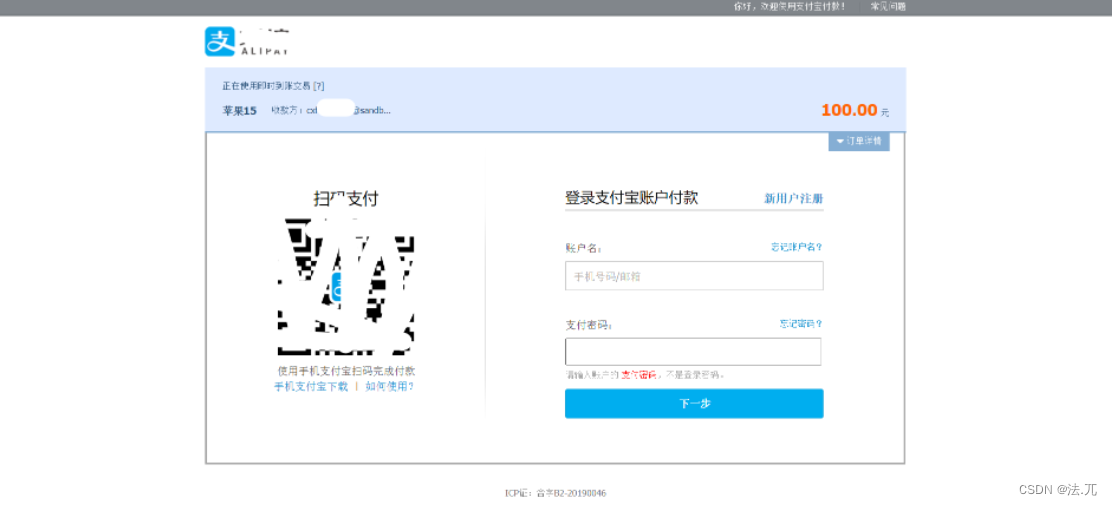
展示出如上页面即表示成功,此时通过沙箱账号里的买家账号支付即可,也可以使用沙箱工具中下载支付宝APP沙箱版扫码支付。

6、vue代码搭建
首先创建vue项目在此不赘述
1)vue3引入axios
npm install axios
创建 src/plugins/axiosInstance.js
import axios from 'axios'

const API = axios.create({
    baseURL: "http://localhost:8080",
    timeout: 30000
})

export default API
在main.js中引用axios
import { createApp } from 'vue'
import App from './App.vue'
import axios from "@/plugins/axiosInstance";

const app = createApp(App)

app.use(ElementPlus)
app.mount('#app')
app.config.globalProperties.$axios = axios
2)调用后端接口
<template>
  <button @click="buy">购买</button>
</template>

<script>
import API from "@/plugins/axiosInstance";
export default {
  data() {
    return {
      subject:'',
      money:null,
    }
  },
  methods:{
    buy(){
      API({
        url:'/pay',
        method: 'get'
      }).then((resp)=>{
        // 添加之前先删除一下,如果单页面,页面不刷新,添加进去的内容会一直保留在页面中,二次调用form表单会出错
        const divForm = document.getElementsByTagName("div");
        if (divForm.length) {
          document.body.removeChild(divForm[0]);
        }
        const div = document.createElement("div");
        div.innerHTML = resp.data; // data就是接口返回的form 表单字符串
        document.body.appendChild(div);
        //document.forms[0].setAttribute("target", "_blank"); // 新开窗口跳转
        document.forms[0].submit();
      });
    }
  }
}
</script>
完结
需要注意,如果发现第5步测试通过,但是在vue代码中调用接口却显示无法展示返回数据的话,请查看是否进行了跨域


 1593
1593


 被折叠的 条评论
为什么被折叠?
被折叠的 条评论
为什么被折叠?
 到【灌水乐园】发言


