


gulimall-代码生成
一、码云拉取前后端项目
通过人人开源生成代码
直接在项目目录录取后放进父POM文件
后台管理系统:git clone https://gitee.com/renrenio/renren-fast
后台管理前端:git clone https://gitee.com/renrenio/renren-fast-vue
代码生成器:git clone https://gitee.com/renrenio/renren-generator
# 拉取后删除文件里面的.git文件
1.父POM添加renren-fast模块
<modules>
    <module>gulimall-coupon</module>
    <module>gulimall-member</module>
    <module>gulimall-order</module>
    <module>gulimall-product</module>
    <module>gulimall-ware</module>

    <module>renren-fast</module>
</modules>
2.创建后台管理数据库
然后打开renren-fast/db/mysql.sql,复制全部,在sqlyog中创建库gulimall-admin,执行sql文件
3.修改项目里renren-fast中的application.yml
修改application-dev.yml中的数库库的url,修改数据库账号密码
4.运行
5.拉取前端代码
在目录路径下的命令行,输入npm install,拉取依赖
再输入npm run dev运行项目
测试登录系统
账号:admin密码admin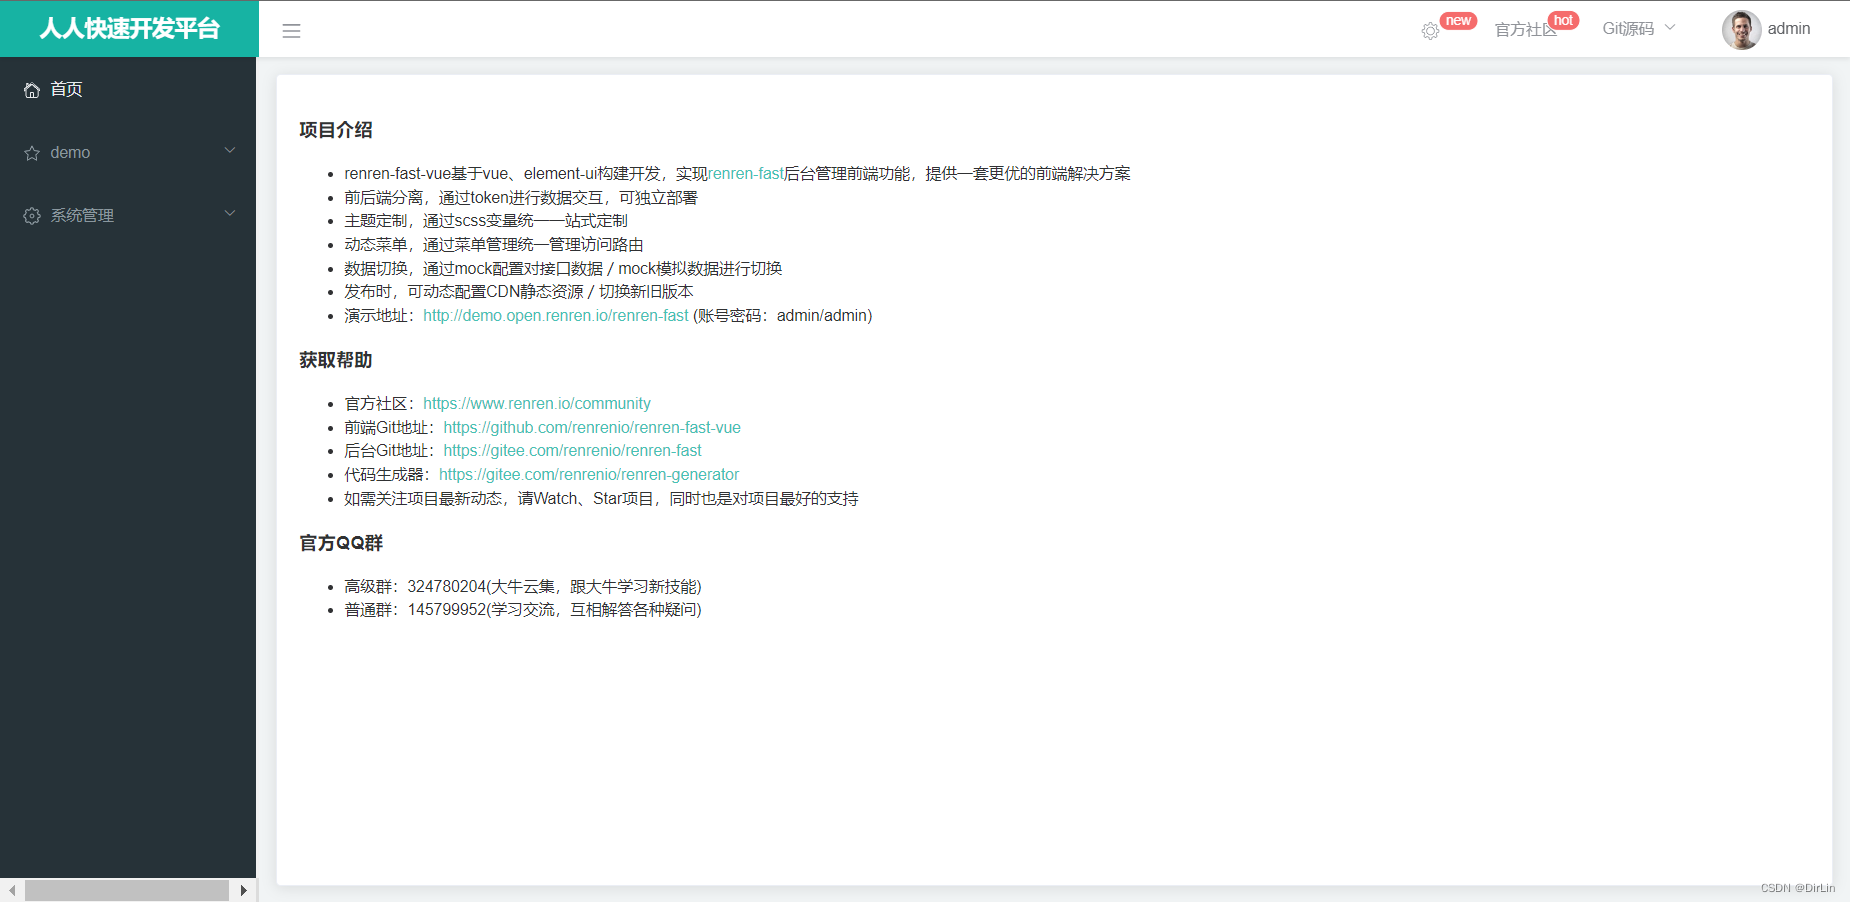
二、根据renren-generator生成代码
1.父POM添加renren-generator模块
<modules>
    <module>gulimall-coupon</module>
    <module>gulimall-member</module>
    <module>gulimall-order</module>
    <module>gulimall-product</module>
    <module>gulimall-ware</module>
    <module>renren-fast</module>
    <module>renren-generator</module>
</modules>
2.连接数据库
修改application.yml
连接不同的库,快速生成不同的代码
3.修改模板generator.properties
# 主目录
mainPath=com.it
#包名
package=com.it.xxx
#模块名
moduleName=xxx
#作者
author=xx
#email
email=xxx@qq.com
#表前缀(类名不会包含表前缀) # 我们的pms数据库中的表的前缀都pms
# 如果写了表前缀,每一张表对于的javaBean就不会添加前缀了
tablePrefix=pms_
4.运行选择全表生成
5.例子
连接数据库
url: jdbc:mysql://192.168.33.xx:3306/gulimall_oms?useUnicode=true&characterEncoding=UTF-8&useSSL=false&serverTimezone=Asia/Shanghai
    username: root
    password: root
修改模板
# 代码生成器配置文件

# 主目录
mainPath=com.jyyy
# 包名
package=com.jyyy.gulimall
# 模块名
moduleName=order
# 作者
author=jyyy
#Email
email=jyyy@gmail.com
# 表前缀
tablePrefix=oms_

# 转换类型
tinyint=Integer
smallint=Integer
mediumint=Integer
int=Integer
integer=Integer
bigint=Long
float=Float
double=Double
decimal=BigDecimal
bit=Boolean

char=String
varchar=String
tinytext=String
text=String
mediumtext=String
longtext=String


date=Date
datetime=Date
timestamp=Date

NUMBER=Integer
INT=Integer
INTEGER=Integer
BINARY_INTEGER=Integer
LONG=String
FLOAT=Float
BINARY_FLOAT=Float
DOUBLE=Double
BINARY_DOUBLE=Double
DECIMAL=BigDecimal
CHAR=String
VARCHAR=String
VARCHAR2=String
NVARCHAR=String
NVARCHAR2=String
CLOB=String
BLOB=String
DATE=Date
DATETIME=Date
TIMESTAMP=Date
TIMESTAMP(6)=Date

int8=Long
int4=Integer
int2=Integer
numeric=BigDecimal

nvarchar=String
启动项目,进入当前端口
选择所有表并生成代码

三、创建common模块存放公共类
步骤
然后在项目上右击(在项目上右击很重要)new modules— maven—然后在name上输入gulimall-common。

在pom.xml中也自动添加了<module>gulimall-common</module>

依赖版本也交给父pom管理

在common项目的pom.xml中添加
common pom
<?xml version="1.0" encoding="UTF-8"?>
<project xmlns="http://maven.apache.org/POM/4.0.0"
         xmlns:xsi="http://www.w3.org/2001/XMLSchema-instance"
         xsi:schemaLocation="http://maven.apache.org/POM/4.0.0 http://maven.apache.org/xsd/maven-4.0.0.xsd">
    <parent>
        <artifactId>gulimall</artifactId>
        <groupId>com.jyyy.gulimall</groupId>
        <version>0.0.1-SNAPSHOT</version>
    </parent>
    <modelVersion>4.0.0</modelVersion>

    <artifactId>gulimall-common</artifactId>

<!--    依赖版本也交给父pom管理-->
    <dependencies>
        <dependency>
            <groupId>com.baomidou</groupId>
            <artifactId>mybatis-plus-boot-starter</artifactId>
        </dependency>
        <dependency>
            <groupId>mysql</groupId>
            <artifactId>mysql-connector-java</artifactId>
        </dependency>

        <dependency>
            <groupId>org.apache.httpcomponents</groupId>
            <artifactId>httpcore</artifactId>
        </dependency>
        <dependency>
            <groupId>commons-lang</groupId>
            <artifactId>commons-lang</artifactId>
        </dependency>

        <dependency>
            <groupId>org.projectlombok</groupId>
            <artifactId>lombok</artifactId>
        </dependency>

        <!--        <dependency>-->
        <!--            <groupId>org.hibernate</groupId>-->
        <!--            <artifactId>hibernate-validator</artifactId>-->
        <!--            <version>5.0.2.Final</version>-->
        <!--        </dependency>-->

        <dependency>
            <groupId>org.springframework.boot</groupId>
            <artifactId>spring-boot-starter-web</artifactId>
        </dependency>
        <dependency>
            <groupId>org.springframework.cloud</groupId>
            <artifactId>spring-cloud-starter-openfeign</artifactId>
            <exclusions>
                <exclusion>
                    <groupId>com.google.code.findbugs</groupId>
                    <artifactId>jsr305</artifactId>
                </exclusion>
            </exclusions>
        </dependency>

        <dependency>
            <groupId>org.springframework.boot</groupId>
            <artifactId>spring-boot-starter-test</artifactId>
            <scope>test</scope>
        </dependency>
        <dependency>
            <groupId>javax.validation</groupId>
            <artifactId>validation-api</artifactId>
            <version>2.0.1.Final</version>
        </dependency>
    </dependencies>

</project>
父pom
<?xml version="1.0" encoding="UTF-8"?>
<project xmlns="http://maven.apache.org/POM/4.0.0" xmlns:xsi="http://www.w3.org/2001/XMLSchema-instance"
         xsi:schemaLocation="http://maven.apache.org/POM/4.0.0 https://maven.apache.org/xsd/maven-4.0.0.xsd">
    <modelVersion>4.0.0</modelVersion>

    <groupId>com.jyyy.gulimall</groupId>
    <artifactId>gulimall</artifactId>
    <version>0.0.1-SNAPSHOT</version>
    <name>gulimall</name>
    <description>聚合服务</description>

    <packaging>pom</packaging>

    <modules>
        <module>gulimall-coupon</module>
        <module>gulimall-member</module>
        <module>gulimall-order</module>
        <module>gulimall-product</module>
        <module>gulimall-ware</module>
        <module>renren-fast</module>
        <module>renren-generator</module>
        <module>gulimall-common</module>
    </modules>

    <!--  这里的属性会被子模块继承  -->
    <properties>
        <java.version>1.8</java.version>
        <mall.version>0.0.1-SNAPSHOT</mall.version>
        <maven.compiler.source>8</maven.compiler.source>
        <maven.compiler.target>8</maven.compiler.target>
        <lombok.version>1.18.18</lombok.version>
        <mybatis-plus.version>3.4.2</mybatis-plus.version>
        <mysql.version>8.0.23</mysql.version>
        <http.components.version>4.4.13</http.components.version>
        <commons.lang.version>2.6</commons.lang.version>
        <spring.boot.version>2.4.3</spring.boot.version>
        <spring-cloud.version>2020.0.1</spring-cloud.version>
    </properties>
<!--    在dependencyManagement元素中声明所依赖的jar包的版本号等信息,那么所有子项目再次引入此依赖jar包时则无需显式的列出版本号-->
    <dependencyManagement>
        <dependencies>
            <dependency>
                <groupId>org.springframework.boot</groupId>
                <artifactId>spring-boot-dependencies</artifactId>
                <version>${spring.boot.version}</version>
                <type>pom</type>
                <scope>import</scope>
            </dependency>
            <dependency>
                <groupId>org.springframework.cloud</groupId>
                <artifactId>spring-cloud-dependencies</artifactId>
                <version>${spring-cloud.version}</version>
                <type>pom</type>
                <scope>import</scope>
            </dependency>

            <dependency>
                <groupId>com.baomidou</groupId>
                <artifactId>mybatis-plus-boot-starter</artifactId>
                <version>${mybatis-plus.version}</version>
            </dependency>

            <dependency>
                <groupId>mysql</groupId>
                <artifactId>mysql-connector-java</artifactId>
                <version>${mysql.version}</version>
            </dependency>

            <!-- https://mvnrepository.com/artifact/org.apache.httpcomponents/httpcore -->
            <dependency>
                <groupId>org.apache.httpcomponents</groupId>
                <artifactId>httpcore</artifactId>
                <version>${http.components.version}</version>
            </dependency>
            <dependency>
                <groupId>commons-lang</groupId>
                <artifactId>commons-lang</artifactId>
                <version>${commons.lang.version}</version>
            </dependency>

            <dependency>
                <groupId>org.projectlombok</groupId>
                <artifactId>lombok</artifactId>
                <version>${lombok.version}</version>
            </dependency>

<!--            所有子模块都继承,所以锁定版本号-->
            <dependency>
                <groupId>com.jyyy.gulimall</groupId>
                <artifactId>gulimall-common</artifactId>
                <version>${mall.version}</version>
            </dependency>
        </dependencies>
    </dependencyManagement>

    <!--  这里的依赖会被子模块继承  -->
    <dependencies>
        <dependency>
            <groupId>org.springframework.boot</groupId>
            <artifactId>spring-boot-starter-test</artifactId>
            <scope>test</scope>
        </dependency>
    </dependencies>
</project>
子模块pom加入common依赖
<dependency>
    <groupId>com.jyyy.gulimall</groupId>
    <artifactId>gulimall-common</artifactId>
    <version>0.0.1-SNAPSHOT</version>
</dependency>
复制工具类
(工具类出错,复制别人代码仓工具类,复制后报错,查看上一级代码目录是否导入依赖)
复制renren-fast----utils包下的Query和PageUtils、R、Constant复制到common项目的java/com.jyyy.gulimall.utils下

把@RequiresPermissions这些注解掉,因为是shiro的
注释掉项目下类中的//import org.apache.shiro.authz.annotation.RequiresPermissions;

复制renren-fast中的xss包粘贴到common的com.jyyy.gulimall目录下。
四、每一个子模块用yml代替properties
application.yml
spring:
  datasource:
    username: root
    password: root
    url: jdbc:mysql://192.168.33.10:3306/gulimall_pms?useUnicode=true&characterEncoding=UTF-8&useSSL=false&serverTimezone=Asia/Shanghai
    driver-class-name:com.mysql.cj.jdbc.Driver

# MapperScan
# sql映射文件位置
mybatis-plus:
  mapper-locations: classpath:/mapper/**/*.xml
  global-config:
    db-config:
      id-type: auto
五、启动类扫描mapper
在主启动类上加上注解@MapperScan()
package com.jyyy.gulimall.product;

import org.mybatis.spring.annotation.MapperScan;
import org.springframework.boot.SpringApplication;
import org.springframework.boot.autoconfigure.SpringBootApplication;

@MapperScan("com.jyyy.gulimall.product.dto")
@SpringBootApplication
public class GulimallProductApplication {

    public static void main(String[] args) {
        SpringApplication.run(GulimallProductApplication.class, args);
    }

}
六、测试
package com.jyyy.gulimall.product;

import com.jyyy.gulimall.product.entity.BrandEntity;
import com.jyyy.gulimall.product.service.BrandService;
import org.junit.Test;
import org.junit.runner.RunWith;
import org.springframework.beans.factory.annotation.Autowired;
import org.springframework.boot.test.context.SpringBootTest;
import org.springframework.test.context.junit4.SpringRunner;

@RunWith(SpringRunner.class)
@SpringBootTest
public class GulimallProductApplicationTests {

    @Autowired
    BrandService brandService;

    @Test
    public void contextLoads(){
        BrandEntity brandEntity = new BrandEntity();
        brandEntity.setName("华为");
        brandService.save(brandEntity);
        System.out.println("保存成功");
    }

}
方法一、运行后查看数据库是否有新增
方法二、依次修改配置,启动项目,随意测试一个端口
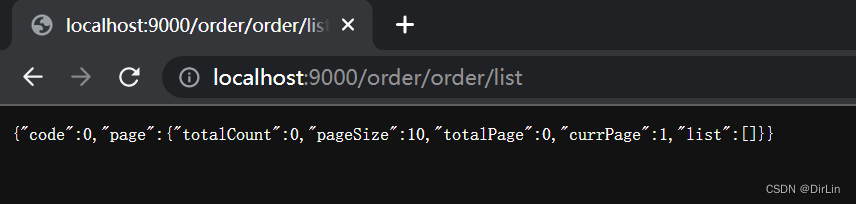
七、模块端口
coupon端口是7000,member端口是8000,order端口是9000,product是10000,ware是11000


 127
127


 被折叠的 条评论
为什么被折叠?
被折叠的 条评论
为什么被折叠?
 到【灌水乐园】发言


