技术介绍

vue介绍及使用

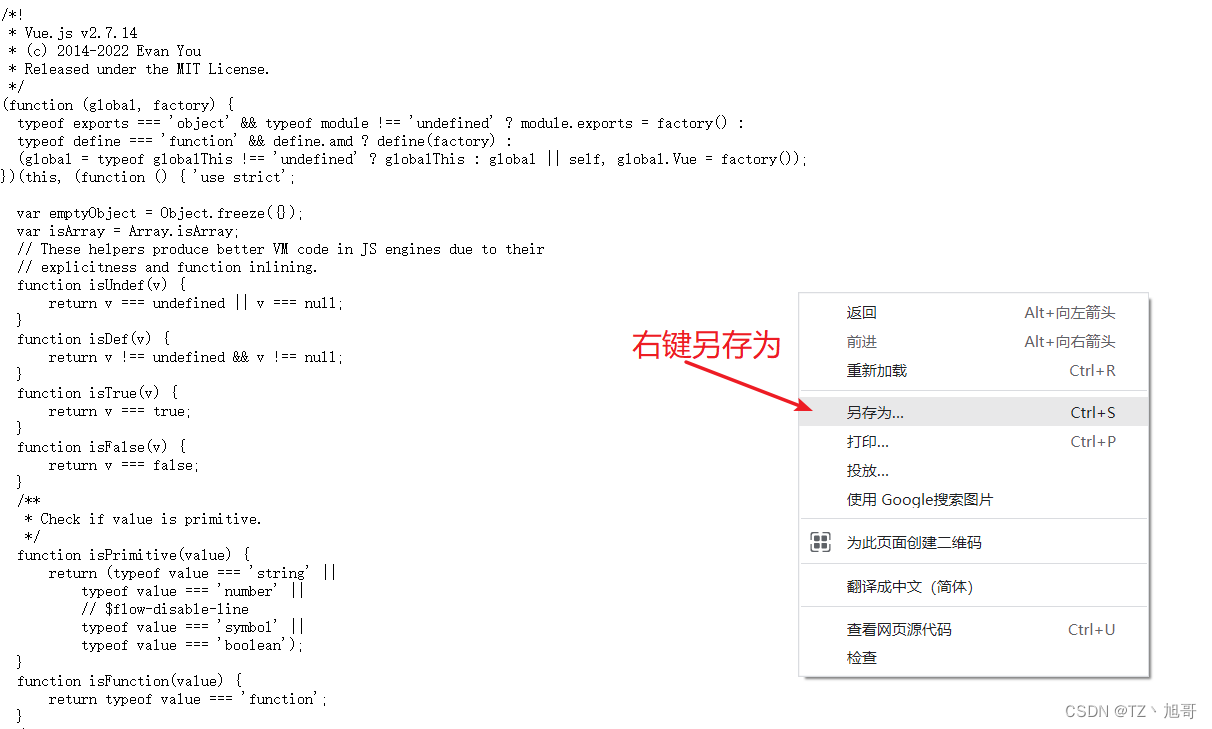
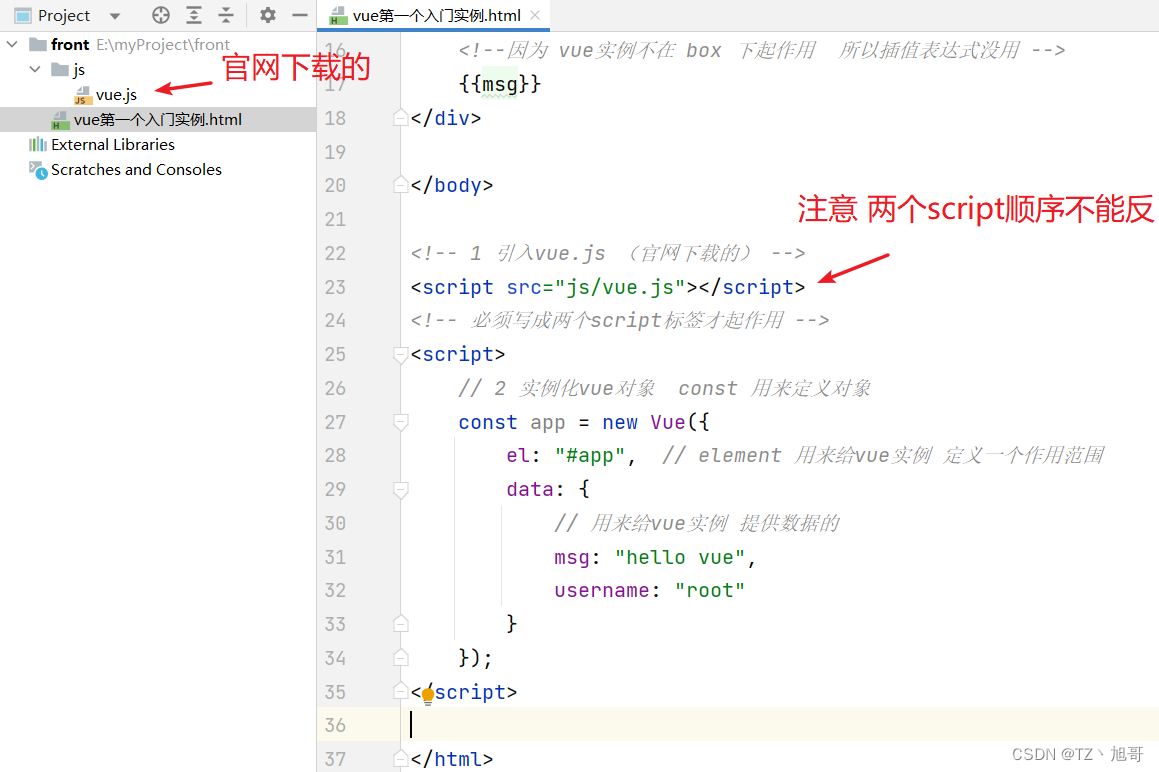
vue 入门案例
<!DOCTYPE html>
<html lang="en">
<head>
<meta charset="UTF-8">
<title>vue第一个入门实例</title>
</head>
<body>
<div id="app">
{{msg}}
<h3>用户名: {{username}}</h3>
</div>
<div id="box">
{{msg}}
</div>
</body>
<script src="js/vue.js"></script>
<script>
const app = new Vue({
el: "#app",
data: {
msg: "hello vue",
username: "root"
}
});
</script>
</html>
vue基础语法
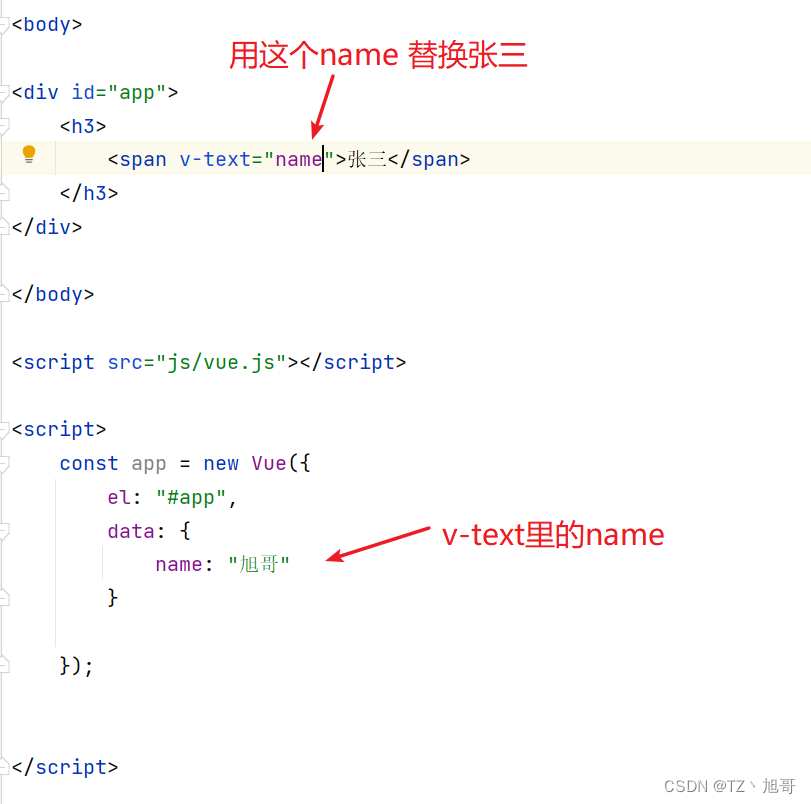
v-text (替换 标签 里的内容)
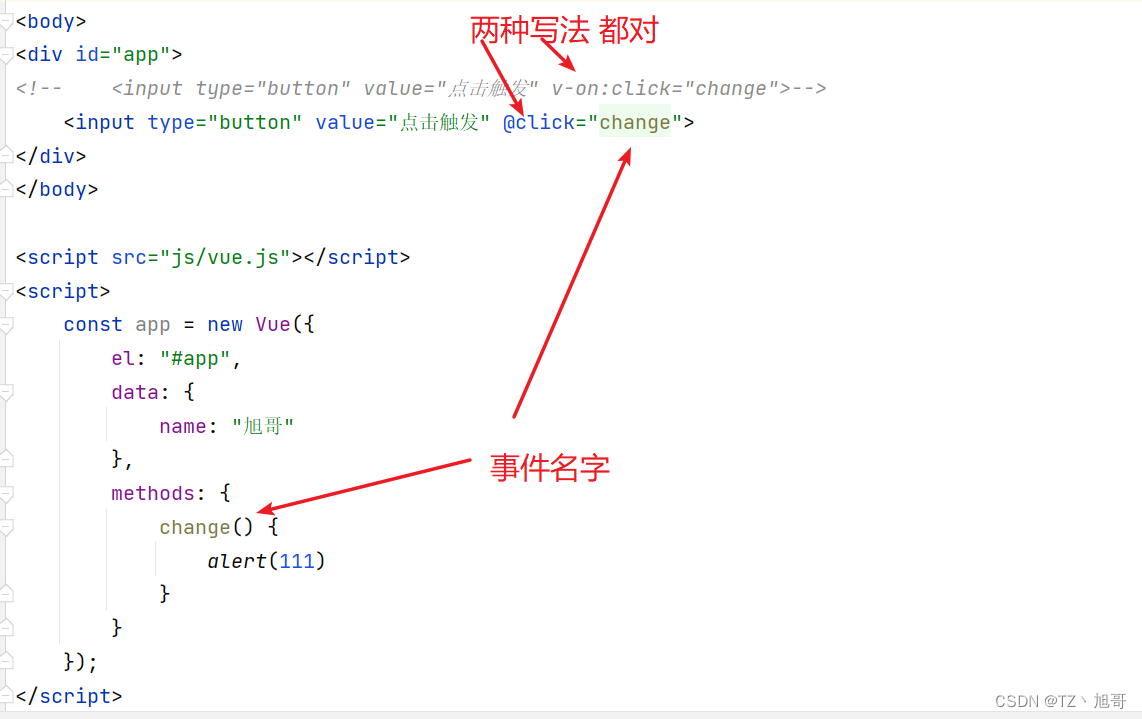
v-on (绑定事件,可以简化为@)
v-bind (绑定属性,可以简化为 :属性名)

v-for (对 对象(键值对形式)进行遍历 数组也是一种对象)


<!DOCTYPE html>
<html lang="en">
<head>
<meta charset="UTF-8">
<title>v-for</title>
</head>
<body>
<div id="app">
<span>{{user.name}} ------ {{user.age}}</span>
<br>
<span v-for="(value,key,index) in user">{{index}} --- {{key}} --- {{value}}<br></span>
<br>
<span v-for="(a,index) in arr">{{index}} --- {{a}}<br></span>
<br>
<ul>
<li v-for="(o,index) in users">
{{o.name}} --- {{o.age}}
</li>
</ul>
</div>
</body>
<script src="js/vue.js"></script>
<script>
const app = new Vue({
el: "#app",
data: {
user: {name: "xuge", age: 22},
arr: ["张三", "李四", "王五"],
users: [
{name: "xuge", age: 22},
{name: "zuo", age: 21}
]
},
methods: {}
});
</script>
</html>
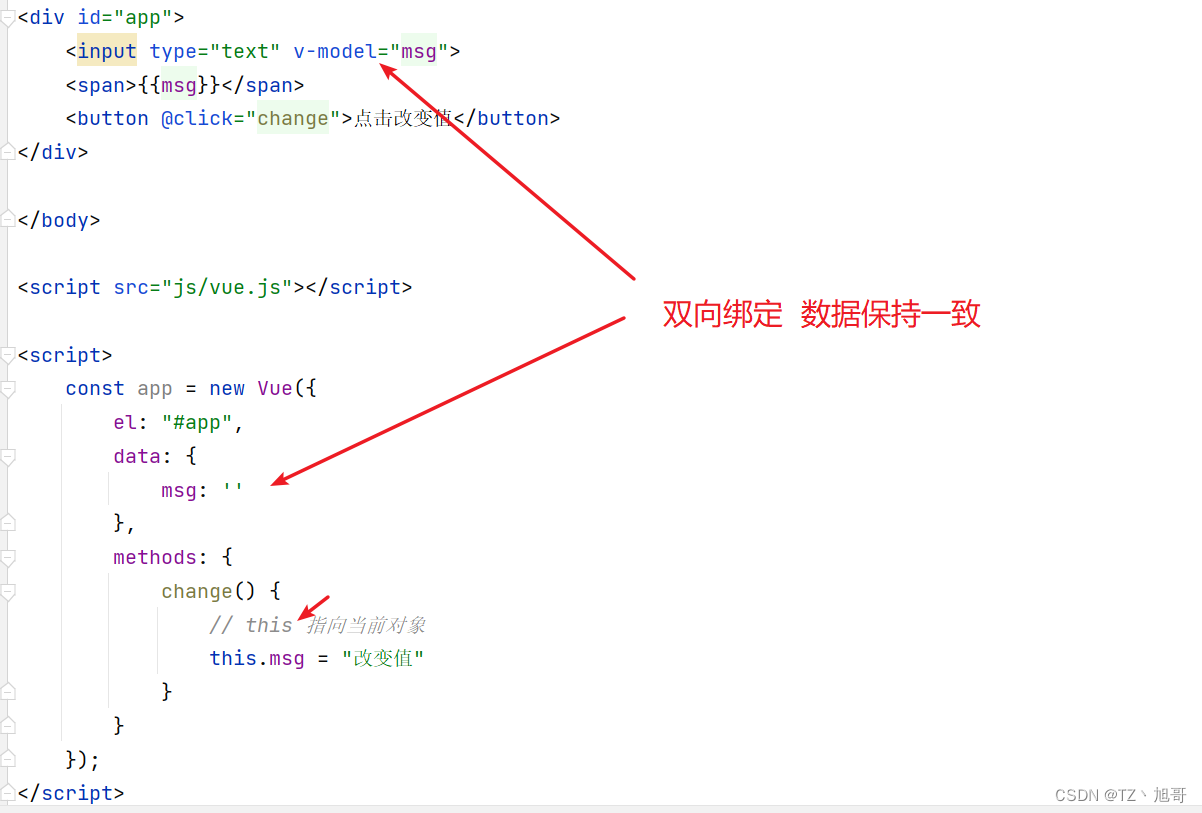
v-model (作用于 标签元素的值 和 vue实例对象的data数据 保持一致)
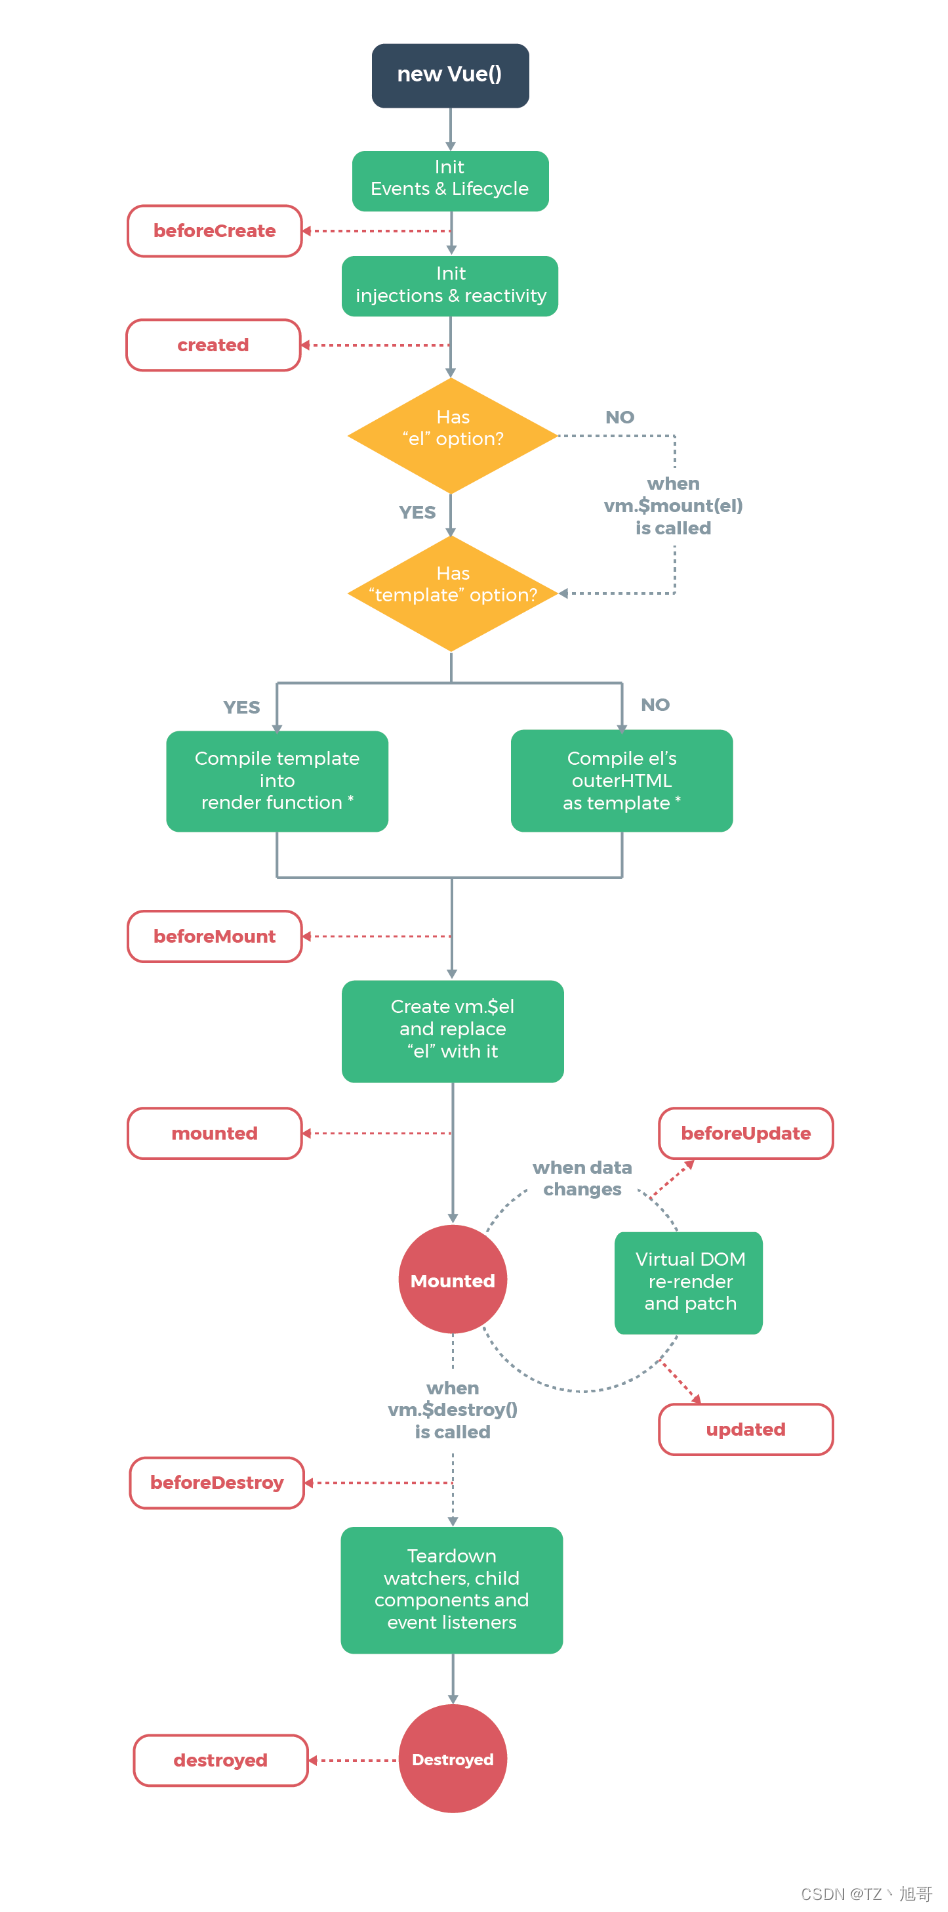
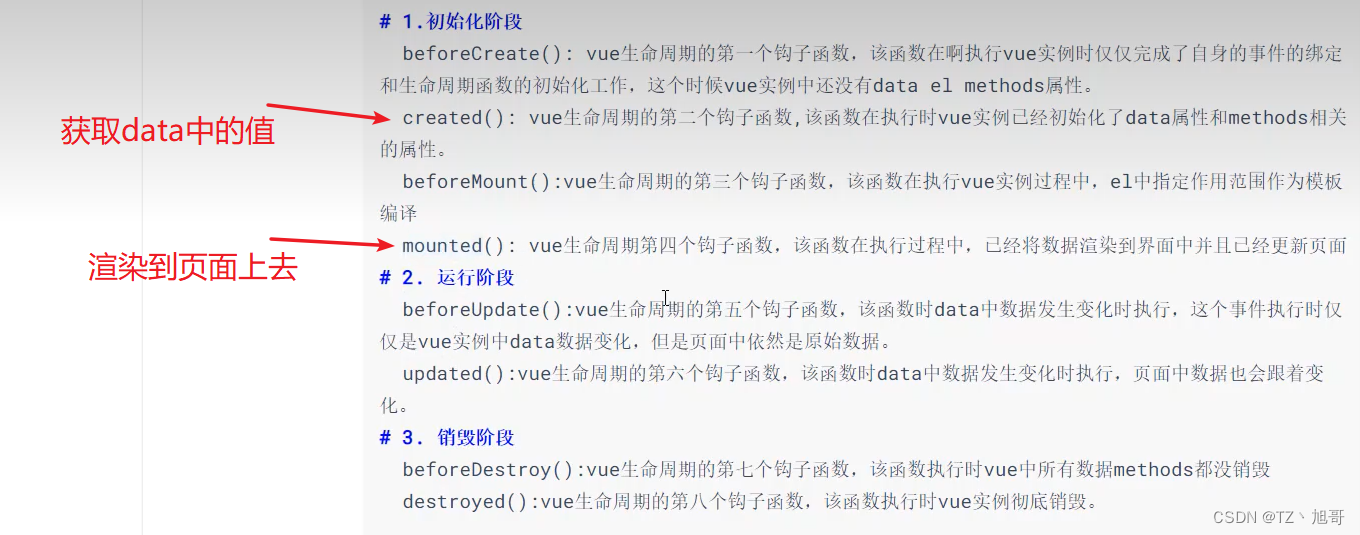
vue生命周期
vue组件的使用
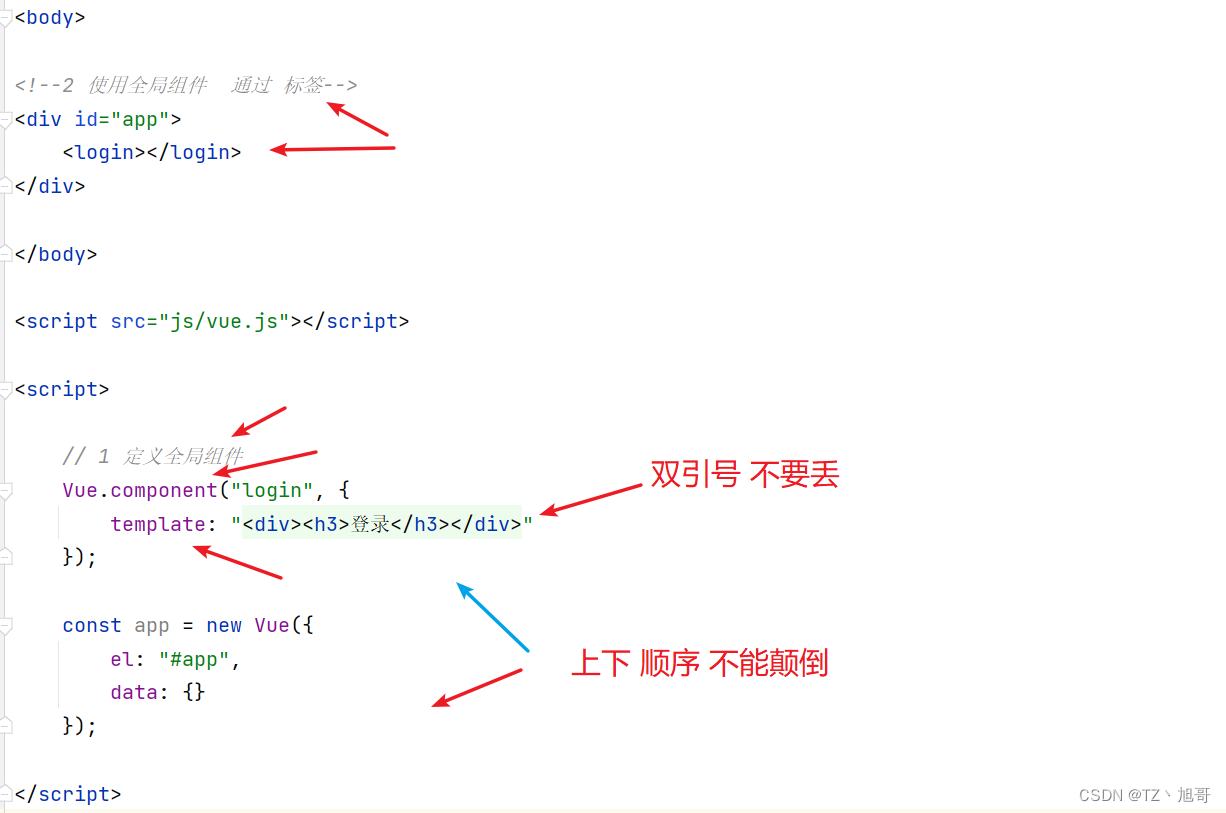
全局组件
局部组件 (步骤1 2 3 4)
<!DOCTYPE html>
<html lang="en">
<head>
<meta charset="UTF-8">
<title>局部组件</title>
</head>
<body>
<div id="app">
<login></login>
<register></register>
</div>
<template id="login">
<div>
<h3>登录模块组件</h3>
</div>
</template>
<template id="register">
<div>
<h3>注册模块组件</h3>
</div>
</template>
</body>
<script src="js/vue.js"></script>
<script>
let login = {
template: "#login"
};
let register = {
template: "#register"
}
const app = new Vue({
el: "#app",
data: {},
components: {
login,
register
}
});
</script>
</html>
路由的介绍及使用(组件之间的跳转)
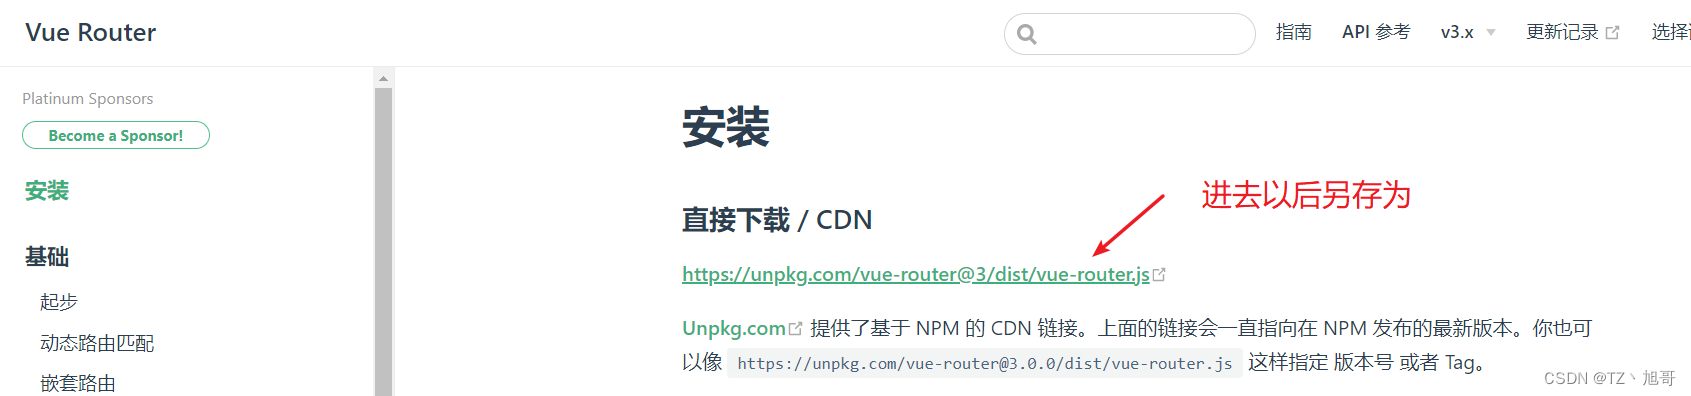
去官网下载Vue Router(我使用的是3.x版本)
官网地址 https://v3.router.vuejs.org/zh/installation.html
案例(点击超链接 跳转到相应路由)
<!DOCTYPE html>
<html lang="en">
<head>
<meta charset="UTF-8">
<title>路由的使用</title>
</head>
<body>
<div id="app">
<a href="#/login">点击进行路由跳转</a>
<div>
<router-view></router-view>
</div>
</div>
<template id="login">
<div style="width: 600px ; border: 2px solid red">
<h3>登录组件</h3>
</div>
</template>
</body>
<script src="js/vue.js"></script>
<script src="js/vue-router.js"></script>
<script>
let login = {
template: "#login"
}
const router = new VueRouter({
routers: [
{name: "登录页面", path: "/login", component: login}
]
});
const app = new Vue({
el: "#app",
data: {},
router,
});
</script>
</html>
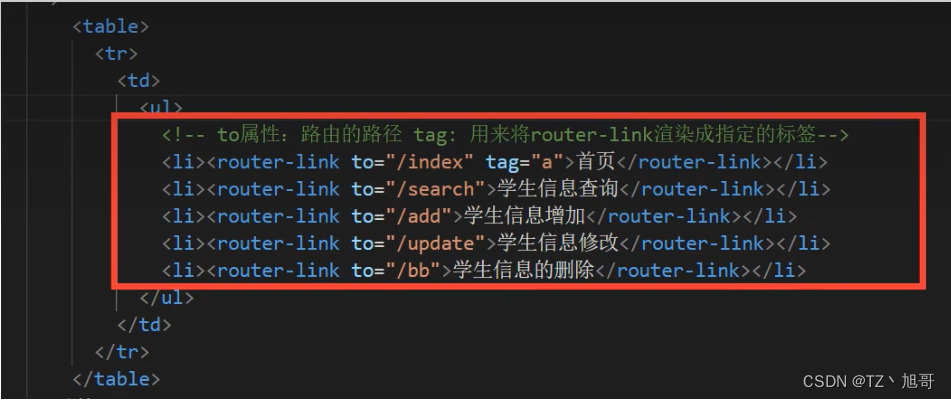
router-link (好处: 可以自动给出# 不需要手动加入)
to属性:用来写路由路径
tag属性: 将touter-link渲染成指定的标签
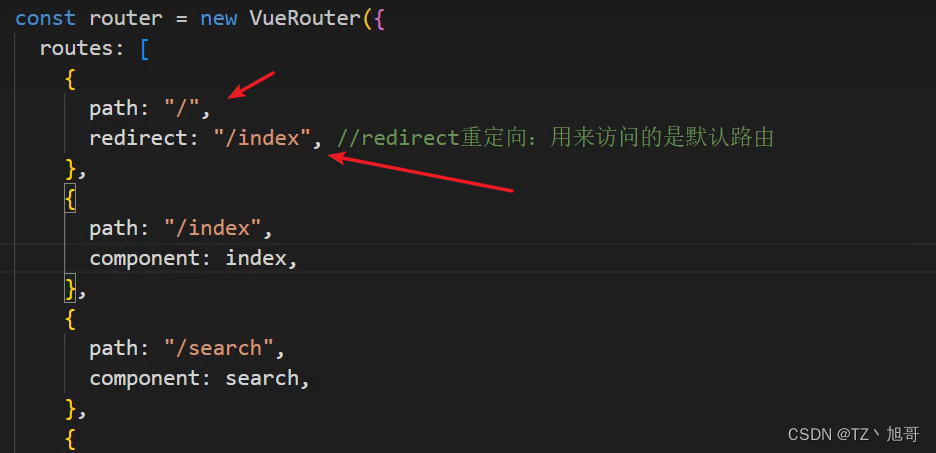
默认路由 (打开页面时显示的就是 默认路由)
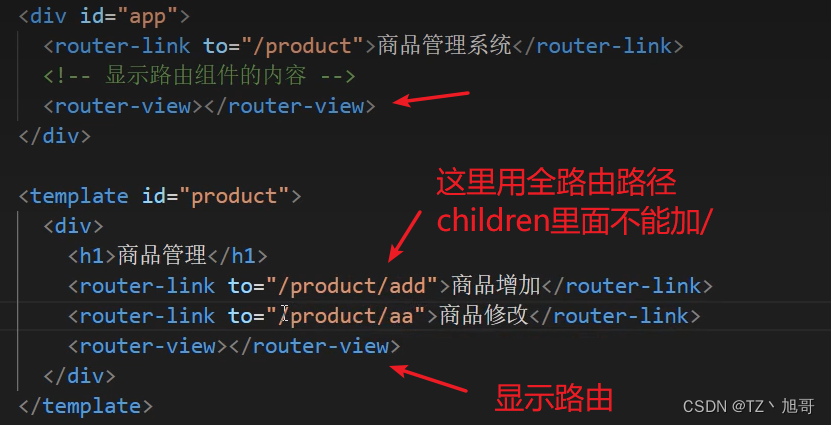
嵌套路由 (children)


 3039
3039


 被折叠的 条评论
为什么被折叠?
被折叠的 条评论
为什么被折叠?
 到【灌水乐园】发言


