


websocket实际项目开发中客户端(前端)使用websockect主要实现的功能是发送和接收信息而服务端实现接收、转发(负责两个客户端通信类似于一个通信基站)、发送消息功能。
项目中用到的相关技术vue3、vite、js(要通过WebSocket构造函数,创建WebSocket对象)、node.js、ws(是nodejs的一个WebSocket库,可以用来创建服务)
websocket服务端以node.js中使用为例(实际项目开发中可使用其他后端语言如java、python等)
创建相关文件目录
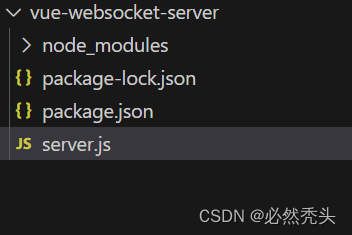
server.js代码
//服务(服务类似于一个水库)和链接(类似于一根根链接水库和用户的管道)
//这样的话管道就会有等多根(也就是链接会有多条如a用户和服务的链接和b用户和服务的链接)
const webscoket = require('ws')
const url = require('url')
let webScoketServer = new webscoket.Server({port: '8000'}) //创建服务

//ws 是管道
let pool = new Map() //可能有多个用户链接 所以有多个管道 所以需要存储我们有那些管道链接
let idList = ['1','2']
//监听webScoketServer的长连接
webScoketServer.on('connection',(ws,req)=> {
    let id = url.parse(req.url,true).query.id; //获取用户id
    let token = req.headers['sec-websocket-protocol'] //获取用户token
    console.log(id);
    console.log(token);
    if(idList.indexOf(id) === -1) { //判断用户是否存在
        ws.send(JSON.stringify({
            type:'error',
            msg: 'id不正确'
        }))
        ws.close()
    }
    pool.set('connection'+id,ws) //存储相应的链接
    //针对链接进行监听
    ws.on('message',(msg)=> {
        console.log(msg.toString())
        ws.send(JSON.stringify(
            {
                type: 'msg',
                msg:'收到' + msg.toString()
            }
        ))
    })
    //关闭
    ws.on('close',()=> {

    })
    //错误
    ws.on('error',()=> {

    })
    //发送消息
    ws.send(JSON.stringify({a:123444}))

})
上面的代码我们用node.js创建了一个websocket服务
websocket客户端以vue中使用为例
创建相关文件目录
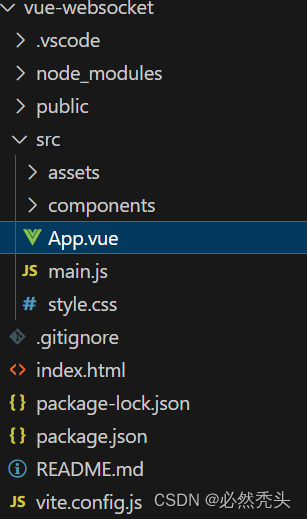
App.vue文件
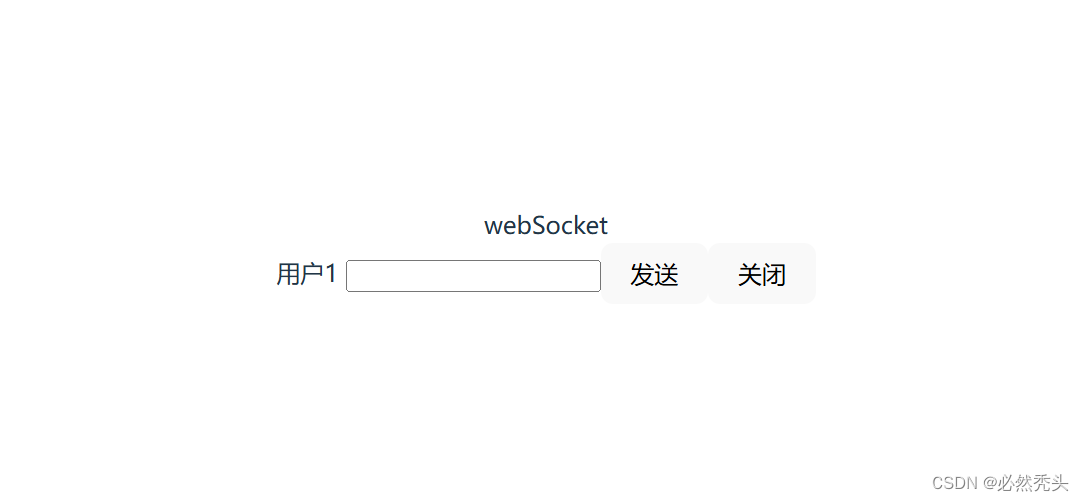
<template>
  <div>webSocket</div>
  <div>
    用户1
    <input v-model="inputValue" />
    <button @click="sendMsg">发送</button>
    <button>关闭</button>
  </div>
</template>

<style scoped></style>
效果
发送按钮绑定自定义事件sendMsg()
<script setup>
import { ref } from 'vue'
let inputValue = ref('')
function sendMsg() {
  client.send(inputValue.value)
}
</script>
连接创建好的webSocket服务
client = new WebSocket('ws://localhost:8000?id=1', ['afdsfsdfdsffsdf'])通过webSocket提供的事件触发相关功能
close(关闭)
error (错误)
message (接收消息)
open (连接)
  //也可以用addEventLister监听
  client.onopen = () => {
    clearTimeout(reconnentTimer)
    headerBeat() //连接上后就开启心跳检测
    console.log('连接上了')
  }

  client.onmessage = (msg) => {
    //后端有消息
    console.log(JSON.parse(msg.data))
  }

  client.onclose = () => {
    reconnect()
    console.log('close')
  }

  client.onerror = () => {
    tryTime += 1
    reconnect()
    console.log('error')
  }
这里我将连接和监听相关事件封装成了一个方法
const initWebSocket = () => {
   client = new WebSocket('ws://localhost:8000?id=1', ['afdsfsdfdsffsdf'])
  //也可以用addEventLister监听
  client.onopen = () => {
    clearTimeout(reconnentTimer)
    headerBeat() //连接上后就开启心跳检测
    console.log('连接上了')
  }

  client.onmessage = (msg) => {
    //后端有消息
    console.log(JSON.parse(msg.data))
  }

  client.onclose = () => {
    reconnect()
    console.log('close')
  }

  client.onerror = () => {
    tryTime += 1
    reconnect()
    console.log('error')
  }
}
基本功能实现后为了保证websocket连接的一个持续效果和避免websocket服务因为网络或其他原因给我们断开连接所以我们还要实现定时重连和心跳检测的功能
定时重连实现
//websocket重连方法
/*
重连不可能永远都进行重新连接那样的话触发的就太频繁了 所以需要一个定时器
*/
const reconnect = () => {
//清除定时器
clearTimeout(reconnentTimer)
//用一个定时器避免频繁重连
if(tryTime > maxTime) { //重连次数超过3次就不再重连
alert('重连次数超过3次,请联系管理员!')
clearTimeout(reconnentTimer)
clearInterval(headerBeatTimer)
return
}
reconnentTimer = setTimeout(() => {
initWebSocket()
}, 2000)
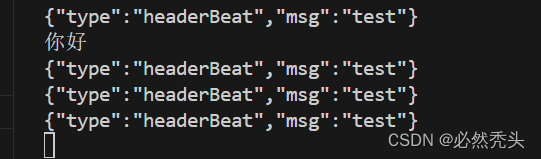
}心跳检测实现
//webSockte 心跳检测
const headerBeat = () => {
  clearInterval(headerBeatTimer)
  headerBeatTimer = setInterval(()=> {
    client.send(JSON.stringify({
      type: 'headerBeat',
      msg: 'test'
    }))
  },3000)
}
App.vue完整代码
<script setup>
import { ref } from 'vue'
let inputValue = ref('')
let maxTime = 3 //重连最大的连接次数
let tryTime = 0 //重连后出错的次数
let reconnentTimer //重连定时器
let client
let headerBeatTimer //心跳定时器
//建立和webSocket服务的链接
//webSocket不可能让所有人随便连接,所以我们需要携带token或者id
//心跳检测 定期向websocket服务发送消息维持心跳是为了避免websocket给我们断开连接
//定时重连 如果连接中断或者出错我们需要重新连接保证websocket连接的一个持续效果
/*
1.直接带在url的query
2.带在请求头上
3.cookie
*/
const initWebSocket = () => {
client = new WebSocket('ws://localhost:8000?id=1', ['afdsfsdfdsffsdf'])
//也可以用addEventLister监听
client.onopen = () => {
clearTimeout(reconnentTimer)
headerBeat() //连接上后就开启心跳检测
console.log('连接上了')
}
client.onmessage = (msg) => {
//后端有消息
console.log(JSON.parse(msg.data))
}
client.onclose = () => {
reconnect()
console.log('close')
}
client.onerror = () => {
tryTime += 1
reconnect()
console.log('error')
}
}
//websocket重连方法
/*
重连不可能永远都进行重新连接那样的话触发的就太频繁了 所以需要一个定时器
*/
const reconnect = () => {
//清除定时器
clearTimeout(reconnentTimer)
//用一个定时器避免频繁重连
if(tryTime > maxTime) { //重连次数超过3次就不再重连
alert('重连次数超过3次,请联系管理员!')
clearTimeout(reconnentTimer)
clearInterval(headerBeatTimer)
return
}
reconnentTimer = setTimeout(() => {
initWebSocket()
}, 2000)
}
//webSockte 心跳检测
const headerBeat = () => {
clearInterval(headerBeatTimer)
headerBeatTimer = setInterval(()=> {
client.send(JSON.stringify({
type: 'headerBeat',
msg: 'test'
}))
},3000)
}
function sendMsg() {
client.send(inputValue.value)
}
initWebSocket()
</script>
<template>
<div>webSocket</div>
<div>
用户1
<input v-model="inputValue" />
<button @click="sendMsg">发送</button>
<button>关闭</button>
</div>
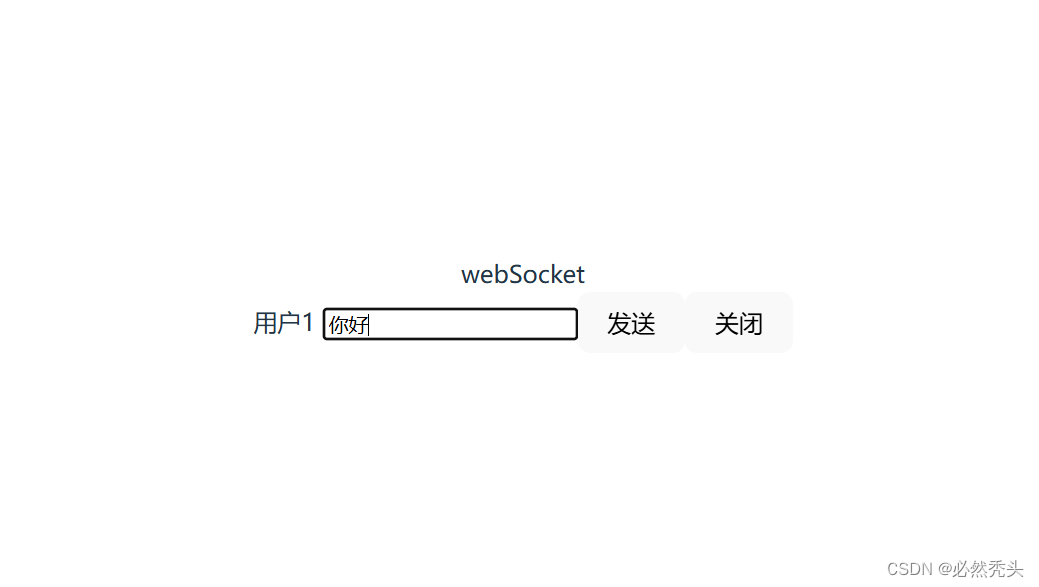
</template>
<style scoped></style>实现效果
代码地址
司徒飞/vue-websocket![]() https://gitee.com/situ_fei/vue-websocket.git
https://gitee.com/situ_fei/vue-websocket.git
司徒飞/vue-websocket-server![]() https://gitee.com/situ_fei/vue-websocket-server.git
https://gitee.com/situ_fei/vue-websocket-server.git


 2330
2330


 被折叠的 条评论
为什么被折叠?
被折叠的 条评论
为什么被折叠?
 到【灌水乐园】发言


