


I use choco
choco install zoxide
Add Config: `notepad $PROFILE`
zoxide
Invoke-Expression (& { (zoxide init powershell | Out-String) })
#### Windows Terminal Hotkeys


| Operation | Hotkey |
| --- | --- |
| Copy | Ctrl + Shift + C |
| Past | Ctrl + Shift + V |


### VSCode


>
> Official Site: https://code.visualstudio.com/
>
>
>


#### Install


* Option1: Download Installer from official site.
* Option2: Install with Chocolatey
vscode
choco install vscode
vscodium
choco install vscodium
#### Preferences


* Theme: One Dark Pro
* Icons: Material icon theme
* Font: JetBrainsMono Nerd Font
* Auto Save
* Change Hotkey: Format Document: `Shift+Alt+F ---> Alt+F`


#### Codeium


✨ **Codeium**: A free AI powered toolkit for developers


>
> Official Site: https://codeium.com/
>
>
>


* Register an account
* Download extension
* Login


#### VSCodium


VSCodium is a community-driven, freely-licensed binary distribution of Microsoft’s editor VS Code.


Microsoft’s `vscode` source code is open source (MIT-licensed), but the product available for download (Visual Studio Code) is licensed under [this not-FLOSS license]( ) and contains telemetry/tracking. According to [this comment]( ) from a Visual Studio Code maintainer.


>
> VSCodium Site: https://vscodium.com/
>
>
>


>
> **Warning**: VSCodium can not use `code` command.
>
>
>


#### Hotkey


Hotkeys May Change due to extension or customizing.


| Operation | Hotkey |
| --- | --- |
| Comment/Uncomment | Ctrl + / |
| Multiline Comment | Alt + Shift + A |
| Copy Line | Ctrl + L |
| Move Line Up/Down | Alt + up/down |
| Copy line to Up/Down | Shift + Alt + up/down |
| Delete line | Ctrl + X |
| Add / Reduce Indent | Ctrl + ]/[ |
| New Line at Any Position | Ctrl + Enter |
| Rename Variable | Ctrl + D (N times) |
| Format Document | Shift + Alt + F (Alt + F) |
| Goto File Head/End | Ctrl + Home/Ctrl + End |
| Switch Tab | Ctrl + Tab |
| Show all symbols | Ctrl +Shift + O |
| Multi Cursor | Alt + Left Click |
| Multi Cursor | Ctrl + Alt + Up/Down |
| Block Select | Shift + Alt + Left Drag |


### Python


>
> Python Official Site: https://www.python.org/downloads/
>
>
>


#### Install


* Option1: Download from official site and run installer.
* Option2: Install with Chocolatey
choco install python
#### Config


[PyPI tuna mirror]( ):
once
pip install scrapy -i https://pypi.tuna.tsinghua.edu.cn/simple some-package
set as default
python -m pip install --upgrade pip
pip config set global.index-url https://pypi.tuna.tsinghua.edu.cn/simple
#### VSCode Extension


* Python
* Black formatter
* Pylance


#### conda


👉 **conda (miniconda)**


>
> Official Site: https://docs.anaconda.com/free/miniconda/miniconda-install/
>
>
> tuna: https://mirrors.tuna.tsinghua.edu.cn/anaconda/miniconda/
>
>
>


👉 **Config**


>
> tuna: https://mirrors.tuna.tsinghua.edu.cn/help/anaconda/
>
>
>


edit or create `.condarc` 。Windows can run `conda config --set show_channel_urls yes` to generate `.condarc` then change it:
channels:
- defaults
show_channel_urls: true
default_channels: - https://mirrors.tuna.tsinghua.edu.cn/anaconda/pkgs/main
- https://mirrors.tuna.tsinghua.edu.cn/anaconda/pkgs/r
- https://mirrors.tuna.tsinghua.edu.cn/anaconda/pkgs/msys2
custom_channels:
conda-forge: https://mirrors.tuna.tsinghua.edu.cn/anaconda/cloud
msys2: https://mirrors.tuna.tsinghua.edu.cn/anaconda/cloud
bioconda: https://mirrors.tuna.tsinghua.edu.cn/anaconda/cloud
menpo: https://mirrors.tuna.tsinghua.edu.cn/anaconda/cloud
pytorch: https://mirrors.tuna.tsinghua.edu.cn/anaconda/cloud
pytorch-lts: https://mirrors.tuna.tsinghua.edu.cn/anaconda/cloud
simpleitk: https://mirrors.tuna.tsinghua.edu.cn/anaconda/cloud
deepmodeling: https://mirrors.tuna.tsinghua.edu.cn/anaconda/cloud/
👉 **Usage**:
create a environment with specified python version and packages
conda create -n myenv python=3.9 numpy=1.23.5 astropy
activate the environment:
conda activate myenv
list envs
conda env list
export all packages in myenv environment
conda activate myenv
conda env export > myenv.yml
create a new environment from a myenv.yml
conda env create -f myenv.yml
👉 **Windows Terminal**:


Add miniconda prompt to windows terminal:
{
“altGrAliasing”: true,
“antialiasingMode”: “grayscale”,
“closeOnExit”: “automatic”,
“colorScheme”: “Campbell”,
“commandline”: "%windir%\System32\WindowsPowerShell\v1.0\powershell.exe -ExecutionPolicy ByPass -NoExit -Command "& ‘C:\Users\zuiai\miniconda3\shell\condabin\conda-hook.ps1’ ; conda activate ‘C:\Users\zuiai\miniconda3’ “”,
“cursorShape”: “bar”,
“font”: {
“size”: 12
},
“guid”: “{3ba1b1d8-9de1-41b7-bb7a-f7903c2e68d6}”,
“hidden”: false,
“historySize”: 9001,
“icon”: “ms-appx:///ProfileIcons/{61c54bbd-c2c6-5271-96e7-009a87ff44bf}.png”,
“name”: “MiniConda3”,
“padding”: “8, 8, 8, 8”,
“snapOnInput”: true,
“startingDirectory”: “%USERPROFILE%\Desktop”,
“useAcrylic”: false
}
### Docker


>
> Official Site: https://www.docker.com/products/docker-desktop/
>
>
> Download Link: https://docs.docker.com/desktop/install/windows-install/
>
>
> Docker Hub:https://hub.docker.com/
>
>
>


#### Setup WSL 2


>
> Documents:
>
>
> https://docs.docker.com/desktop/wsl/
>
>
> https://learn.microsoft.com/en-us/windows/wsl/install
>
>
>


* Installed the WSL 2 feature on Windows. Search At Start: `Turn Windows features on and off`, Check both:
Virtual Machine Platform
Windows Subsystem for Linux
* Update WSL
install update
wsl --update
Download and install the latest package: [WSL2 Linux kernel update package for x64 machines]( ).


* Install Linux distros.
list installed Linux distributions and check the version of WSL
wsl -l -v
install update
wsl --update
list available distros
wsl -l -o
install a distro
wsl --install -d
set default distr
wsl --set-default
upgrade the Linux distro to v2
wsl.exe --set-version 2
set v2 as the default version for future installations
wsl.exe --set-default-version 2
* Set up your Linux user info


Once you have installed WSL, you will need to create a user account and password for your newly installed Linux distribution.


Just run your linux distro from start menu.


#### Install


>
> Documents:
>
>
> https://docs.docker.com/desktop/install/windows-install/
>
>
> https://docs.docker.com/desktop/wsl/
>
>
>


Download and install the latest version of [Docker Desktop for Windows]( ).


#### Config


Change Mirrors: Settings—Docker Engine
{
“builder”: {
“gc”: {
“defaultKeepStorage”: “20GB”,
“enabled”: true
}
},
“experimental”: false,
“registry-mirrors”: [
“https://mirror.ccs.tencentyun.com/”
]
}
#### Possible Error
Installing, this may take a few minutes…
WslRegisterDistribution failed with error: 0x8004032d
Error: 0x8004032d (null)
Press any key to continue…
Solution: [Enable `Virtual Machine Platform` Windows Feature]( ).
### Windows Hotkeys
#### Windows 11 New Features
| Operation | Hotkey |
| --- | --- |
| Open Snap Layout | Win + Z |
| Open Microsoft Copilot | Win + C |
#### Document Edit
| Operation | Hotkey |
| --- | --- |
| Cut | Ctrl + X |
| Copy | Ctrl + C |
| Paste | Ctrl + V |
| Clipboard History | Win + V |
| Undo | Ctrl + Z |
| Redo | Ctrl + Y |
| Bold | Ctrl + B |
| Italic | Ctrl + I |
| Underline | Ctrl + U |
| Move cursor to Head of line | Home |
| Move cursor to End of line | End |
| Move cursor to head of next word | Ctrl + → |
| Move cursor to head of previous word | Ctrl + ← |
#### Window and Desktop
| Operation | Hotkey |
| --- | --- |
| Switch between Apps | Alt + Tab |
| Quit App | Alt + F4 |
| Refresh App | Ctrl + R |
| Hide/Show Desktop | Win + D |
| Lock Desktop | Win + L |
| Switch Input Method | Win + Space |
| Open Function Menu | Win + X |
| Print Screen | PrtScn |
| Full Screen | F11 |
#### Virtual Desktop
| Operation | Hotkey |
| --- | --- |
| Open Task View | Win + Tab |
| Add Virtual Desktop | Win + Ctrl + D |
| Switch between Virtual Desktop | Win + Ctrl + arrow |
| Close current Virtual Desktop | Win + Ctrl + F4 |
#### File Browser
| Operation | Hotkey |
| --- | --- |
| Open File Browser | Win + E |
| Rename | F2 |
| Create New Folder | Ctrl + Shift + N |
| Delete to Recycle Bin | Del |
| Delete Forever | Shift + Del |
| Open Classic Context | Shift + RC |
#### Task Bar
| Operation | Hotkey |
| --- | --- |
| Open Start Menu | Win / Ctrl + ESC |
| Open / Hide nth App in Task Bar | Win + [N] |
| Run as Administrator | Ctrl + Shift + LC |
#### Browser
**先自我介绍一下,小编浙江大学毕业,去过华为、字节跳动等大厂,目前在阿里**
**深知大多数程序员,想要提升技能,往往是自己摸索成长,但自己不成体系的自学效果低效又漫长,而且极易碰到天花板技术停滞不前!**
**因此收集整理了一份《2024年最新Linux运维全套学习资料》,初衷也很简单,就是希望能够帮助到想自学提升又不知道该从何学起的朋友。**

**既有适合小白学习的零基础资料,也有适合3年以上经验的小伙伴深入学习提升的进阶课程,涵盖了95%以上运维知识点,真正体系化!**
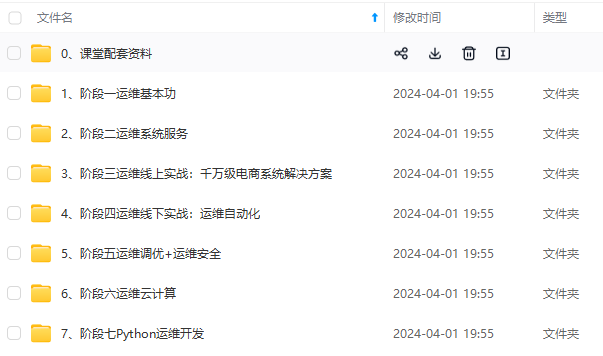
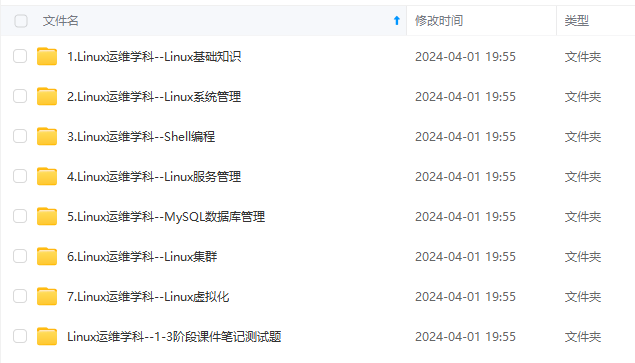
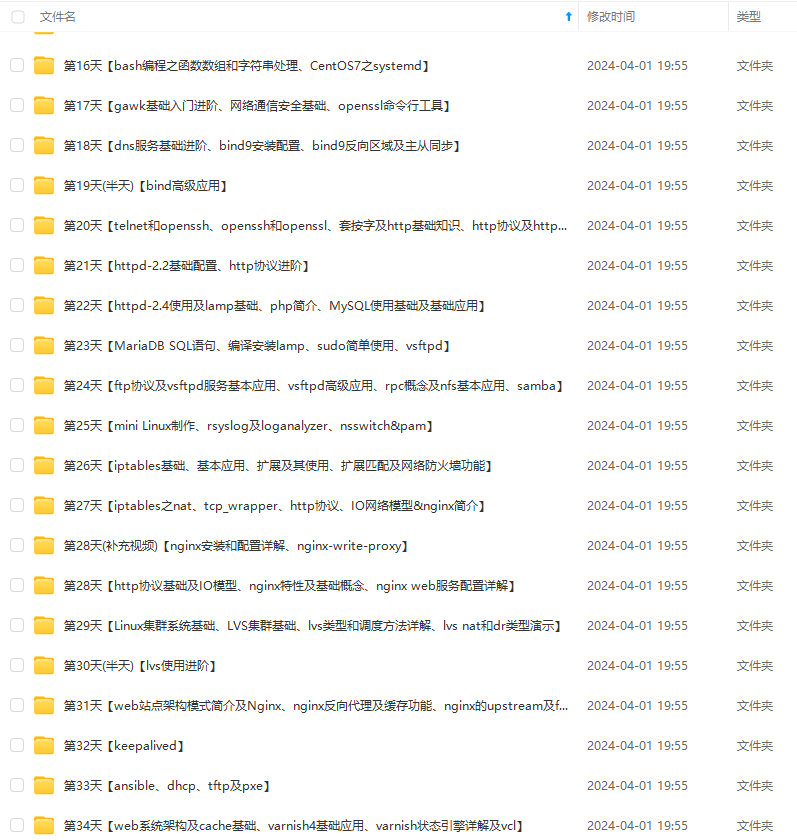
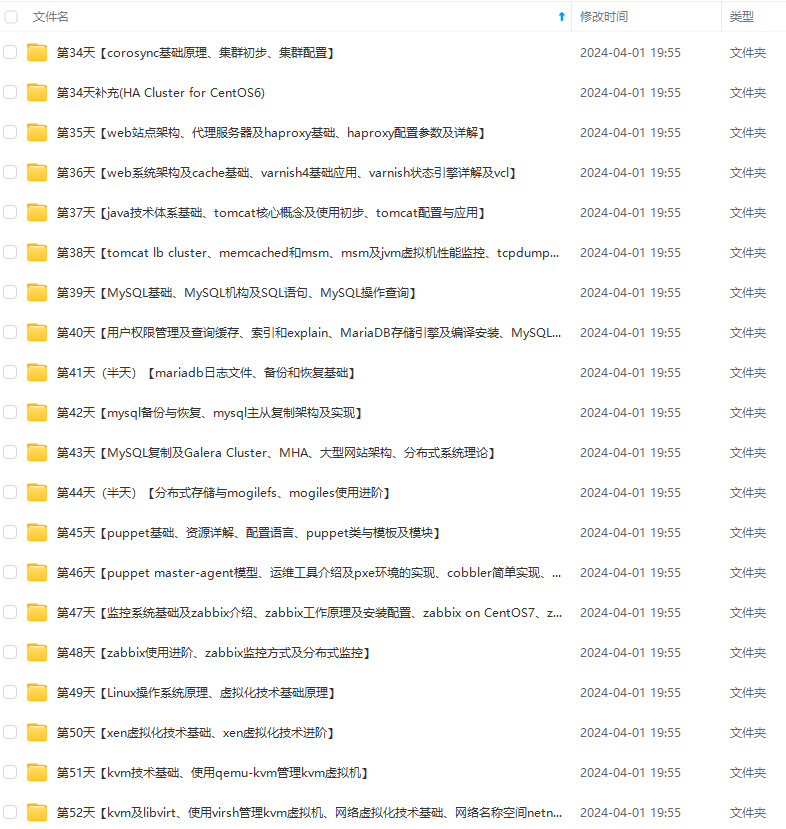
**由于文件比较多,这里只是将部分目录截图出来,全套包含大厂面经、学习笔记、源码讲义、实战项目、大纲路线、讲解视频,并且后续会持续更新**
**[需要这份系统化的资料的朋友,可以点击这里获取!](https://bbs.csdn.net/topics/618542503)**
想要提升技能,往往是自己摸索成长,但自己不成体系的自学效果低效又漫长,而且极易碰到天花板技术停滞不前!**
**因此收集整理了一份《2024年最新Linux运维全套学习资料》,初衷也很简单,就是希望能够帮助到想自学提升又不知道该从何学起的朋友。**
[外链图片转存中...(img-XW0G4SQp-1714382803524)]
[外链图片转存中...(img-8WERg1Rw-1714382803525)]
[外链图片转存中...(img-4RPbOKj6-1714382803526)]
[外链图片转存中...(img-iJvnuIq4-1714382803527)]
[外链图片转存中...(img-yz8ftrhq-1714382803527)]
**既有适合小白学习的零基础资料,也有适合3年以上经验的小伙伴深入学习提升的进阶课程,涵盖了95%以上运维知识点,真正体系化!**
**由于文件比较多,这里只是将部分目录截图出来,全套包含大厂面经、学习笔记、源码讲义、实战项目、大纲路线、讲解视频,并且后续会持续更新**
**[需要这份系统化的资料的朋友,可以点击这里获取!](https://bbs.csdn.net/topics/618542503)**


 972
972

 被折叠的 条评论
为什么被折叠?
被折叠的 条评论
为什么被折叠?
 到【灌水乐园】发言


