


从网上找到git的官网,进行下载git安装包,注意本文是适用于Windows环境下的git安装。
网址:Git
下载好之后打开安装包:
步骤 1:欢迎界面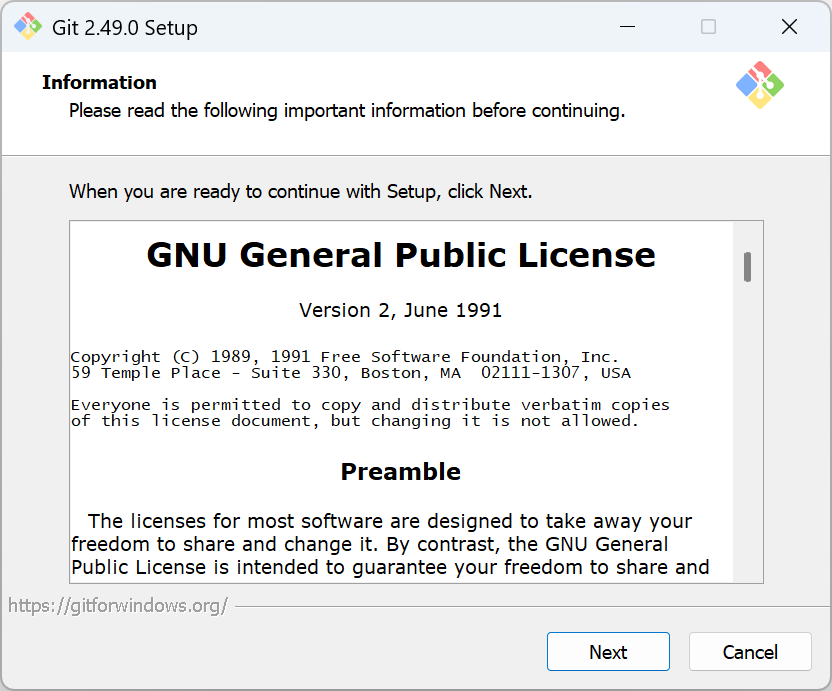

选择Next
步骤 2:选择安装路径
- 建议将路径修改为 D 盘,注意至少需要352.9MB 空间(建议预留更多)。
- 然后点击Next。
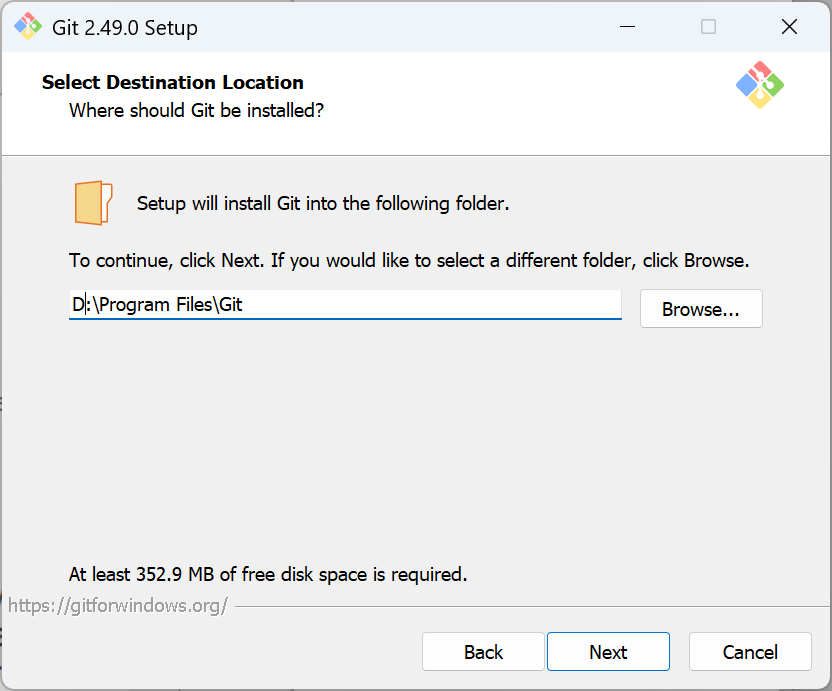
这里我们修改安装目录,我这里将Git安装在了我的D盘
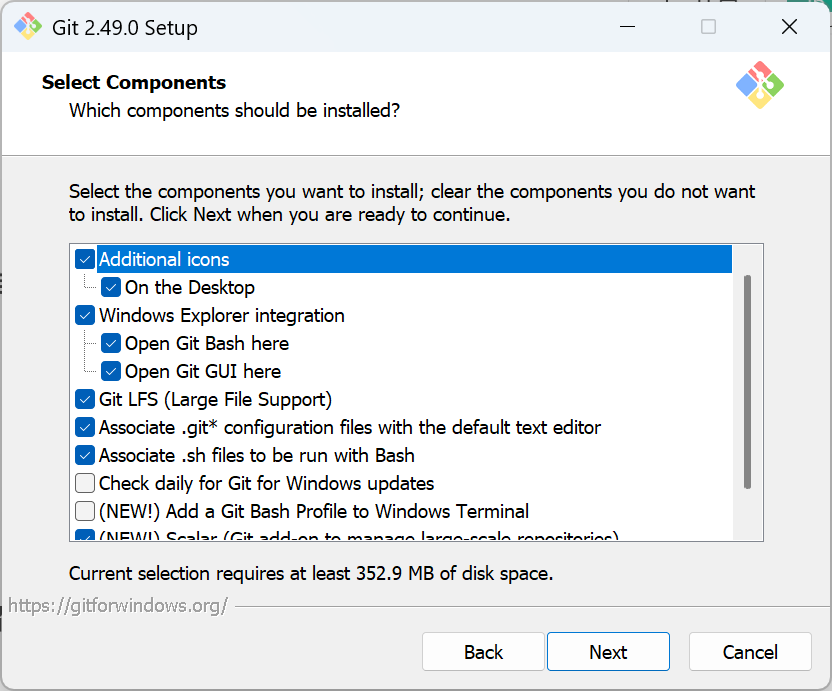
步骤 3:选择组件
建议选择如下组件:
✅ **On the Desktop**:在桌面创建快捷方式,建议勾选。
✅ **Windows Explorer integration**:支持右键菜单(如“Git Bash Here”),强烈推荐。
- - ✅ **Open Git Bash here**:打开 Bash 终端。
- - ✅ **Open Git GUI here**:图形界面客户端,按需勾选。
✅ **Git LFS (Large File Support)**:支持大文件,建议勾选。
✅ **Associate .git configuration files with default text editor**:配置文件关联,建议保留。
✅ **Associate .sh files to be run with Bash**:执行 `.sh` 脚本,建议勾选。
🟡 可选:
- **Check daily for updates**:是否每天检查更新,可选。
- **Add a Git Bash Profile to Windows Terminal**:如你常用 Windows Terminal,建议勾选。
- **Scalar**:用于大型项目,一般开发者不需要。
点击 **Next**。
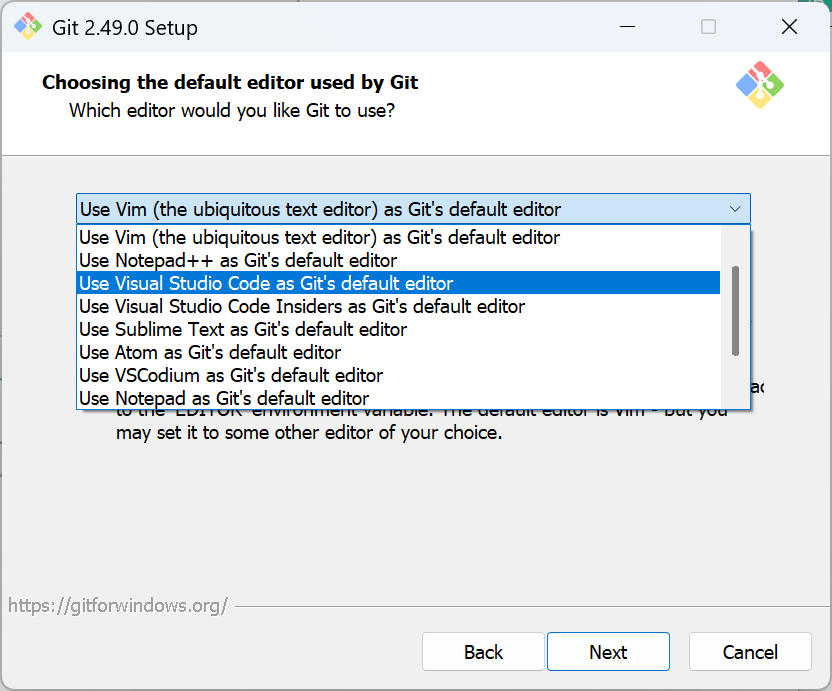
步骤 4:选择默认编辑器
建议新手选择 Visual Studio Code(前提是你已安装)。
点击 Next。
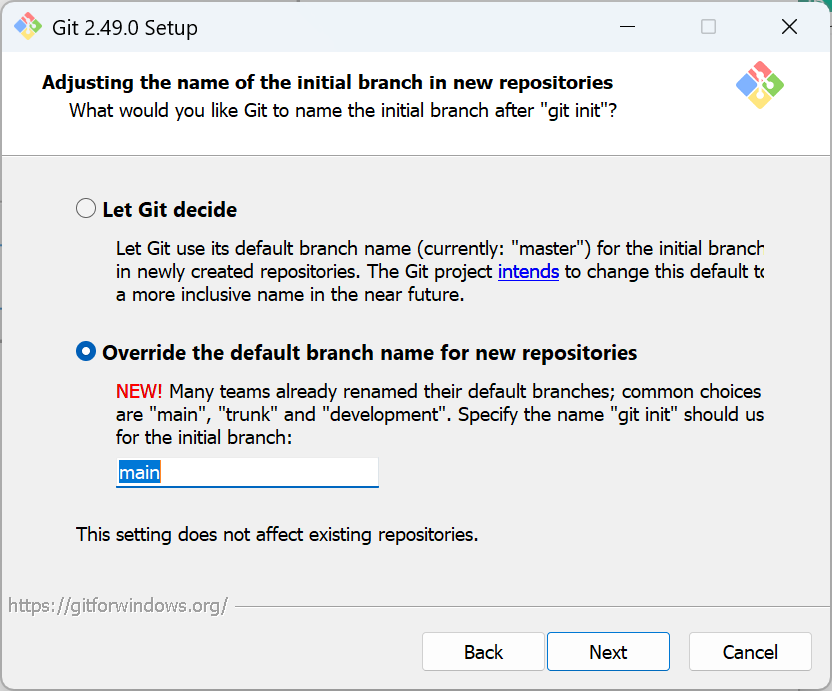
步骤 5:初始化分支名
建议选择:
🔘 **Override the default branch name for new repositories**,设置为 `main`
这样更符合 GitHub 等平台的默认规范。
点击 Next
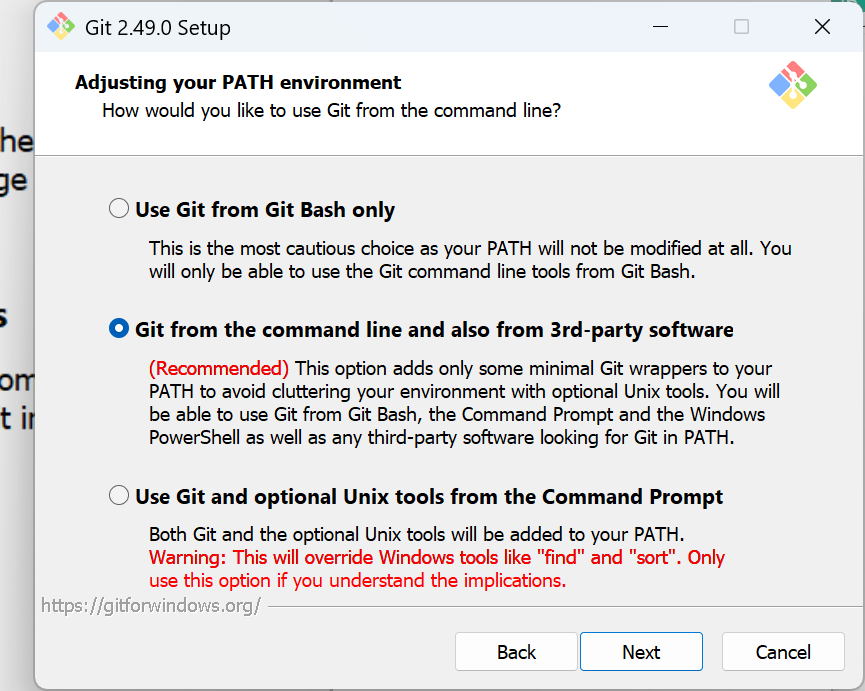
步骤 6:调整 PATH 环境变量
推荐选项:
🔘 Git from the command line and also from 3rd-party software
这样可以在 Git Bash、CMD、PowerShell、VS Code 等多种环境中使用 Git。
点击 Next。
步骤 7:选择 SSH 客户端
默认选项即可:
🔘 Use bundled OpenSSH(使用 Git 自带的 ssh.exe,最稳定)
点击 Next。

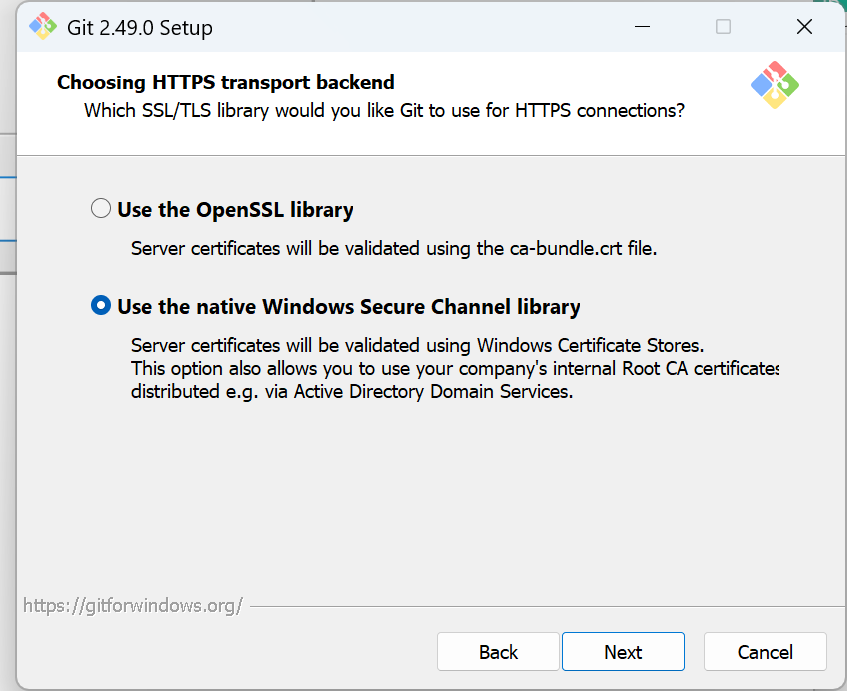
步骤 8:选择 HTTPS 支持库
保持默认即可:
🔘 **Use the native Windows Secure Channel library**(使用 Windows 自带的安全模块)
点击 **Next**。
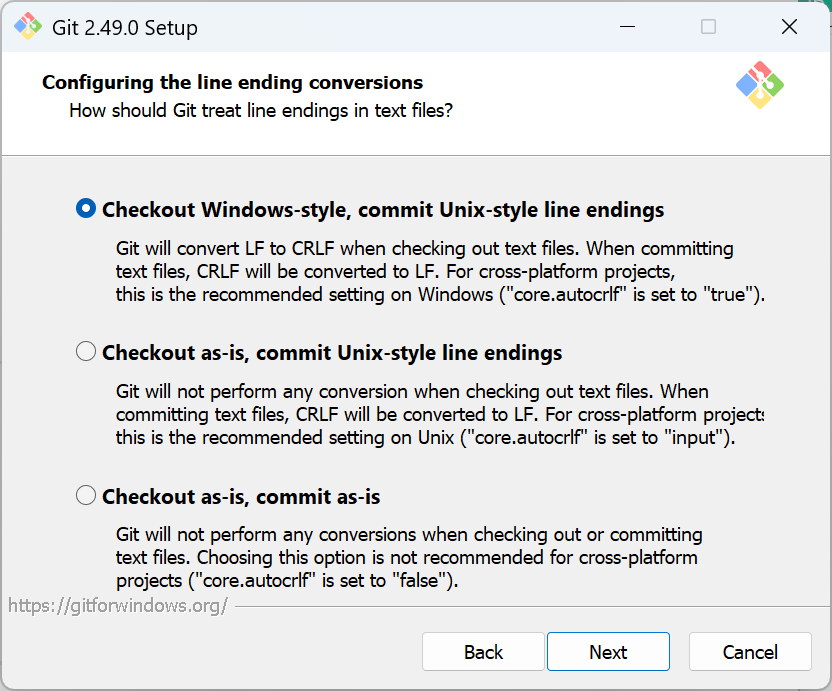
步骤 9:配置换行符策略
默认选项即可:
🔘 Checkout Windows-style, commit Unix-style line endings
点击 Next。
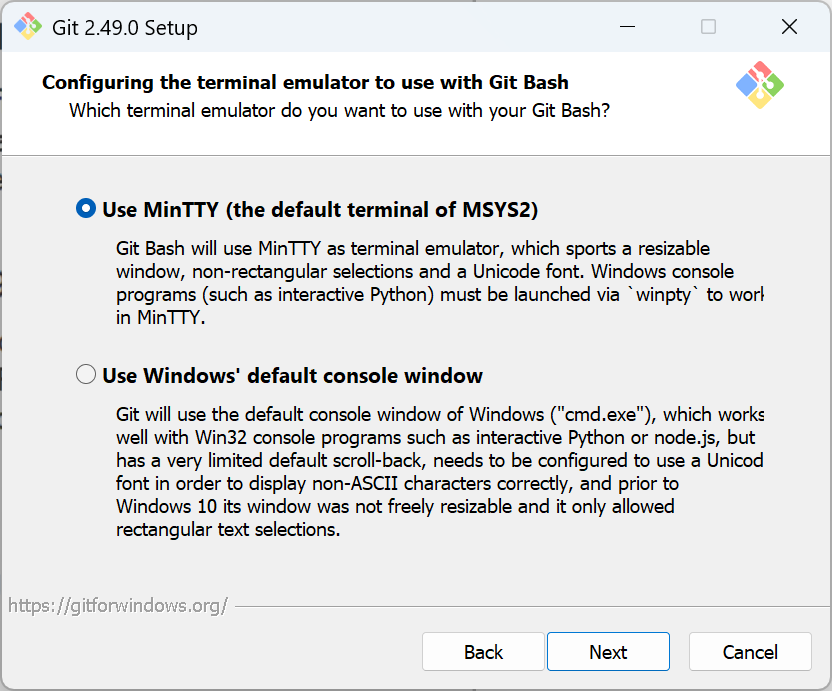
步骤 10:选择终端模拟器
默认即可:
🔘 Use MinTTY (the default terminal of MSYS2)
点击 Next
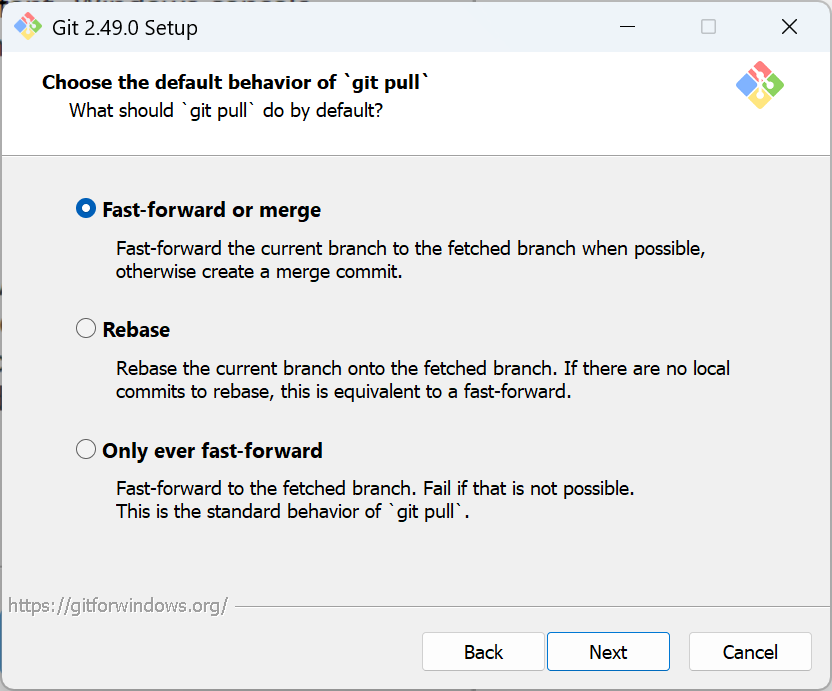
步骤 11:设置 `git pull` 默认行为
保持默认即可:
🔘 **Fast-forward or merge**
点击 **Next**。
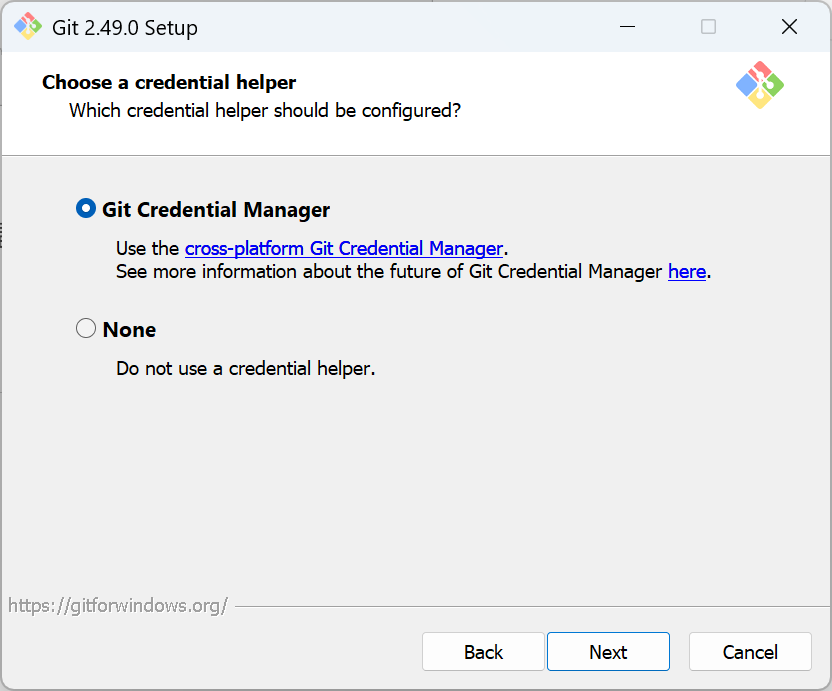
步骤 12:配置凭据管理器
推荐保持默认:
🔘 Git Credential Manager
这样可以记住你的 GitHub 账号信息,避免重复登录。
点击 Next。
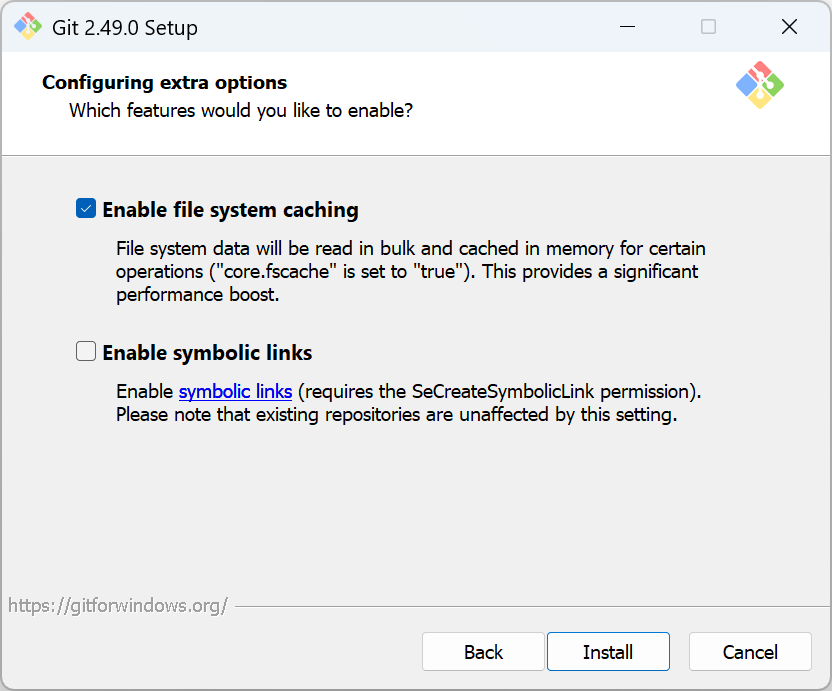
步骤 13:启用额外功能
✅ Enable file system caching(建议保留)
⬜ Enable symbolic links(不确定是否需要可不勾选)
点击 Install 开始安装。
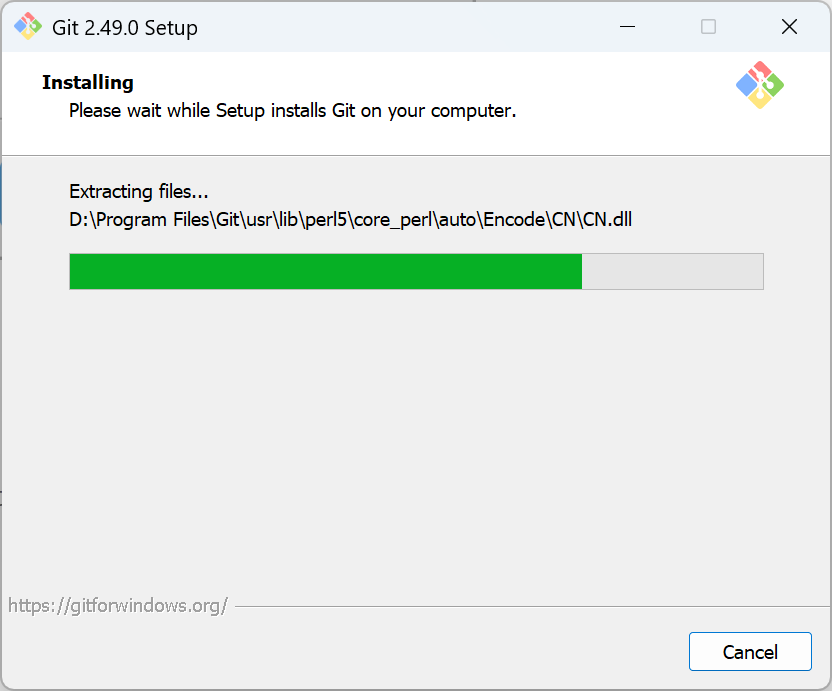
第三步:安装完成
勾选项建议:
⬜ View Release Notes(可以取消) ⬜ Launch Git Bash(如需立即使用可勾选)
点击 Finish 完成安装!🎉🎉🎉🎉🎉🎉🎉🎉🎉🎉🎉🎉🎉🎉🎉🎉🎉

后面你就可以右键使用你的Git了
✨✨✨✨✨✨✨✨✨✨✨✨✨✨✨✨✨✨✨✨✨✨✨✨✨✨✨✨✨✨✨


 被折叠的 条评论
为什么被折叠?
被折叠的 条评论
为什么被折叠?
 到【灌水乐园】发言


