


一、Vue-router路由
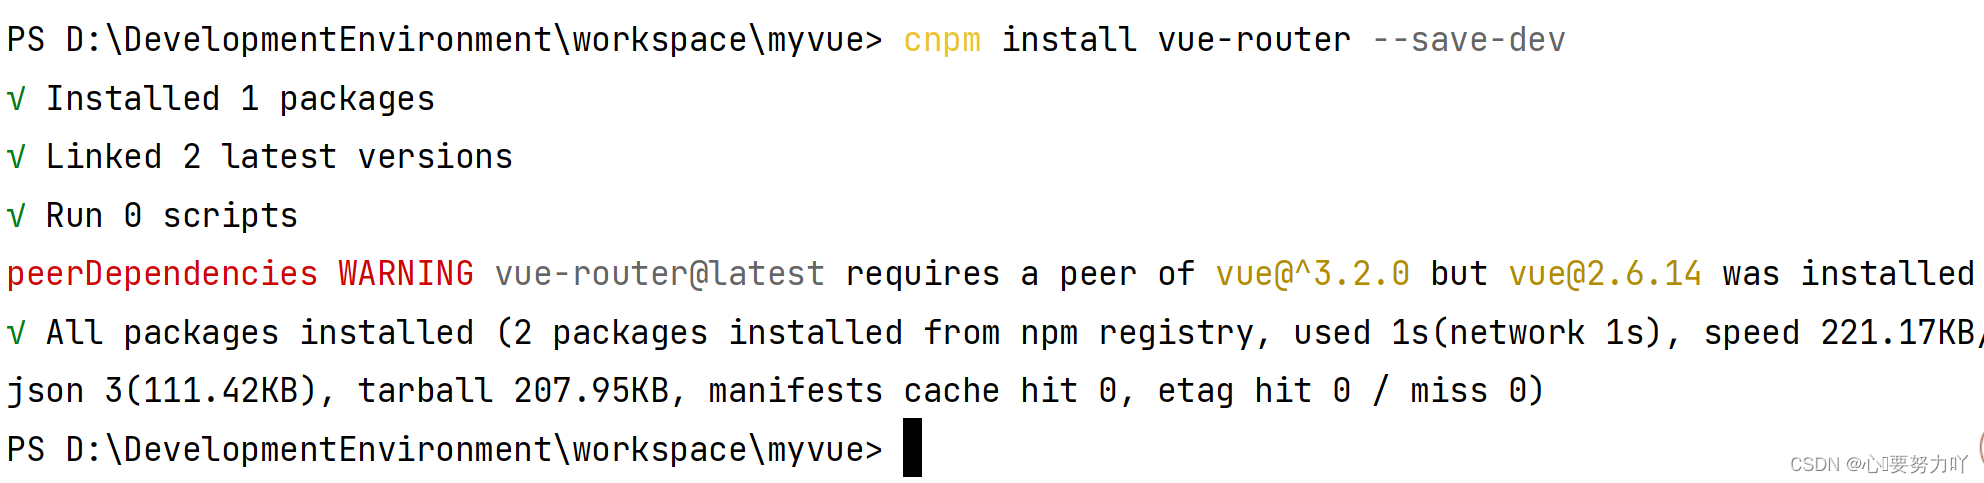
1.1安装vue-router
cnpm install vue-router --save-dev
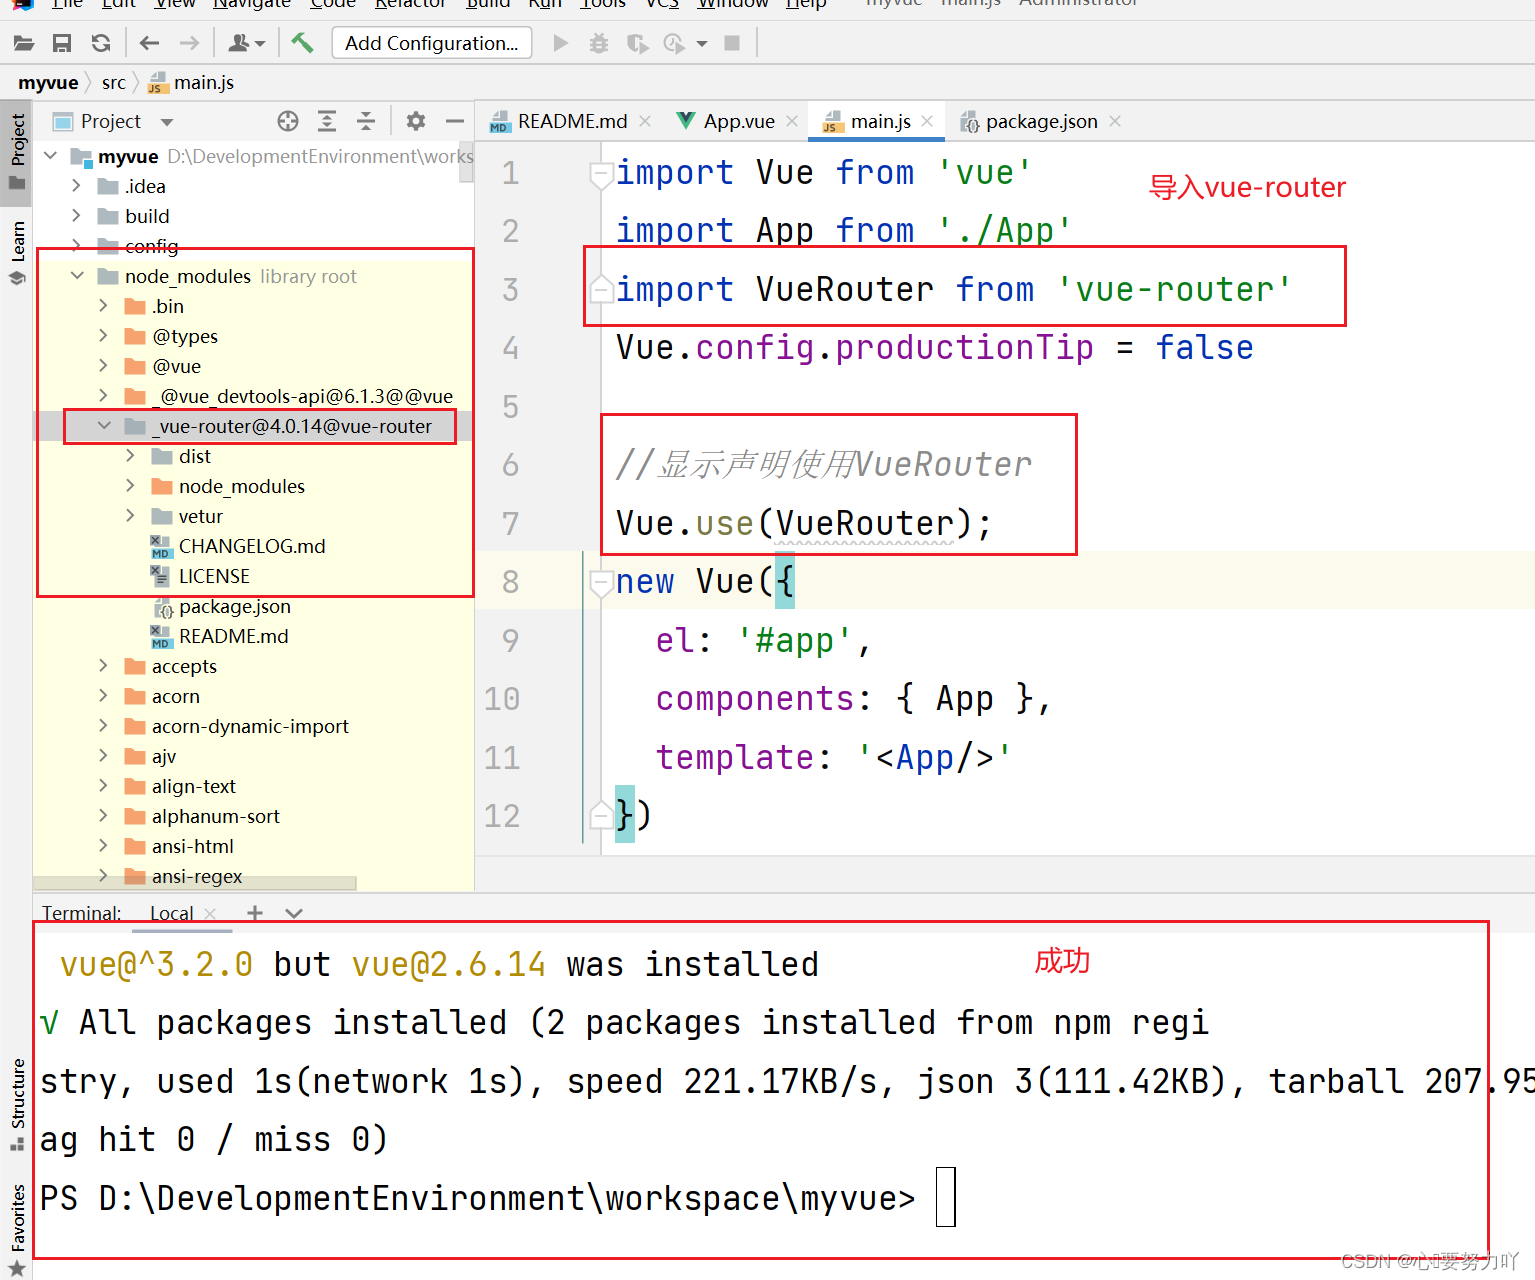
1.2 然后导入vue-router
1.3 运行:npm run dev

由于我的Vue-router版本高,所以得进行降级
先把旧版本卸载了
cnpm uninstall vue-router

然后在安装cnpm install vue-router@3.2.0
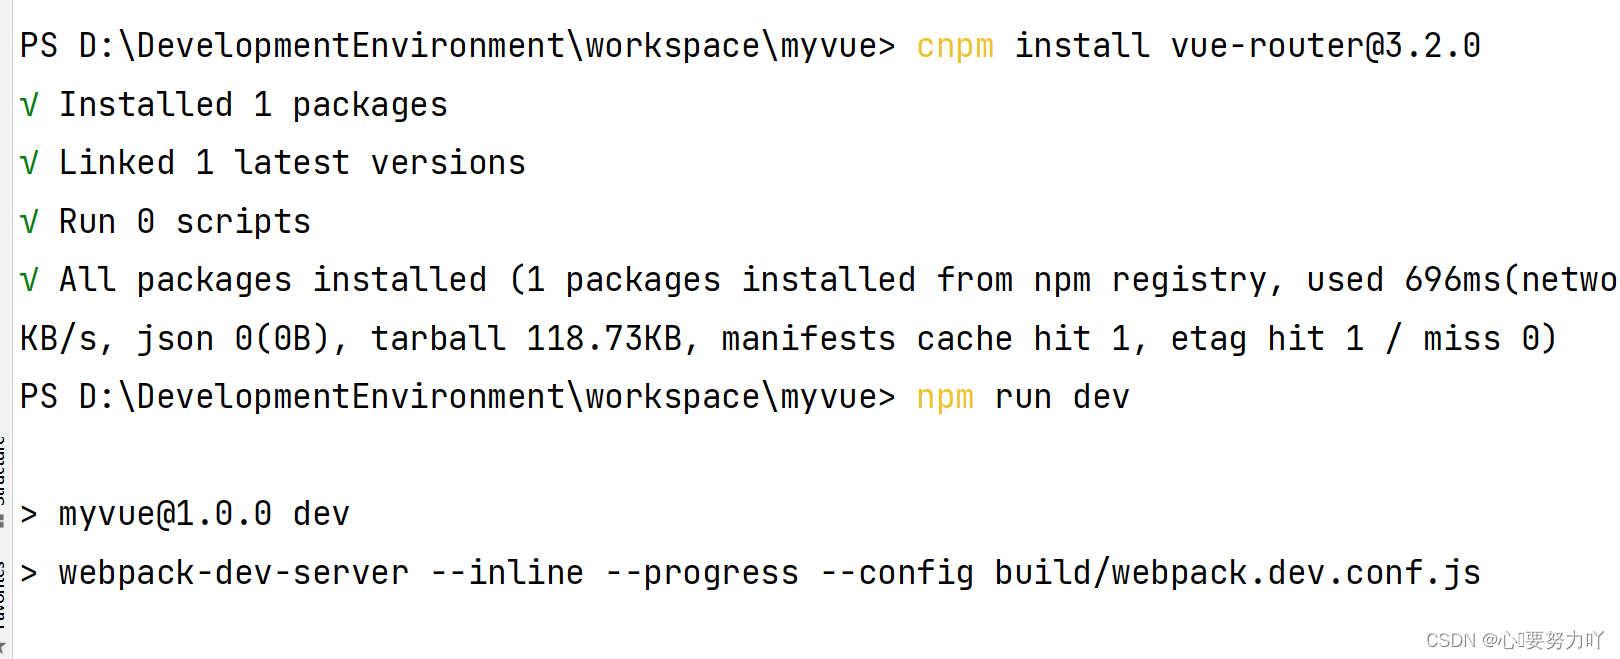
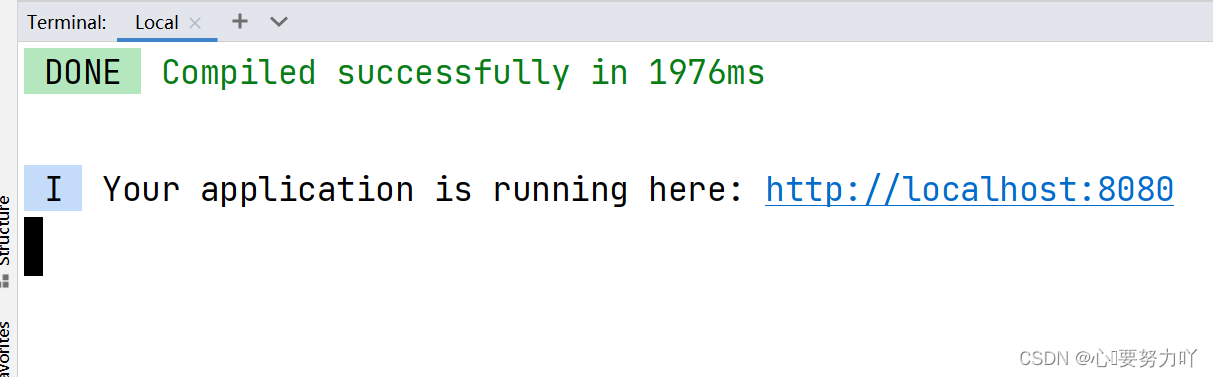
运行npm run dev
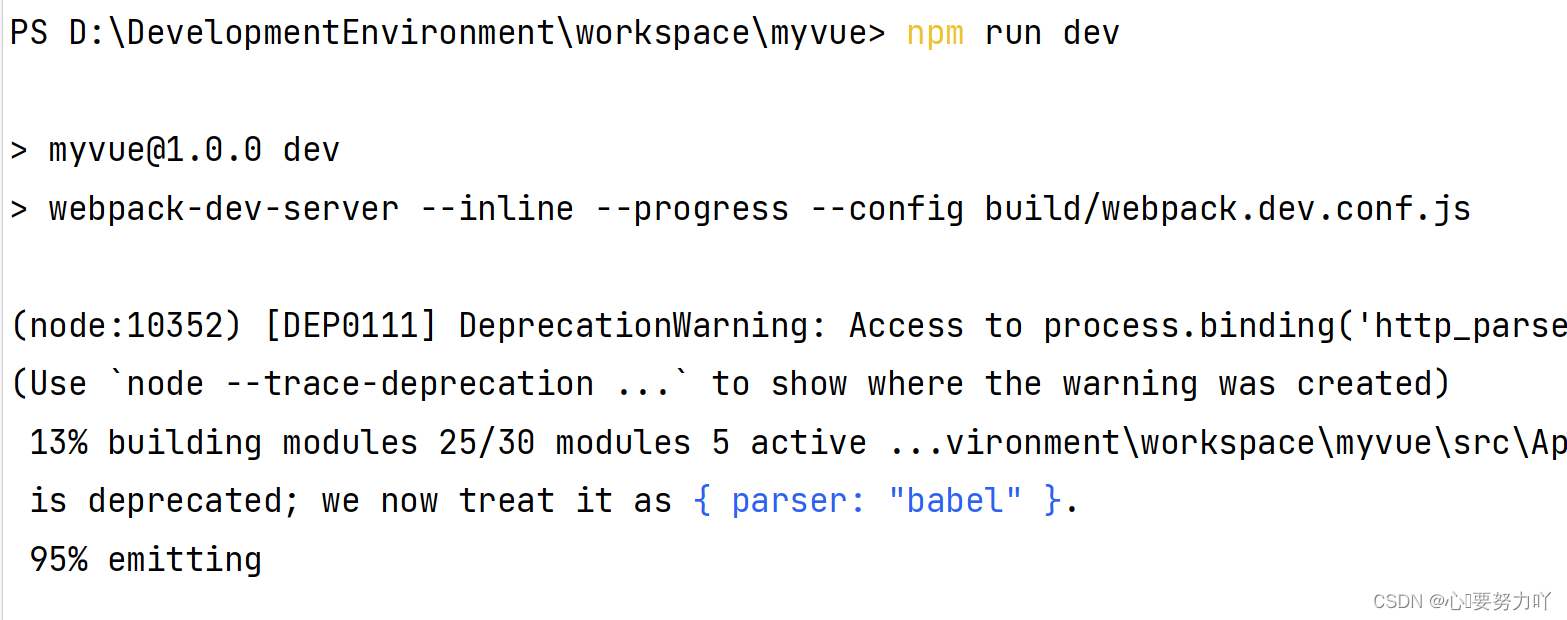
运行结果:网址:http://localhost:8080
二、做一个小的页面包括跳转
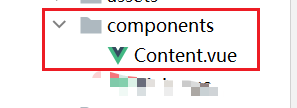
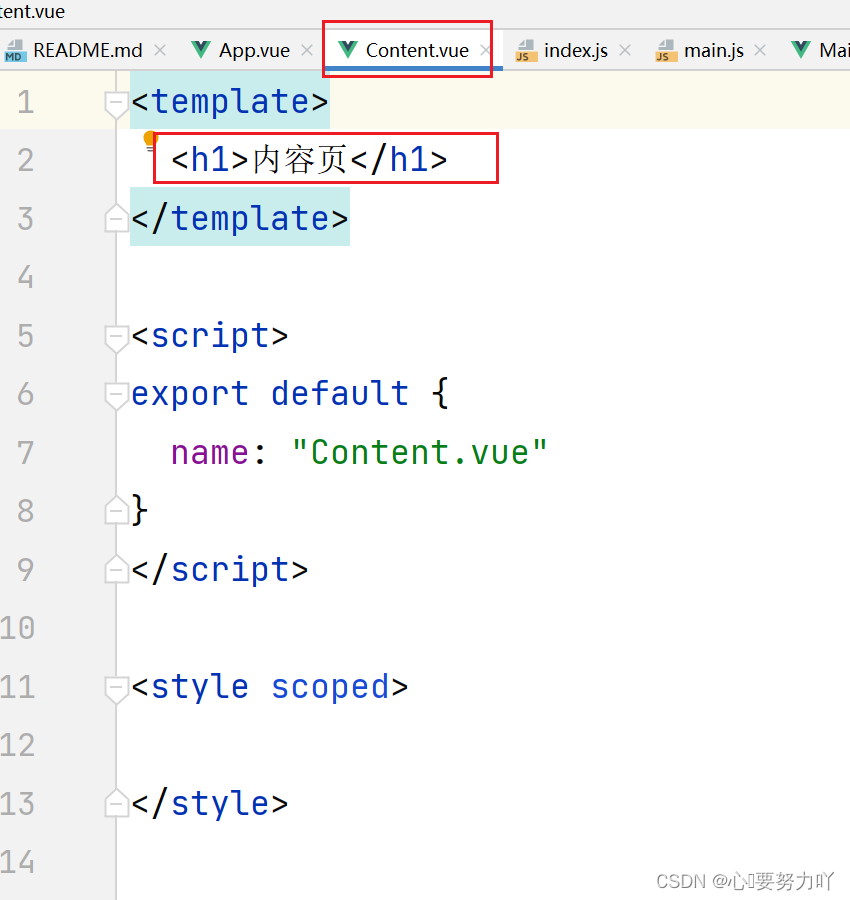
2.1先在components下创建一个Content.vue
使用之前的myvue项目
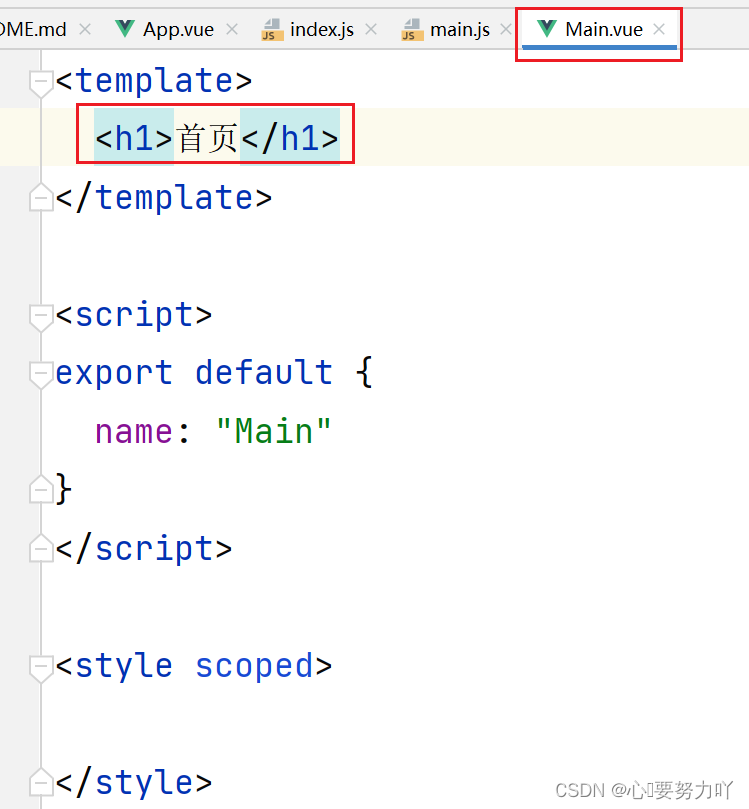
2.2接着创建一个Main.js,在同一个文件夹下

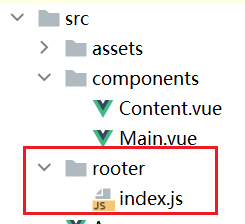
2.3在src下创建一个文件夹rooter,在这个文件夹下创建一个index.js,是专门配置路由的
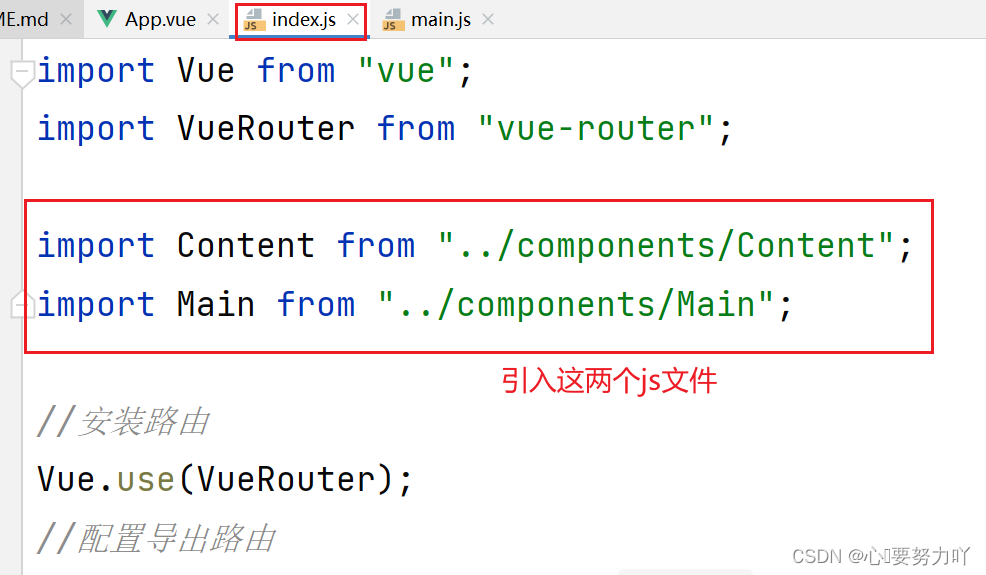
import Vue from "vue";
import VueRouter from "vue-router";
import Content from "../components/Content";
import Main from "../components/Main";
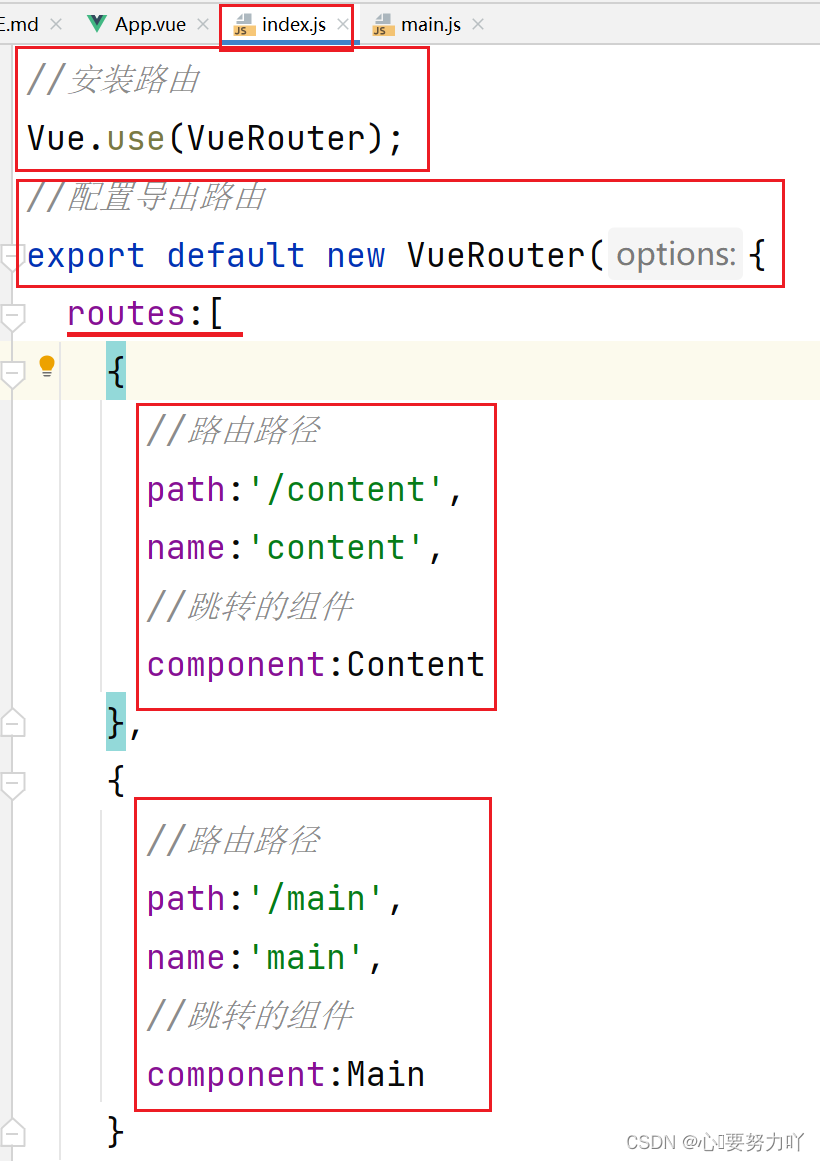
//安装路由
Vue.use(VueRouter);
//配置导出路由
export default new VueRouter({
routes:[
{
//路由路径
path:'/content',
name:'content',
//跳转的组件
component:Content
},
{
//路由路径
path:'/main',
name:'main',
//跳转的组件
component:Main
}
]
});
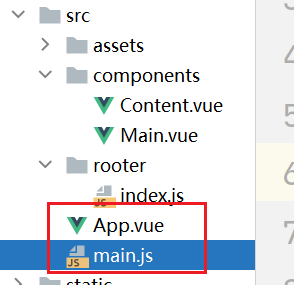
2.4分别写App.vue和main.js
App.vue中
<template>
  <div id="app">
    <h1>Vue学习</h1>
    <router-link to="/main">首页</router-link>
    <router-link to="/content">内容页</router-link>
    <router-view></router-view>
  </div>
</template>

<script>
export default {
  name: 'App'
}
</script>
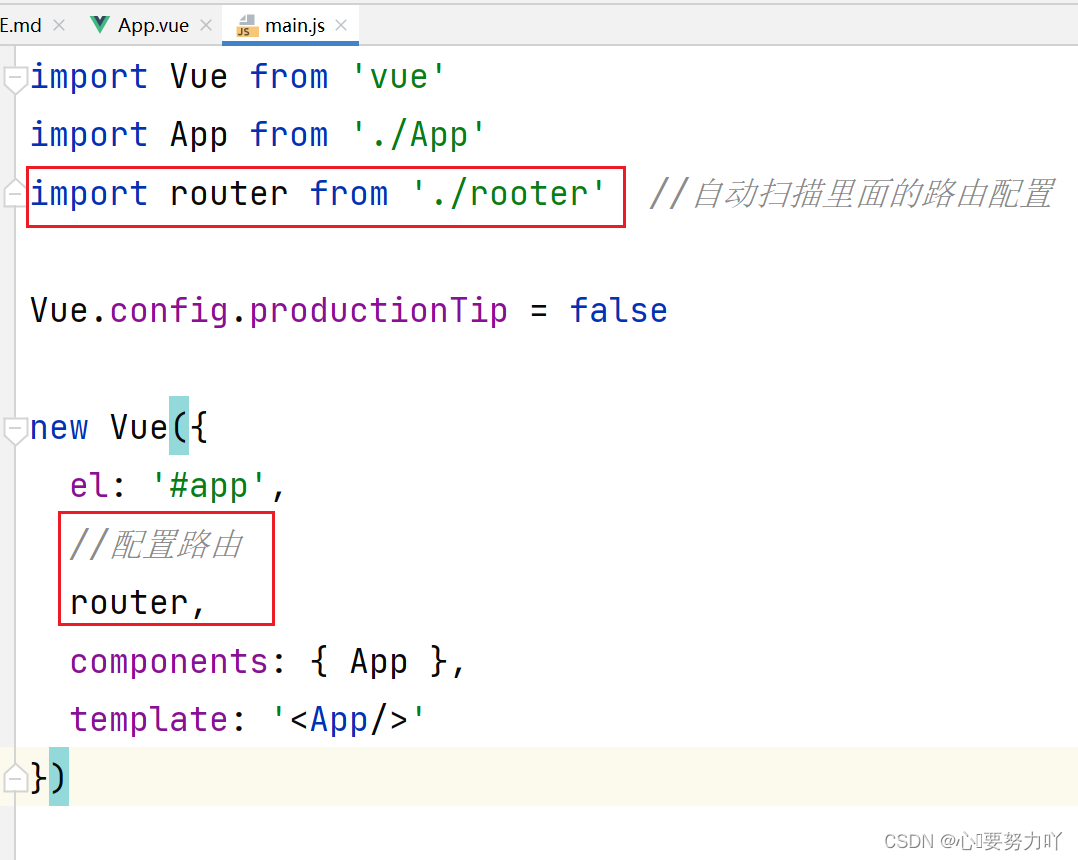
main.js中
import Vue from 'vue'
import App from './App'
import router from './rooter'  //自动扫描里面的路由配置

Vue.config.productionTip = false

new Vue({
  el: '#app',
  //配置路由
  router,
  components: { App },
  template: '<App/>'
})

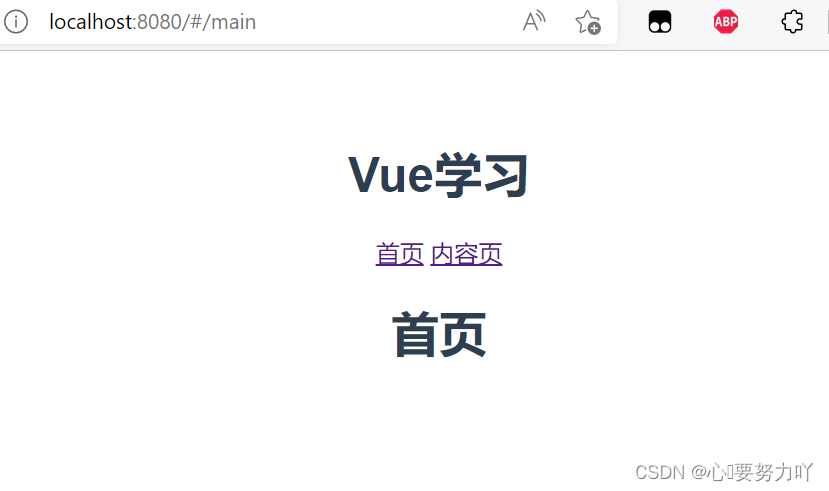
2.4运行结果:
npm run dev


 801
801


 被折叠的 条评论
为什么被折叠?
被折叠的 条评论
为什么被折叠?
 到【灌水乐园】发言


