


![]() 前期回顾
前期回顾![]()
 https://blog.csdn.net/m0_57904695/article/details/128982118?spm=1001.2014.3001.5501
 通用版后台管理系统,如果你是多年的程序猿(媛),你可以巩固一下,
也可以给我提提意见。此典型项目,与企业级开发很是接近!掌握即可领悟雷电,如果你是大学生,它完全可以作为你毕业设计,毕竟你确实写过,项目开发全程采用组件化思想
话说江湖风起云涌,虽无刀光剑影、却依旧暗藏伏机!程序江湖不进则退,必然需要更加卖力,
目录
该项目的亮点:
-
亮点1:用户权限管理:后台管理系统可以根据用户的角色和权限来限制其访问和操作的范围,保证数据的安全性和可靠性。
-
亮点2:技术:一款基于 Vue3.2、TypeScript、Vite3、Pinia、Element-Plus 开源的后台管理框架,使用目前最新技术栈开发。项目提供强大的 [ProTable] 组件,在一定程度上节省您的开发效率。另外本项目还封装了一些常用组件、Hooks、指令、动态路由、按钮级别权限控制等功能。
-
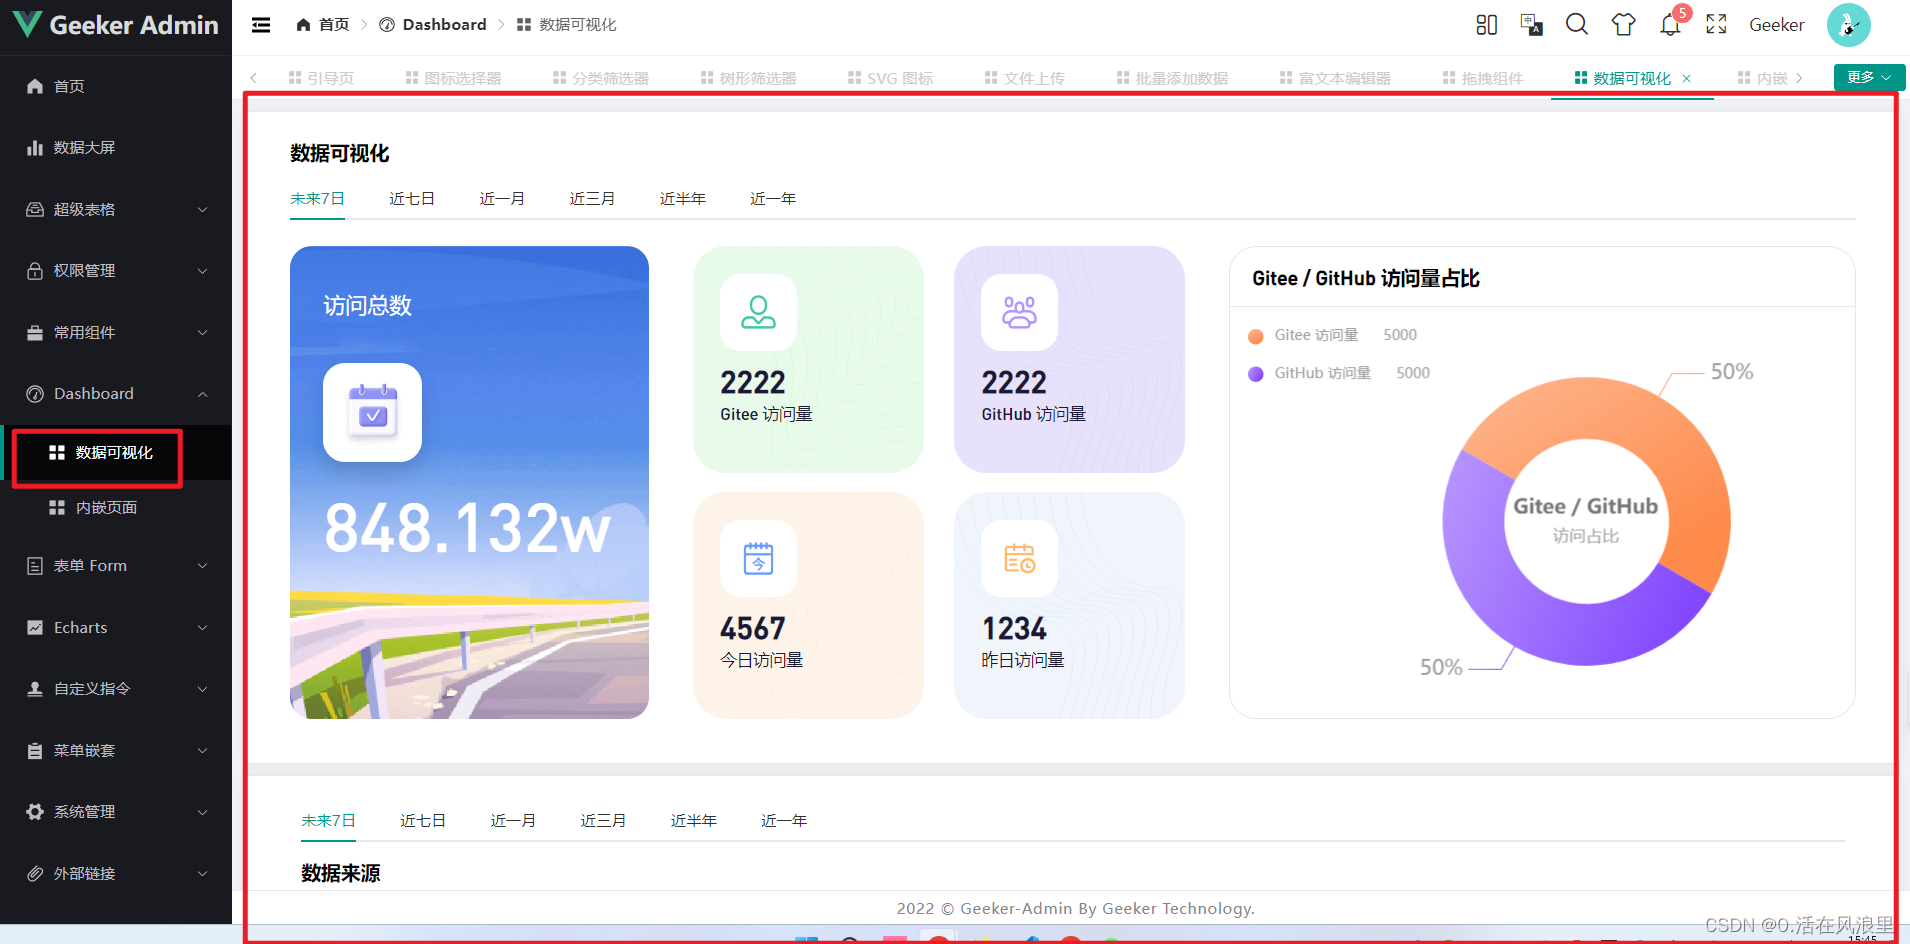
亮点3:数据可视化:后台管理系统可以将数据以图表、表格等形式进行可视化展示,方便管理员快速了解数据的趋势和变化。
-
亮点4:自定义配置:后台管理系统可以根据不同的业务需求进行自定义配置,包括但不限于页面布局、数据展示方式、操作流程等。
-
亮点5:多语言支持:后台管理系统可以支持多种语言,方便不同地区和国家的用户使用和操作。
-
亮点6:数据备份和恢复:后台管理系统可以对数据进行定期备份和恢复,保证数据的安全性和可靠性。
-
……诸多功能等你拥抱,快来三连 抱走吧
适合谁
1 、大学即将毕业 或者 自学前端 缺乏项目经验的
2 、入职以后需要做vue 后台管理系统的
3 、后端开发 没有前端经验 要做vue + java 后台管理项目的
4、 缺乏vue实战项目经验 基础不是很好的 本教程非常的详细 每一步都总结在md文档里面
资料在哪
已上传主页资源、也可在博文中找到地址、也可找我
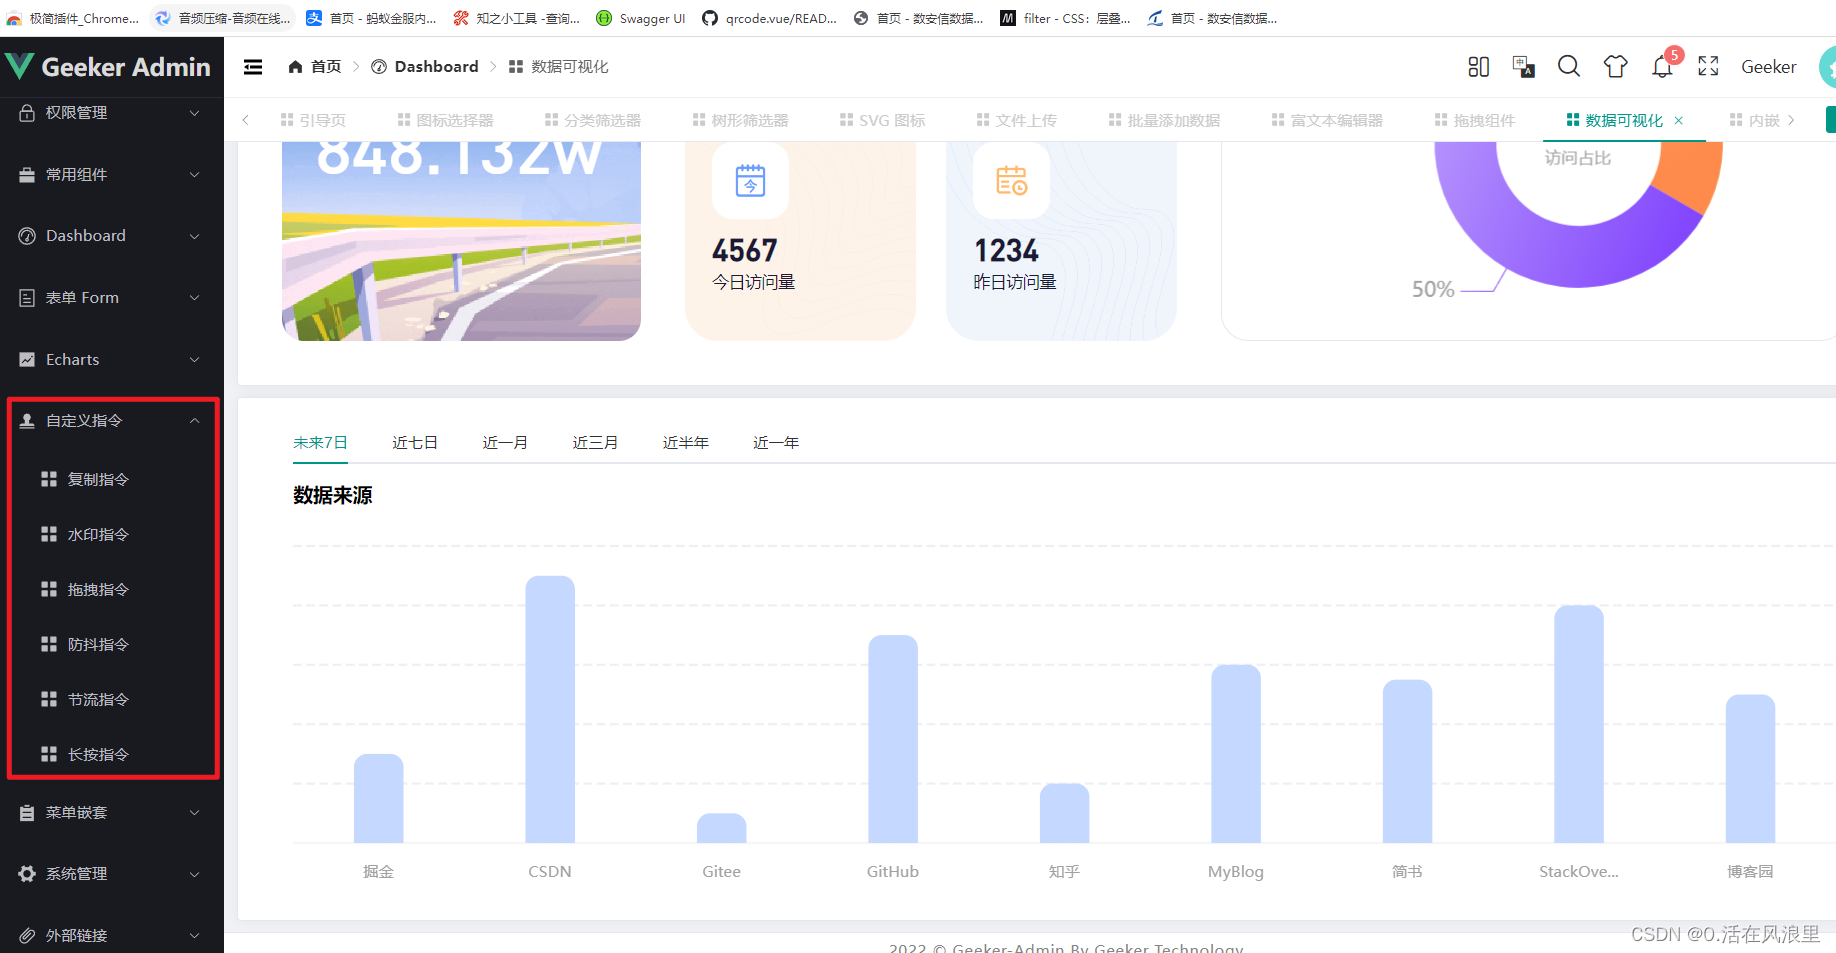
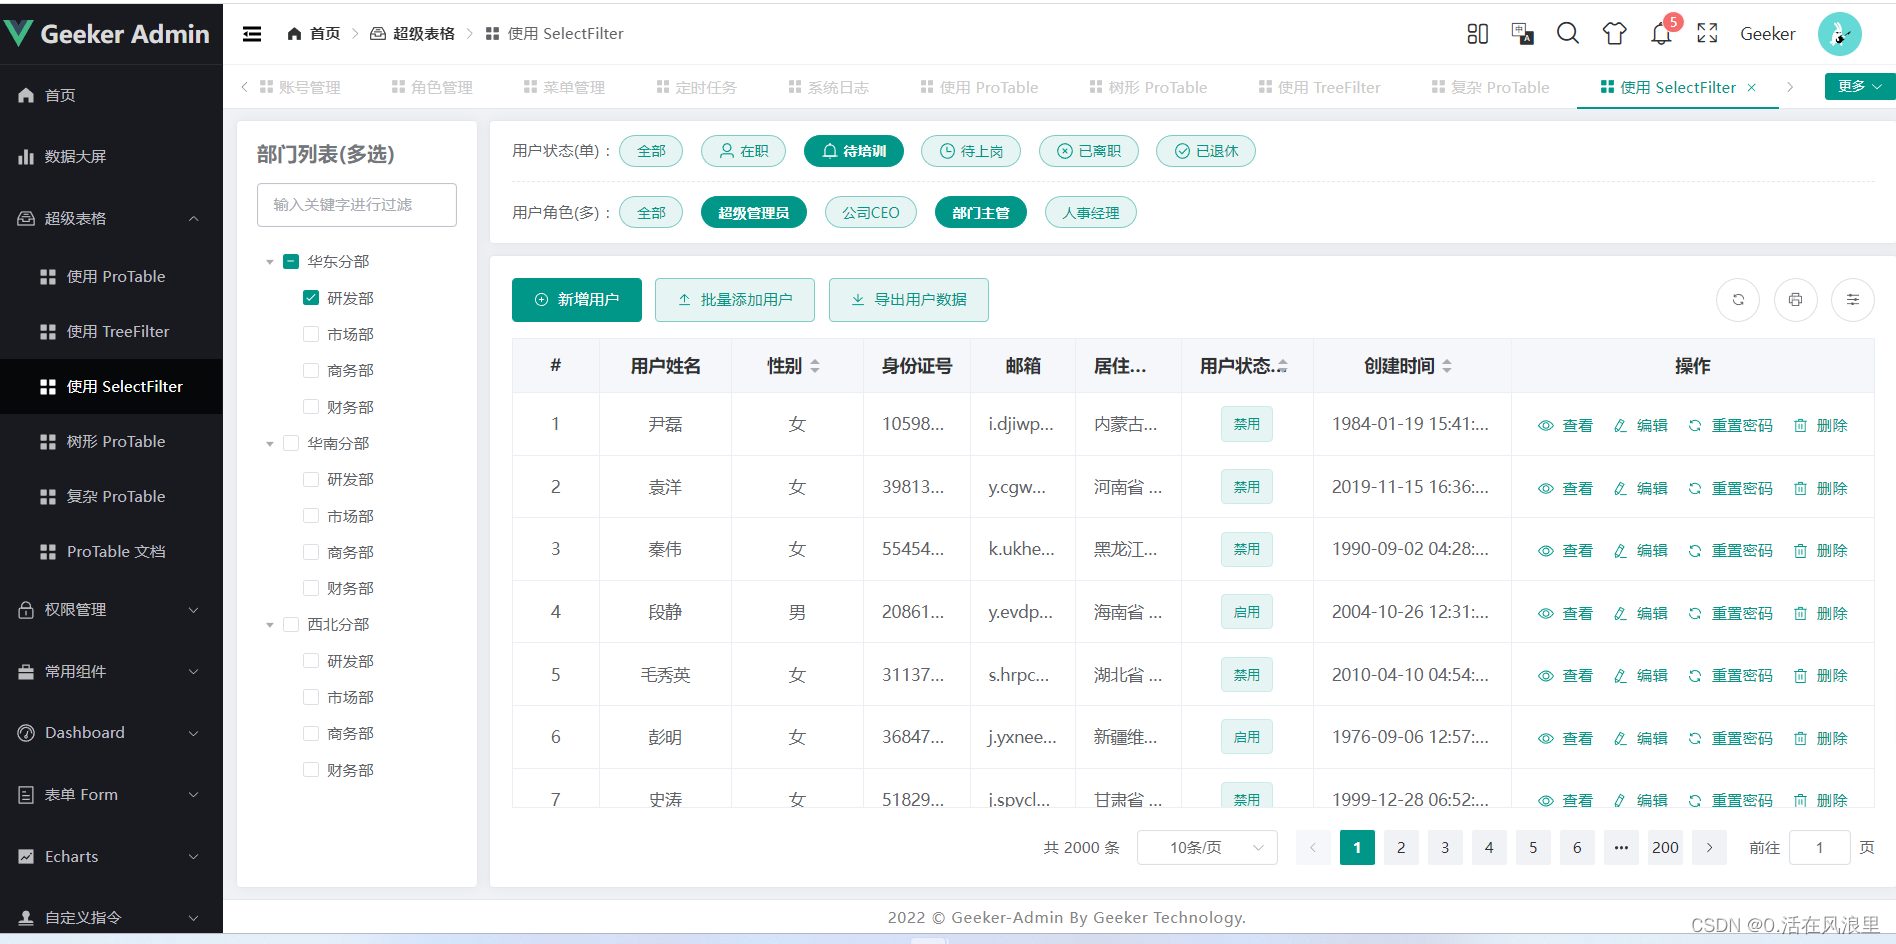
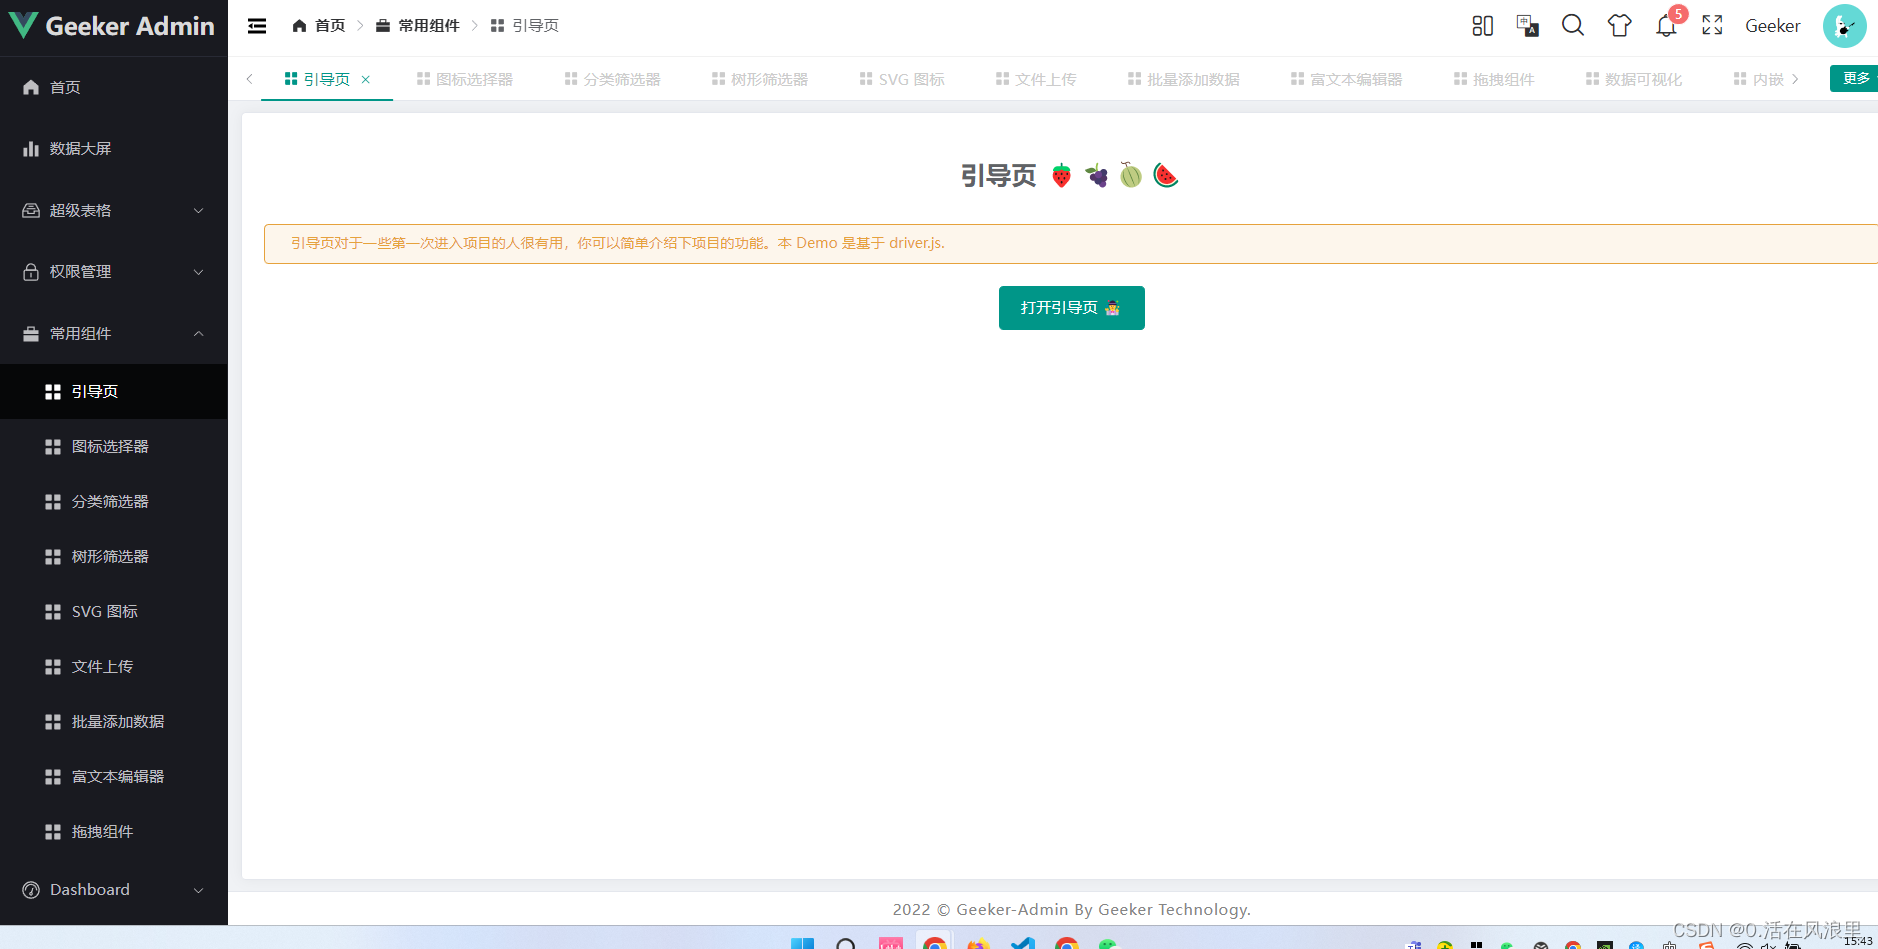
图例 :

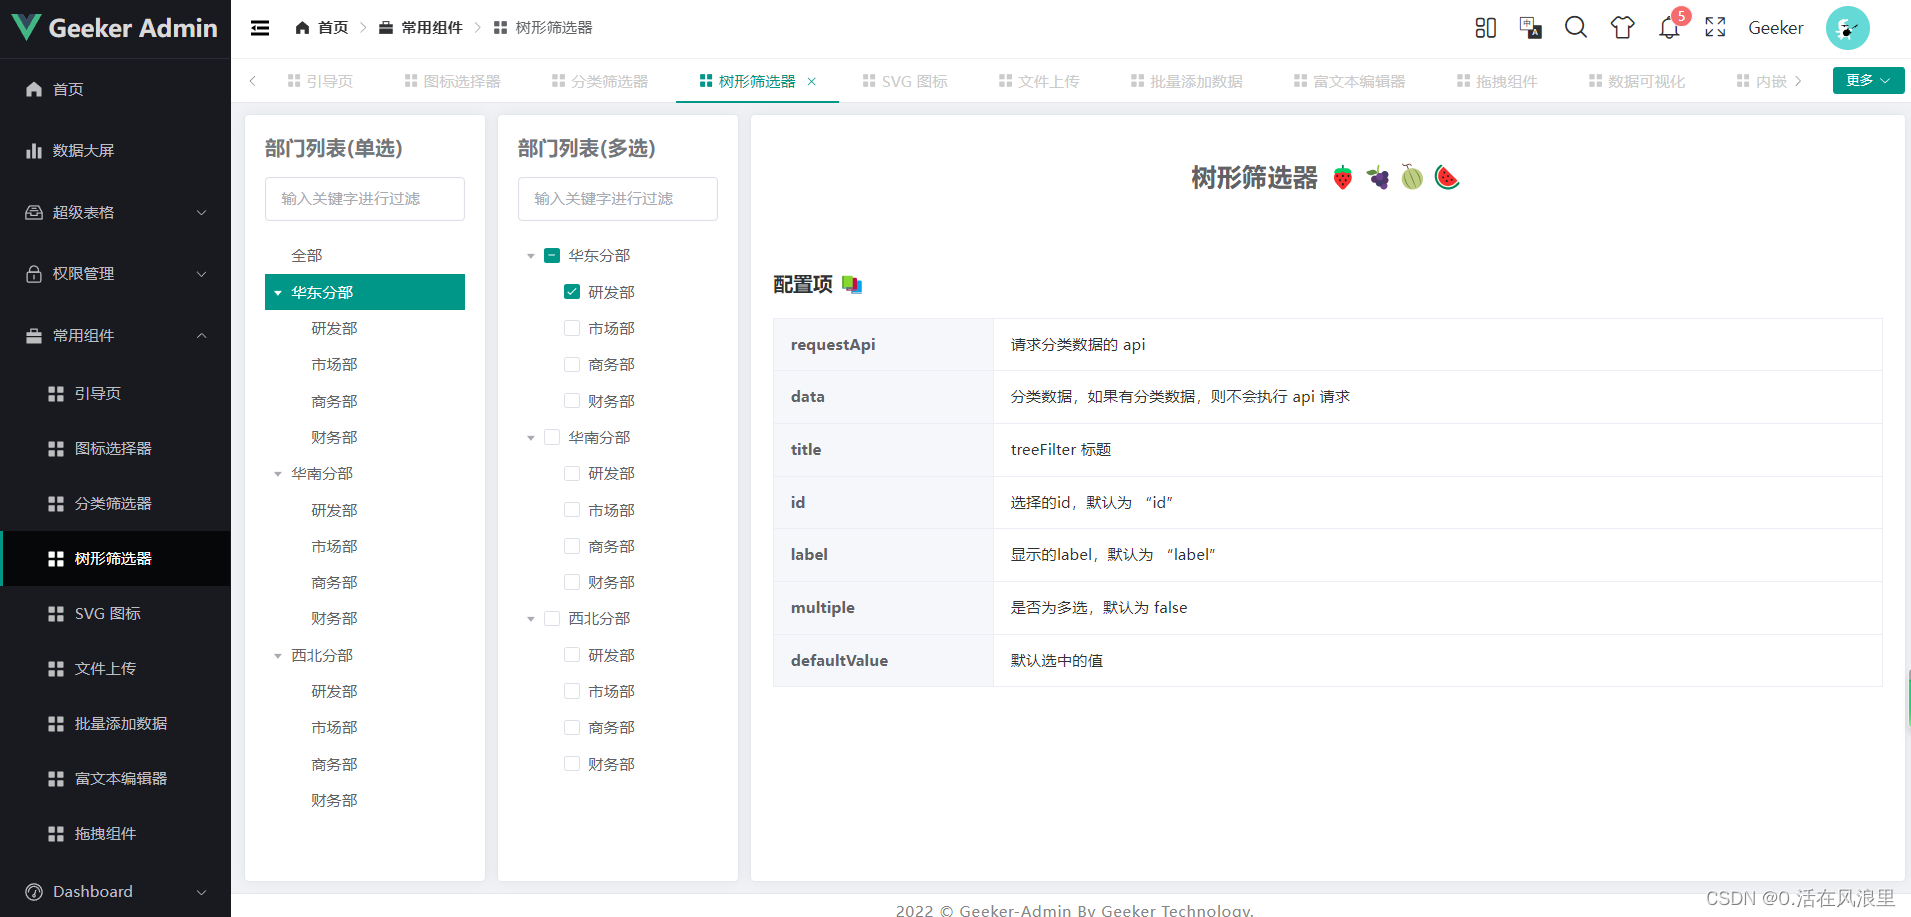
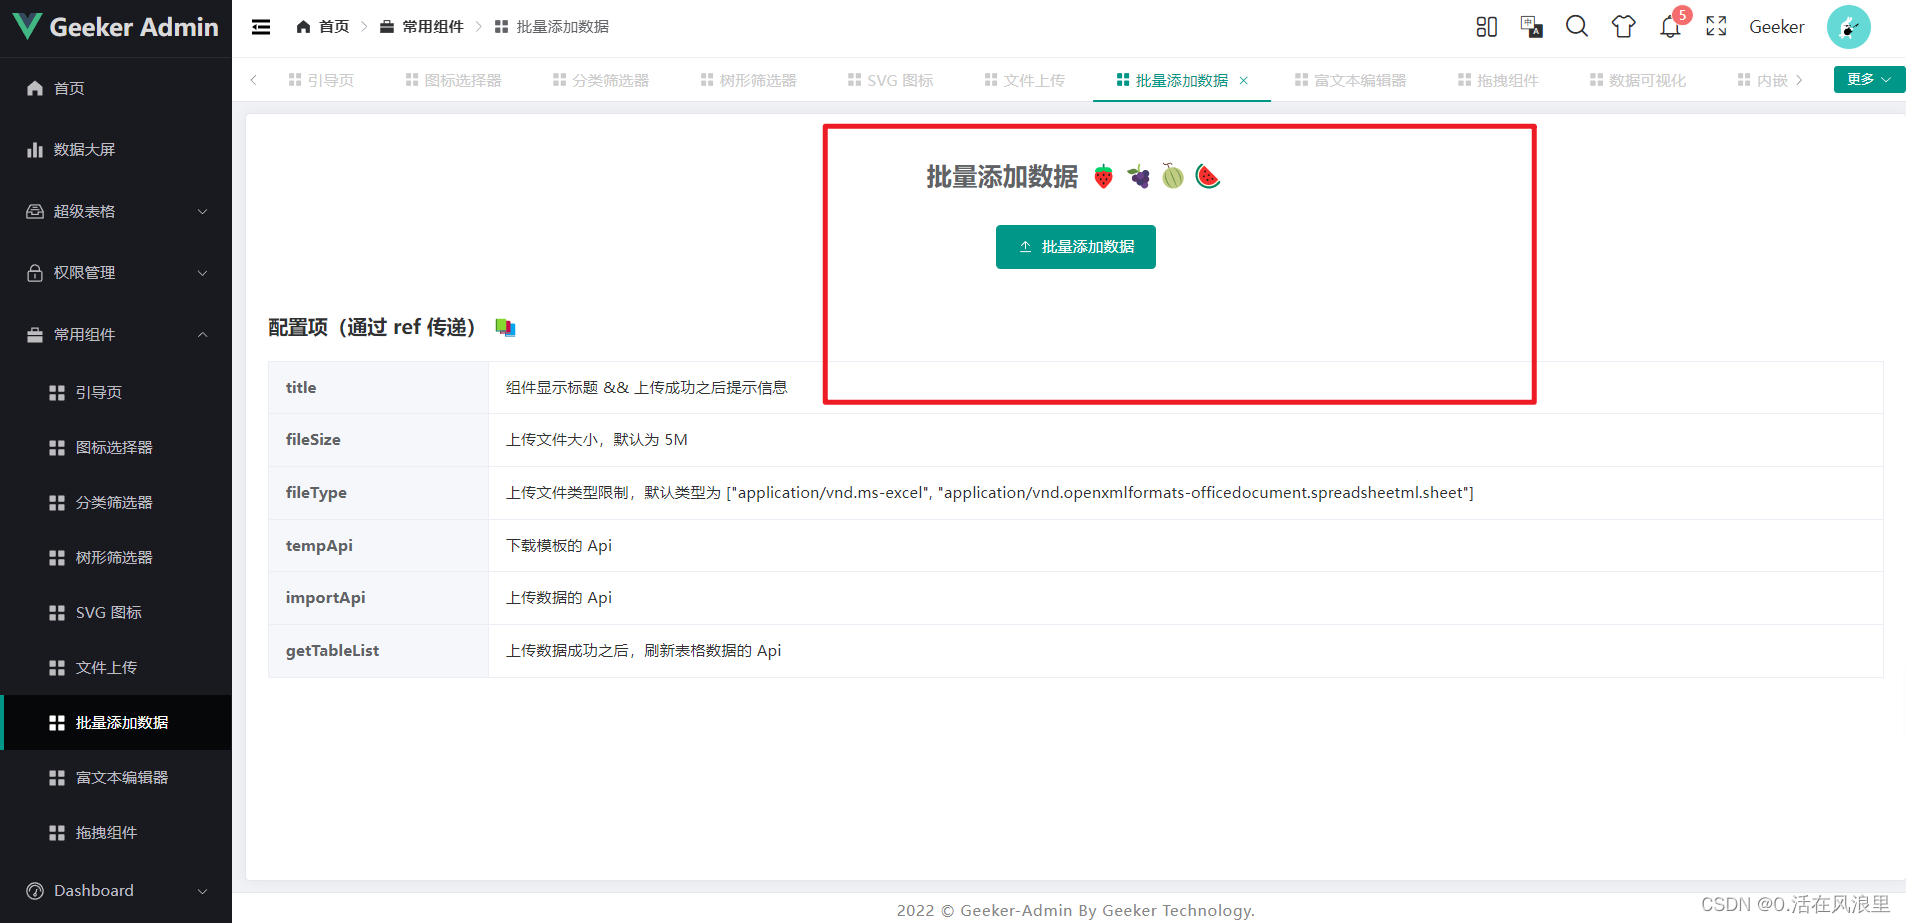
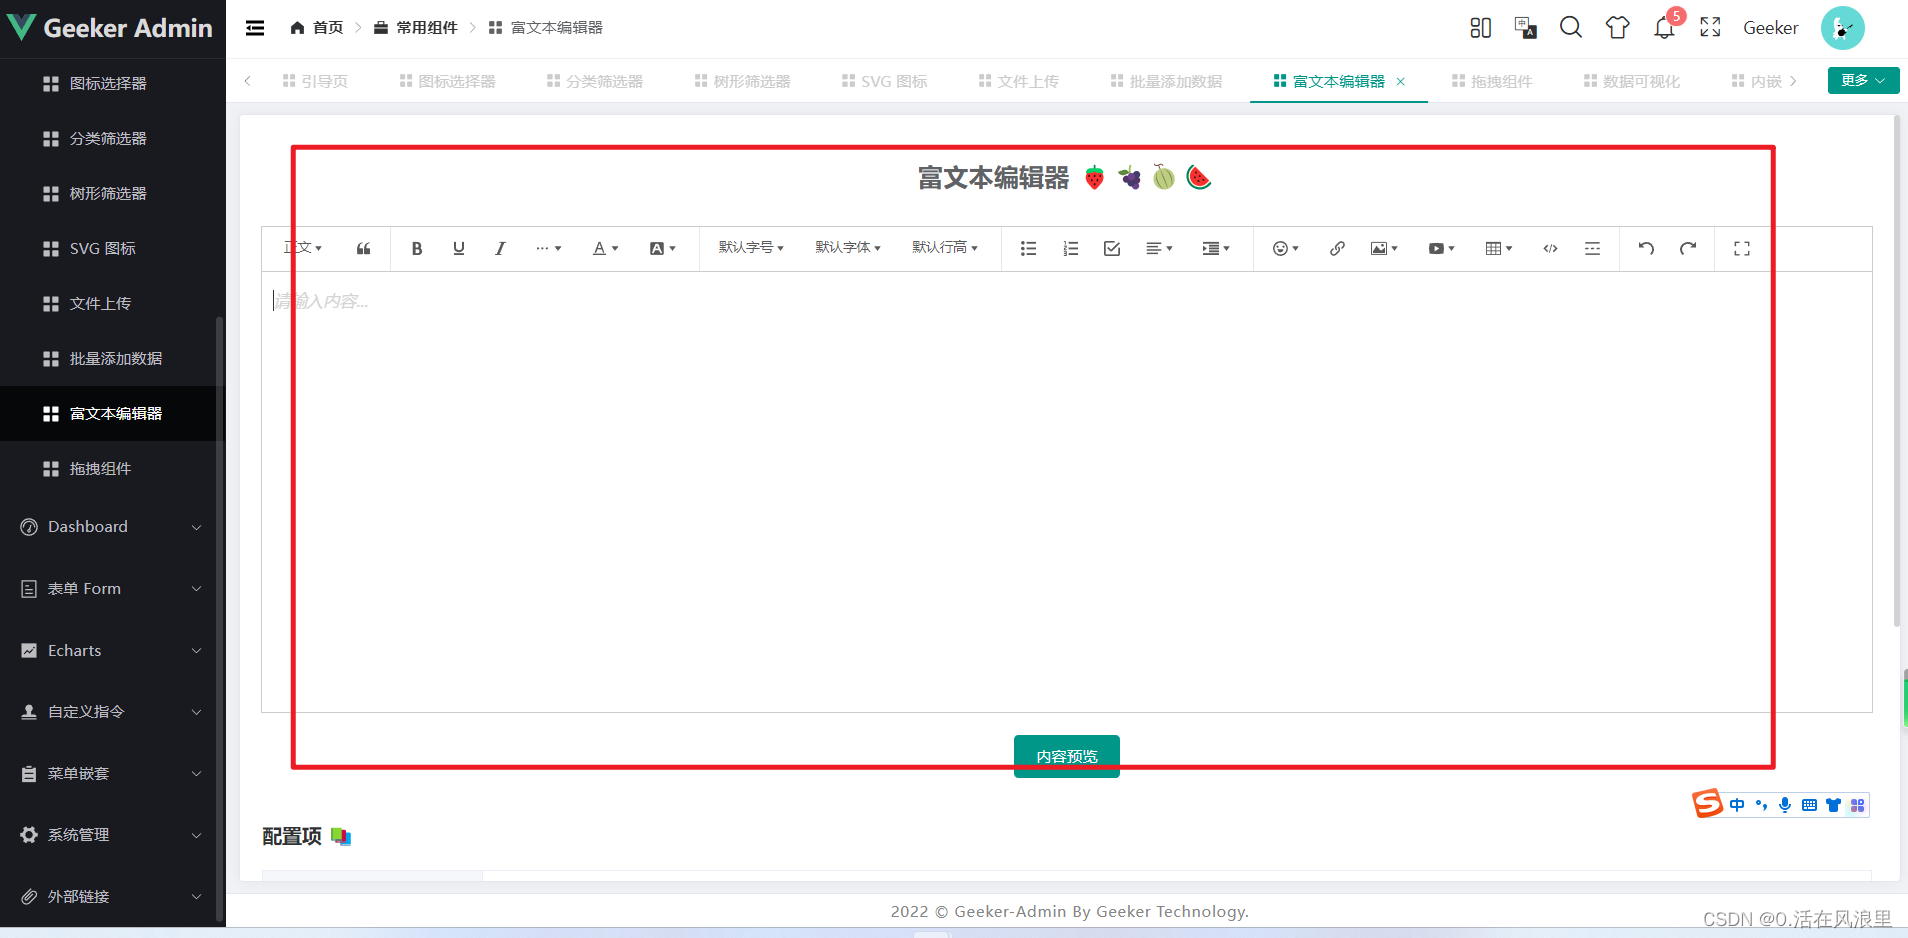

就不一一贴图了,代码开始
轮子运转……
目录结构:
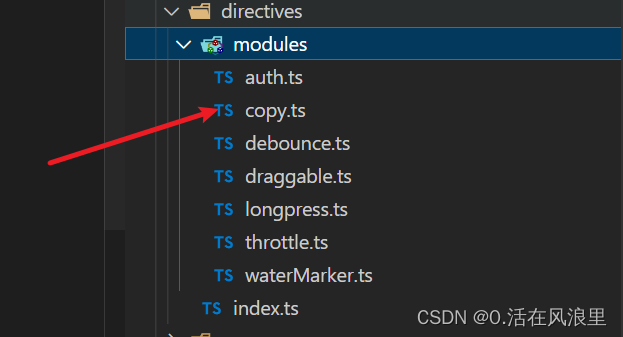
复制指令
位置:copy.ts
/**
 * v-copy
 * 复制某个值至剪贴板
 * 接收参数:string类型/Ref<string>类型/Reactive<string>类型
 */
import type { Directive, DirectiveBinding } from "vue";
import { ElMessage } from "element-plus";
interface ElType extends HTMLElement {
	copyData: string | number;
	__handleClick__: any;
}
const copy: Directive = {
	mounted(el: ElType, binding: DirectiveBinding) {
		el.copyData = binding.value;
		el.addEventListener("click", handleClick);
	},
	updated(el: ElType, binding: DirectiveBinding) {
		el.copyData = binding.value;
	},
	beforeUnmount(el: ElType) {
		el.removeEventListener("click", el.__handleClick__);
	}
};

function handleClick(this: any) {
	const input = document.createElement("input");
	input.value = this.copyData.toLocaleString();
	document.body.appendChild(input);
	input.select();
	document.execCommand("Copy");
	document.body.removeChild(input);
	ElMessage({
		type: "success",
		message: "复制成功"
	});
}

export default copy;
页面使用
<template>
	<div class="card content-box">
		<span class="text">复制指令 🍇🍇🍇🍓🍓🍓</span>
		<div class="box-content">
			<el-input placeholder="请输入内容" v-model="data" style="width: 500px">
				<template #append>
					<el-button v-copy="data">复制</el-button>
				</template>
			</el-input>
		</div>
	</div>
</template>

<script setup lang="ts" name="copyDirect">
import { ref } from "vue";

const data = ref<string>("我是被复制的内容 🍒 🍉 🍊");
</script>
防篡改水印指令
位置:waterMarker.ts
/*
  需求:给整个页面添加背景水印。
  思路:
    1、使用 canvas 特性生成 base64 格式的图片文件,设置其字体大小,颜色等。
    2、将其设置为背景图片,从而实现页面或组件水印效果

  使用:设置水印文案,颜色,字体大小即可
  <div v-waterMarker="{text:'版权所有',textColor:'rgba(180, 180, 180, 0.4)'}"></div>
*/
import { Directive, DirectiveBinding } from "vue";

const addWaterMarker: Directive = (
	text: string,
	elNode: any,
	font: any,
	textColor: string
) => {
	// 水印文字,父元素,字体,文字颜色
	const can: HTMLCanvasElement = document.createElement("canvas");
	elNode.appendChild(can);
	can.width = 205;
	can.height = 140;
	can.style.display = "none";
	const cans = can.getContext("2d") as CanvasRenderingContext2D;
	cans.rotate((-20 * Math.PI) / 180);
	cans.font = font || "16px 思源黑体";
	cans.fillStyle = textColor || "rgba(180, 180, 180, 0.3)";
	cans.textAlign = "left";
	cans.textBaseline = "Middle" as CanvasTextBaseline;
	cans.fillText(text, can.width / 10, can.height / 2);
	elNode.style.backgroundImage = "url(" + can.toDataURL("image/png") + ")";

	/*
	 监听父元素的变化
	Q: 为什么要监听父元素的变化?不监听canvas元素的变化?
	A: 因为如果监听当前删除监听不到了,所以监听父元素里面的属性变化,如果变化了,就重新应用水印
	*/
	handleEMutation(elNode, text, font, textColor);
};

// 监听父元素的变化
let observer: MutationObserver;
const handleEMutation = (
	elNode: any,
	text: string,
	font: any,
	textColor: string
) => {
	observer = new MutationObserver((mutationsList) => {
		for (const mutation of mutationsList) {
			if (
				mutation.type === "attributes" &&
				(mutation.target === elNode || elNode.contains(mutation.target))
			) {
				// 重新应用水印
				addWaterMarker(text, elNode, font, textColor);
				break;
			}
		}
	});

	// 配置并开始监视
	const observerConfig = { attributes: true, attributeFilter: ["style"] };
	observer.observe(elNode, observerConfig);
};

const waterMarker = {
	mounted(el: DirectiveBinding, binding: DirectiveBinding) {
		addWaterMarker(
			binding.value.text,
			el,
			binding.value.font,
			binding.value.textColor
		);
	},
	// 移除 MutationObserver 防止内存泄漏
	beforeUnmount() {
		observer.disconnect();
	},
};

export default waterMarker;
页面使用
<template>
	<div class="card content-box" v-waterMarker="{ text: 'Geeker Admin', textColor: 'rgba(180, 180, 180, 0.6)' }">
		<span class="text">水印指令 🍇🍇🍇🍓🍓🍓</span>
	</div>
</template>

<script setup lang="ts" name="watermarkDirect"></script>

<style>
.content-box {
	width: 100vw;
	height: 100vh;
}
</style>
拖拽指令
位置:draggable.ts
/*
    需求:实现一个拖拽指令,可在父元素区域任意拖拽元素。
    思路:
        1、设置需要拖拽的元素为absolute,其父元素为relative。
        2、鼠标按下(onmousedown)时记录目标元素当前的 left 和 top 值。
        3、鼠标移动(onmousemove)时计算每次移动的横向距离和纵向距离的变化值,并改变元素的 left 和 top 值
        4、鼠标松开(onmouseup)时完成一次拖拽
    使用:在 Dom 上加上 v-draggable 即可
    <div class="dialog-model" v-draggable></div>
*/
import type { Directive } from "vue";
interface ElType extends HTMLElement
{
    parentNode: any;
}
const draggable: Directive = {
    mounted: function (el: ElType)
    {
        // 拖拽
        let oDiv = el; //当前元素
        oDiv.onmousedown = function (e: any)
        {
            //鼠标按下,计算当前元素距离可视区的距离
            let disX = e.clientX - oDiv.offsetLeft;
            let disY = e.clientY - oDiv.offsetTop;
            let oParent = oDiv.parentNode; //获取到父元素
            //移动时计算元素距离可视区的距离
            document.onmousemove = function (e: any)
            {
                //通过事件委托,计算移动的距离
                let l = e.clientX - disX;
                let t = e.clientY - disY;
                // 不允许超出父元素
                let w = oParent.clientWidth - oDiv.offsetWidth;
                let h = oParent.clientHeight - oDiv.offsetHeight;
                if (l < 0)
                {
                    l = 0;
                }
                else if (l > w)
                {
                    l = w;
                }
                if (t < 0)
                {
                    t = 0;
                }
                else if (t > h)
                {
                    t = h;
                }
                //移动当前元素
                oDiv.style.left = l + "px";
                oDiv.style.top = t + "px";
            };
            //鼠标抬起时候,移除事件
            document.onmouseup = function ()
            {
                document.onmousemove = null;
                document.onmouseup = null;
            };
        }


    }
};

export default draggable;
页面使用
<template>
	<div class="content-box">
		<span class="text">拖拽指令 🍇🍇🍇🍓🍓🍓</span>
		<div v-draggable class="drag-box">我可以拖拽哦~</div>
	</div>
</template>

<style lang="scss" scoped>
.content-box {
	position: relative;//required
	width: 500px;
	height: 500px;
	border: 1px solid #ccc;
	.drag-box {
		position: absolute;//required
		width: 100px;
		height: 100px;
		background-color: #ccc;
	}
}
</style>
防抖指令 输入框
位置:debounce.ts
/**
 * @description 防抖指令 自定义指令适用于简单的场景,复杂的场景建议使用utils中的防抖函数 src/utils/debounce/index.ts
 * @param { function } value - 回调函数
 * 什么是防抖:在一定时间间隔内,只执行最后一次触发的函数。当事件频繁触发时,防抖会取消之前的触发操作,只执行最后一次触发的操作。
 * 与节流不同的是,防抖只会执行最后一次触发的操作。节流则一定时间间隔内,只执行一次函数。
 * @example
            <el-input
                v-debounce="debounceInput"
                v-model.trim="iptVal"
                placeholder="防抖输入框 (0.5秒后执行)"
                style="width: 200px"
            />
 * @author zk
 * @createDate 2023/06/26 17:20:44
 * @lastFixDate 2023/08/4 17:20:55
 */
import type { Directive, DirectiveBinding } from "vue";
interface ElType extends HTMLElement {
	__handleInput__: () => void;
}

const debounce: Directive = {
	mounted(el: ElType, binding: DirectiveBinding) {
		if (typeof binding.value !== "function") {
			throw "callback must be a function";
		}
		let timer: NodeJS.Timeout | null = null;
		el.__handleInput__ = function () {
			if (timer) {
				clearInterval(timer);
			}
			timer = setTimeout(() => {
				binding.value();
			}, 500);
		};
		el.addEventListener("input", el.__handleInput__);
	},
	beforeUnmount(el: ElType) {
		el.removeEventListener("input", el.__handleInput__);
	},
};

export default debounce;
封装的 防抖函数 src\utils\debounce\index.ts
/**
* 防抖函数,用于限制某个函数在一段时间内只能被调用一次
* @param A 函数的参数
* @param R 函数的返回值
* @param { function } fn 要执行的函数
* @param { number } delay 延迟的时间,以毫秒为单位
* @example:
* <template>
* <el-button type="primary" @click="onDbo('我是参数')"
* >防抖按钮 (0.5秒后执行)</el-button
* >
* </template>
*
* <script setup lang="ts">
* import { debounce } from "@/utils/debounce";
* const onDbo = debounce((valStr: string) => {
* console.log("😂👨🏾❤️👨🏼==>:", valStr);
* }, 250);
* </script>
* @returns {(...args: A) => void} 返回一个新的函数,该函数具有防抖效果 !!!
*/
export function debounce<A extends any[], R>(
fn: (...args: A) => R,
delay = 250
) {
let timer: NodeJS.Timeout | null = null;
/**
* 新的函数,具有防抖效果
* @param args 函数的参数
* Q: 为什么要使用箭头函数?
* A: 箭头函数没有自己的this,所以箭头函数中的this就是外层代码块的this
*/
return function (...args: A) {
if (timer) clearTimeout(timer);
timer = setTimeout(() => fn.apply(fn, args), delay);
};
}
页面使用 指令 高亮搜索
<template>
	<div class="card content-box">
		<span class="text">input防抖指令 🍇🍇🍇🍓🍓🍓</span>
		<el-input
			v-debounce="debounceInput"
			v-model.trim="iptVal"
			placeholder="防抖输入框 (0.5秒后执行)"
			style="width: 100%"
		/>
		<section>
			<ul v-if="flag">
				<a
					v-for="(item, index) in listArr"
					:key="index"
					:href="item.link"
					class="link"
				>
					<li v-html="item.uname"></li>
				</a>
			</ul>
		</section>
	</div>
</template>

<script lang="ts" setup>
import { onMounted, ref, reactive } from "vue";

// 双向绑定的搜索默认值
let iptVal = ref<string>("");
// 被搜索的列表,真实项目中应该是从后台获取的数据
let listArr: Array<{ uname: string; link: string }> = reactive([
	{
		uname: "Vue项目实战 —— 后台管理系统( pc端 ) —— Pro最终版本",
		link: "",
	},
	{
		uname: "【提高代码可读性】—— 手握多个代码优化技巧、细数哪些惊艳一时的策略",
		link: "",
	},
	{
		uname:
			"开源项目 —— 原生JS实现斗地主游戏 ——代码极少、功能都有、直接粘贴即用",
		link: "",
	},
	{
		uname: "Vue3项目 —— Vite / Webpack 批量注册组件",
		link: "",
	},
	{
		uname:
			"Vue3 项目实战 —— 后台管理系统( pc端 ) —— 动态多级导航菜单顶部侧边联动",
		link: "",
	},
]);

let flag = ref<boolean>(false);
const debounceInput = () => {
	// 初始化 恢复高亮 重置数据
	flag.value = false;
	listArr = reactive([
		{
			uname: "Vue项目实战 —— 后台管理系统( pc端 ) —— Pro最终版本",
			link: "",
		},
		{
			uname:
				"【提高代码可读性】—— 手握多个代码优化技巧、细数哪些惊艳一时的策略",
			link: "",
		},
		{
			uname:
				"开源项目 —— 原生JS实现斗地主游戏 ——代码极少、功能都有、直接粘贴即用",
			link: "",
		},
		{
			uname: "Vue3项目 —— Vite / Webpack 批量注册组件",
			link: "",
		},
		{
			uname:
				"Vue3 项目实战 —— 后台管理系统( pc端 ) —— 动态多级导航菜单顶部侧边联动",
			link: "",
		},
	]);
	// 装换成数组,方便循环
	let searchVal = iptVal.value.split("");
	if (iptVal.value == "") return;
	// 输入框的值转为数组方便循环,在循环得到搜索框的每一项,与列表中的每一项进行匹配,如果匹配到,就替换标签,高亮展示
	searchVal.forEach((searchValItem: string) => onReplace(searchValItem));
};

// 高亮替换标签函数
function onReplace(searchValItem: string) {
	// 循环列表 { @listArrItem } 列表的每一项
	listArr.forEach((listArrItem) => {
		// 如果搜索框的值不在列表中,直接终止返回
		if (listArrItem.uname.indexOf(searchValItem) == -1) return;
		// 替换的标签样式
		let hightStr = `<em style='color: #333333;
							font-weight: bold;
							font-style: normal;
							background-image: url(https://t8.baidu.com/it/u=1501552470,2690656309&fm=167&app=3000&f=PNG&fmt=auto&q=100&size=f624_21);
							background-repeat: repeat-x;
							background-position-y: bottom;
							background-size: 100% 8px;
							'>
							${searchValItem}
						</em>`;
		//错误写法,假如已经有高亮em标签了,在根据输入框的值匹配,会把已有的高亮标签也替换掉,导致乱码页面卡死 【重要】
		// let reg = new RegExp(searchValItem, 'gi');

		// 不匹配已有<em></em> 高亮标签的内容 【重要】,如果是
		let reg = new RegExp(`(?![^<]*>|[^<>]*<\/em>)${searchValItem}`, "gi");
		listArrItem.uname = listArrItem.uname.replace(reg, hightStr);
		flag.value = true;
	});
}

// 进入页面时,自动聚焦到搜索框
onMounted(() => {
	let foc = document.querySelector(".el-input__inner") as HTMLInputElement;
	foc.focus();
});
</script>

<style lang="scss" scoped>
// a.link 这是一个交集选择器,即同时满足span和.highth的元素
a.link {
	// 去掉默认色
	color: #333333;
	// 去掉下划线
	text-decoration: none;
	// 鼠标移入时的样式
	&:hover {
		color: #4a8cd6;
		text-decoration: none;
	}
}
</style>
节流指令
位置:throttle.ts
/*
  需求:防止按钮在短时间内被多次点击,使用节流函数限制规定时间内只能点击一次。
  思路:
    1、第一次点击,立即调用方法并禁用按钮,等延迟结束再次激活按钮
    2、将需要触发的方法绑定在指令上

  使用:给 Dom 加上 v-throttle 及回调函数即可
  <button v-throttle="debounceClick">节流提交</button>

  什么是节流:在一定时间内,只执行一次函数,如果这个时间内再次触发,则重新计算时间。
*/
import type { Directive, DirectiveBinding } from "vue";
interface ElType extends HTMLElement {
	__handleClick__: () => any;
	disabled: boolean;
}
const throttle: Directive = {
	mounted(el: ElType, binding: DirectiveBinding) {
		if (typeof binding.value !== "function") {
			throw "callback must be a function";
		}
		let timer: NodeJS.Timeout | null = null;
		el.__handleClick__ = function () {
			if (timer) {
				clearTimeout(timer);
			}
			if (!el.disabled) {
				el.disabled = true;
				binding.value();
				timer = setTimeout(() => {
					el.disabled = false;
				}, 1000);
			}
		};
		el.addEventListener("click", el.__handleClick__);
	},
	beforeUnmount(el: ElType) {
		el.removeEventListener("click", el.__handleClick__);
	}
};

export default throttle;
页面使用
<template>
	<div class="card content-box">
		<span class="text">节流指令 🍇🍇🍇🍓🍓🍓</span>
		<el-button type="primary" v-throttle="throttleClick">节流按钮 (每隔1S秒后执行)</el-button>
	</div>
</template>

<script setup lang="ts" name="throttleDirect">
import { ElMessage } from "element-plus";
const throttleClick = () => {
	ElMessage.success("我是节流按钮触发的事件 🍍🍓🍌");
};
</script>
长按指令
位置: longpress.ts
/**
 * v-longpress
 * 长按指令,长按时触发事件
 */
import type { Directive, DirectiveBinding } from "vue";

const directive: Directive = {
	mounted(el: HTMLElement, binding: DirectiveBinding) {
		if (typeof binding.value !== "function") {
			throw "callback must be a function";
		}
		// 定义变量
		let pressTimer: any = null;
		// 创建计时器( 2秒后执行函数 )
		const start = (e: any) => {
			if (e.button) {
				if (e.type === "click" && e.button !== 0) {
					return;
				}
			}
			if (pressTimer === null) {
				pressTimer = setTimeout(() => {
					handler(e);
				}, 1000);
			}
		};
		// 取消计时器
		const cancel = () => {
			if (pressTimer !== null) {
				clearTimeout(pressTimer);
				pressTimer = null;
			}
		};
		// 运行函数
		const handler = (e: MouseEvent | TouchEvent) => {
			binding.value(e);
		};
		// 添加事件监听器
		el.addEventListener("mousedown", start);
		el.addEventListener("touchstart", start);
		// 取消计时器
		el.addEventListener("click", cancel);
		el.addEventListener("mouseout", cancel);
		el.addEventListener("touchend", cancel);
		el.addEventListener("touchcancel", cancel);
	}
};

export default directive;
页面使用
<template>
	<div class="card content-box">
		<span class="text">长按指令 🍇🍇🍇🍓🍓🍓</span>
		<el-button type="primary" v-longpress="longpress">长按2秒触发事件</el-button>
	</div>
</template>

<script setup lang="ts" name="longpressDirect">
import { ElMessage } from "element-plus";
const longpress = () => {
	ElMessage.success("长按事件触发成功 🎉🎉🎉");
};
</script>
注册所有自定义指令
import { App } from "vue";
import auth from "./modules/auth";
import copy from "./modules/copy";
import waterMarker from "./modules/waterMarker";
import draggable from "./modules/draggable";
import debounce from "./modules/debounce";
import throttle from "./modules/throttle";
import longpress from "./modules/longpress";

const directivesList: any = {
	// Custom directives
	auth,
	copy,
	waterMarker,
	draggable,
	debounce,
	throttle,
	longpress
};

const directives = {
	install: function (app: App<Element>) {
		Object.keys(directivesList).forEach(key => {
			// 注册所有自定义指令
			app.directive(key, directivesList[key]);
		});
	}
};

export default directives;

// 最后在mian.ts引入
    import { createApp } from "vue";
    import App from "./App.vue";
    const app = createApp(App);

1:import directives from "@/directives/index";
2:app.use(directives)
如果想要从头搭建一个看我这一篇文奥
贡献者 👨👦👦
结语:
本文到这里就要完结了,感谢你的阅读!再见,
分享快乐,留住感动. '2023-3-23 16:40:22' --活在风浪里


 2301
2301

 被折叠的 条评论
为什么被折叠?
被折叠的 条评论
为什么被折叠?
 到【灌水乐园】发言


