


【 0 】前言
Vue 是一个渐进式的 JavaScript 框架,通过组件化的方式构建应用。在 Vue 中,组件通信指的是不同组件之间传递数据、共享数据或调用方法等行为。在前端开发中,子组件和父组件之间的通信是非常常见和重要的。
【 1 】父子组件通信的常用方法:
-
Props 属性传递:父组件通过 props 将数据或方法传递给子组件,子组件通过 props 接收并使用传递过来的数据或方法。
-
Emit 事件触发:子组件通过 $emit 方法触发一个自定义事件,并将数据传递给父组件,父组件通过监听这个事件来接收数据。
【 2 】父传子组件
【 2.1 】HTML 结构
-
<div id="app">:Vue 应用的根元素。 -
<child-component :message="url"></child-component>:在父组件中使用子组件child-component,通过message属性将父组件的url数据传递给子组件。
【 2.2 】Vue 组件定义
【 2.2.1 】子组件 child-component
-
props: ['message']:声明子组件需要从父组件接收的属性message。 -
template
:子组件的模板,展示了一个带有图片的简单组件界面。
-
@click="handleBack"和@click="handleChange":绑定了两个点击事件,分别对应后退和切换操作。 -
:src="yun":动态绑定img标签的src属性,显示图片。
-
子组件的 data 和 methods
-
data函数返回组件的内部数据。-
title:子组件标题的数据。 -
yun:子组件中图片的 URL 数据。
-
-
methods包含组件的方法。-
handleBack方法:当点击后退时触发的方法,弹出一个提示框。 -
handleChange方法:当点击切换时触发的方法,将父组件传递的url数据赋值给子组件的yun数据,并在控制台打印出message(父组件传递的 URL)。
-
<!DOCTYPE html>
<html lang="en">
<head>
<meta charset="UTF-8">
<title>Vue Props Example</title>
<!-- bootstrap -->
<link href="https://cdn.jsdelivr.net/npm/bootstrap@5.3.0-alpha1/dist/css/bootstrap.min.css" rel="stylesheet">
<!-- Vue -->
<script src="https://unpkg.com/vue@2.6.14/dist/vue.js"></script>
<!-- axios -->
<script src="https://unpkg.com/axios/dist/axios.min.js"></script>
</head>
<body>
<div id="app">
<h1>组件的使用-父传子</h1>
<!-- 这里的URL就是父组件的 -->
<child-component :message="url"></child-component>
</div>
<script>
// 子组件定义
Vue.component('child-component', {
// 子组件接收父组件传递过来的数据
props: ['message'],
template: `<div>
<div style="width: 300px;display: flex;justify-content:space-between;border: aquamarine solid 1px">
<span @click="handleBack">后退</span>
<span @click="handleChange">{{ title }}</span>
<span>前进</span>
<br>
</div>
<div>
<!-- 子组件 -->
<img :src="yun" alt="" height="300px" width="250px">
</div>
</div>`,
data(){
return {
title:"子组件传值",
yun:'https://wx1.sinaimg.cn/mw690/003yHo7Nly1hp5bg9itehj60u00u0qdo02.jpg',
}
},
methods: {
handleBack() {
alert('后退了')
},
handleChange() {
// 使用this.message获取父组件传递的url
console.log('1111')
this.yun = this.message
console.log(this.message)
}
},
});
// 父组件的定义
new Vue({
el:'#app',
data:{
//父组件的图片
url: 'https://pic.netbian.com/uploads/allimg/180826/113958-1535254798fc1c.jpg',
},
})
</script>
</body>
</html>
【 2.3 】示例二
父组件和子组件之间传值的关键是使用props(属性)和事件。这是Vue.js中实现组件通信的两种主要方式:
-
Props(属性):
-
父组件通过props向子组件传递数据。
-
子组件通过props选项声明需要接收的属性。
-
父组件可以在使用子组件的地方通过属性绑定的方式将数据传递给子组件。
示例:
<!-- 父组件中使用子组件并传递数据 -->
<child-component :message="parentMessage"></child-component>
// 子组件中声明需要接收的props Vue.component('child-component', { props: ['message'], template: `<div>{{ message }}</div>` }); -
-
事件:
-
子组件可以通过$emit方法触发自定义事件,向父组件发送数据。
-
父组件可以在子组件标签上监听这些自定义事件,并在触发事件时执行相应的方法来处理数据。
示例:
// 子组件中通过$emit触发事件 this.$emit('childEvent', eventData); // 父组件中监听子组件的事件并执行相应逻辑 <child-component @childEvent="handleChildEvent"></child-component> -
<!DOCTYPE html>
<html lang="en">
<head>
<meta charset="UTF-8">
<title>Vue Props Example with Dynamic Message</title>
<!-- Bootstrap -->
<link href="https://cdn.jsdelivr.net/npm/bootstrap@5.3.0-alpha1/dist/css/bootstrap.min.css" rel="stylesheet">
<!-- Vue -->
<script src="https://unpkg.com/vue@2.6.14/dist/vue.js"></script>
</head>
<body>
<div id="app">
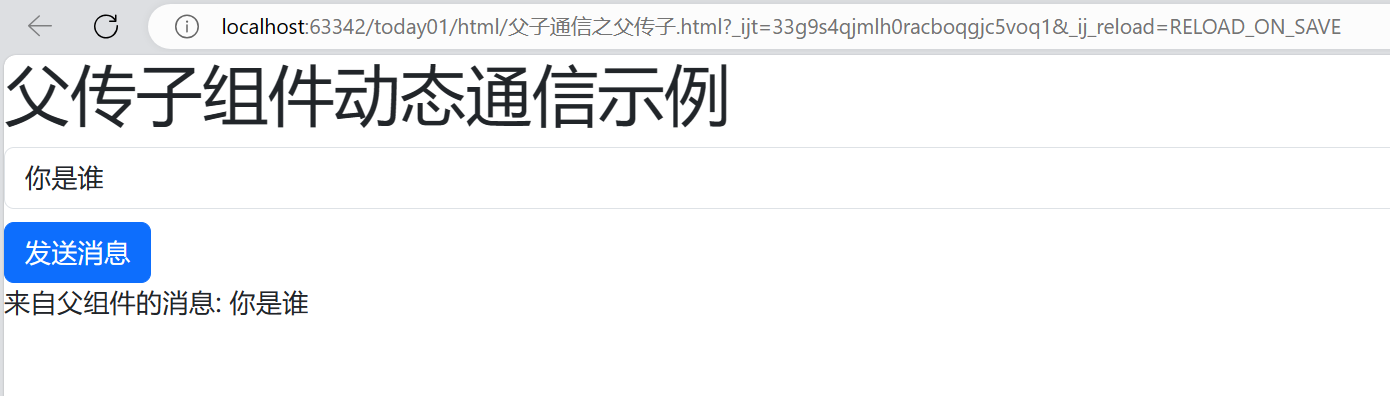
<h1>父传子组件动态通信示例</h1>
<!-- 父组件包含输入框和按钮,用于动态更改子组件中的消息 -->
<parent-component></parent-component>
</div>
<script>
// 子组件定义
Vue.component('child-component', {
// 子组件接收父组件传递过来的数据
props: ['message'],
template: `
<div>
<p>来自父组件的消息: {{ message }}</p>
</div>`
});
// 父组件定义
Vue.component('parent-component', {
template: `
<div>
<!-- 指定输入框的占位符文本 -->
<input type="text" v-model="newmessage" placeholder="输入新的消息" class="form-control"/>
<button @click="sendhand" class="btn btn-primary mt-2">发送消息</button>
<!-- 使用动态消息更新子组件 -->
<child-component :message="parentMessage"></child-component>
</div>
`,
data() {
return {
//在父组件定义的消息,初始值
parentMessage: 'hello from parent!!',
newmessage: ''
};
},
methods: {
sendhand() {
//更新父组件中的消息
this.parentMessage = this.newmessage;
}
}
});
new Vue({
el: '#app',
});
</script>
</body>
</html>
【 3 】子传父
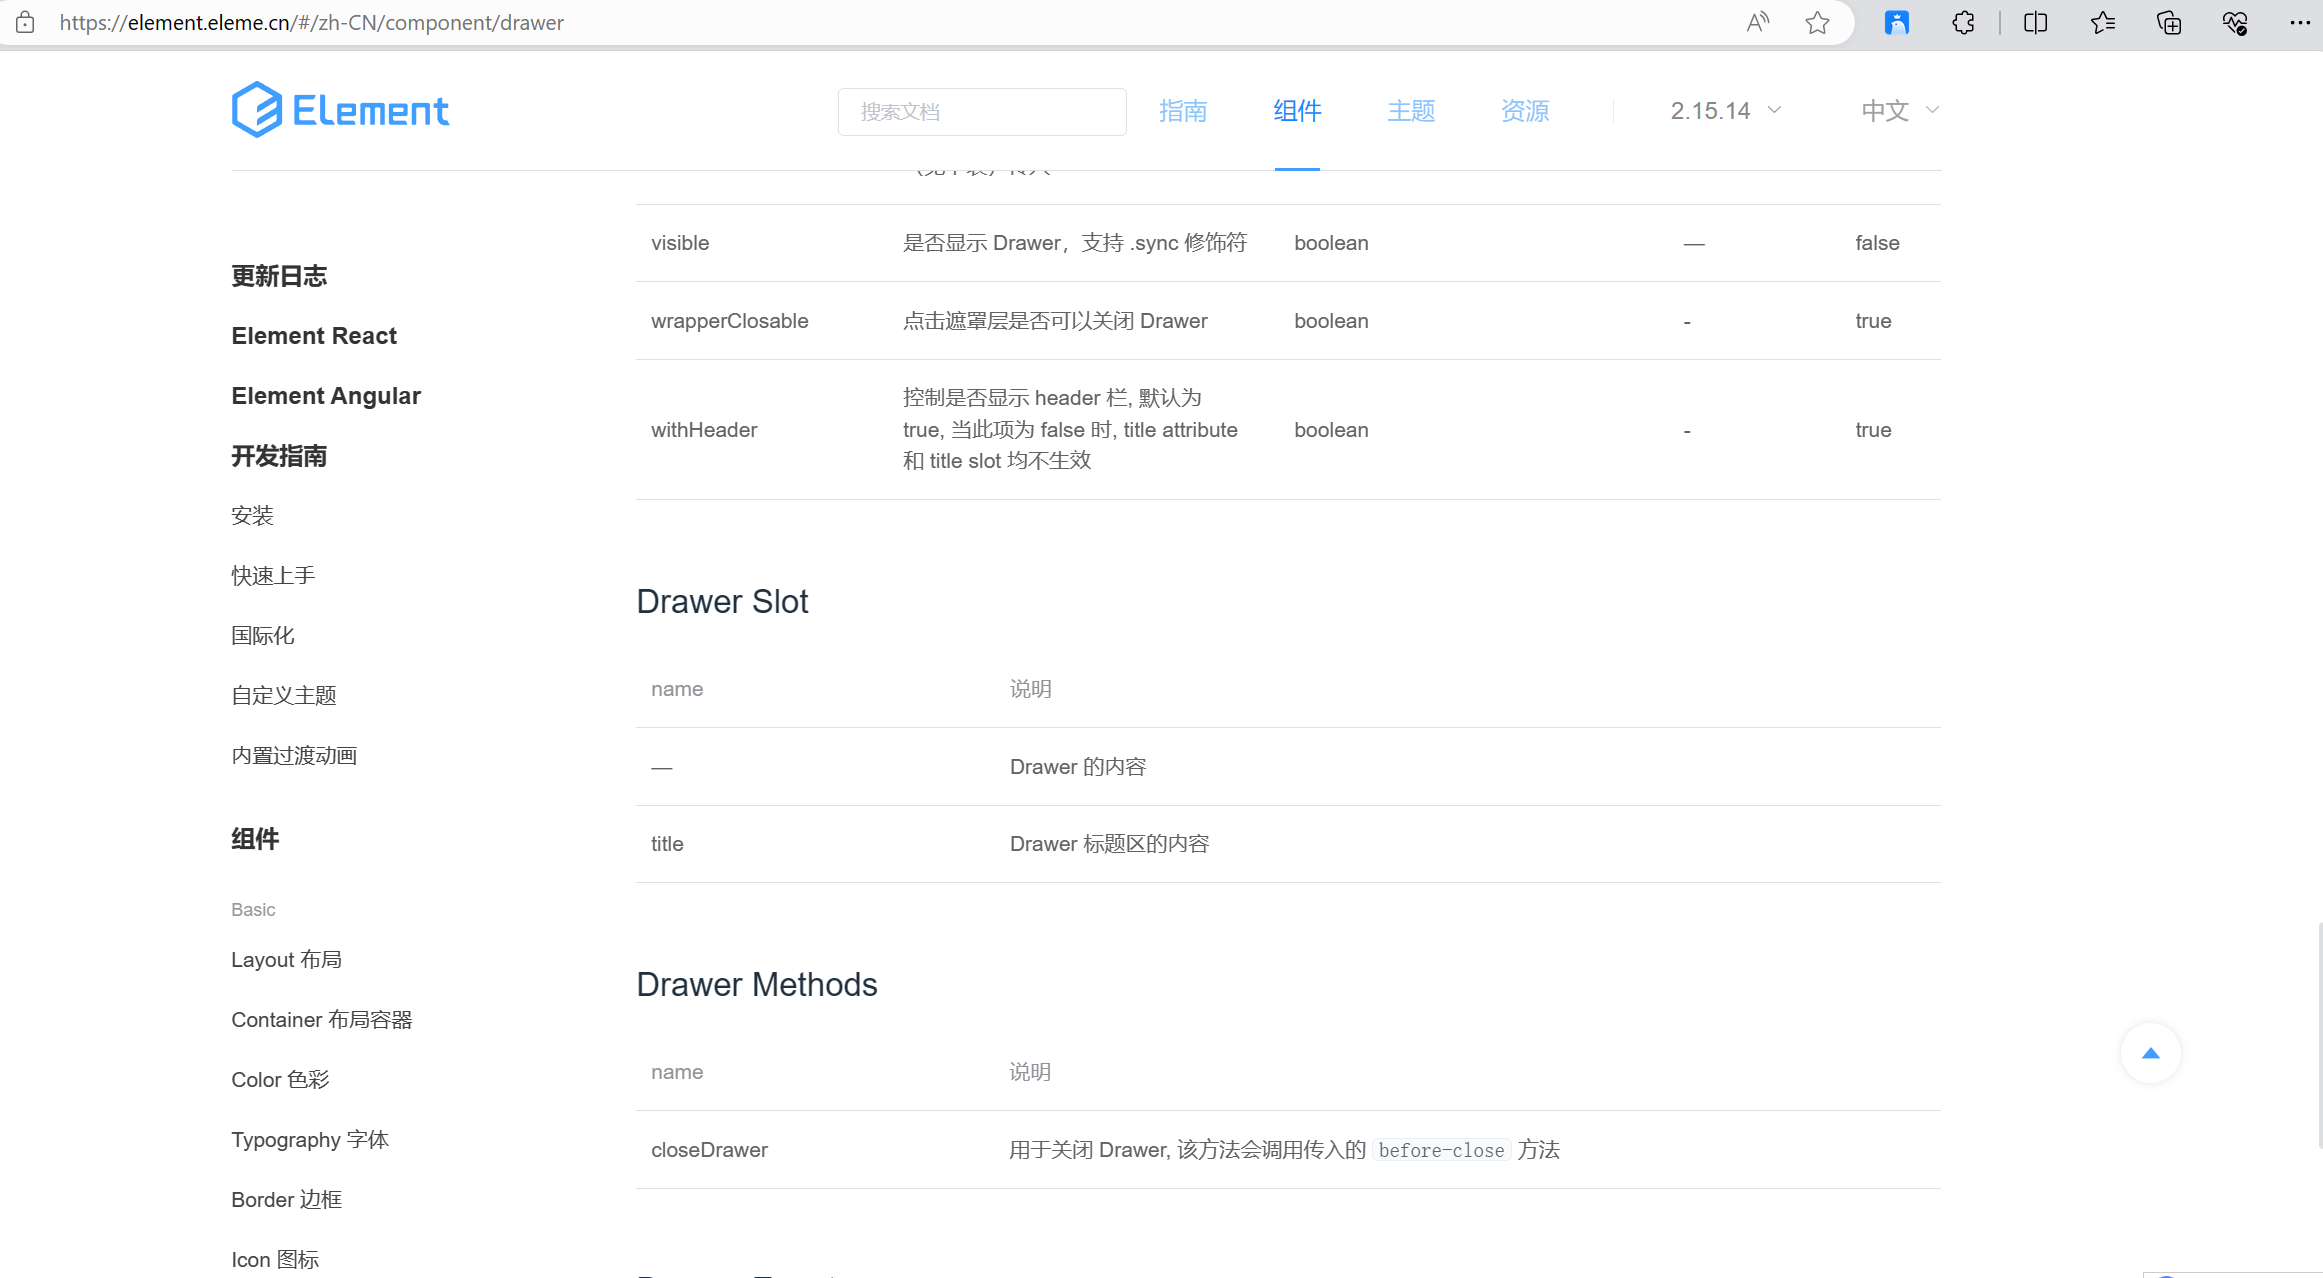
# https://element.eleme.cn/#/zh-CN/component/drawer
当子组件向父组件传递数据时,有几个重要的注意事项和步骤:
-
使用自定义事件: 子组件需要通过 Vue.js 的
$emit方法来触发一个自定义事件,并在事件中传递数据。 -
在父组件中监听事件: 父组件需要在模板中使用
v-on或简写@来监听子组件触发的自定义事件,并在相应的方法中处理数据。 -
传递数据: 子组件在触发自定义事件时,需要将要传递的数据作为参数传入
$emit方法中。 -
在父组件中接收数据: 父组件在监听到子组件触发的自定义事件后,会执行相应的方法。这个方法的参数就是子组件传递过来的数据。
-
绑定数据到子组件: 父组件可以通过向子组件传递 props 的方式,将数据传递给子组件。
具体步骤如下:
-
子组件:
-
创建一个需要触发事件的交互,比如点击按钮。
-
在需要传递数据的交互中,使用
$emit方法触发一个自定义事件,并将要传递的数据作为参数传入。
-
-
父组件:
-
在模板中使用子组件,并使用
v-on或@监听子组件触发的自定义事件。 -
在监听到事件后,执行相应的方法来处理传递过来的数据。
-
这样就完成了子组件向父组件传递数据的过程。
关键步骤包括:
-
子组件触发自定义事件并传递数据:
-
在子组件中使用
$emit方法触发一个自定义事件,并在需要时传递数据。
示例:
this.$emit('childEvent', eventData); -
-
父组件监听子组件的事件:
-
在父组件中使用子组件标签上的
@事件名来监听子组件触发的事件,并在触发事件时执行相应的方法。
示例:
<!-- 父组件中监听子组件的事件 -->
<child-component @childEvent="handleChildEvent"></child-component>
-
-
父组件处理接收到的数据:
-
在父组件中定义一个方法来处理接收到的子组件传递的数据,这个方法会在子组件触发相应的事件时被调用。
示例:
methods: { handleChildEvent(data) { // 处理接收到的子组件传递的数据 console.log('Received data from child component:', data); } } -
<!DOCTYPE html>
<html lang="en">
<head>
<meta charset="UTF-8">
<title>Vue Props Example</title>
<!-- bootstrap -->
<link href="https://cdn.jsdelivr.net/npm/bootstrap@5.3.0-alpha1/dist/css/bootstrap.min.css" rel="stylesheet">
<!-- Vue -->
<script src="https://unpkg.com/vue@2.6.14/dist/vue.js"></script>
<!-- axios -->
<script src="https://unpkg.com/axios/dist/axios.min.js"></script>
</head>
<body>
<div id="app">
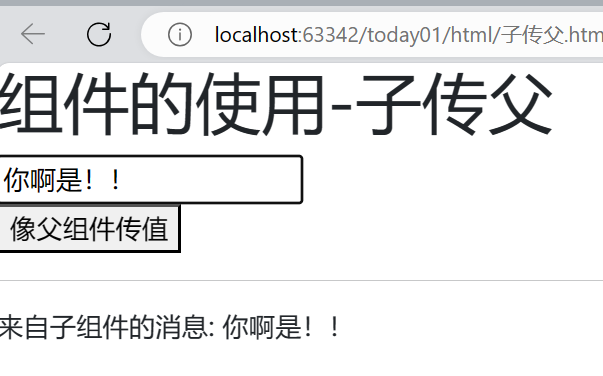
<h1>组件的使用-子传父</h1>
<!-- 这里的URL就是父组件的 -->
<parent-component></parent-component>
</div>
<script>
// 子组件定义
Vue.component('child-component', {
// 子组件接收父组件传递过来的数据
props: ['message'],
template: `<div>
<button @click="sendparent">像父组件传值</button>
<hr>
</div>`,
methods: {
sendparent() {
this.$emit('child-event',"我是子组件发来的数据!!!");
},
},
});
Vue.component('parent-component',{
data(){
return{
// 初始化为空值
text:'',
}
},
template: `
<div>
<input type="text" v-model="text" placeholder="从子组件接收的消息">
<!-- 注意要跟子组件的 @child-event="handleChildEvent"要跟自定义事件名字保持一致 -->
<child-component @child-event="recep_chlid"></child-component>
<p>来自子组件的消息: {{ text }}</p>
</div>
`,
methods: {
recep_chlid(message){
// 接收子组件传递的数据,并将其保存在父组件的数据中
this.text=message;
}
}
})
new Vue({
el:'#app',
})
</script>
</body>
</html>
【 4 】ref 之间的通信
# 1 ref 是个属性,可以放在
    -普通标签上:拿到dom对象
    -组件上:拿到组件对象--》直接调用组件对象的属性或方法
-
基本的使用
-
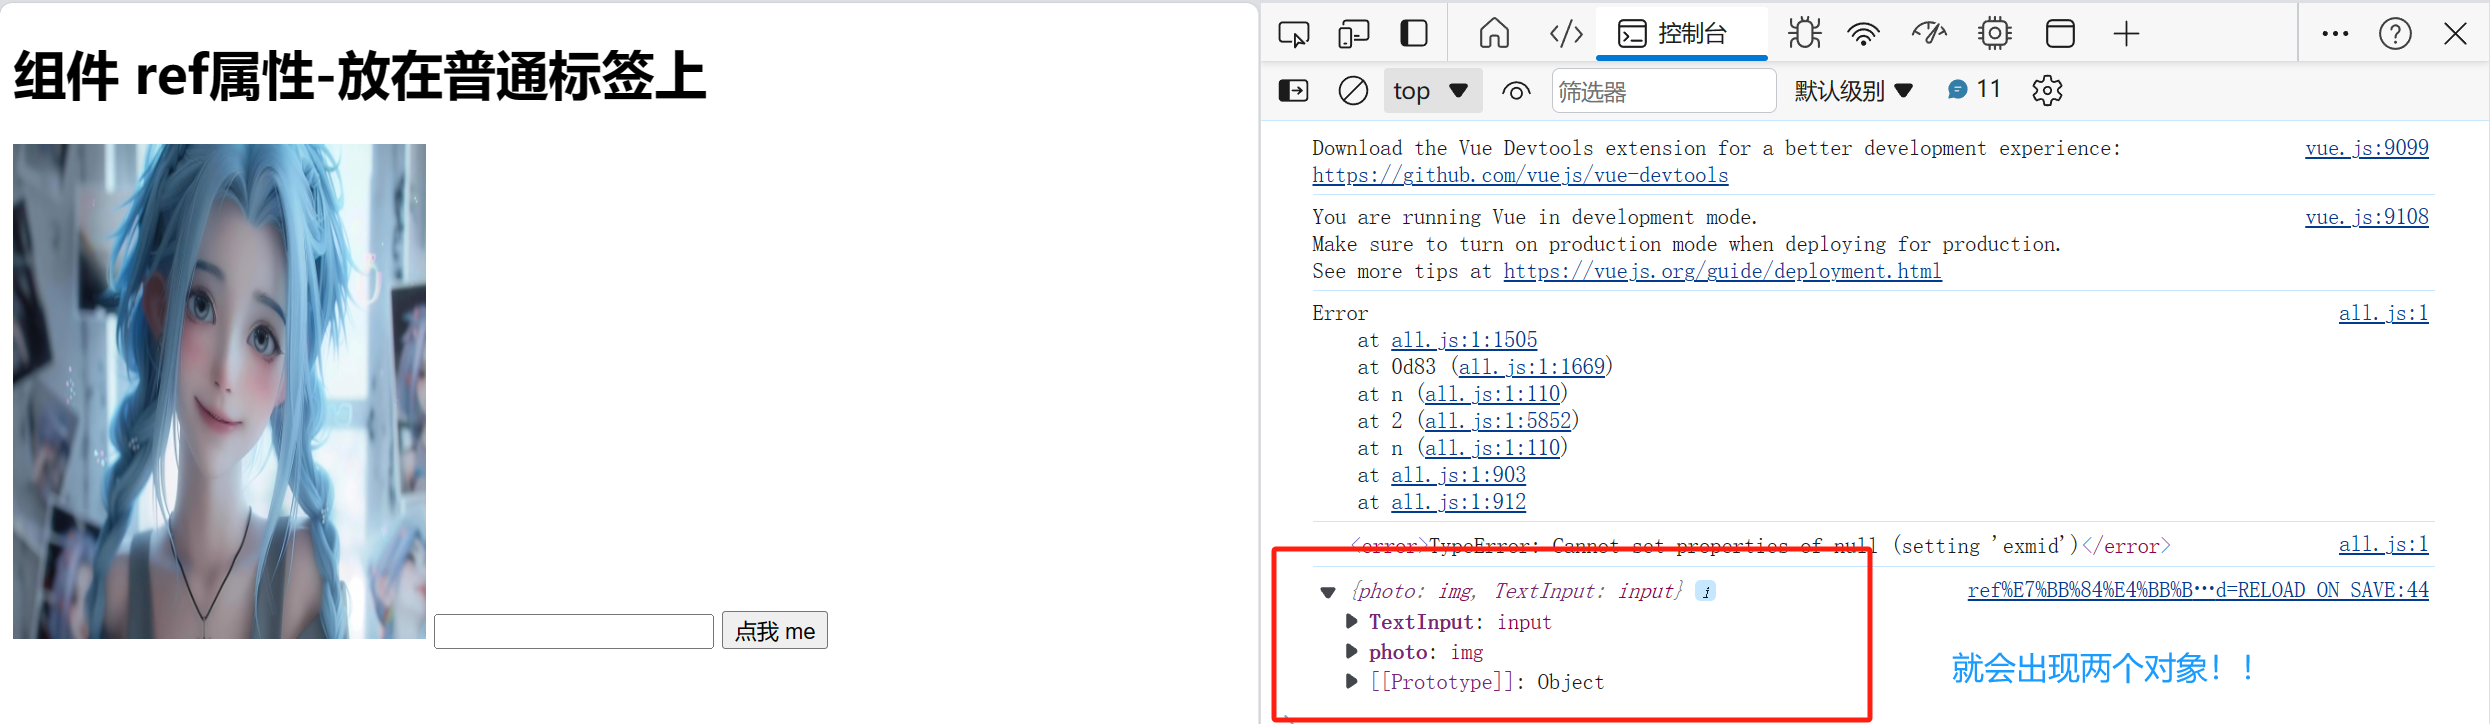
我用ref设置了两个标签
this.$refs就会想一个字典一样出现两个对象。 -
<img src="https://pic.netbian.com/uploads/allimg/240503/010122-1714669282ef4c.jpg"
     alt="" height="300px" width="250px" ref="photo">
<input type="text" ref="TextInput">
-
methods:{
           handleClik(){
               // this 是当前的vue实例
               console.log(this.$refs)
           }
       }
-
<!DOCTYPE html>
<html lang="en">
<head>
<meta charset="UTF-8">
<meta name="viewport" content="width=device-width, initial-scale=1.0">
<script src="https://unpkg.com/vue@2.6.14/dist/vue.js"></script>
<title>Title</title>
</head>
<body>
<div id="one">
<h1>组件 ref属性-放在普通标签上</h1>
<img src="https://pic.netbian.com/uploads/allimg/240503/010122-1714669282ef4c.jpg"
alt="" height="300px" width="250px" ref="photo">
<input type="text" ref="TextInput">
<button @click="handleClik">点我 me</button>
</div>
</body>
</html>
<script>
Vue.component("all_parent",{
template:`
<div>
<span style="text-align: left; font-family: 'Arial Black'" >我是全局组件</span>
</div>`
}
)
var vm = new Vue({
el:'#one',
data:{
},
methods:{
handleClik(){
// this 是当前的vue实例
console.log(this.$refs)
}
}
})
</script>
<!DOCTYPE html>
<html lang="en">
<head>
<meta charset="UTF-8">
<title>Title</title>
<meta name="viewport" content="width=device-width, initial-scale=1.0">
<script src="https://unpkg.com/vue@2.6.14/dist/vue.js"></script>
</head>
<body>
<div id="app">
<h1>组件使用-ref属性-放在组件上</h1>
<Child1 ref="mychild"></Child1>
<button @click="handleShow">点我看控制台</button>
</div>
</body>
<script>
// 1 定义全局组件
Vue.component('Child1', {
template: `
<div>
<div style="width: 300px;display: flex;justify-content:space-between;border: aquamarine solid 1px">
<span @click="handleBack">后退</span>
<span @click="handleChange">{{ title }}</span>
<span>前进</span>
<br>
</div>
<div>
<img :src="url" alt="" height="300px" width="250px">
</div>
</div>`,
data() {
return {
title: 'Child1',
url: 'https://wx1.sinaimg.cn/mw690/003yHo7Nly1hp5bg9itehj60u00u0qdo02.jpg'
}
},
methods: {
handleBack() {
alert('后退了')
},
handleChange(url){
this.url=url
}
},
})
// 2 定义局部组件---》定义在组件内部的---》
var vm = new Vue({
el: '#app',
data: {
},
methods:{
handleShow(){
// this 是当前vue实例
// this.$refs 是在组件中所有标签设置了ref属性的 字典 {mychild:组件对象}
console.log(this.$refs)
// this.$refs.mychild 拿到组件对象---》组件对象.属性 组件对象.方法
//1 拿到组件对象的属性--》在父中,拿到了子的变量--》子传父
console.log(this.$refs.mychild.title)
//2 修改组件对象的属性--》在父中,修改子的属性--》父传子
this.$refs.mychild.title='首页'
// 3 调用子组件中的函数
this.$refs.mychild.handleChange('https://pic.netbian.com/uploads/allimg/240325/201846-171136912696d8.jpg')
}
}
})
</script>
</html>
小结
-
在父组件中使用
ref属性将子组件实例引用到父组件中。
<Child1 ref="mychild"></Child1>
-
在父组件的方法中,通过
this.$refs访问ref引用的子组件实例。
handleShow() {
    console.log(this.$refs);
}
-
通过
this.$refs访问子组件的属性和方法,实现父子组件之间的通信。
// 访问子组件的属性
console.log(this.$refs.mychild.title);
// 修改子组件的属性
this.$refs.mychild.title = '首页';
// 调用子组件的方法
this.$refs.mychild.handleChange('https://pic.netbian.com/uploads/allimg/240325/201846-171136912696d8
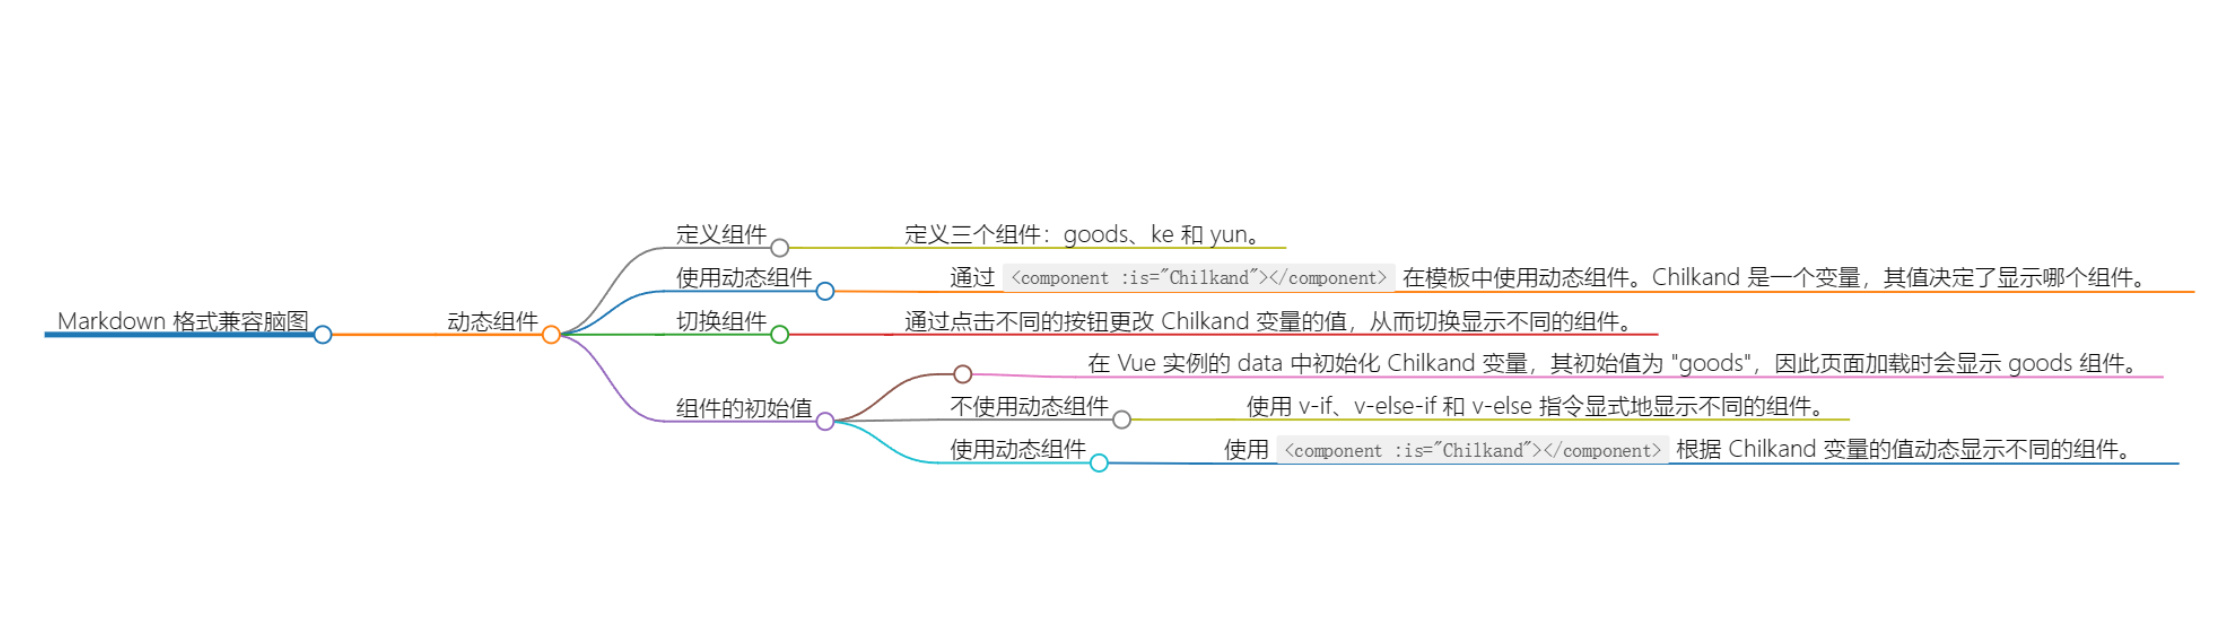
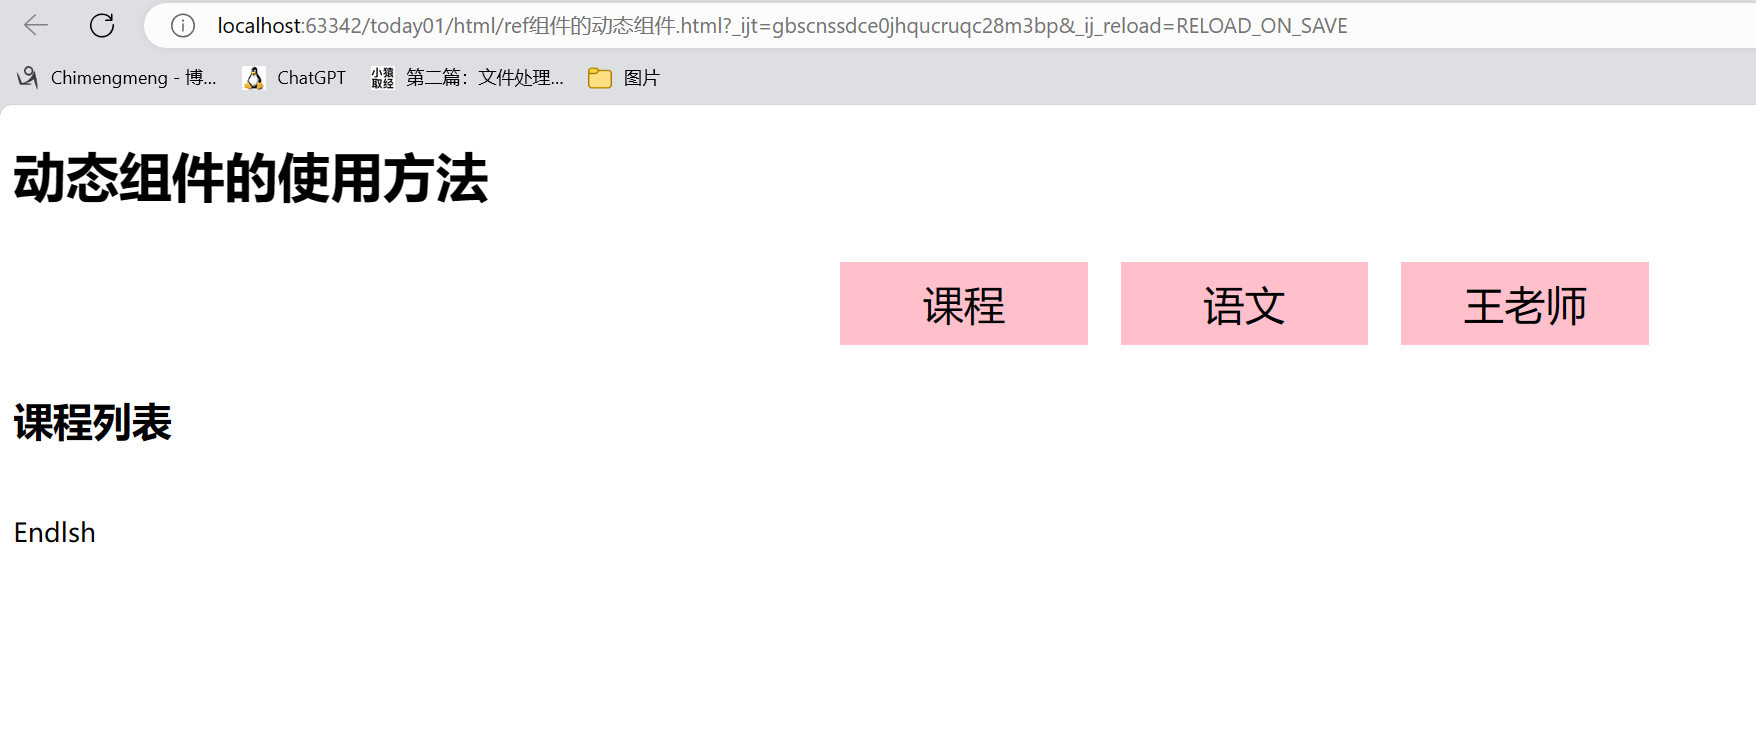
【 1 】动态组件
-
定义组件:首先,定义了三个组件
goods、ke和yun。 -
在模板中使用动态组件:通过
<component :is="Chilkand"></component>来使用动态组件。Chilkand是一个变量,它的值决定了显示哪个组件。 -
切换组件:通过点击不同的按钮来改变
Chilkand变量的值,从而切换显示不同的组件。 -
组件的初始值:在 Vue 实例的
data中初始化了Chilkand变量,它的初始值为"goods",因此页面加载时会显示goods组件。
-
不使用动态组件
<!DOCTYPE html>
<html lang="en">
<head>
<meta charset="UTF-8">
<title>Title</title>
<meta name="viewport" content="width=device-width, initial-scale=1.0">
<script src="https://unpkg.com/vue@2.6.14/dist/vue.js"></script>
<style>
.shang{
display: flex;
justify-content: center;
}
.jia{
width: 150px;
height: 50px;
background-color: pink;
font-size: 25px;
margin: 10px;
display: flex;
justify-content: center;
align-items: center;
}
</style>
</head>
<body>
<div id="one">
<h1>动态组件的使用方法</h1>
<div class="shang">
<div class="jia" @click="Chilkand='goods'">
<span>课程</span>
</div>
<div class="jia" @click="Chilkand='ke'">
<span>语文</span>
</div>
<div class="jia" @click="Chilkand='yun'">
<span>王老师</span>
</div>
</div>
<div>
<!-- 不使用动态组件 -->
<goods v-if="Chilkand=='goods'"></goods>
<ke v-else-if="Chilkand=='ke'"></ke>
<yun v-else></yun>
</div>
</div>
</body>
<script>
//定义三个组件
Vue.component('goods',{
template:`<div>
<h2>课程列表</h2>
<br>
Endlsh
</div>`,
})
Vue.component('ke',{
template:`<div>
<h2>语文</h2>
<br>
yuwen
</div>`,
})
Vue.component('yun',{
template:`<div>
<h2>sir 刘</h2>
<br>
tian
</div>`,
})
var vm = new Vue({
el:'#one',
data:{
Chilkand:"goods"
}
})
</script>
</html>
-
使用动态组件
        <!--   使用动态组件     -->
        <keep-alive>
            <component :is="Chilkand"></component>
        </keep-alive>


 3639
3639

 被折叠的 条评论
为什么被折叠?
被折叠的 条评论
为什么被折叠?
 到【灌水乐园】发言


