


1.在pom中引入swagger依赖
<dependency>
    <groupId>io.springfox</groupId>
    <artifactId>springfox-swagger2</artifactId>
</dependency>
<dependency>
    <groupId>io.springfox</groupId>
    <artifactId>springfox-swagger-ui</artifactId>
</dependency>
2.编写配置类
package com.ljx.common.config;
import com.google.common.base.Predicates;
import org.springframework.context.annotation.Bean;
import org.springframework.context.annotation.Configuration;
import springfox.documentation.builders.ApiInfoBuilder;
import springfox.documentation.builders.PathSelectors;
import springfox.documentation.service.ApiInfo;
import springfox.documentation.service.Contact;
import springfox.documentation.spi.DocumentationType;
import springfox.documentation.spring.web.plugins.Docket;
import springfox.documentation.swagger2.annotations.EnableSwagger2;
@Configuration
@EnableSwagger2
public class Swagger2Config {
    @Bean
    public Docket webApiConfig(){
        return new Docket(DocumentationType.SWAGGER_2)
                .groupName("webApi")
                .apiInfo(webApiInfo())
                .select()
                //只显示api路径下的页面
                .paths(Predicates.and(PathSelectors.regex("/api/.*")))
                .build();
    }

    @Bean
    public Docket adminApiConfig(){
        return new Docket(DocumentationType.SWAGGER_2)
                .groupName("adminApi")
                .apiInfo(adminApiInfo())
                .select()
                //只显示admin路径下的页面
                .paths(Predicates.and(PathSelectors.regex("/admin/.*")))
                .build();
    }

    private ApiInfo webApiInfo(){
        return new ApiInfoBuilder()
                .title("网站-API文档")
                .description("本文档描述了网站微服务接口定义")
                .version("1.0")
                .contact(new Contact("ljx", "http://atguigu.com", "2846764721@qq.com"))
                .build();
    }

    private ApiInfo adminApiInfo(){
        return new ApiInfoBuilder()
                .title("尚医通后台管理系统-API文档")
                .description("本文档描述了后台管理系统微服务接口定义")
                .version("1.0")
                .contact(new Contact("ljx", "http://atguigu.com", "2846764721@qq.com"))
                .build();
    }
}
可以直接将这个配置类复制到项目中,可以更改一下这些描述和接口路径
3.将项目再次刷x新启动一下,在浏览器中输入http://localhost:8201/swagger-ui.html端口号为自己项目的端口号,就会出现以下界面,即为整合成功
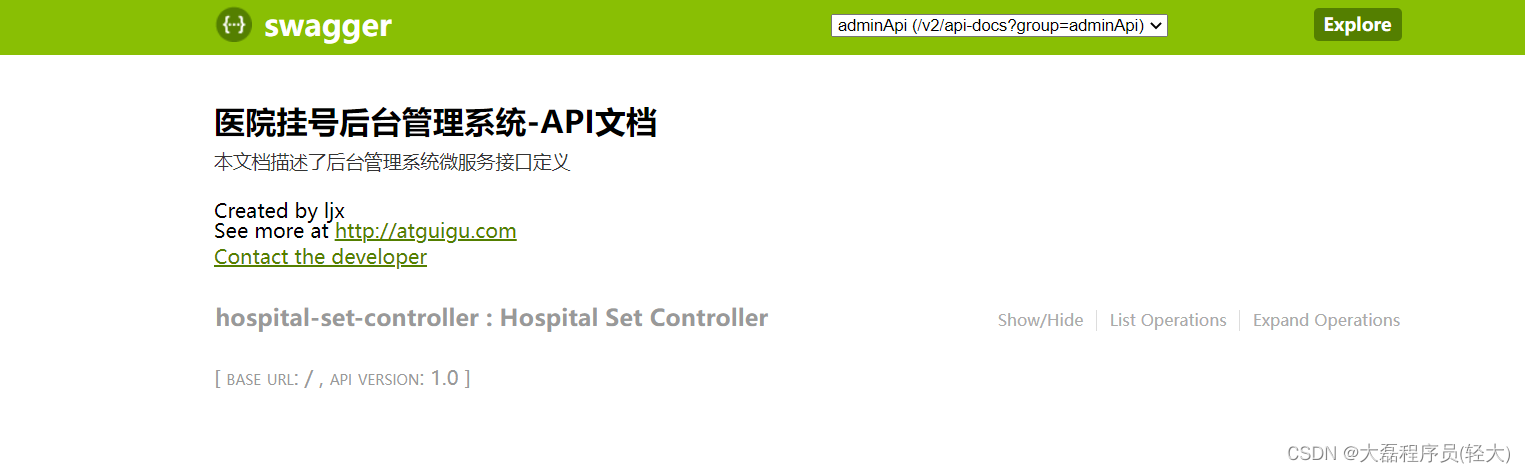
4.在controller中可以加入以下注解
@Api(tags = "xxx") xxx可以替换上面界面的hospital-set-controller@ApiOperation(value = "xxx")xxx可以替换为方法的提示


 2万+
2万+


 被折叠的 条评论
为什么被折叠?
被折叠的 条评论
为什么被折叠?
 到【灌水乐园】发言


