


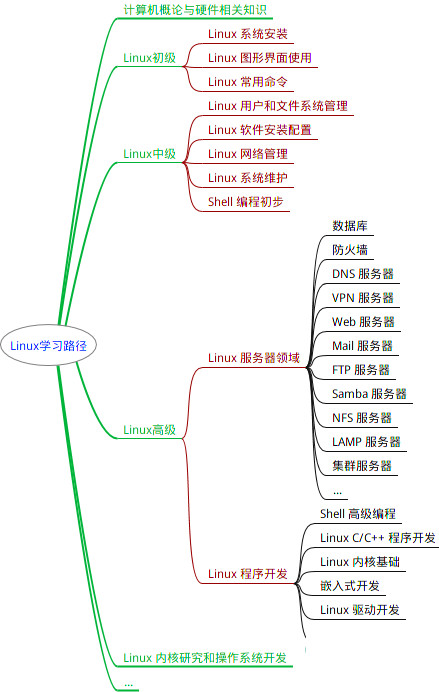
最全的Linux教程,Linux从入门到精通
======================
-
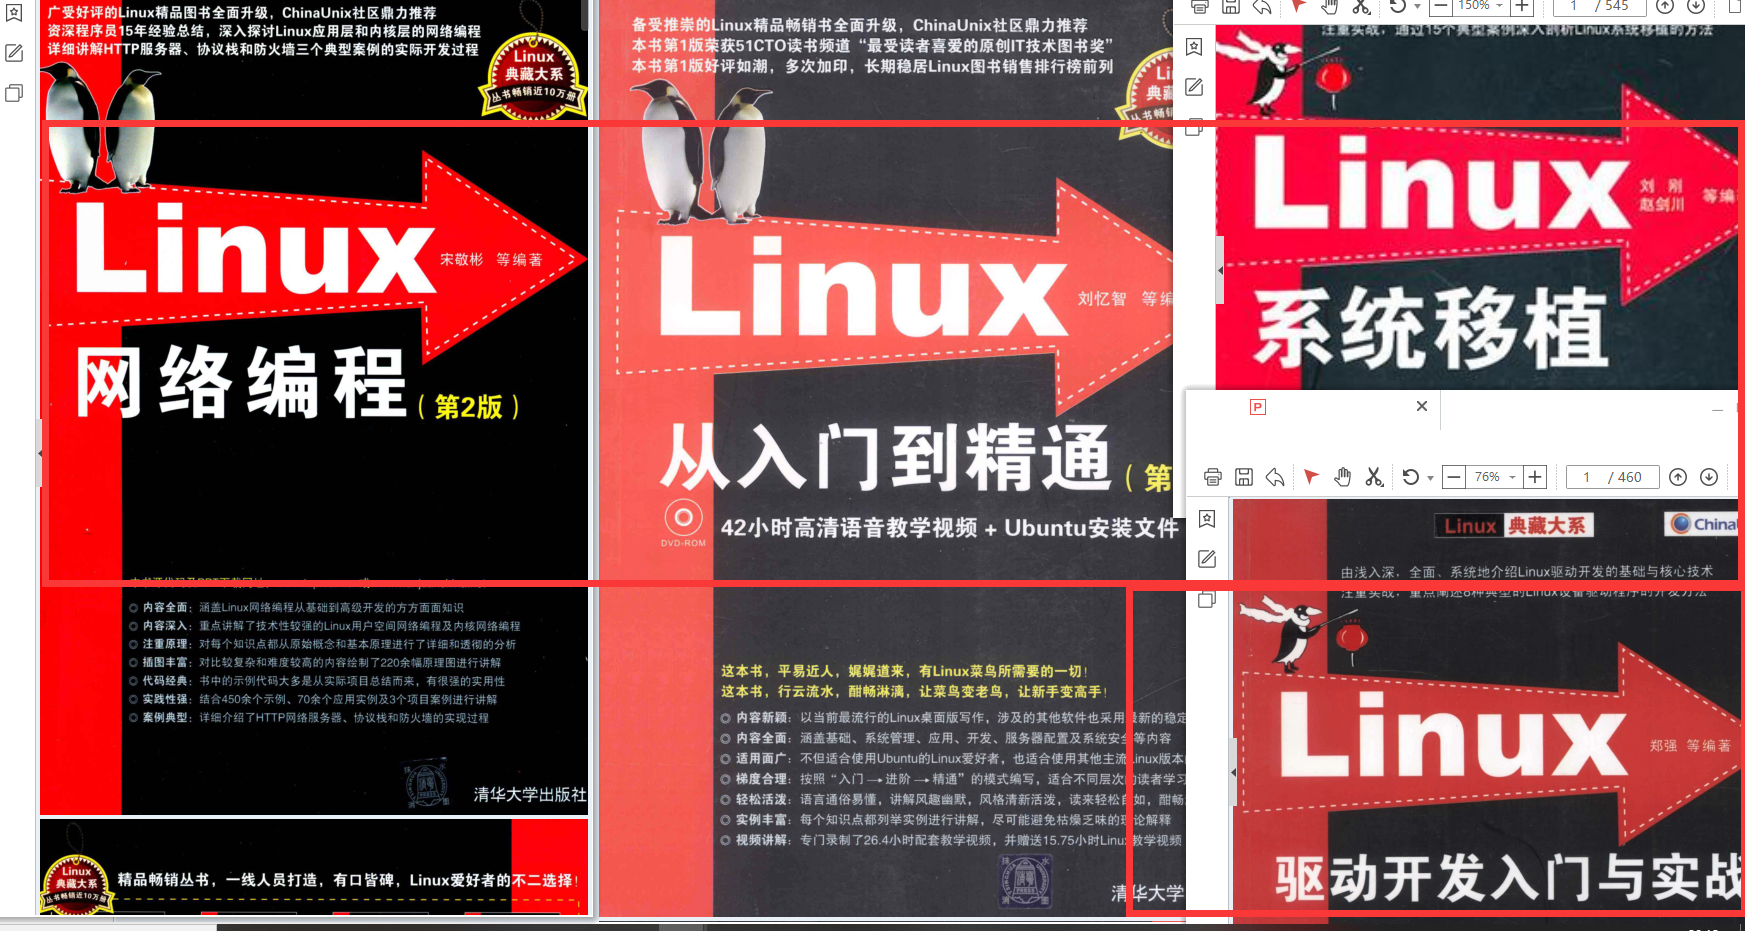
linux从入门到精通(第2版)
-
Linux系统移植
-
Linux驱动开发入门与实战
-
LINUX 系统移植 第2版
-
Linux开源网络全栈详解 从DPDK到OpenFlow
第一份《Linux从入门到精通》466页
====================
内容简介
====
本书是获得了很多读者好评的Linux经典畅销书**《Linux从入门到精通》的第2版**。本书第1版出版后曾经多次印刷,并被51CTO读书频道评为“最受读者喜爱的原创IT技术图书奖”。本书第﹖版以最新的Ubuntu 12.04为版本,循序渐进地向读者介绍了Linux 的基础应用、系统管理、网络应用、娱乐和办公、程序开发、服务器配置、系统安全等。本书附带1张光盘,内容为本书配套多媒体教学视频。另外,本书还为读者提供了大量的Linux学习资料和Ubuntu安装镜像文件,供读者免费下载。

本书适合广大Linux初中级用户、开源软件爱好者和大专院校的学生阅读,同时也非常适合准备从事Linux平台开发的各类人员。
需要《Linux入门到精通》、《linux系统移植》、《Linux驱动开发入门实战》、《Linux开源网络全栈》电子书籍及教程的工程师朋友们劳烦您转发+评论
网上学习资料一大堆,但如果学到的知识不成体系,遇到问题时只是浅尝辄止,不再深入研究,那么很难做到真正的技术提升。
一个人可以走的很快,但一群人才能走的更远!不论你是正从事IT行业的老鸟或是对IT行业感兴趣的新人,都欢迎加入我们的的圈子(技术交流、学习资源、职场吐槽、大厂内推、面试辅导),让我们一起学习成长!
echo “(2/4): 解压Nginx安装文件…”
tar -zxvf nginx-1.23.1.tar.gz
sleep 3
echo “(2/4): Nginx安装文件解压完毕”
echo “(3/4): 检测Nginx安装环境…”
cd nginx-1.23.1/
./configure --with-http_ssl_module --with-openssl=/usr/local/openssl-1.1.1s --prefix=/usr/local/nginx1.23.1
echo “(3/4): Nginx安装环境检测成功”
echo “(4/4): 编译安装Nginx…”
make & make install
echo “(4/4): Nginx编译安装完成”
这里有个大坑`--with-http_ssl_module --with-openssl=/usr/local/openssl-1.1.1s`里的`--with-openssl=/usr/local/openssl-1.1.1s`是OpenSSL解压后的源码文件夹而不是安装后的文件夹,需要特别注意。


### 4.自签名证数生成


#### 4.1 分步骤生成
1.生成长度为1024的RSA密钥对并使用Triple DES算法进行加密
openssl genrsa -des3 -out test-en.key 1024
输入密码并验证密码【第2和第3步】都会用到这个密码
Enter pass phrase for test-en.key:
Verifying - Enter pass phrase for test-en.key:
2.创建新的证数签名
openssl req -new -key test-en.key -out test.csr
输入【第1步的密码】
Enter pass phrase for test-en.key:
You are about to be asked to enter information that will be incorporated
into your certificate request.
What you are about to enter is what is called a Distinguished Name or a DN.
There are quite a few fields but you can leave some blank
For some fields there will be a default value,
If you enter ‘.’, the field will be left blank.
除 Common Name 外都可为空
Country Name (2 letter code) [XX]:CN
State or Province Name (full name) []:HN
Locality Name (eg, city) [Default City]:ZZ
Organization Name (eg, company) [Default Company Ltd]:TEST
Organizational Unit Name (eg, section) []:DC
Common Name (eg, your name or your server’s hostname) []:192.168.0.1
Email Address []:.
Please enter the following ‘extra’ attributes
to be sent with your certificate request
A challenge password []:.
An optional company name []:.
3.去掉密码
openssl rsa -in test-en.key -out test.key
输入【第1步的密码】
Enter pass phrase for test-en.key:
writing RSA key
4.生成一个自签名的X.509数字证书 有效期365天
openssl x509 -req -days 365 -in test.csr -signkey test.key -out test.crt
成功标志
Signature ok
* -x509:指定生成 X.509 数字证书的命令。
* -req:指定输入的文件是证书签名请求。
* -days 3650:指定证书的有效期为 365 天(约1年)。
* -in test.csr:指定输入的证书签名请求文件为 test.csr。
* -signkey test.key:指定用于签名证书的私钥文件为 test.key。
* -out test.crt:指定生成的自签名数字证书文件的名称为 test.crt,并将生成的证书保存在该文件中。


该命令根据提供的证书签名请求文件 test.csr 和私钥文件 test.key,生成一个自签名的 X.509 数字证书,并将生成的证书保存在 test.crt 文件中。自签名证书是由私钥持有者自行签署的证书,不需要经过第三方证书颁发机构(CA)的认证。


生成的自签名证书可以用于各种目的,例如用于测试、开发环境中的安全通信、内部网站等。请注意,自签名证书在公共环境中可能会被浏览器或其他应用程序视为不受信任,因为它们没有受到公共信任的第三方机构的认证。


#### 4.2 自动化生成


自动化生成脚本`certificateGenerate.sh`内容如下:
#!/bin/bash
echo “(1/5): 生成密钥对开始…”
openssl genrsa -des3 -out test-en.key -passout pass:test 1024
echo “(1/5): 生成密钥对结束。”
echo “(2/5): 创建新的证数签名开始…”
openssl req -new -key test-en.key -out test.csr -passin pass:test -subj “/C=CN/ST=HN/L=ZZ/O=TEST/CN=$1”
sleep 2
echo “(2/5): 创建新的证数签名结束。”
echo “(3/5): 密钥去除密码…”
openssl rsa -in test-en.key -out test.key -passin pass:test
echo “(3/5): 密钥去除密码成功。”
echo “(4/5): 生成自签名证数…”
openssl x509 -req -days 3650 -in test.csr -signkey test.key -out test.crt
echo “(4/5): 生成自签名证数成功。”
echo “(5/5): 删除过程文件…”
rm -rf test-en.key test.csr
echo “(5/5): 删除过程文件成功。”
脚本调用:
脚本参数为IP或域名
./certificateGenerate.sh tcloud
### 5.Nginx配置


这里删除一些注释仅保留核心配置,将`https://IP:18080`的请求转发到`http://IP:8080`下:
http {
include mime.types;
default_type application/octet-stream;
sendfile on;
keepalive_timeout 65;
server {
listen 18080 ssl;
server_name localhost;
    ssl_certificate      /pathto/test.crt;
    ssl_certificate_key  /pathto/test.key;

    ssl_session_cache    shared:SSL:1m;
    ssl_session_timeout  5m;

    ssl_ciphers  HIGH:!aNULL:!MD5;
    ssl_prefer_server_ciphers  on;

    location / {
		proxy_pass http://localhost:8080/;
		proxy_redirect off;
		proxy_set_header Host $host:8080;
		proxy_set_header X-Forwarded-For $proxy\_add\_x\_forwarded\_for;
		proxy_set_header   X-Real-IP $remote\_addr;
		proxy_set_header Cookie $http\_cookie;
    }
}
}
**先自我介绍一下,小编浙江大学毕业,去过华为、字节跳动等大厂,目前在阿里**
**深知大多数程序员,想要提升技能,往往是自己摸索成长,但自己不成体系的自学效果低效又漫长,而且极易碰到天花板技术停滞不前!**
**因此收集整理了一份《2024年最新Linux运维全套学习资料》,初衷也很简单,就是希望能够帮助到想自学提升又不知道该从何学起的朋友。**
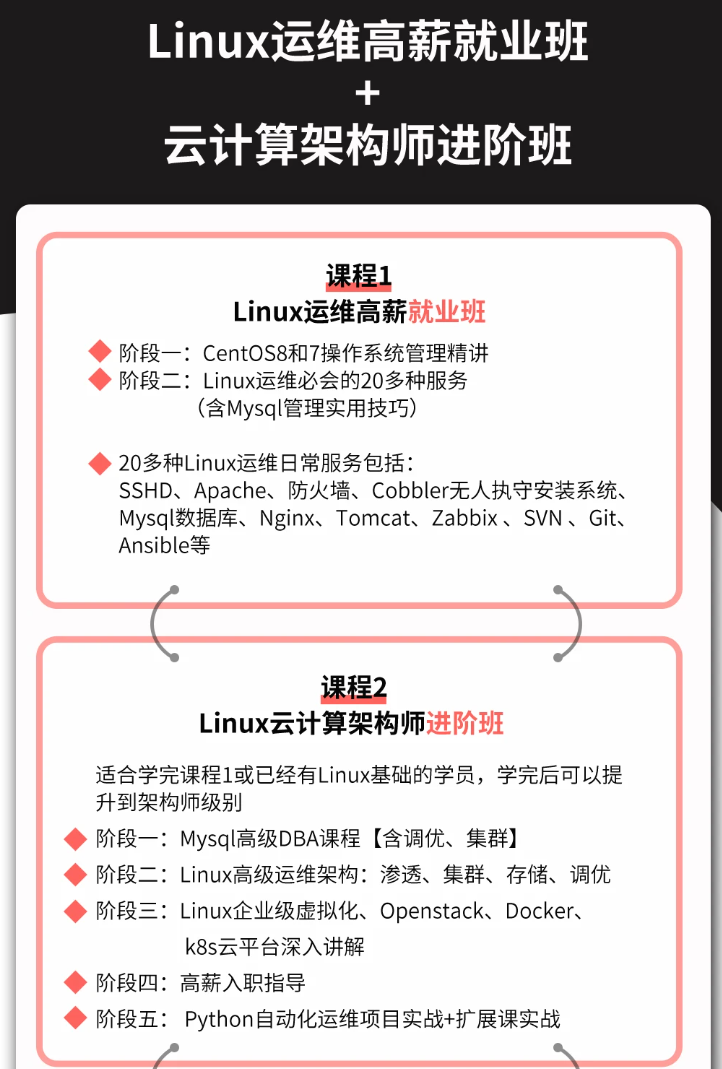
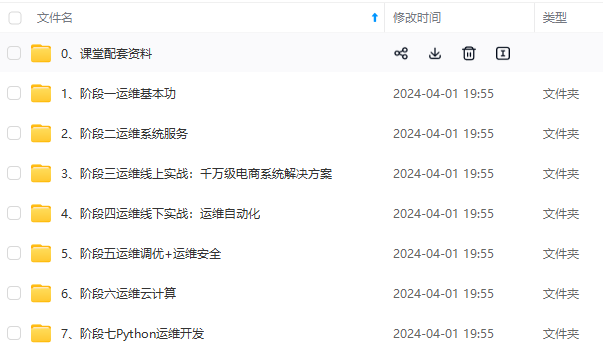
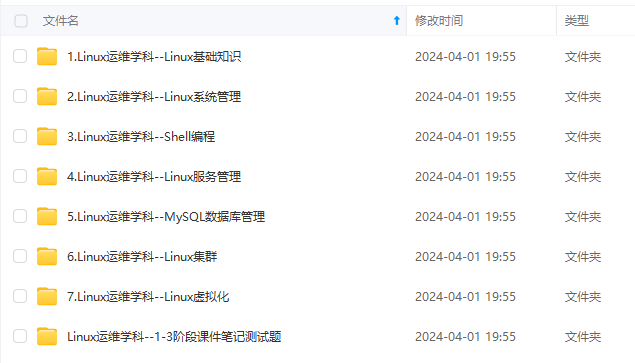
**既有适合小白学习的零基础资料,也有适合3年以上经验的小伙伴深入学习提升的进阶课程,涵盖了95%以上运维知识点,真正体系化!**
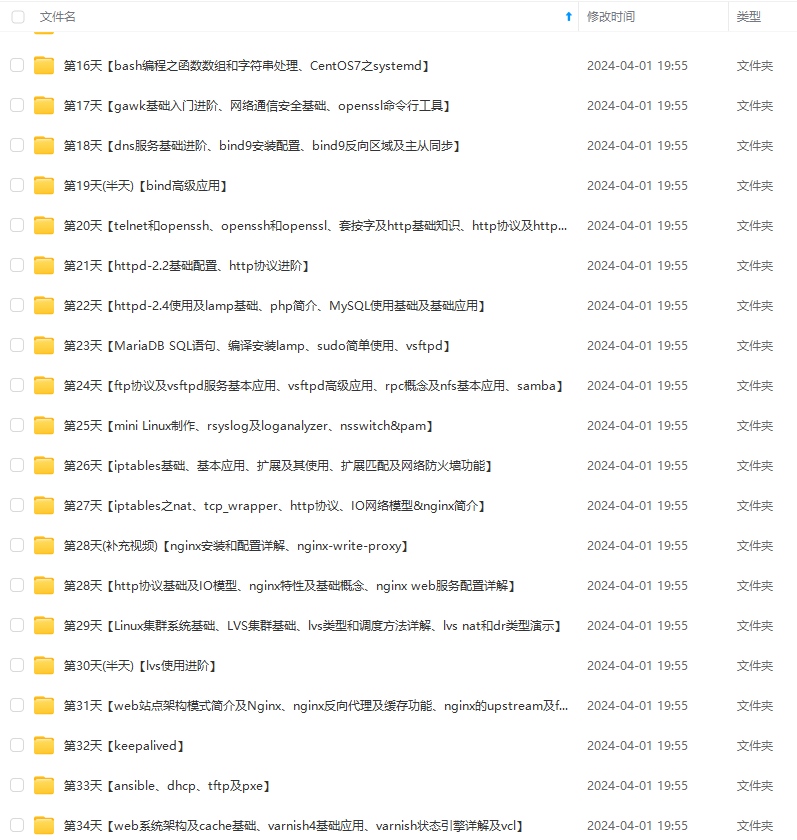
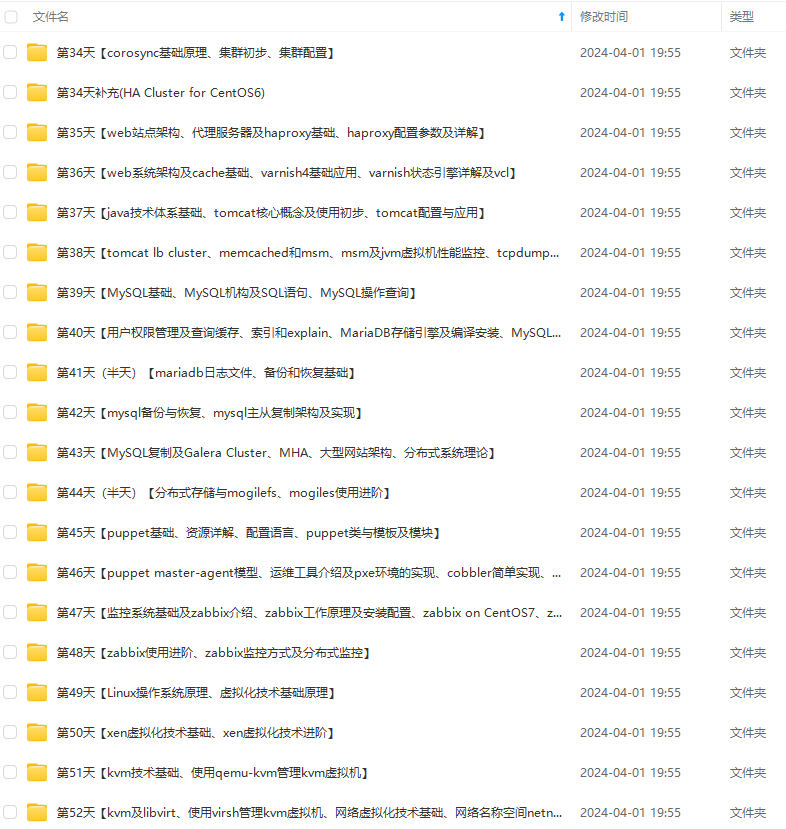
**由于文件比较多,这里只是将部分目录截图出来,全套包含大厂面经、学习笔记、源码讲义、实战项目、大纲路线、讲解视频,并且后续会持续更新**
**[需要这份系统化的资料的朋友,可以点击这里获取!](https://bbs.csdn.net/forums/4f45ff00ff254613a03fab5e56a57acb)**
09427841)]
**既有适合小白学习的零基础资料,也有适合3年以上经验的小伙伴深入学习提升的进阶课程,涵盖了95%以上运维知识点,真正体系化!**
**由于文件比较多,这里只是将部分目录截图出来,全套包含大厂面经、学习笔记、源码讲义、实战项目、大纲路线、讲解视频,并且后续会持续更新**
**[需要这份系统化的资料的朋友,可以点击这里获取!](https://bbs.csdn.net/forums/4f45ff00ff254613a03fab5e56a57acb)**


 1301
1301


 被折叠的 条评论
为什么被折叠?
被折叠的 条评论
为什么被折叠?
 到【灌水乐园】发言


