


若依VUE前后分离版本自定义主题风格
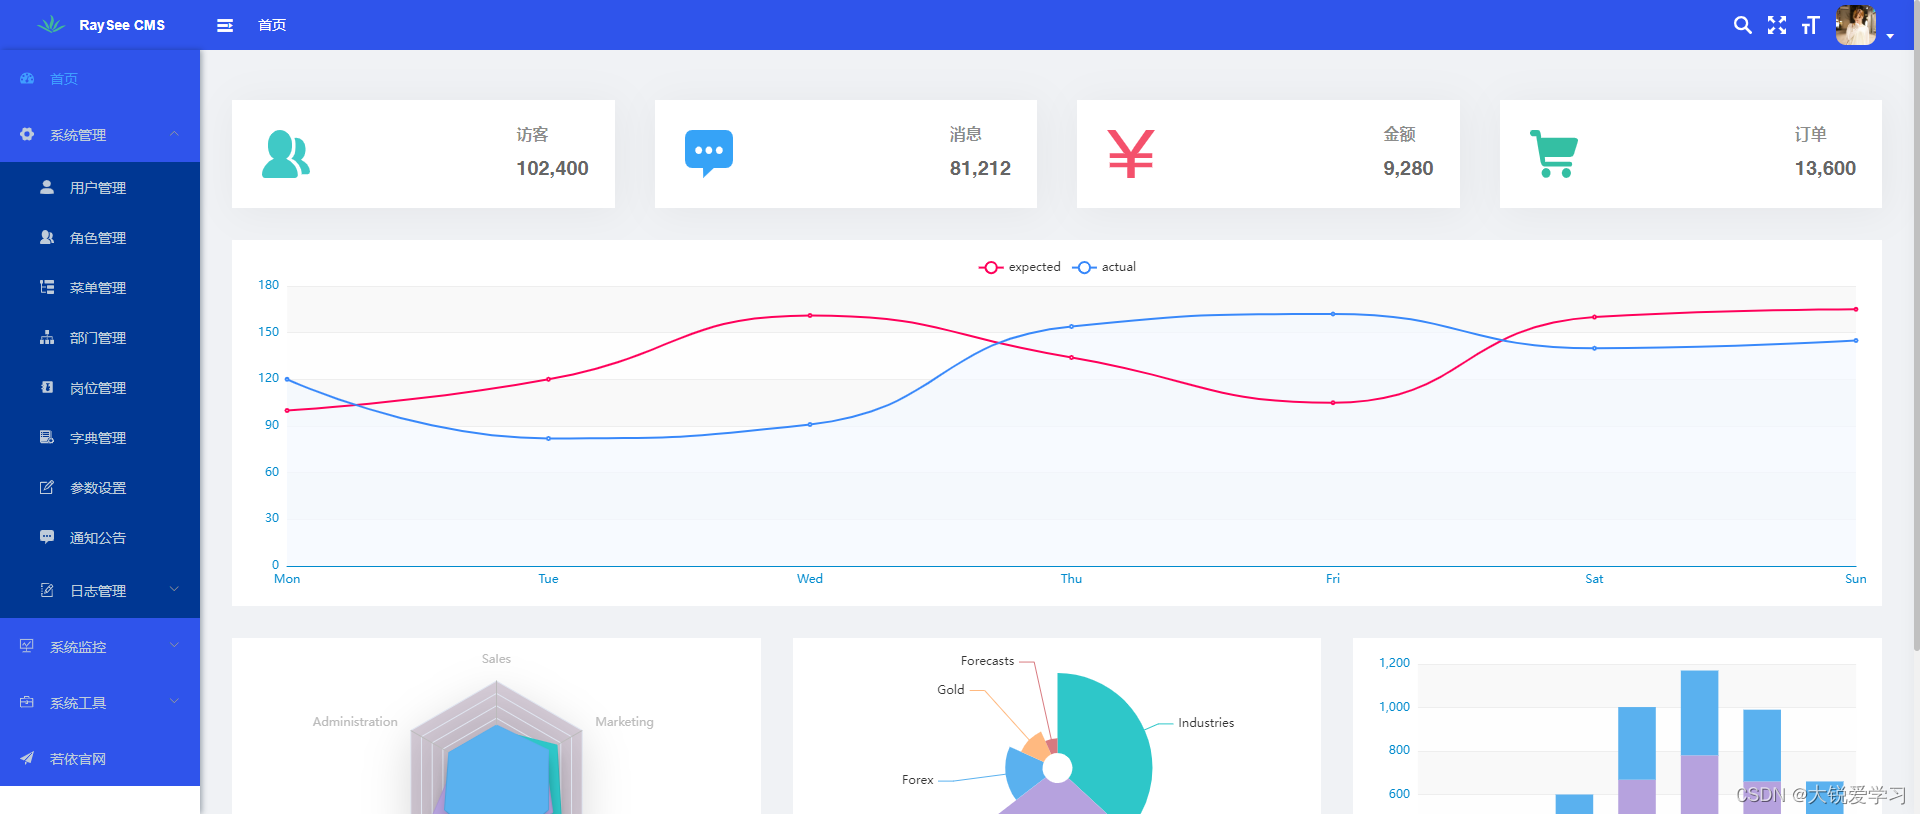
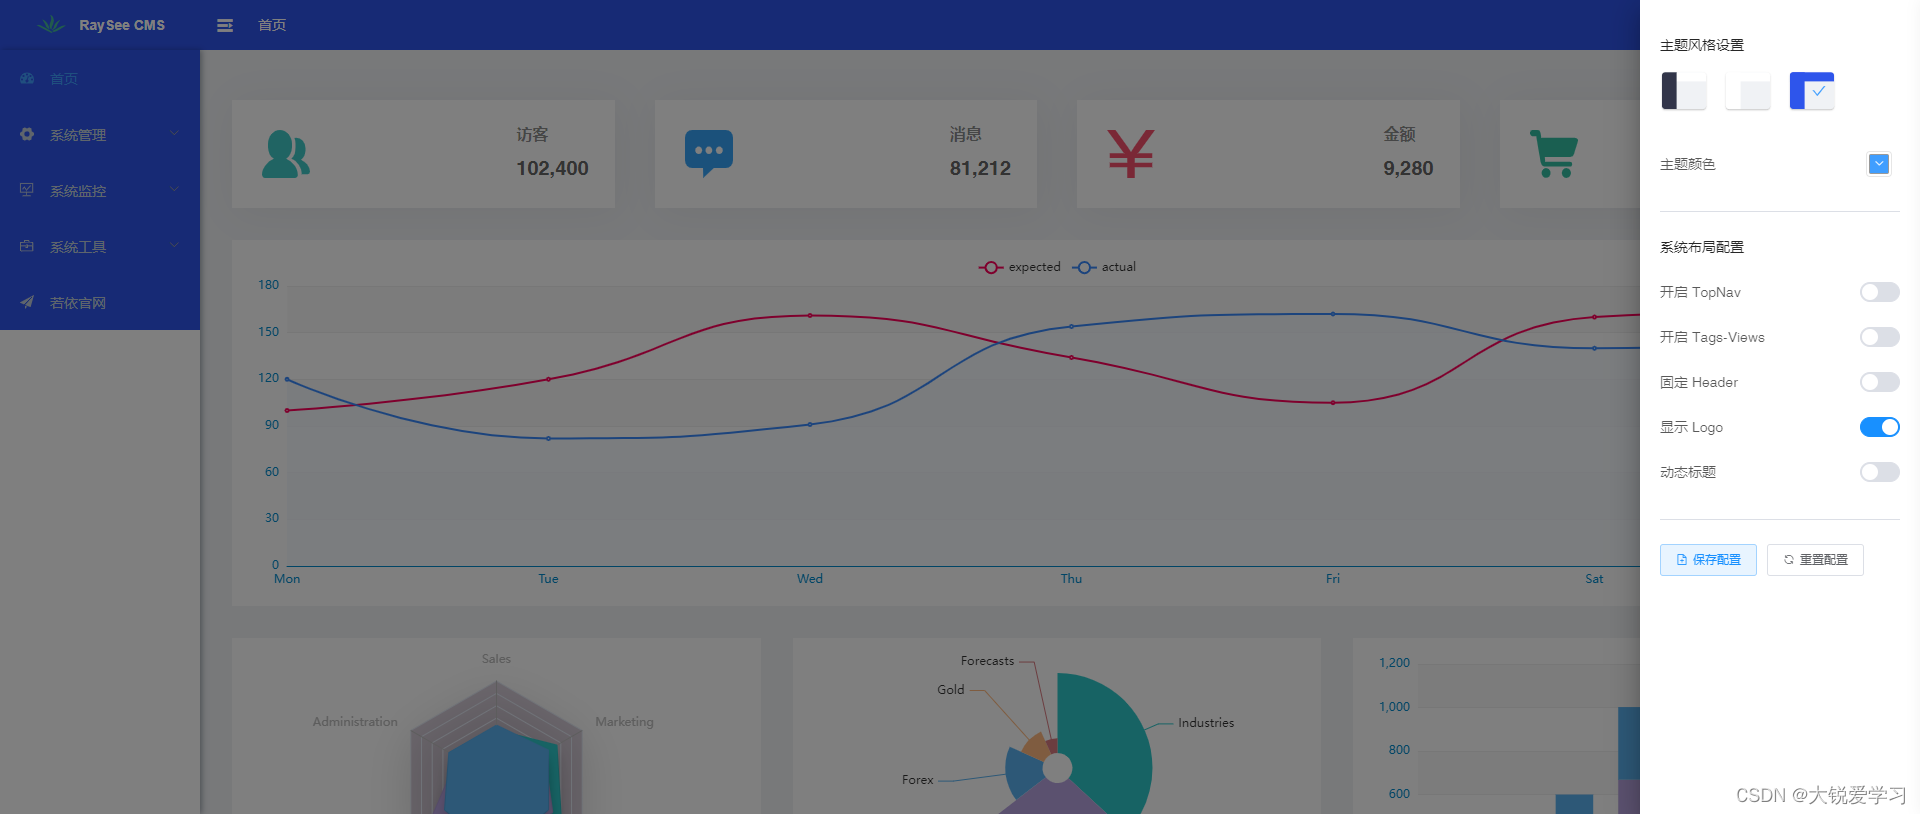
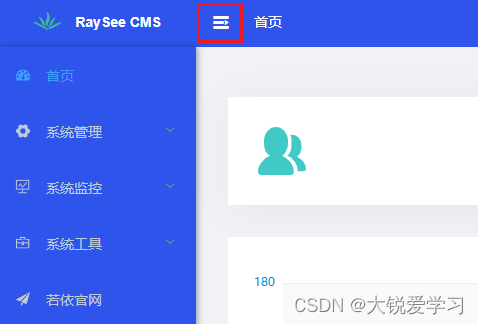
1.效果展示
2.操作步骤
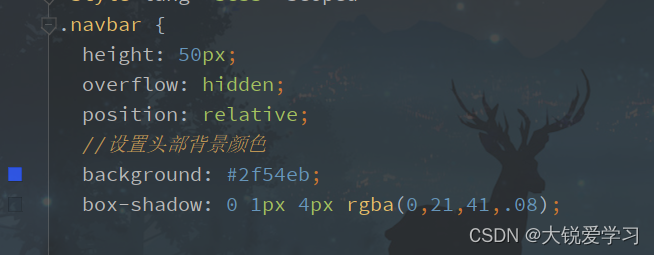
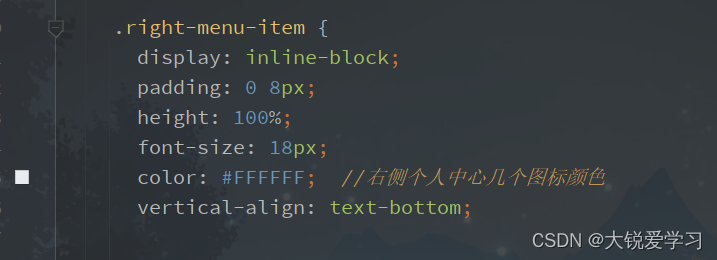
2.1修改Navbar头部背景颜色

文件路径:src\layout\components\Navbar.vue
修改内容:设置头部背影颜色及右侧图标颜色
2.2 修改左侧图标颜色
文件路径:src\components\Hamburger\index.vue
<template>
  <div style="padding: 1px 15px;" @click="toggleClick">
    <i class="el-icon-s-fold hamburger" :class="{'is-active':isActive}" ></i>
  </div>
</template>

.hamburger {

  display: inline-block;
  vertical-align: middle;
  width: 20px;
  height: 20px;
  color: #FFFFFF;
  font-size: 20px;
}
2.3添加自定义主题风格
文件路径:src\layout\components\Settings\index.vue
新增一个主题风格选项,主要注意的是handleTheme里面的传参(后面会用到)和img的src图片,例如实例中的blue.svg
            <!--自定义主题风格-->
            <div class="setting-drawer-block-checbox-item" @click="handleTheme('theme-blue')">
              <img src="@/assets/images/blue.svg" alt="dark">
              <div v-if="sideTheme === 'theme-blue'" class="setting-drawer-block-checbox-selectIcon"
                   style="display: block;">
                <i aria-label="图标: check" class="anticon anticon-check">
                  <svg viewBox="64 64 896 896" data-icon="check" width="1em" height="1em" :fill="theme"
                       aria-hidden="true" focusable="false" class="">
                    <path
                      d="M912 190h-69.9c-9.8 0-19.1 4.5-25.1 12.2L404.7 724.5 207 474a32 32 0 0 0-25.1-12.2H112c-6.7 0-10.4 7.7-6.3 12.9l273.9 347c12.8 16.2 37.4 16.2 50.3 0l488.4-618.9c4.1-5.1.4-12.8-6.3-12.8z"/>
                  </svg>
                </i>
              </div>
            </div>
静态资源svg图片代码 放在src\assets\images 目录下
<?xml version="1.0" encoding="UTF-8"?>
<svg width="52px" height="45px" viewBox="0 0 52 45" version="1.1"
    xmlns="http://www.w3.org/2000/svg"
    xmlns:xlink
最低0.47元/天 解锁文章


 1万+
1万+

 被折叠的 条评论
为什么被折叠?
被折叠的 条评论
为什么被折叠?
 到【灌水乐园】发言


