


一、准备工作
(1) vue准备
//控制台中
npm install mavon-editor --save

//项目的入口文件main.js中引入
import Vue from 'vue'
import mavonEditor from 'mavon-editor'
Vue.use(mavonEditor)
(2)oss准备
详见阿里云官网,这里就不再赘述。
(3)java准备
	<dependency>
            <groupId>com.alibaba.cloud</groupId>
            <artifactId>spring-cloud-starter-alicloud-oss</artifactId>
            <version>2.1.0.RELEASE</version>
        </dependency>
二、具体实现
(1)思路
前端发送请求,向后端获取oss的签名、AccessKeyId、policy等信息,后端需对该请求进行验证(验证登录的token信息,一般使用拦截器),验证成功后,将信息返回给前端,前端将信息和图片文件一起封装为FormData,发送到阿里云具体的地址,从而实现图片上传阿里云。
(2)vue中
<!--@imgAdd绑定图片上传的方法-->
<mavon-editor ref="md" v-model="articleForm.content" @imgAdd="$imgAdd" @imgDel="$imgDel"/>
//具体方法
$imgAdd(pos, $file) {
//首先给后端发axios请求获取签名等信息,这里的axios使用去全局的拦截器封装了登录的token等信息
this.$http({
url: "/thirdParty/oss/policy",
method: "get",
params: new Date().getTime(),
}).then((res) => {
// console.log("markdown数据", res.data);
//这里使用uuid来给图片不重复的文件名
let uuid = this.getUUID;
//使用FormData对象来传递数据
var formData = new FormData();
formData.append("policy", res.data.data.policy); //policy
formData.append("signature", res.data.data.signature); //签名
formData.append("OSSAccessKeyId", res.data.data.accessid); //accessKeyId
//后端返回有文件夹的名称,这里我使用日期来作为文件夹名,详情见后端java代码
formData.append("dir", res.data.data.dir);
formData.append("host", res.data.data.host);
formData.append("key", res.data.data.dir + uuid + "_" + $file.name); //存储在oss的文件路径
//此处一定要注意,文件最好是放在最后,如果文件放在签名之前,阿里云会报错
formData.append("file", $file);
// console.log("文件数据",$file)
// console.log("提交阿里云的表单数据",formData.get('key'))
//将所有数据封装完毕后就可以发送给阿里云了,这里我使用了一个新的axios
uploadAxios({
url: "http://xxx.oss-cn-chengdu.aliyuncs.com",//此处填写你的阿里云Bucket地址
method: "post",
data: formData,
processData: false, // 告诉axios不要去处理发送的数据(重要参数)
contentType: false, // 告诉axios不要去设置Content-Type请求头
})
.then((res) => {
// console.log("上传成功...", res);
// 将返回的url替换到文本原位置 ->  这里是必须要有的
let url =
"https://xxx.oss-cn-chengdu.aliyuncs.com/" +
formData.get("key");
//这里直接使用mavon-editor官方提供的替换方法,只需要提供url就可以替换
//注意在template的<mavon-editor/>中加上ref="md"获取markdown-it对象
//官网详情:https://github.com/hinesboy/mavonEditor/blob/HEAD/doc/cn/markdown.md
this.$refs.md.$img2Url(pos, url);
})
.catch((error) => {
console.log(error);
});
});
},
//获取uuid的方法,放到vue的computed中
computed: {
getUUID() {
return "xxxxxxxx-xxxx-4xxx-yxxx-xxxxxxxxxxxx".replace(/[xy]/g, (c) => {
return (
c === "x" ? (Math.random() * 16) | 0 : "r&0x3" | "0x8"
).toString(16);
});
},
},
(3)Java后端
1.application.yml配置
spring:
  cloud:
    alicloud:
      access-key: xxxxxxxx #自己的access-key
      secret-key: xxxxxxxx #对应的secret-key
      oss:
        endpoint: xxxxxxxx #对应的endpoint(这些信息都在阿里云上找)
2.Controller(这里的话阿里云官网上都有,直接复制粘贴就行)
import com.aliyun.oss.OSSClient;
import com.aliyun.oss.common.utils.BinaryUtil;
import com.aliyun.oss.model.MatchMode;
import com.aliyun.oss.model.PolicyConditions;
import com.atxieji.blog.vo.Result;
import org.springframework.beans.factory.annotation.Value;
import org.springframework.web.bind.annotation.RequestMapping;
import org.springframework.web.bind.annotation.RestController;

import javax.annotation.Resource;
import java.text.SimpleDateFormat;
import java.util.Date;
import java.util.LinkedHashMap;
import java.util.Map;

/**
 * @author lmhstart
 * @create 2022/1/25-17:58
 */
@RestController
@RequestMapping("/thirdParty")
public class OssController {

    @Resource
    private OSSClient ossClient;

    @Value("${spring.cloud.alicloud.oss.endpoint}")
    private String endpoint;

    @Value("${spring.cloud.alicloud.access-key}")
    private String accessId;

    @RequestMapping("/oss/policy")
    public Result policy(){
        System.out.println("上传图片。。。");
        String bucket = "xxx"; // 请填写您的 bucketname 。
        String host = "https://" + bucket + "." + endpoint; // host的格式为 bucketname.endpoint
        // callbackUrl为上传回调服务器的URL,请将下面的IP和Port配置为您自己的真实信息。
        String callbackUrl = "http://88.88.88.88:8888";
	//这里我使用日期作为文件夹名字
        String format = new SimpleDateFormat("yyyy-MM-dd").format(new Date());
        String dir = format + "/"; // 用户上传文件时指定的前缀。

        Map<String, String> respMap = null;
        try {
            long expireTime = 30;
            long expireEndTime = System.currentTimeMillis() + expireTime * 1000;
            Date expiration = new Date(expireEndTime);
            // PostObject请求最大可支持的文件大小为5 GB,即CONTENT_LENGTH_RANGE为5*1024*1024*1024。
            PolicyConditions policyConds = new PolicyConditions();
            policyConds.addConditionItem(PolicyConditions.COND_CONTENT_LENGTH_RANGE, 0, 1048576000);
            policyConds.addConditionItem(MatchMode.StartWith, PolicyConditions.COND_KEY, dir);

            String postPolicy = ossClient.generatePostPolicy(expiration, policyConds);
            byte[] binaryData = postPolicy.getBytes("utf-8");
            String encodedPolicy = BinaryUtil.toBase64String(binaryData);
            String postSignature = ossClient.calculatePostSignature(postPolicy);

            respMap = new LinkedHashMap<>();
            respMap.put("accessid", accessId);
            respMap.put("policy", encodedPolicy);
            respMap.put("signature", postSignature);
            respMap.put("dir", dir);
            respMap.put("host", host);
            respMap.put("expire", String.valueOf(expireEndTime / 1000));
            // respMap.put("expire", formatISO8601Date(expiration));

        } catch (Exception e) {
            // Assert.fail(e.getMessage());
            System.out.println(e.getMessage());
        } finally {
            ossClient.shutdown();
        }

        return Result.success(respMap);
    }

}
三、最终效果
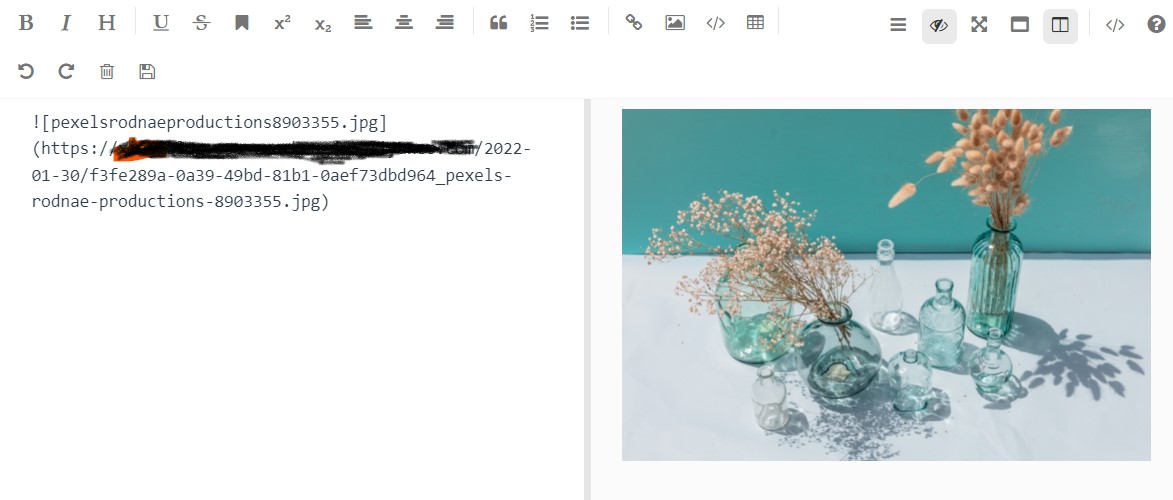
就是这样,文本是阿里云oss的链接地址,并且右边能够正确显示。


 3172
3172


 被折叠的 条评论
为什么被折叠?
被折叠的 条评论
为什么被折叠?
 到【灌水乐园】发言


