


布局内容:
<RelativeLayout xmlns:android="http://schemas.android.com/apk/res/android"
    xmlns:tools="http://schemas.android.com/tools"
    android:layout_width="match_parent"
    android:layout_height="match_parent" >

    <ImageView
        android:id="@+id/imageView"
        android:layout_width="match_parent"
        android:layout_height="match_parent" />

    <LinearLayout
        android:layout_width="match_parent"
        android:layout_height="wrap_content"
        android:layout_alignParentBottom="true"
        android:orientation="horizontal" >

        <Button
            android:id="@+id/show"
            android:layout_width="match_parent"
            android:layout_height="wrap_content"
            android:layout_weight="1"
            android:text="show"/>

        <Button
            android:id="@+id/process"
            android:layout_width="match_parent"
            android:layout_height="wrap_content"
            android:layout_weight="1"
            android:text="process"/>
    </LinearLayout>
</RelativeLayout>
代码编写完毕,但此时还不能运行,因为手机还未安装OpenCV Manager.apk。
2.3、安装OpenCV Manager
位于OpenCV-android-sdk\apk目录下,选择合适的apk程序安装(一般选择OpenCV_3.2.0_Manager_3.20_armeabi.apk)。
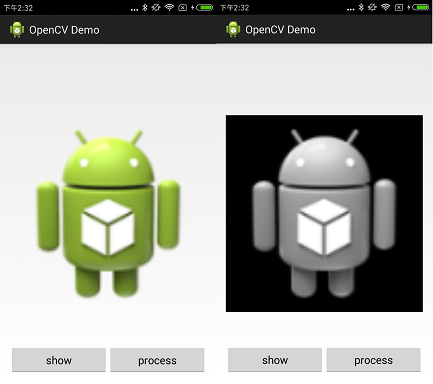
2.4、运行Demo
将项目编译打包成apk,安装到手机,运行,点击按钮show后,对图像进行灰度处理,效果如下图所示:
注意:
- 如果出现
OpenCV was not initialised correctly.Application will be shut down,可能是你的OpenCV Manager程序与你的cpu架构不同,选择合适的apk即可。 - 如果手机版本较高,可能会出现调用不到
OpenCV Manager的情况,这是因为手机厂商做了限制,防止恶意软件相互唤醒(如百度全家桶),解决方法请自行百度(因为没有统一的方法)。
 最低0.47元/天 解锁文章


 3744
3744


 被折叠的 条评论
为什么被折叠?
被折叠的 条评论
为什么被折叠?
 到【灌水乐园】发言


