


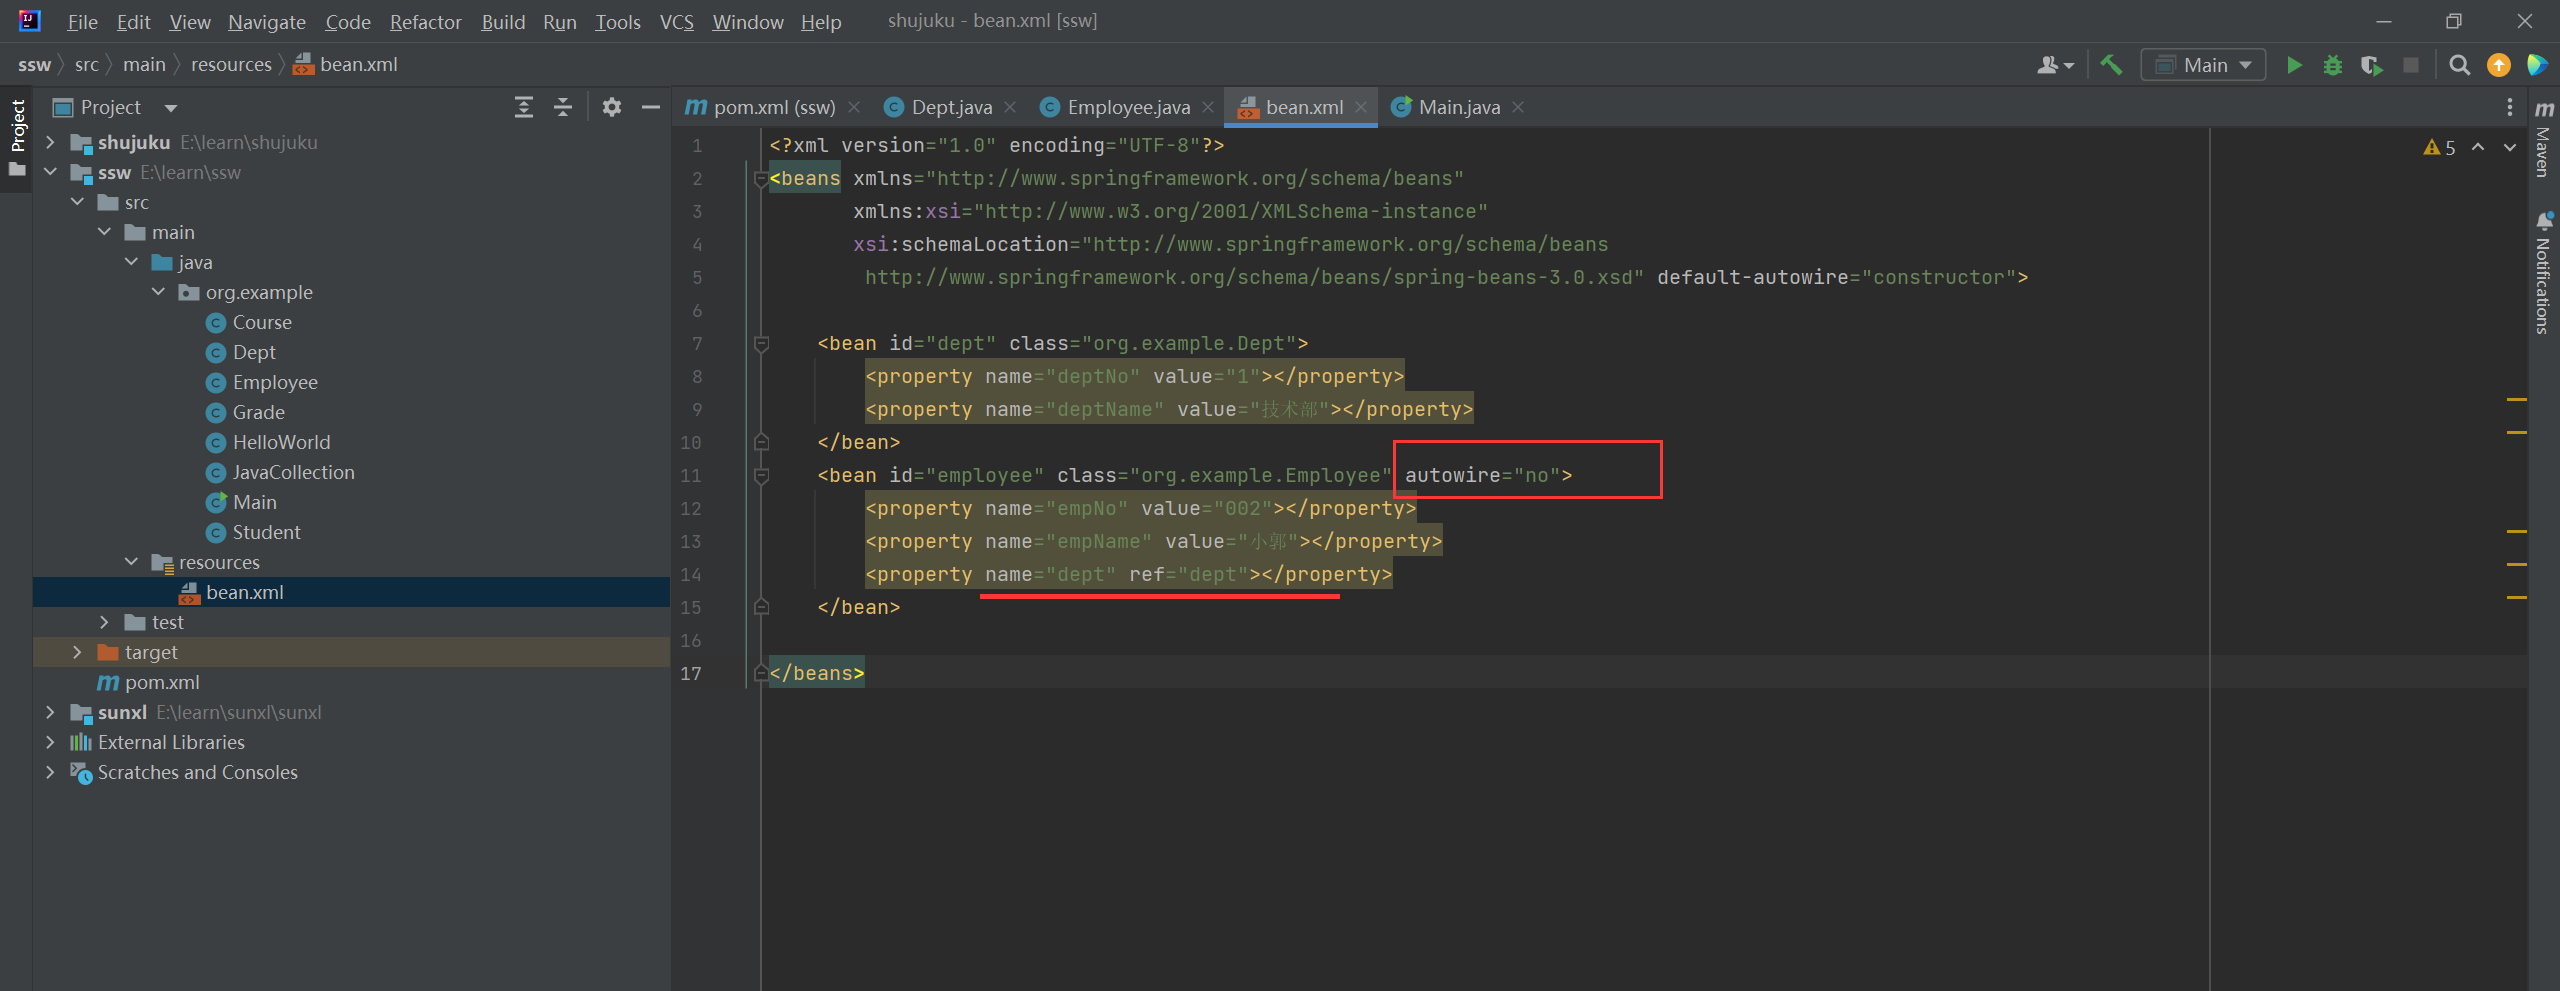
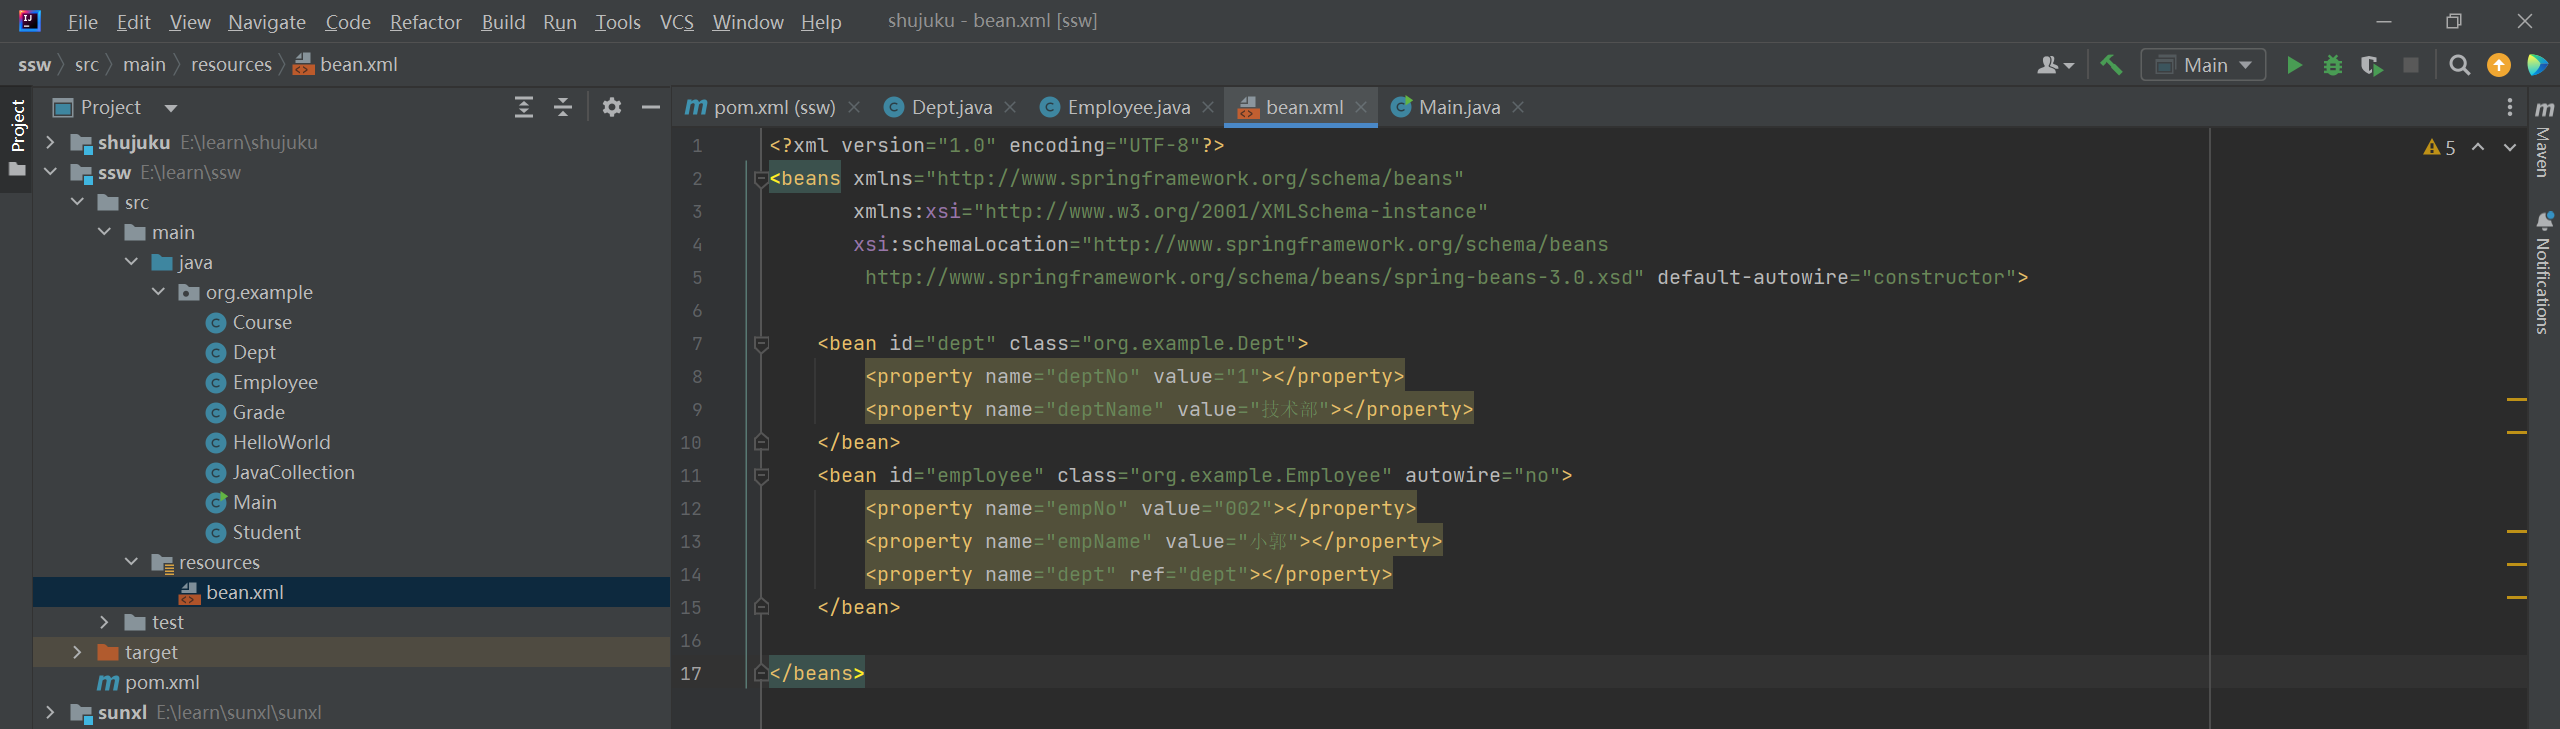
1. 不使用自动装配(autowire="no")
autowire="no" 表示不使用自动装配,此时我们必须通过 <bean> 元素的 <constructor-arg>和 <property> 元素的 ref 属性维护 Bean 的依赖关系。
2. 按名称自动装配(autowire="byName")
autowire="byName" 表示按属性名称自动装配,XML 文件中 Bean 的 id 或 name 必须与类中的属性名称相同。
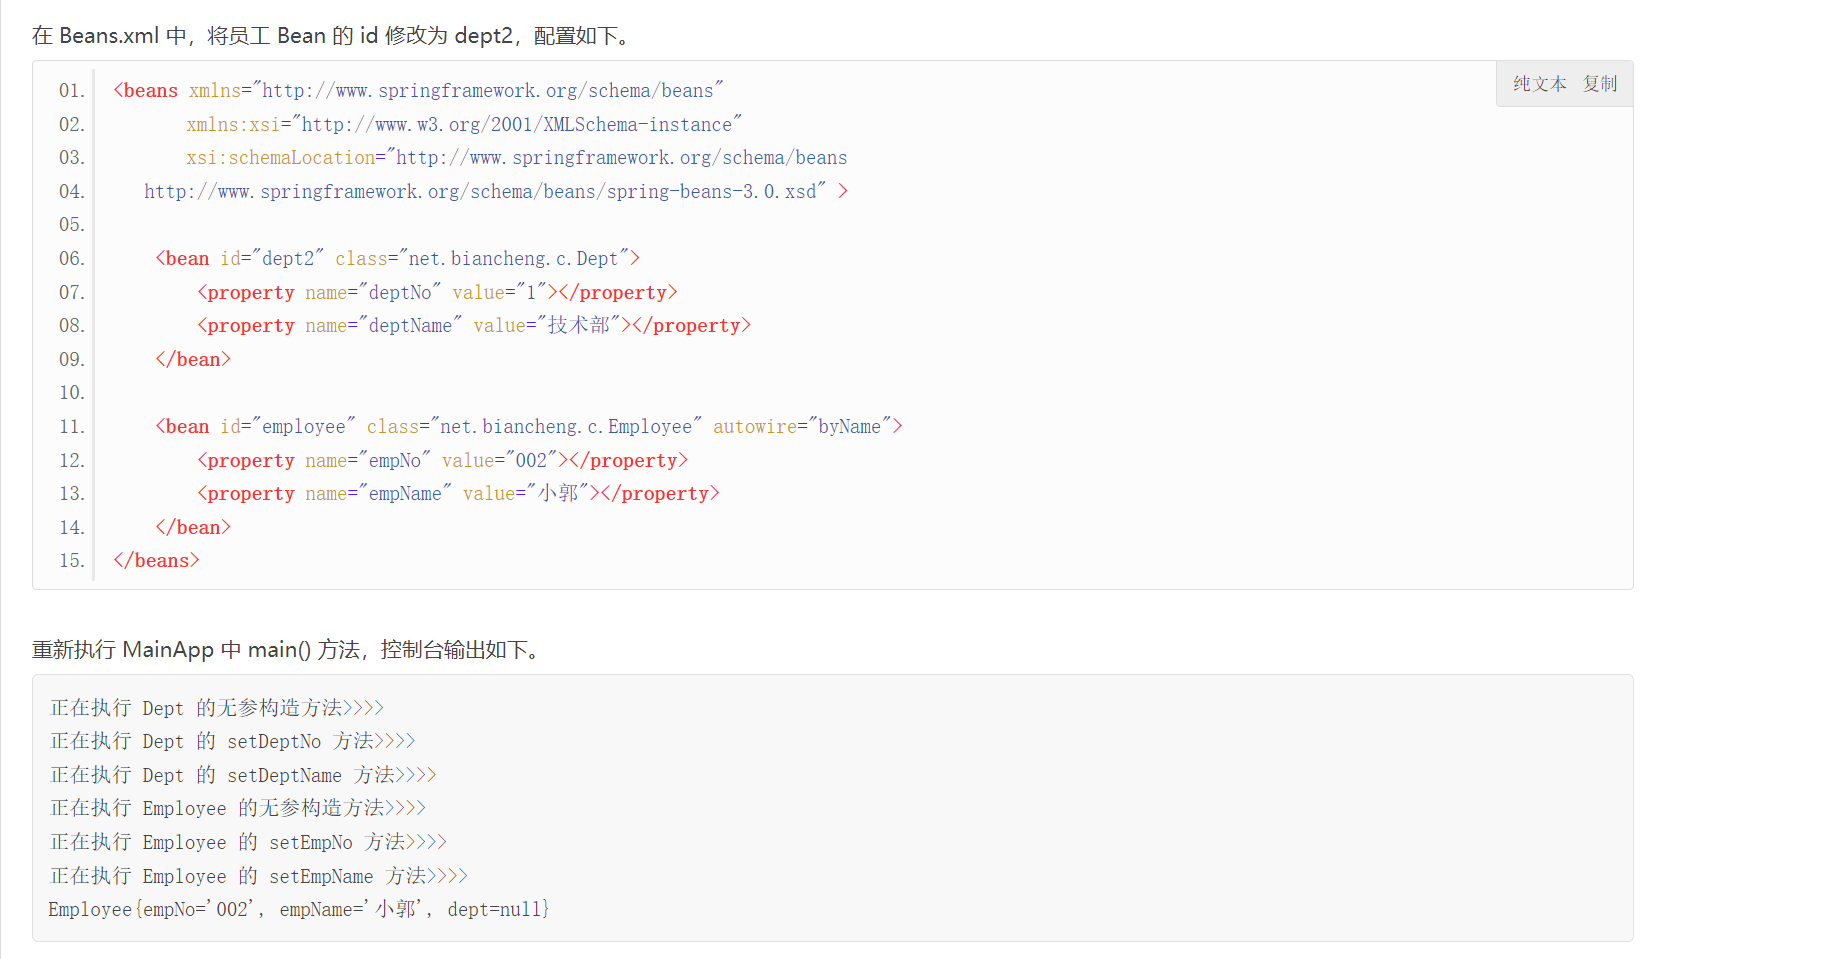
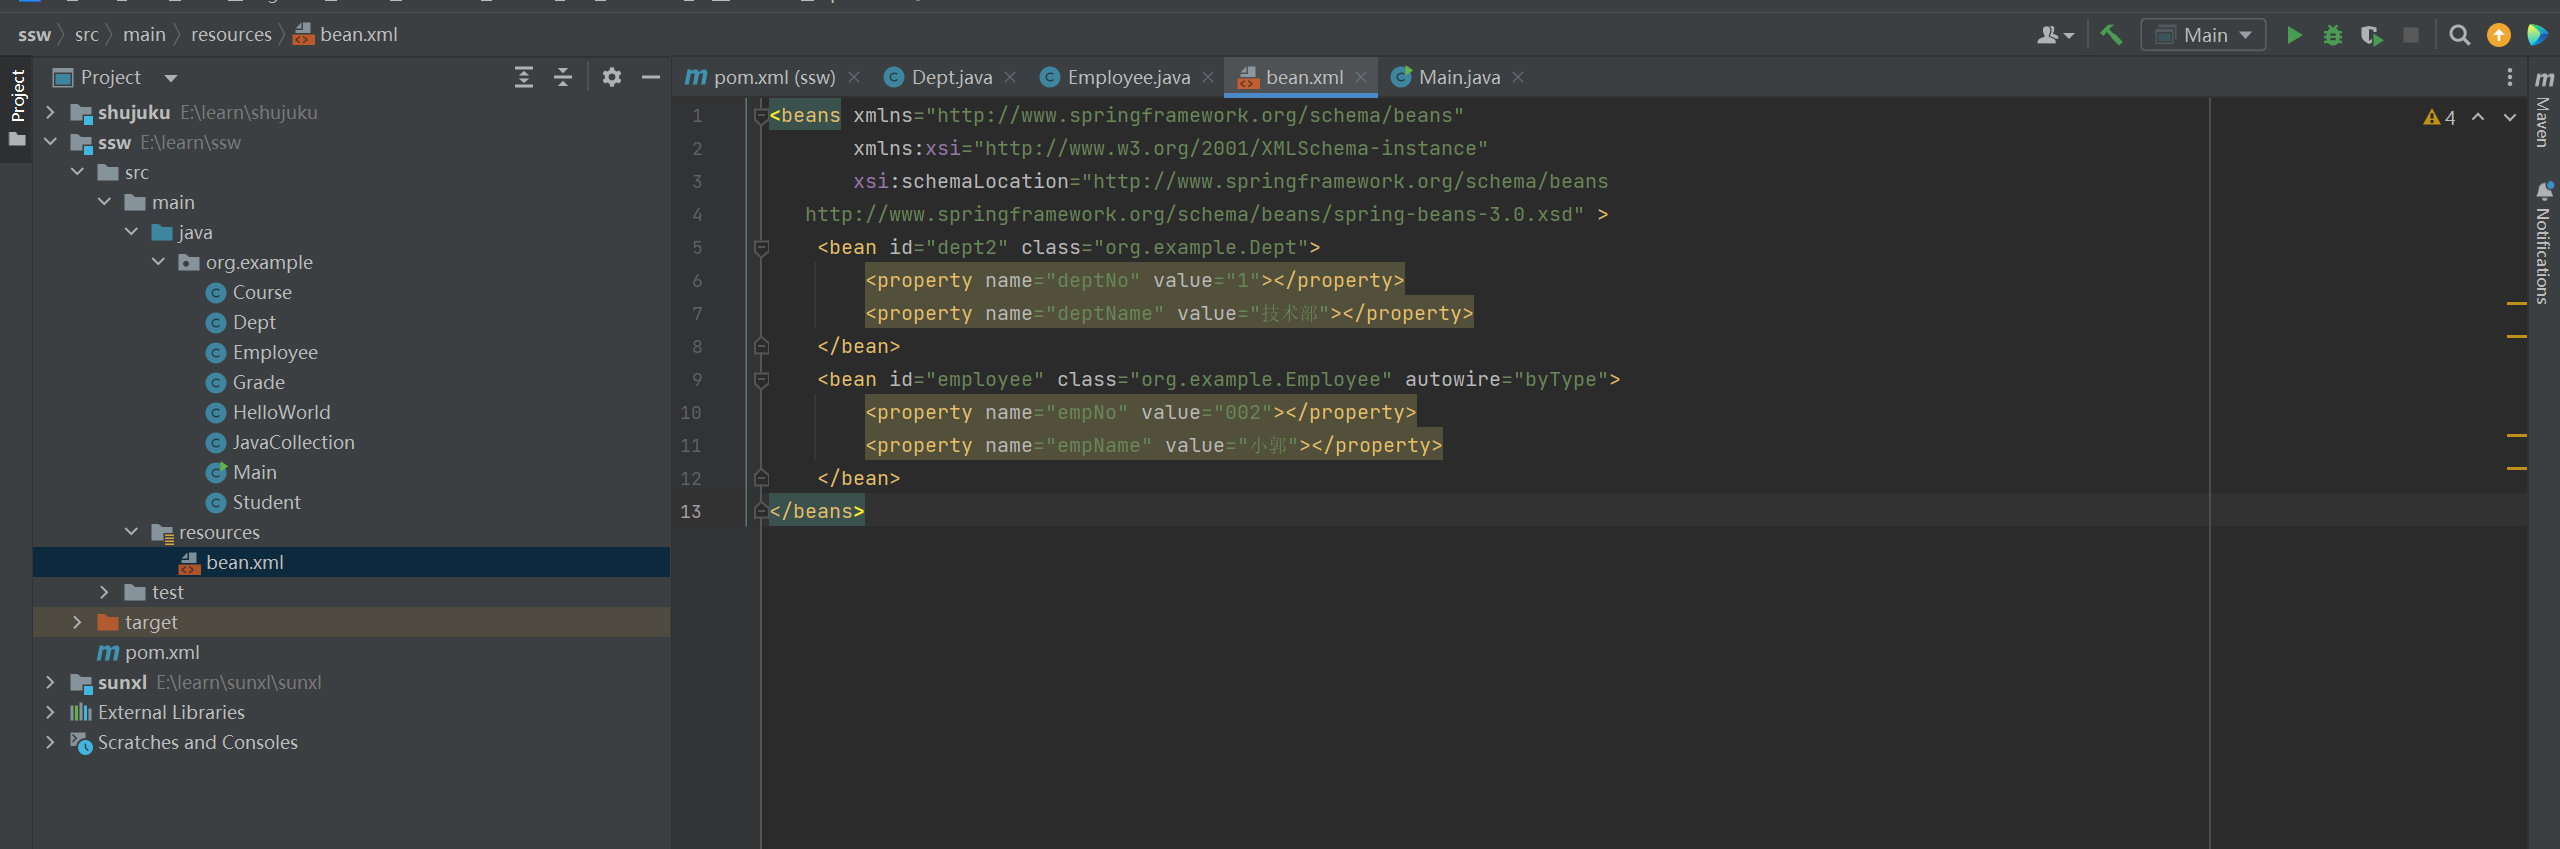
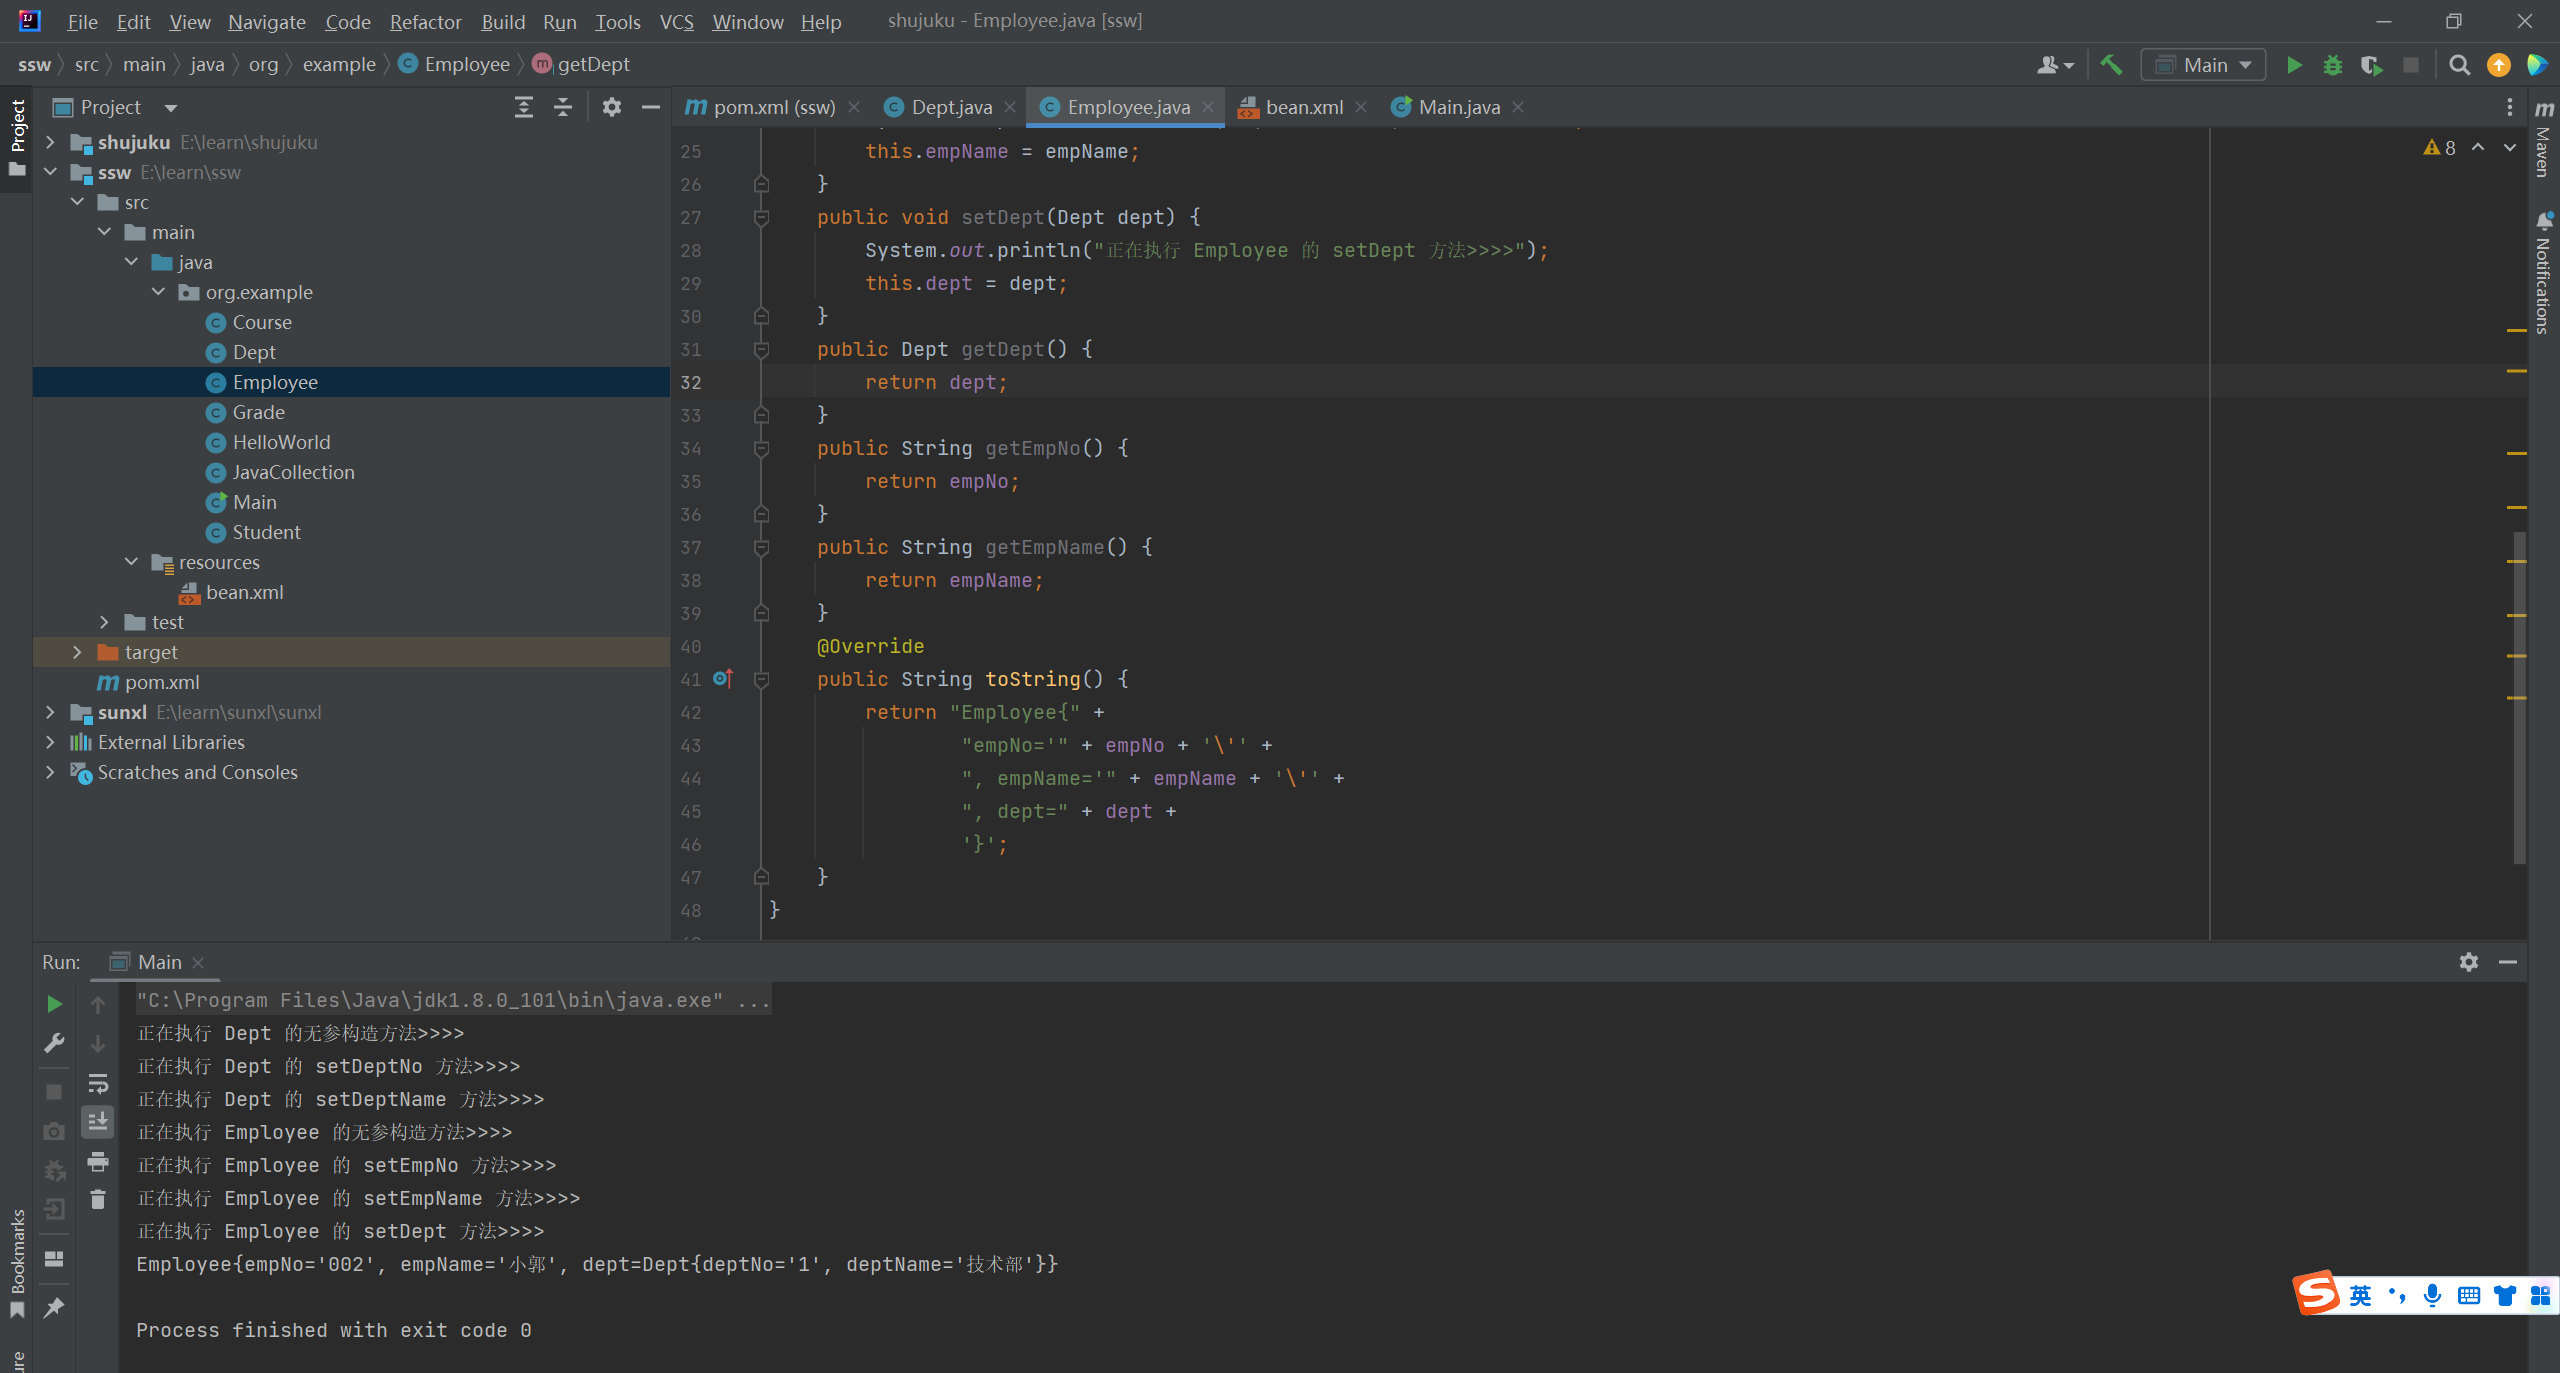
3. 按类型自动装配(autowire="byType")
autowire="byType" 表示按类中对象属性数据类型进行自动装配。即使 XML 文件中 Bean 的 id 或 name 与类中的属性名不同,只要 Bean 的 class 属性值与类中的对象属性的类型相同,就可以完成自动装配。
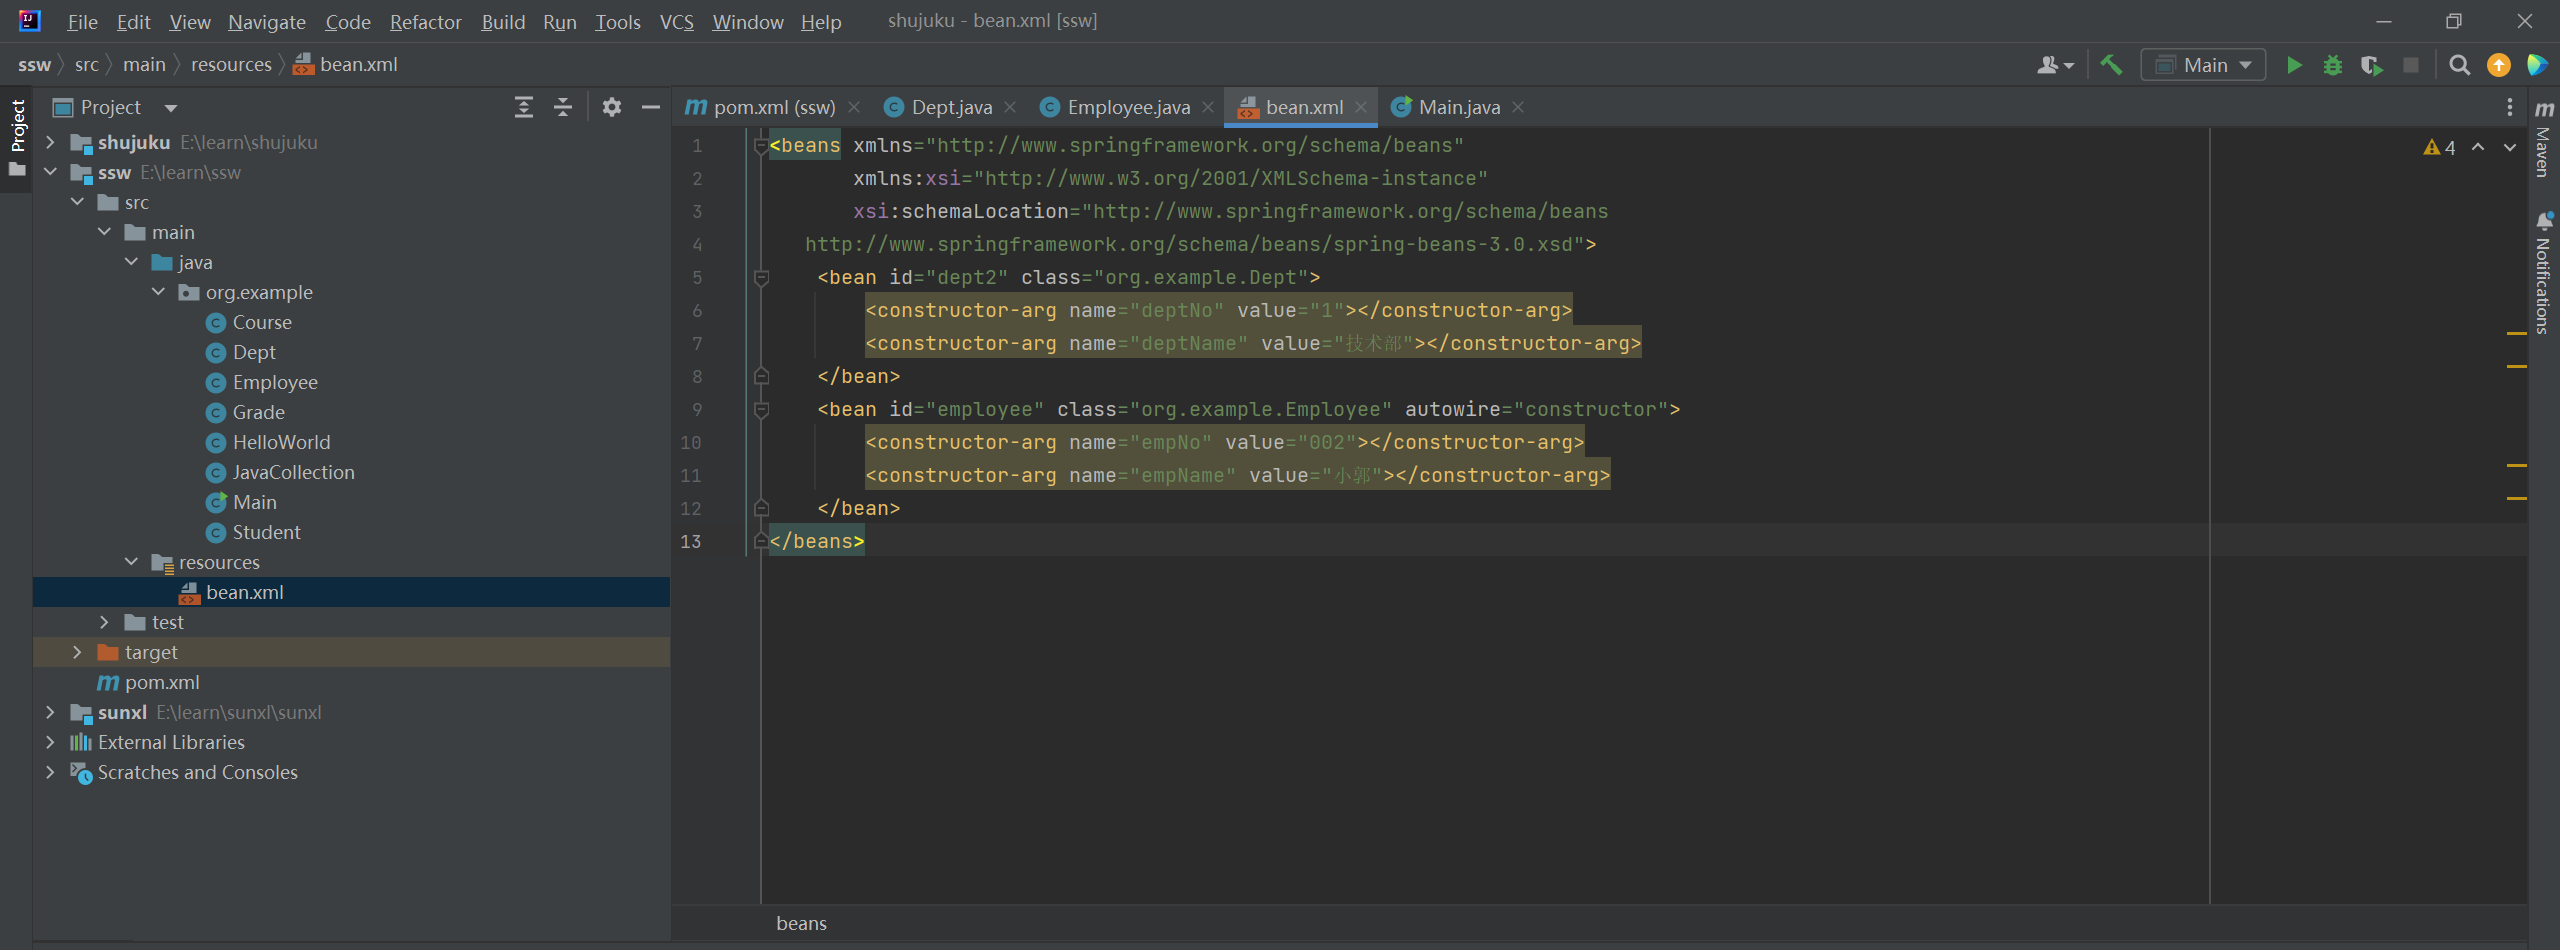
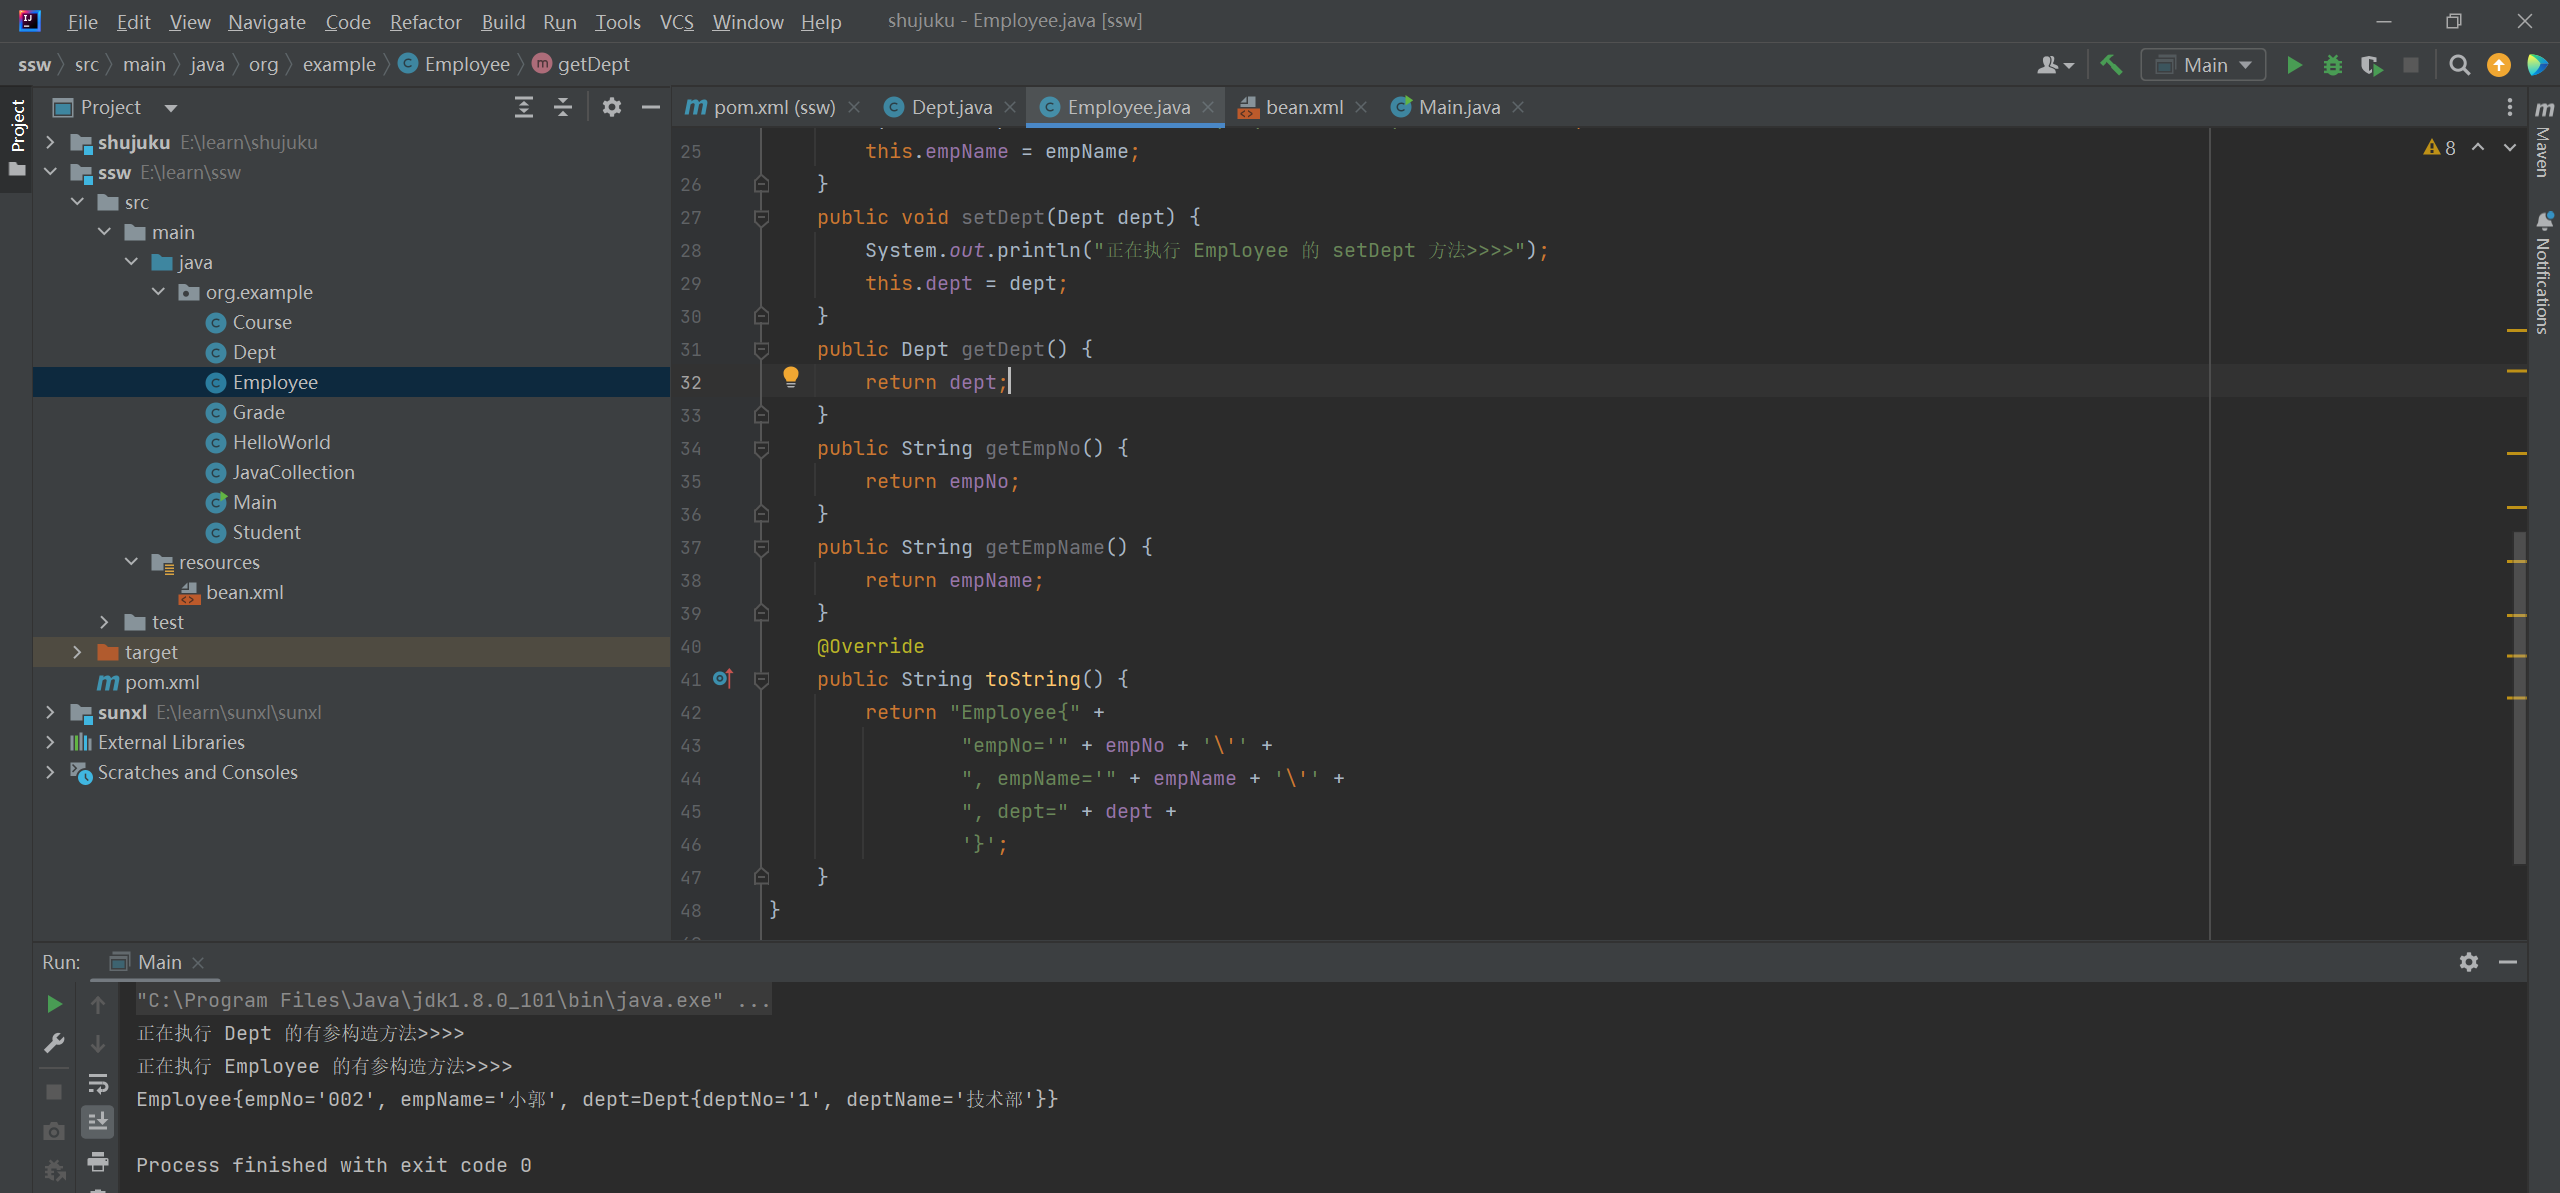
4. 构造函数自动装配(autowire="constructor")
autowire="constructor" 表示按照 Java 类中构造函数进行自动装配。
5. 默认的自动装配模式(autowire="default")
默认采用上一级标签 <beans> 设置的自动装配规则(default-autowire)进行装配,Beans.xml 中的配置内容如下。
=======================================================================
项目依赖:
<?xml version="1.0" encoding="UTF-8"?>
<project xmlns="http://maven.apache.org/POM/4.0.0"
         xmlns:xsi="http://www.w3.org/2001/XMLSchema-instance"
         xsi:schemaLocation="http://maven.apache.org/POM/4.0.0 http://maven.apache.org/xsd/maven-4.0.0.xsd">
    <modelVersion>4.0.0</modelVersion>

    <groupId>org.example</groupId>
    <artifactId>ssw</artifactId>
    <version>1.0-SNAPSHOT</version>

    <properties>
        <maven.compiler.source>8</maven.compiler.source>
        <maven.compiler.target>8</maven.compiler.target>
    </properties>

    <dependencies>
        <dependency>
            <groupId>org.springframework</groupId>
            <artifactId>spring-context</artifactId>
            <version>5.3.6</version>
        </dependency>
    </dependencies>

</project>

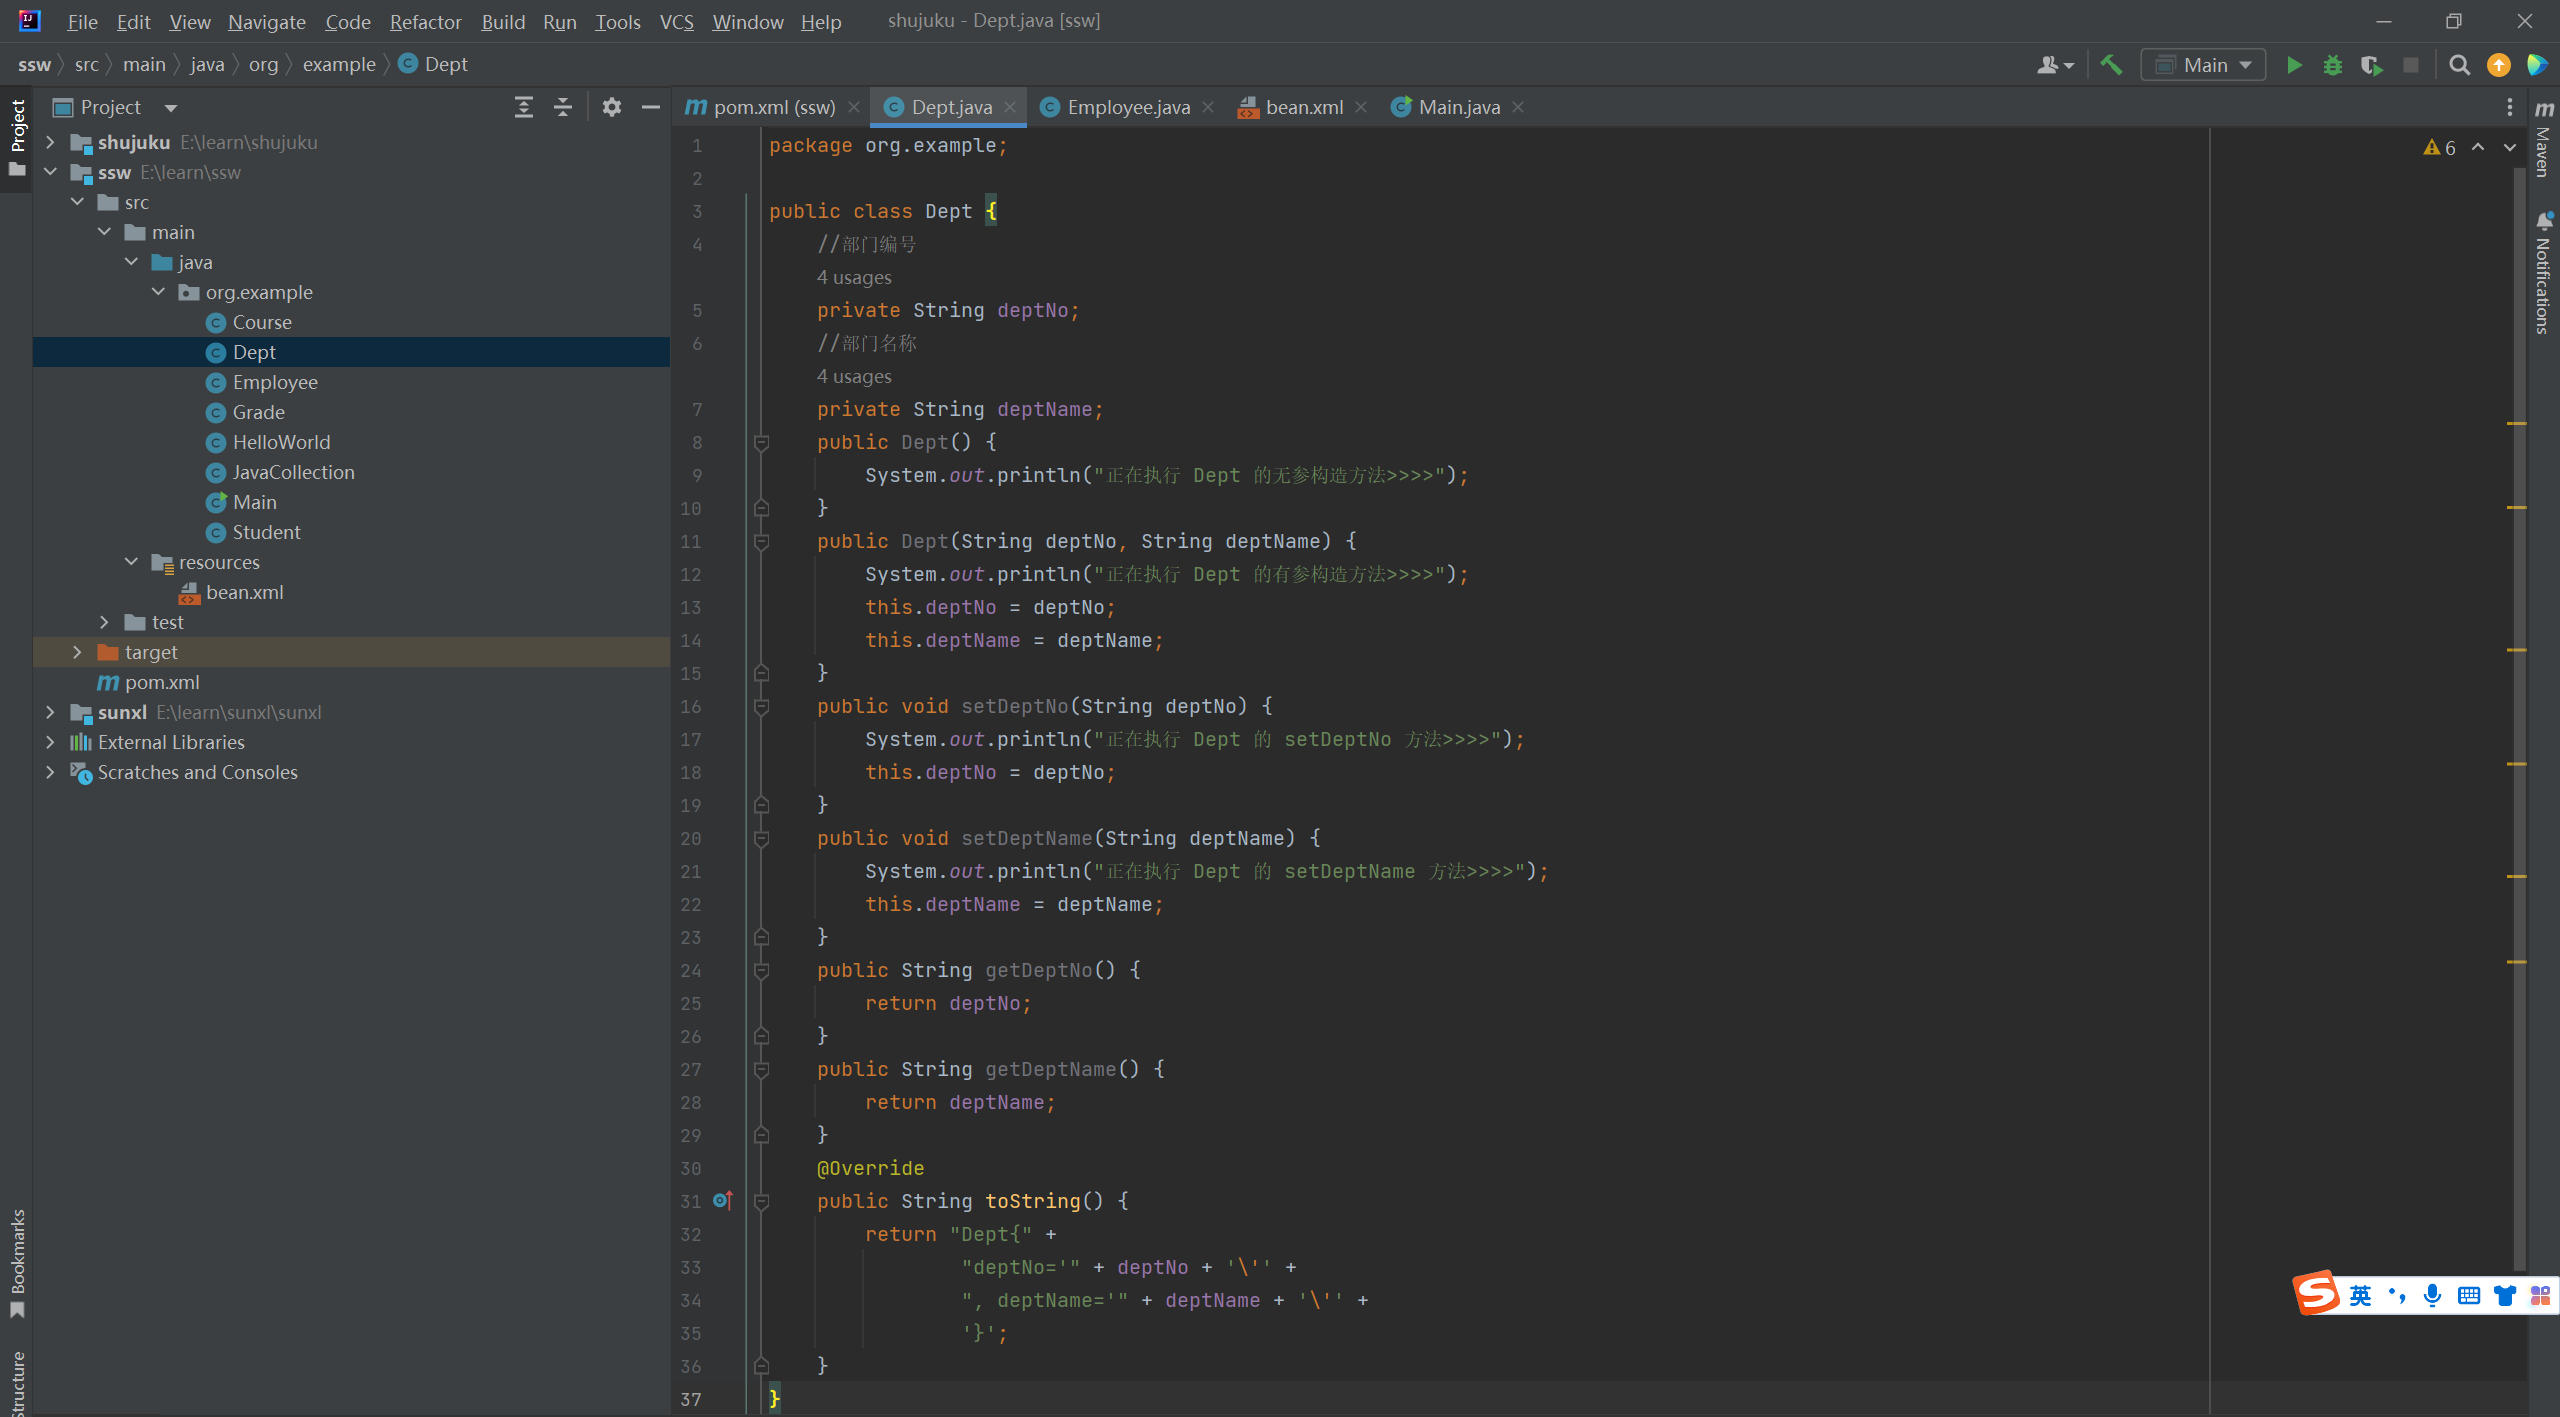
dept类:
package org.example;

public class Dept {
    //部门编号
    private String deptNo;
    //部门名称
    private String deptName;
    public Dept() {
        System.out.println("正在执行 Dept 的无参构造方法>>>>");
    }
    public Dept(String deptNo, String deptName) {
        System.out.println("正在执行 Dept 的有参构造方法>>>>");
        this.deptNo = deptNo;
        this.deptName = deptName;
    }
    public void setDeptNo(String deptNo) {
        System.out.println("正在执行 Dept 的 setDeptNo 方法>>>>");
        this.deptNo = deptNo;
    }
    public void setDeptName(String deptName) {
        System.out.println("正在执行 Dept 的 setDeptName 方法>>>>");
        this.deptName = deptName;
    }
    public String getDeptNo() {
        return deptNo;
    }
    public String getDeptName() {
        return deptName;
    }
    @Override
    public String toString() {
        return "Dept{" +
                "deptNo='" + deptNo + '\'' +
                ", deptName='" + deptName + '\'' +
                '}';
    }
}
employee类:
package org.example;

public class Employee {
    //员工编号
    private String empNo;
    //员工姓名
    private String empName;
    //部门信息
    private Dept dept;
    public Employee() {
        System.out.println("正在执行 Employee 的无参构造方法>>>>");
    }
    public Employee(String empNo, String empName, Dept dept) {
        System.out.println("正在执行 Employee 的有参构造方法>>>>");
        this.empNo = empNo;
        this.empName = empName;
        this.dept = dept;
    }
    public void setEmpNo(String empNo) {
        System.out.println("正在执行 Employee 的 setEmpNo 方法>>>>");
        this.empNo = empNo;
    }
    public void setEmpName(String empName) {
        System.out.println("正在执行 Employee 的 setEmpName 方法>>>>");
        this.empName = empName;
    }
    public void setDept(Dept dept) {
        System.out.println("正在执行 Employee 的 setDept 方法>>>>");
        this.dept = dept;
    }
    public Dept getDept() {
        return dept;
    }
    public String getEmpNo() {
        return empNo;
    }
    public String getEmpName() {
        return empName;
    }
    @Override
    public String toString() {
        return "Employee{" +
                "empNo='" + empNo + '\'' +
                ", empName='" + empName + '\'' +
                ", dept=" + dept +
                '}';
    }
}

bean.xml:
<?xml version="1.0" encoding="UTF-8"?>
<beans xmlns="http://www.springframework.org/schema/beans"
       xmlns:xsi="http://www.w3.org/2001/XMLSchema-instance"
       xsi:schemaLocation="http://www.springframework.org/schema/beans
        http://www.springframework.org/schema/beans/spring-beans-3.0.xsd" default-autowire="constructor">

    <bean id="dept" class="org.example.Dept">
        <property name="deptNo" value="1"></property>
        <property name="deptName" value="技术部"></property>
    </bean>
    <bean id="employee" class="org.example.Employee" autowire="no">
        <property name="empNo" value="002"></property>
        <property name="empName" value="小郭"></property>
        <property name="dept" ref="dept"></property>
    </bean>

</beans>
执行:
package org.example;

import org.apache.commons.logging.Log;
import org.apache.commons.logging.LogFactory;
import org.springframework.context.ApplicationContext;
import org.springframework.context.support.ClassPathXmlApplicationContext;

public class Main
{
    private static final Log LOGGER = LogFactory.getLog(Main.class);

    public static void main(String[] args)
    {
        ApplicationContext context = new ClassPathXmlApplicationContext("bean.xml");
        Employee employee = context.getBean("employee", Employee.class);
        System.out.println(employee);

    }

}

执行结果:

========================================================
1. 不使用自动装配(autowire="no")
autowire="no" 表示不使用自动装配,此时我们必须通过 <bean> 元素的 <constructor-arg>和 <property> 元素的 ref 属性维护 Bean 的依赖关系。
<?xml version="1.0" encoding="UTF-8"?>
<beans xmlns="http://www.springframework.org/schema/beans"
       xmlns:xsi="http://www.w3.org/2001/XMLSchema-instance"
       xsi:schemaLocation="http://www.springframework.org/schema/beans
        http://www.springframework.org/schema/beans/spring-beans-3.0.xsd" default-autowire="constructor">

    <bean id="dept" class="org.example.Dept">
        <property name="deptNo" value="1"></property>
        <property name="deptName" value="技术部"></property>
    </bean>
    <bean id="employee" class="org.example.Employee" autowire="no">
        <property name="empNo" value="002"></property>
        <property name="empName" value="小郭"></property>
        <property name="dept" ref="dept"></property>
    </bean>

</beans>
执行结果:

2. 按名称自动装配(autowire="byName")
autowire="byName" 表示按属性名称自动装配,XML 文件中 Bean 的 id 或 name 必须与类中的属性名称相同。
<beans xmlns="http://www.springframework.org/schema/beans"
       xmlns:xsi="http://www.w3.org/2001/XMLSchema-instance"
       xsi:schemaLocation="http://www.springframework.org/schema/beans
   http://www.springframework.org/schema/beans/spring-beans-3.0.xsd" >
    <bean id="dept" class="org.example.Dept">
        <property name="deptNo" value="1"></property>
        <property name="deptName" value="技术部"></property>
    </bean>
    <bean id="employee" class="org.example.Employee" autowire="byName">
        <property name="empNo" value="002"></property>
        <property name="empName" value="小郭"></property>
    </bean>
</beans>

3. 按类型自动装配(autowire="byType")
autowire="byType" 表示按类中对象属性数据类型进行自动装配。即使 XML 文件中 Bean 的 id 或 name 与类中的属性名不同,只要 Bean 的 class 属性值与类中的对象属性的类型相同,就可以完成自动装配。
<beans xmlns="http://www.springframework.org/schema/beans"
       xmlns:xsi="http://www.w3.org/2001/XMLSchema-instance"
       xsi:schemaLocation="http://www.springframework.org/schema/beans
   http://www.springframework.org/schema/beans/spring-beans-3.0.xsd" >
    <bean id="dept2" class="org.example.Dept">
        <property name="deptNo" value="1"></property>
        <property name="deptName" value="技术部"></property>
    </bean>
    <bean id="employee" class="org.example.Employee" autowire="byType">
        <property name="empNo" value="002"></property>
        <property name="empName" value="小郭"></property>
    </bean>
</beans>
执行结果:


4. 构造函数自动装配(autowire="constructor")
autowire="constructor" 表示按照 Java 类中构造函数进行自动装配。
<beans xmlns="http://www.springframework.org/schema/beans"
       xmlns:xsi="http://www.w3.org/2001/XMLSchema-instance"
       xsi:schemaLocation="http://www.springframework.org/schema/beans
   http://www.springframework.org/schema/beans/spring-beans-3.0.xsd">
    <bean id="dept2" class="org.example.Dept">
        <constructor-arg name="deptNo" value="1"></constructor-arg>
        <constructor-arg name="deptName" value="技术部"></constructor-arg>
    </bean>
    <bean id="employee" class="org.example.Employee" autowire="constructor">
        <constructor-arg name="empNo" value="002"></constructor-arg>
        <constructor-arg name="empName" value="小郭"></constructor-arg>
    </bean>
</beans>
5. 默认的自动装配模式(autowire="default")
默认采用上一级标签 <beans> 设置的自动装配规则(default-autowire)进行装配,Beans.xml 中的配置内容如下。
<beans xmlns="http://www.springframework.org/schema/beans"
       xmlns:xsi="http://www.w3.org/2001/XMLSchema-instance"
       xsi:schemaLocation="http://www.springframework.org/schema/beans
   http://www.springframework.org/schema/beans/spring-beans-3.0.xsd" default-autowire="byType">
    <bean id="dept2" class="org.example.Dept">
        <property name="deptNo" value="1"></property>
        <property name="deptName" value="技术部"></property>
    </bean>
    <bean id="employee" class="org.example.Employee" autowire="default">
        <property name="empNo" value="002"></property>
        <property name="empName" value="小郭"></property>
    </bean>
</beans>


 795
795


 被折叠的 条评论
为什么被折叠?
被折叠的 条评论
为什么被折叠?
 到【灌水乐园】发言


