


android:layout_height=“match_parent”>
<com.my.ugame.bg.BackgroundView
android:layout_width=“match_parent”
android:layout_height=“match_parent”/>
<com.my.ugame.fg.ForegroundView
android:layout_width=“match_parent”
android:layout_height=“match_parent”/>
开发中会涉及以下技术的使用,没有高精尖、都是大路货:
- 相机:使用Camera2完成相机的预览和人脸识别
- 自定义View:定义并控制障碍物和潜艇
- 属性动画:控制障碍物和潜艇的移动及各种动效
少啰嗦,先看东西!下面介绍各部分代码的实现。
2、后景(Background)
Bar
首先定义障碍物基类Bar,主要负责是将bitmap资源绘制到指定区域。由于障碍物从屏幕右侧定时刷新时的高度随机,所以其绘制区域的x、y、w、h需要动态设置
/**
* 屏幕下方障碍物
*/
class DnBar(context: Context, container: ViewGroup) : Bar(context) {
override val bmp = super.bmp.let {
Bitmap.createBitmap(
it, 0, 0, it.width, it.height,
Matrix().apply { postRotate(-180F) }, true
)
}
private val _srcRect by lazy(LazyThreadSafetyMode.NONE) {
Rect(0, 0, bmp.width, (bmp.height * (h / container.height)).toInt())
}
override val srcRect: Rect
get() = _srcRect
}
障碍物分为上方和下方两种,由于使用了同一张资源,所以绘制时要区别对待,因此定义了两个子类:UpBar和DnBar
/**
* 屏幕下方障碍物
*/
class DnBar(context: Context, container: ViewGroup) : Bar(context) {
override val bmp = super.bmp.let {
Bitmap.createBitmap(
it, 0, 0, it.width, it.height,
Matrix().apply { postRotate(-180F) }, true
)
}
private val _srcRect by lazy(LazyThreadSafetyMode.NONE) {
Rect(0, 0, bmp.width, (bmp.height * (h / container.height)).toInt())
}
override val srcRect: Rect
get() = _srcRect
}
下方障碍物的资源旋转180度后绘制
/**
* 屏幕下方障碍物
*/
class DnBar(context: Context, container: ViewGroup) : Bar(context) {
override val bmp = super.bmp.let {
Bitmap.createBitmap(
it, 0, 0, it.width, it.height,
Matrix().apply { postRotate(-180F) }, true
)
}
private val _srcRect by lazy(LazyThreadSafetyMode.NONE) {
Rect(0, 0, bmp.width, (bmp.height * (h / container.height)).toInt())
}
override val srcRect: Rect
get() = _srcRect
}
BackgroundView
接下来创建后景的容器BackgroundView,容器用来定时地创建、并移动障碍物。
通过列表barsList管理当前所有的障碍物,onLayout中,将障碍物分别布局到屏幕上方和下方
/**
* 后景容器类
*/
class BackgroundView(context: Context, attrs: AttributeSet?) : FrameLayout(context, attrs) {
internal val barsList = mutableListOf()
override fun onLayout(changed: Boolean, left: Int, top: Int, right: Int, bottom: Int) {
barsList.flatMap { listOf(it.up, it.down) }.forEach {
val w = it.view.measuredWidth
val h = it.view.measuredHeight
when (it) {
is UpBar -> it.view.layout(0, 0, w, h)
else -> it.view.layout(0, height - h, w, height)
}
}
}
提供两个方法start和stop,控制游戏的开始和结束:
- 游戏结束时,要求所有障碍物停止移动。
- 游戏开始后会通过Timer,定时刷新障碍物
/**
* 游戏结束,停止所有障碍物的移动
*/
@UiThread
fun stop() {
_timer.cancel()
_anims.forEach { it.cancel() }
_anims.clear()
}
/**
* 定时刷新障碍物:
* 1. 创建
* 2. 添加到视图
* 3. 移动
*/
@UiThread
fun start() {
_clearBars()
Timer().also { _timer = it }.schedule(object : TimerTask() {
override fun run() {
post {
_createBars(context, barsList.lastOrNull()).let {
_addBars(it)
_moveBars(it)
}
}
}
}, FIRST_APPEAR_DELAY_MILLIS, BAR_APPEAR_INTERVAL_MILLIS
)
}
/**
* 游戏重启时,清空障碍物
*/
private fun _clearBars() {
barsList.clear()
removeAllViews()
}
刷新障碍物
障碍物的刷新经历三个步骤:
- 创建:上下两个为一组创建障碍物
- 添加:将对象添加到barsList,同时将View添加到容器
- 移动:通过属性动画从右侧移动到左侧,并在移出屏幕后删除
创建障碍物时会为其设置随机高度,随机不能太过,要以前一个障碍物为基础进行适当调整,保证随机的同时兼具连贯性
/**
* 创建障碍物(上下两个为一组)
*/
private fun _createBars(context: Context, pre: Bars?) = run {
val up = UpBar(context, this).apply {
h = pre?.let {
val step = when {
it.up.h >= height - _gap - _step -> -_step
it.up.h <= _step -> _step
_random.nextBoolean() -> _step
else -> -_step
}
it.up.h + step
} ?: _barHeight
w = _barWidth
}
val down = DnBar(context, this).apply {
h = height - up.h - _gap
w = _barWidth
}
Bars(up, down)
}
/**
* 添加到屏幕
*/
private fun _addBars(bars: Bars) {
barsList.add(bars)
bars.asArray().forEach {
addView(
it.view,
ViewGroup.LayoutParams(
it.w.toInt(),
it.h.toInt()
)
)
}
}
/**
* 使用属性动画移动障碍物
*/
private fun _moveBars(bars: Bars) {
_anims.add(
ValueAnimator.ofFloat(width.toFloat(), -_barWidth)
.apply {
addUpdateListener {
bars.asArray().forEach { bar ->
bar.x = it.animatedValue as Float
if (bar.x + bar.w <= 0) {
post { removeView(bar.view) }
}
}
}
duration = BAR_MOVE_DURATION_MILLIS
interpolator = LinearInterpolator()
start()
})
}
}
3、前景(Foreground)
Boat
定义潜艇类Boat,创建自定义View,并提供方法移动到指定坐标
/**
* 潜艇类
*/
class Boat(context: Context) {
internal val view by lazy { BoatView(context) }
val h
get() = view.height.toFloat()
val w
get() = view.width.toFloat()
val x
get() = view.x
val y
get() = view.y
/**
* 移动到指定坐标
*/
fun moveTo(x: Int, y: Int) {
view.smoothMoveTo(x, y)
}
}
BoatView
自定义View中完成以下几个事情
- 通过两个资源定时切换,实现探照灯闪烁的效果
- 通过OverScroller让移动过程更加顺滑
- 通过一个Rotation Animation,让潜艇在移动时可以调转角度,更加灵动
internal class BoatView(context: Context?) : AppCompatImageView(context) {
private val _scroller by lazy { OverScroller(context) }
private val _res = arrayOf(
R.mipmap.boat_000,
R.mipmap.boat_002
)
private var _rotationAnimator: ObjectAnimator? = null
private var _cnt = 0
set(value) {
field = if (value > 1) 0 else value
}
init {
scaleType = ScaleType.FIT_CENTER
_startFlashing()
}
private fun _startFlashing() {
postDelayed({
setImageResource(_res[_cnt++])
_startFlashing()
}, 500)
}
override fun computeScroll() {
super.computeScroll()
if (_scroller.computeScrollOffset()) {
x = _scroller.currX.toFloat()
y = _scroller.currY.toFloat()
// Keep on drawing until the animation has finished.
postInvalidateOnAnimation()
}
}
/**
* 移动更加顺换
*/
internal fun smoothMoveTo(x: Int, y: Int) {
if (!_scroller.isFinished) _scroller.abortAnimation()
_rotationAnimator?.let { if (it.isRunning) it.cancel() }
val curX = this.x.toInt()
val curY = this.y.toInt()
val dx = (x - curX)
val dy = (y - curY)
_scroller.startScroll(curX, curY, dx, dy, 250)
_rotationAnimator = ObjectAnimator.ofFloat(
this,
“rotation”,
rotation,
Math.toDegrees(atan((dy / 100.toDouble()))).toFloat()
).apply {
duration = 100
start()
}
postInvalidateOnAnimation()
}
}
ForegroundView
- 通过boat成员持有潜艇对象,并对其进行控制
- 实现CameraHelper.FaceDetectListener根据人脸识别的回调,移动潜艇到指定位置
- 游戏开始时,创建潜艇并做开场动画
/**
* 游戏开始时通过动画进入
*/
@MainThread
fun start() {
_isStop = false
if (boat == null) {
boat = Boat(context).also {
post {
addView(it.view, _width, _width)
AnimatorSet().apply {
play(
ObjectAnimator.ofFloat(
it.view,
“y”,
0F,
this@ForegroundView.height / 2f
)
).with(
ObjectAnimator.ofFloat(it.view, “rotation”, 0F, 360F)
)
doOnEnd { _ -> it.view.rotation = 0F }
duration = 1000
}.start()
}
}
}
}
开场动画
游戏开始时,将潜艇通过动画移动到起始位置,即y轴的二分之一处
/**
* 游戏开始时通过动画进入
*/
@MainThread
fun start() {
_isStop = false
if (boat == null) {
boat = Boat(context).also {
post {
addView(it.view, _width, _width)
AnimatorSet().apply {
play(
ObjectAnimator.ofFloat(
it.view,
“y”,
0F,
this@ForegroundView.height / 2f
)
).with(
ObjectAnimator.ofFloat(it.view, “rotation”, 0F, 360F)
)
doOnEnd { _ -> it.view.rotation = 0F }
duration = 1000
}.start()
}
}
}
}
自我介绍一下,小编13年上海交大毕业,曾经在小公司待过,也去过华为、OPPO等大厂,18年进入阿里一直到现在。
深知大多数初中级安卓工程师,想要提升技能,往往是自己摸索成长,但自己不成体系的自学效果低效又漫长,而且极易碰到天花板技术停滞不前!
因此收集整理了一份《2024年最新Android移动开发全套学习资料》送给大家,初衷也很简单,就是希望能够帮助到想自学提升又不知道该从何学起的朋友,同时减轻大家的负担。
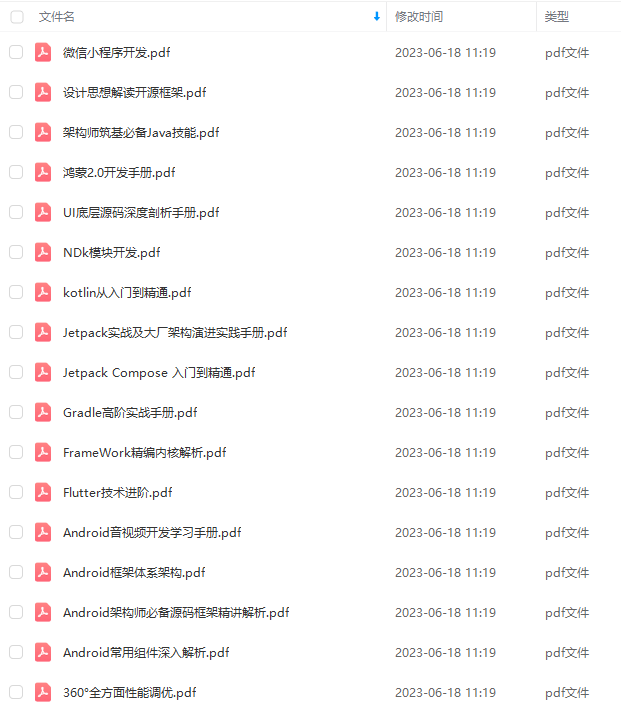
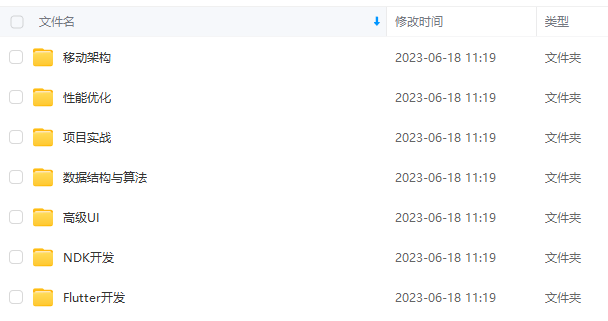
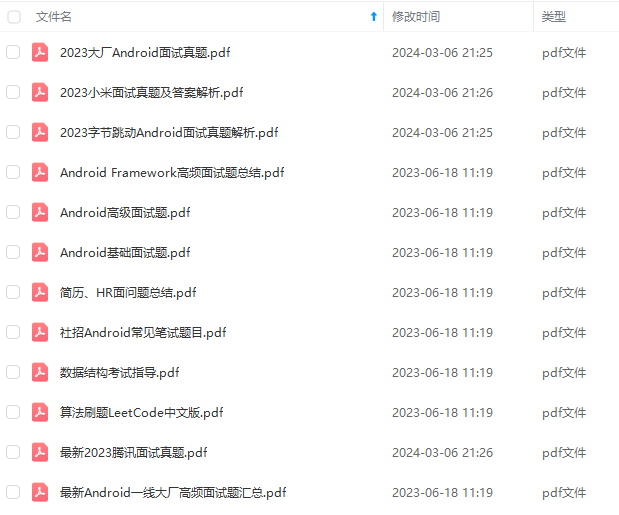
由于文件比较大,这里只是将部分目录截图出来,每个节点里面都包含大厂面经、学习笔记、源码讲义、实战项目、讲解视频
如果你觉得这些内容对你有帮助,可以添加下面V无偿领取!(备注Android)

总结
**其实上面说了这么多,钱是永远赚不完的,在这个知识付费的时代,知识技能提升才是是根本!我作为一名8年的高级工程师,知识技能已经学习的差不多。**在看这篇文章的可能有刚刚入门,刚刚开始工作,或者大佬级人物。
像刚刚开始学Android开发小白想要快速提升自己,最快捷的方式,就是有人可以带着你一起分析,这样学习起来最为高效,所以这里分享一套高手学习的源码和框架视频等精品Android架构师教程,保证你学了以后保证薪资上升一个台阶。
这么重要的事情说三遍啦!点赞+点赞+点赞 免费分享所有学习秘籍!
直达领取链接:点击链接免费领取【Android高级架构师】

【Android高级架构师系统学习资料】高级架构师进阶必备——设计思想解读开源框架
第一章、热修复设计
第二章、插件化框架设计
第三章、组件化框架设计
第四章、图片加载框架
第五章、网络访问框架设计
第六章、RXJava 响应式编程框架设计
第七章、IOC 架构设计
第八章、Android 架构组件 Jetpack
高级工程师,知识技能已经学习的差不多。**在看这篇文章的可能有刚刚入门,刚刚开始工作,或者大佬级人物。
像刚刚开始学Android开发小白想要快速提升自己,最快捷的方式,就是有人可以带着你一起分析,这样学习起来最为高效,所以这里分享一套高手学习的源码和框架视频等精品Android架构师教程,保证你学了以后保证薪资上升一个台阶。
这么重要的事情说三遍啦!点赞+点赞+点赞 免费分享所有学习秘籍!
直达领取链接:点击链接免费领取【Android高级架构师】
[外链图片转存中…(img-QNWYxvv0-1711045338929)]
【Android高级架构师系统学习资料】高级架构师进阶必备——设计思想解读开源框架
第一章、热修复设计
第二章、插件化框架设计
第三章、组件化框架设计
第四章、图片加载框架
第五章、网络访问框架设计
第六章、RXJava 响应式编程框架设计
第七章、IOC 架构设计
第八章、Android 架构组件 Jetpack


 2873
2873


 被折叠的 条评论
为什么被折叠?
被折叠的 条评论
为什么被折叠?
 到【灌水乐园】发言


