在深入分析Mybatis源码前,我想先介绍一下Mybatis的一些基础知识,比如,我们为什么要学习这门技术?他到底是什么东西?我们该怎么用它?
它是什么
MyBatis 的前身是 iBatis,iBatis 是 Apache 软件基金会下的一个开源项目。2010 年该项目从 Apache 基金会迁出,并改名为 MyBatis。同期,iBatis 停止维护。
MyBatis 是一种半自动化的 Java 持久层框架(persistenceframework),其通过注解或 XML 的方式将对象和 SQL 关联起来。之所以说它是半自动的,是因为和 Hibernate 等一些可自动 生成 SQL 的 ORM(ObjectRelationalMapping)框架相比,使用 MyBatis 需要用户自行维护 SQL。 维护 SQL 的工作比较繁琐,但也有好处。比如我们可控制 SQL 逻辑,可对其进行优化,以提高效率。
为什么要使用它
我们在讲使用它之前,首先我们先来分析Java程序访问数据库的几种可选方案。比如从最基础的JDBC访问数据库,也可以通过SpringJdbc来访问数据库,我们还可以选择Mybatis来访问数据库,接下来我们通过代码案例,来对比这些技术的优缺点。
先把用到的公共的东西写出来,放在前面:
@Data
@NoArgsConstructor
@AllArgsConstructor
public class Test {
    private Integer id;
    private String name;
    private Integer age;
    private Integer sex;

}
jdbc.driver=com.mysql.cj.jdbc.Driver
jdbc.username=root
jdbc.password=123456
jdbc.url=jdbc:mysql://localhost:3306/test?useUnicode=true&characterEncoding=utf-8
JDBC访问数据库
在初学 Java 编程阶段,多数朋友应该都是直接通过写 JDBC 代码访问数据库。这种方式的代码执行流程一般为加载数据库驱动,创建数据库连接对象、创建 Statement 对象、执行SQL,以及处理结果集等,过程比较固定。下面我们再手写一遍 JDBC 代码,回忆一下初学 Java 的场景。
public class Client {
    public static void main(String[] args) {
        Client client = new Client();
        client.jdbcTest();
    }

    public void jdbcTest() {
        Connection connection = null;
        Properties properties = new Properties();
        String sql = "select * from test where sex = 1";
        try {
            InputStream inputStream = this.getClass().getClassLoader().getResourceAsStream("jdbc.properties");
            properties.load(inputStream);
            Class.forName("com.mysql.cj.jdbc.Driver");
            String url = properties.getProperty("jdbc.url");
            String user = properties.getProperty("jdbc.user");
            String password = properties.getProperty("jdbc.password");
            connection = DriverManager.getConnection(url, user, password);
            PreparedStatement statement = connection.prepareStatement(sql);
            ResultSet resultSet = statement.executeQuery();
            while (resultSet.next()) {
                Test test = new Test();
                test.setName(resultSet.getString("name"));
                test.setSex(resultSet.getInt("sex"));
                test.setAge(resultSet.getInt("age"));
                test.setId(resultSet.getInt("id"));
                System.out.println(test);
            }
        } catch (Exception e) {
            e.printStackTrace();
        } finally {
            try {
                if (connection != null) {
                    connection.close();
                }
            } catch (SQLException exception) {
                exception.printStackTrace();
            }
        }
    }
}
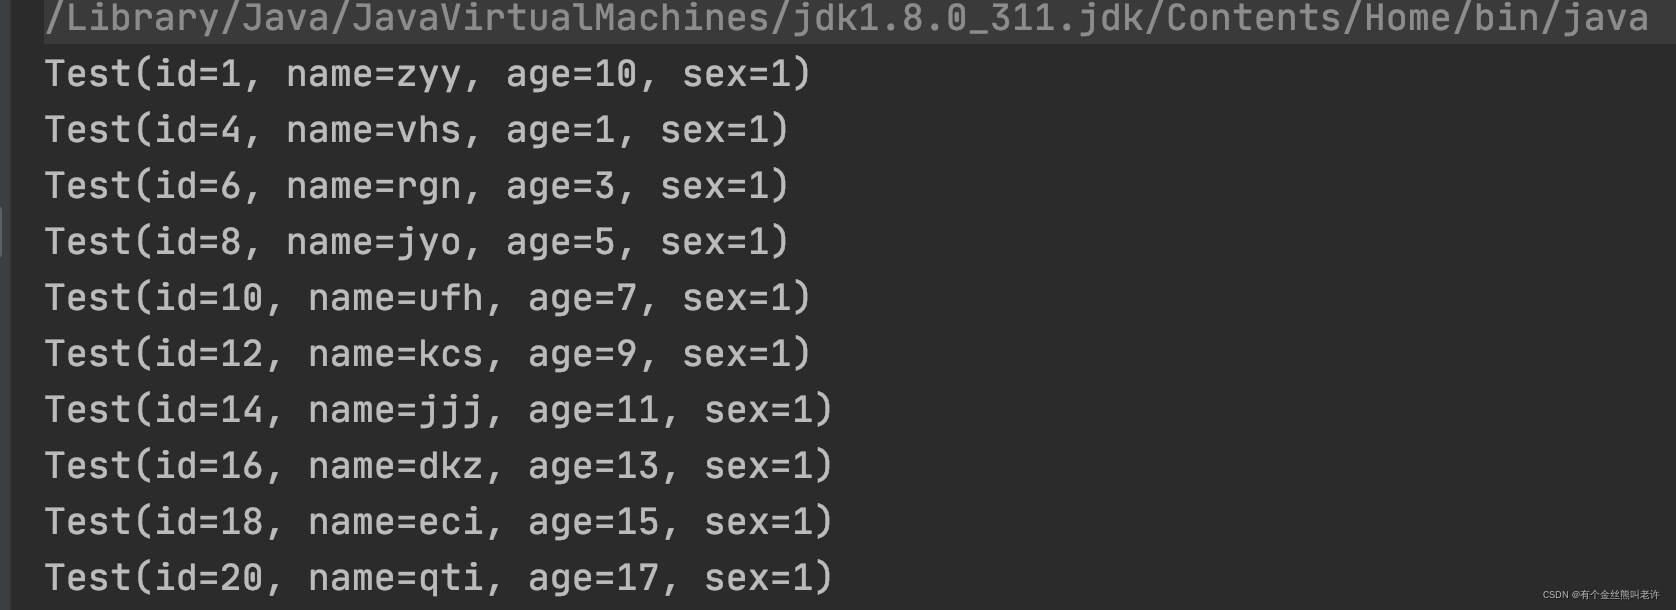
来看测试结果:

上面代码的步骤比较多,但核心步骤只有两部,分别是执行 SQL 和处理查询结果。从开发人员的角度来说,我们也只关心这两个步骤。如果每次为了执行某个 SQL 都要写很多 额外的代码。比如打开驱动,创建数据库连接,就显得很繁琐了。当然我们可以将这些额外的步骤封装起来,这样每次调用封装好的方法即可。这样确实可以解决代码繁琐,冗余的问题。
从上面的代码中可以看出,我们需要手动从 ResultSet 中取出数据,然后再设置到 对象中。好在我们的属性不多,所以这样做看起来也没什么。假如对象有几十个属性,再用上面的方式接收查询结果,会非常的麻烦。而且可能还会因为属性太多,导致忘记设置某些属性。以上的代码还有一个问题,用户需要自行处理受检异常,这也是导致代码繁琐的一个原因。哦,还有一个问题,差点忘了。 用户还需要手动管理数据库连接,开始要手动获取数据库连接。使用好后,又要手动关闭数 据库连接。不得不说,真麻烦。
没想到直接使用JDBC访问数据库会有这么多的问题。但这并不意味着完全不可以在项目中直接 JDBC,应视情况而定。如果项目非常小,且对数据库依赖比较低。直接使用 JDBC 也很方便。
SpringJDBC访问数据库
演示了 JDBC 访问数据的过程,通过演示及分析,大家应该感受到了直接使用 JDBC 的一些痛点。为了解决其中的一些痛点,SpringJDBC 应运而生。SpringJDBC 在 JDBC 基础上,进行了一层比较薄的包装,易用性得到了不少提升。那下面我们来看看如何使用 SpringJDBC。
首先编写jdbc的配置文件:
<?xml version="1.0" encoding="UTF-8"?>
<beans xmlns="http://www.springframework.org/schema/beans"
       xmlns:xsi="http://www.w3.org/2001/XMLSchema-instance"
       xmlns:context="http://www.springframework.org/schema/context"
       xsi:schemaLocation="http://www.springframework.org/schema/beans
       http://www.springframework.org/schema/beans/spring-beans.xsd
       http://www.springframework.org/schema/context
       http://www.springframework.org/schema/context/spring-context.xsd">
    <context:property-placeholder location="jdbc.properties"/>
    <bean id="dataSource" class="org.springframework.jdbc.datasource.DriverManagerDataSource">
        <property name="driverClassName" value="${jdbc.driver}"/>
        <property name="url" value="${jdbc.url}"/>
        <property name="username" value="${jdbc.user}"/>
        <property name="password" value="${jdbc.password}"/>
    </bean>
    <bean id="jdbcTemplate"
          class="org.springframework.jdbc.core.JdbcTemplate">
        <property name="dataSource" ref="dataSource"/>
    </bean>
</beans>
其次编写方法:
public class Client {
    public static void main(String[] args) {
        Client client = new Client();
        client.springJdbcTest();
    }

    public void springJdbcTest(){
        String sql = "select * from test where sex = 1";
        ClassPathXmlApplicationContext context = new ClassPathXmlApplicationContext("application.xml");
        JdbcTemplate jdbcTemplate =(JdbcTemplate) context.getBean("jdbcTemplate");
        List<Test> tests = jdbcTemplate.query(sql, (rs, rows) -> {
            Test test = new Test();
            test.setName(rs.getString("name"));
            test.setSex(rs.getInt("sex"));
            test.setAge(rs.getInt("age"));
            test.setId(rs.getInt("id"));
            return test;
        });
        tests.forEach(System.out::println);
    }
}
来看运行结果:

从上面的代码中可以看得出,SpringJDBC 还是比较容易使用的。不过它也是存在一定缺陷的,比如 SQL 仍是写在代码中。又比如,对于较为复杂的结果(数据库返回的记录包含多列数据),需要用户自行处理 ResultSet 等。不过与 JDBC 相比,使用 SpringJDBC 无需 手动加载数据库驱动,获取数据库连接,以及创建 Statement 对象等操作。总的来说,易用 性上得到了不少的提升。
Mybatis访问数据库
mybatis-config-xml 主配置文件:
<?xml version="1.0" encoding="utf8"?>
<!DOCTYPE configuration
        PUBLIC "-//mybatis.org//DTD Config 3.0//EN"
        "http://mybatis.org/dtd/mybatis-3-config.dtd">
<configuration>
<properties resource="jdbc.properties"/>
    <!-- 环境配置:事务管理器和数据源配置 -->
    <environments default="development">
        <environment id="development">
            <transactionManager type="JDBC" />
            <dataSource type="POOLED">
                <property name="driver" value="${jdbc.driver}" />
                <property name="url" value="${jdbc.url}" />
                <property name="username" value="${jdbc.user}" />
                <property name="password" value="${jdbc.password}" />
            </dataSource>
        </environment>
    </environments>
    <!-- 映射器 -->
    <mappers>
        <mapper resource="mapper/TestMapper.xml" />
    </mappers>
</configuration>
TestMapper.xml配置文件:
<?xml version="1.0" encoding="UTF-8" ?>
<!DOCTYPE mapper
        PUBLIC "-//mybatis.org//DTD Mapper 3.0//EN"
        "http://mybatis.org/dtd/mybatis-3-mapper.dtd">
<mapper namespace="net.zyy.mapper.TestMapper">

    <select id="selectBySex" resultType="net.zyy.entity.Test">
        select * from test where sex = 1
    </select>

</mapper>
TestMapper类:
@Mapper
public interface TestMapper{
    List<Test> selectBySex();
}
方法编写:
public class Client {
    public static void main(String[] args) {
        Client client = new Client();
        try {
            client.mybatisTest();
        } catch (IOException e) {
            e.printStackTrace();
        }
    }

    public void mybatisTest() throws IOException {
        SqlSessionFactoryBuilder sqlSessionFactoryBuilder = new SqlSessionFactoryBuilder();
        SqlSessionFactory sqlSessionFactory = sqlSessionFactoryBuilder.build(Resources.getResourceAsStream("mybatis-config.xml"));
        SqlSession sqlSession = sqlSessionFactory.openSession();
        TestMapper mapper = sqlSession.getMapper(TestMapper.class);
        List<Test> tests = mapper.selectBySex();
        tests.forEach(System.out::println);
        sqlSession.close();
    }
}


 1463
1463


 被折叠的 条评论
为什么被折叠?


