


在许多浏览器界面及应用中,都会涉及到选项卡功能,通过点击导航框中的选项按钮,显示出对应的页面内容,今天我给大家提供了一个运用原生js实现的选项卡效果,大家可以学习和参考。
CSS部分
 * {

            padding: 0;

            margin: 0;
        }

        .all {

            width: 500px;

            height: 300px;

            border: 1px solid #000;

            margin: 100px auto;
        }

        .top {

            width: 500px;

            height: 30px;

            display: flex;

            justify-content: space-evenly;

        }
        span {
            display: inline-block;

            width:100px;

            height: 30px;

            line-height: 30px;

            text-align: center;

            color: #000;

            background: orange;

            border: 1px solid greenyellow;
        }
        .btn {

            background: pink;

            width:100px;

            height: 30px;

            line-height: 30px;

            text-align: center;

            color: #000;
        }
        ul {

            width: 500px;

            height: 270px;

            overflow: hidden;
        }
        ul li {

            width: 500px;

            height: 270px;

            background: skyblue;

            list-style: none;

            color: #000;

            line-height: 270px;

            text-align: center;

           display: none;
        }

        ul .newContent {

            display: block;

            /* 通过给li设置类名,实现显示与隐藏功能 */

        }
html框架
<div class="all">
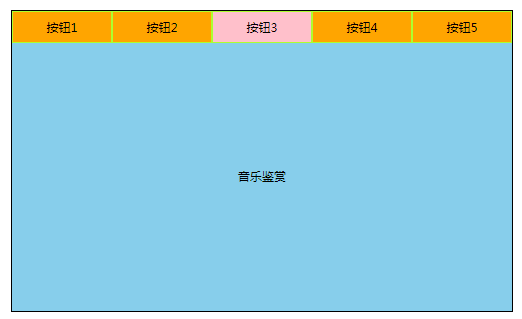
<div class="top">
<span class="btn">按钮1</span>
<span>按钮2</span>
<span>按钮3</span>
<span>按钮4</span>
<span>按钮5</span>
</div>
<ul>
<li class="newContent">体育新闻</li>
<li>生活趣事</li>
<li>音乐鉴赏</li>
<li>社会实事</li>
<li>国际论坛</li>
</ul>
</div>运用class类封装选项卡
class Tab {
            constructor(e1, e2) {
                this.butt =document.querySelectorAll(e1)
                this.lis =document.querySelectorAll(e2)
                this.transFn()
            }
            transFn() {
                let that = this
                for (let i = 0; i < this.butt.length; i++) {
                    this.butt[i].setAttribute('index', i)
                    this.butt[i].onclick = function () {
                        let ind = this.getAttribute('index')
                        for (let j = 0; j < that.butt.length; j++) {
                            that.butt[j].className = ''
                            that.lis[j].className = ''
  //第二次遍历让未被点击的butt类名保持不变,由此区分不同样式;同时让其它butt所对应的列表内容不显示
                        }
                        that.butt[ind].className = 'btn'
                        that.lis[ind].className = 'newContent'
      //给点击的当前按钮设置类名,获取样式;同时让当前butt所对应的列表内容显示出来
                    }
                }
            }
        }
        new Tab('.top span', 'ul li')
效果图


 65
65


 被折叠的 条评论
为什么被折叠?
被折叠的 条评论
为什么被折叠?
 到【灌水乐园】发言


