


1.VSCode插件开发全攻略:
1.1 以下是几个博主的文章(看完就可以有个大概的了解了):
地址 1:https://www.cnblogs.com/liuxianan/p/vscode-plugin-overview.html
注:谷歌浏览器图片看不见的,可以用火狐或者其他浏览打开看看。
1.2 官方Api:
2.连接swagger接口
2.1 下载axios:
npm install axios --save2.2 建立api文件:
import axios from 'axios';
export const summaryApi =async (url:string,data:any) => {
  return await axios.post(url,data),
  );
};
3.建立命令文件:
比如 建立一个 summary.ts
const vscode = require('vscode');
import { summaryApi } from '../http/api';
module.exports = function(context:any) {
  context.subscriptions.push(vscode.commands.registerCommand('extension.summary',async () => {
    const activeEditor = vscode.window.activeTextEditor;
    if (!activeEditor) {
      return;
    }
    console.log('activeEditor',activeEditor);

    const document = activeEditor.document;
    //选中内容的开始的横列坐标
    const start = activeEditor.selection.start;
    const end = activeEditor.selection.end;
    console.log(start);
    console.log(end);
    // 获取选择的内容
    const code = document.getText(
      new vscode.Range(start, end)
    );

    const language = document.languageId.toUpperCase();
    vscode.window.showInformationMessage(language);
    let symbol:Record<string,string> = {
      'java':'//',
      'javascript':'//',
      'php':'//',
      'go':'//',
      'ruby':'#',
      'python':'#',
    };
    //判断注释符号
    const commentSymbol = symbol[language.toLowerCase()] ? symbol[language.toLowerCase()] :'';
    if(!commentSymbol) {
      vscode.window.showInformationMessage('不支持当前语言');
    }
    console.log('commentSymbol', commentSymbol);

    // 接口转换注释
    let res = await summaryApi(参数);
      console.log('res',res);

    // 插入注解
    activeEditor.insertSnippet(
      new vscode.SnippetString( `${commentSymbol} ${res.data}\n`), //拼接注释符号加内容加换行符
      new vscode.Position(start.line, start.character) //插入的位置
    );
	}));
};
4.在extension中激活
// The module 'vscode' contains the VS Code extensibility API
// Import the module and reference it with the alias vscode in your code below
import * as vscode from 'vscode';


// This method is called when your extension is activated
// Your extension is activated the very first time the command is executed
// 一旦你的插件激活,vscode会立刻调用下述方法
export function activate(context: vscode.ExtensionContext) {
  //选中代码生成注释
  require('./instructions/summary')(context);
}


// This method is called when your extension is deactivated
// 插件关闭前执行清理工作
export function deactivate() {
  console.log('您的扩展已被释放!');
}
5.package.json:
{
  "name": "", //  插件的名字,应全部小写,不能有空格
  "displayName": "ai-code-optimization", // 插件的友好显示名称,用于显示在应用市场,支持中文
  "description": "", // 描述
  "keywords": [
    "vscode", //搜索关键字
  ],
  "version": "1.0.1",
  "publisher": "发布者账号",
  "engines": {
    "vscode": "^1.76.0"
  },
  "categories": [
    "Other"
  ],
  "activationEvents": [],
  "main": "./dist/extension.js",
  "contributes": {
    "commands": [
      {
        "command": "extension.summary",
        "title": "Summary "
      },
    ],
    "keybindings": [//设置快捷键
      {
        "command": "extension.summary",
        "key": "ctrl+5",
        "mac": "cmd+5",
        "when": "editorTextFocus"
      },
    ],
    "menus": {
      "editor/context": [ // 鼠标右键出现按钮
        {
          "when": "editorFocus",
          "command": "extension.summary",
          "group": "navigation"
        }
      ]
    },
  },
  "scripts": {
    "vscode:prepublish": "npm run package",
    "compile": "webpack",
    "watch": "webpack --watch",
    "package": "webpack --mode production --devtool hidden-source-map",
    "compile-tests": "tsc -p . --outDir out",
    "watch-tests": "tsc -p . -w --outDir out",
    "pretest": "npm run compile-tests && npm run compile && npm run lint",
    "lint": "eslint src --ext ts",
    "test": "node ./out/test/runTest.js"
  },
  "devDependencies": {
    "@types/glob": "^8.1.0",
    "@types/mocha": "^10.0.1",
    "@types/node": "16.x",
    "@types/vscode": "^1.76.0",
    "@typescript-eslint/eslint-plugin": "^5.53.0",
    "@typescript-eslint/parser": "^5.53.0",
    "@vscode/test-electron": "^2.2.3",
    "axios": "^1.3.4",
    "eslint": "^8.34.0",
    "glob": "^8.1.0",
    "mocha": "^10.2.0",
    "ts-loader": "^9.4.2",
    "typescript": "^4.9.5",
    "webpack": "^5.75.0",
    "webpack-cli": "^5.0.1"
  }
}
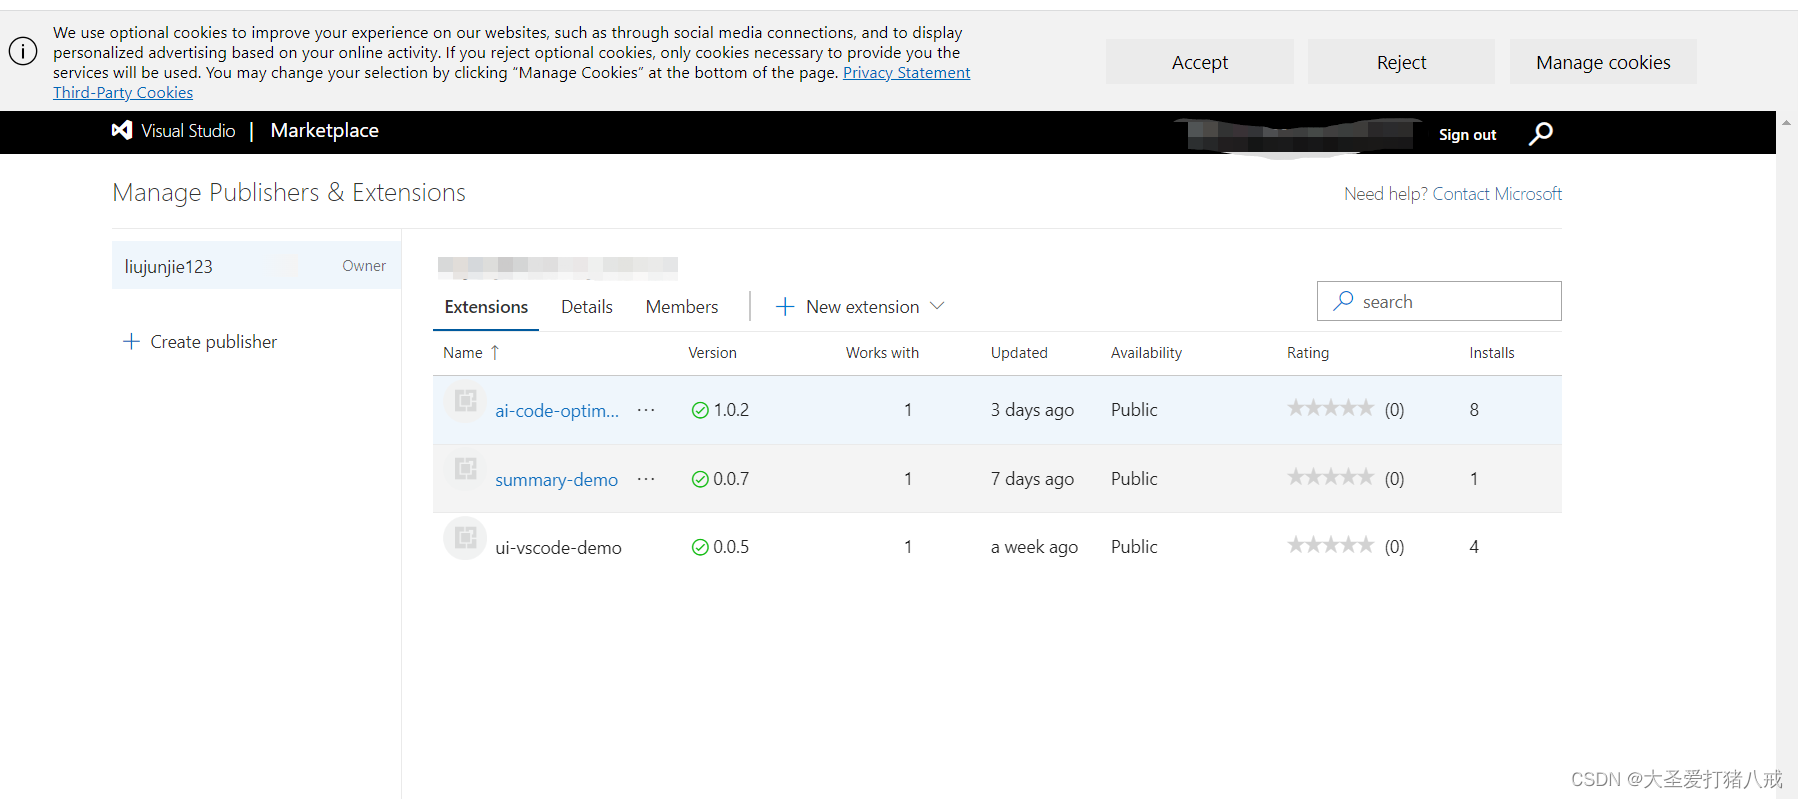
6.快速发布命令
vsce publish -p 申请的kwy发布者账号就可以看见发布的程序,然后可以去vscode下载插件了。


 3591
3591


 被折叠的 条评论
为什么被折叠?
被折叠的 条评论
为什么被折叠?
 到【灌水乐园】发言


