


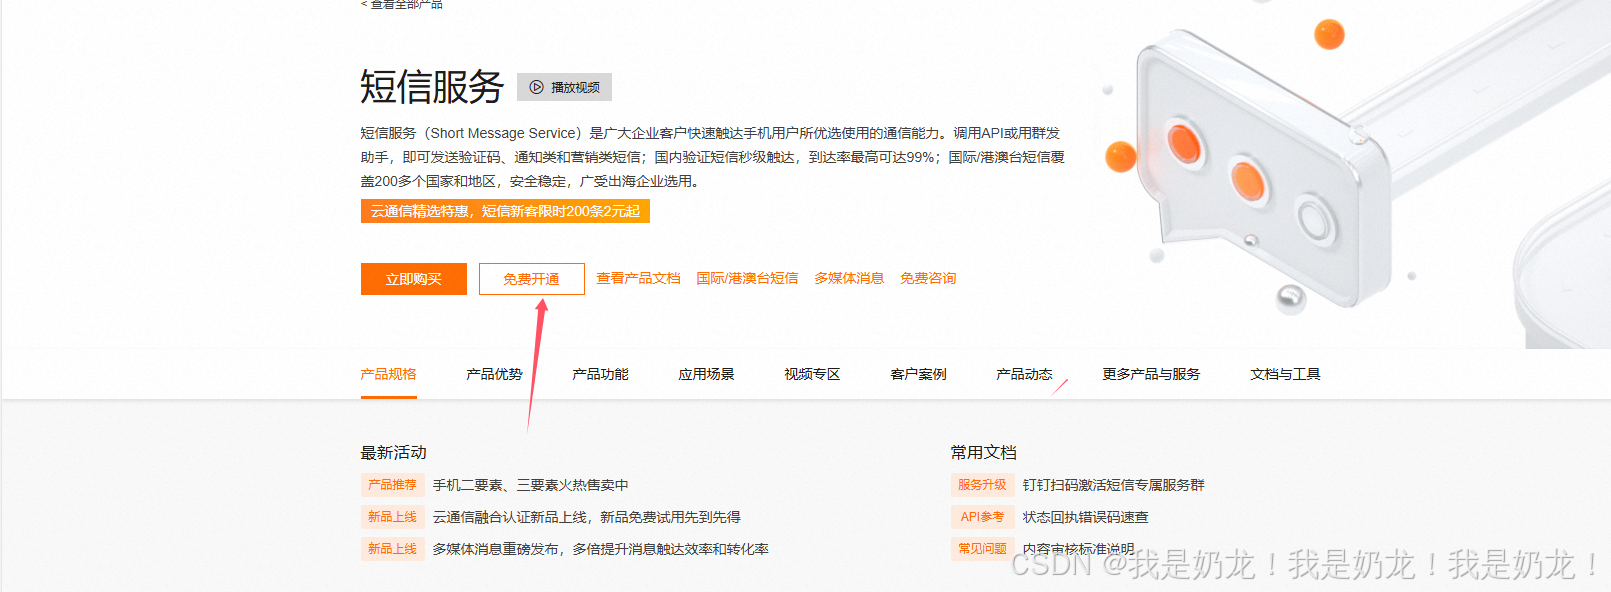
1.进入阿里云官网,找到短信服务
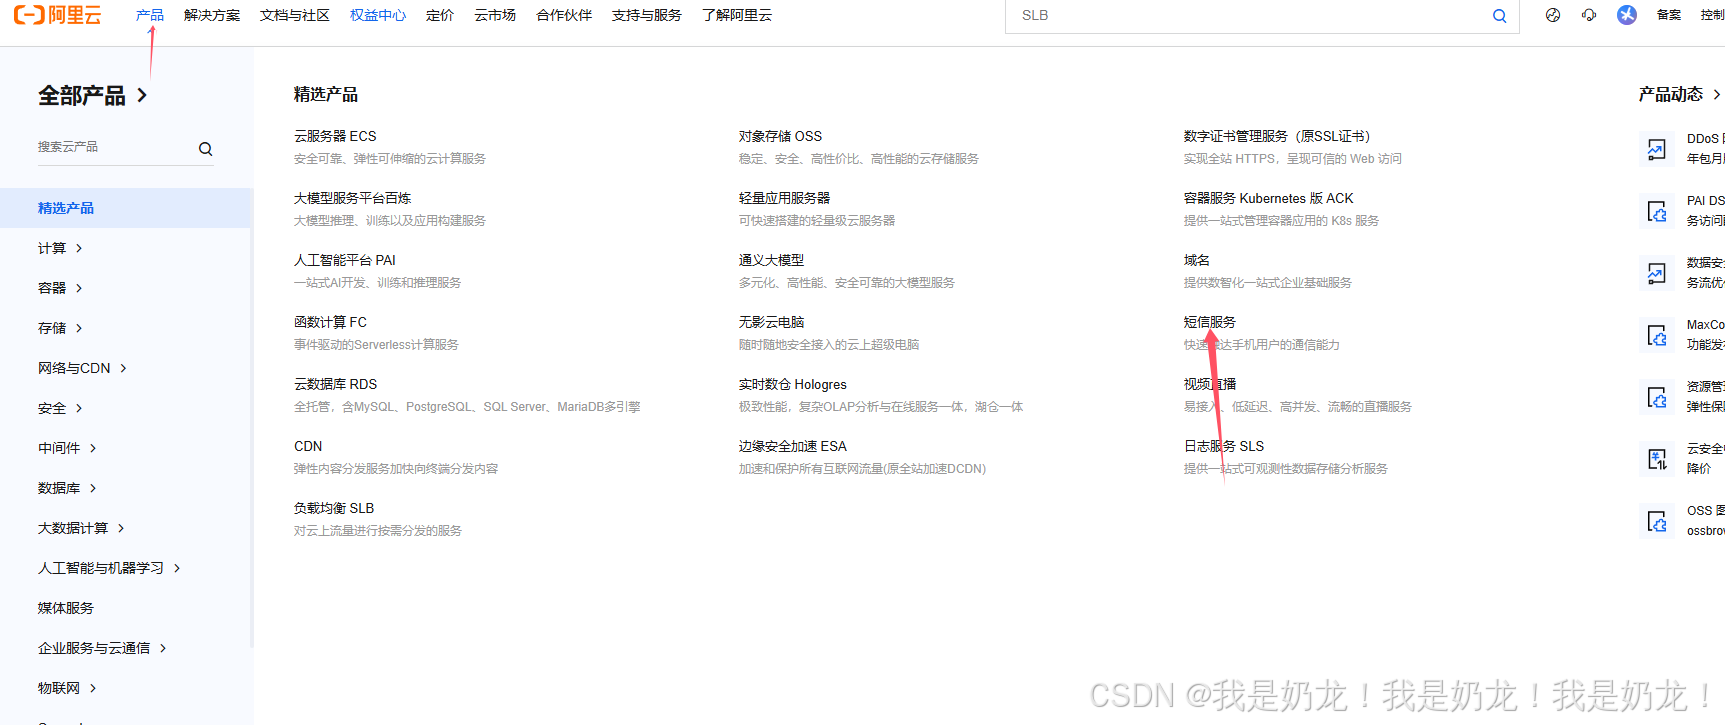
鼠标悬浮左上角产品,在精选产品右侧有短信服务,打开
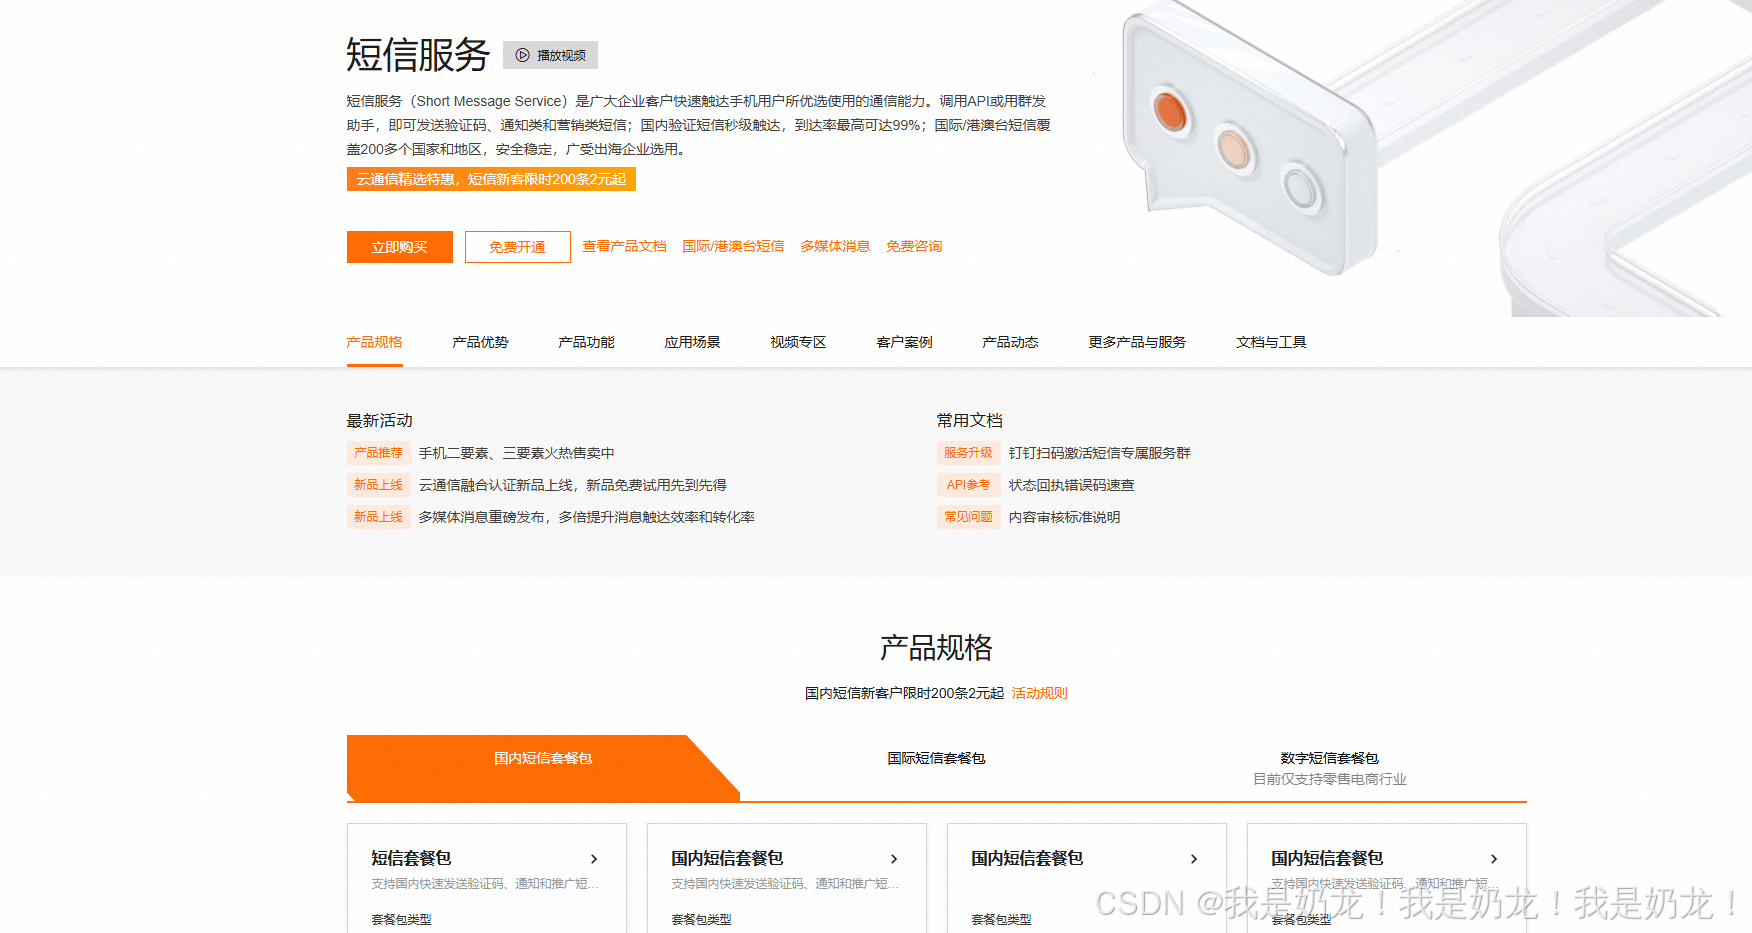
下面有短信服务,可以进行购买,买最便宜的即可
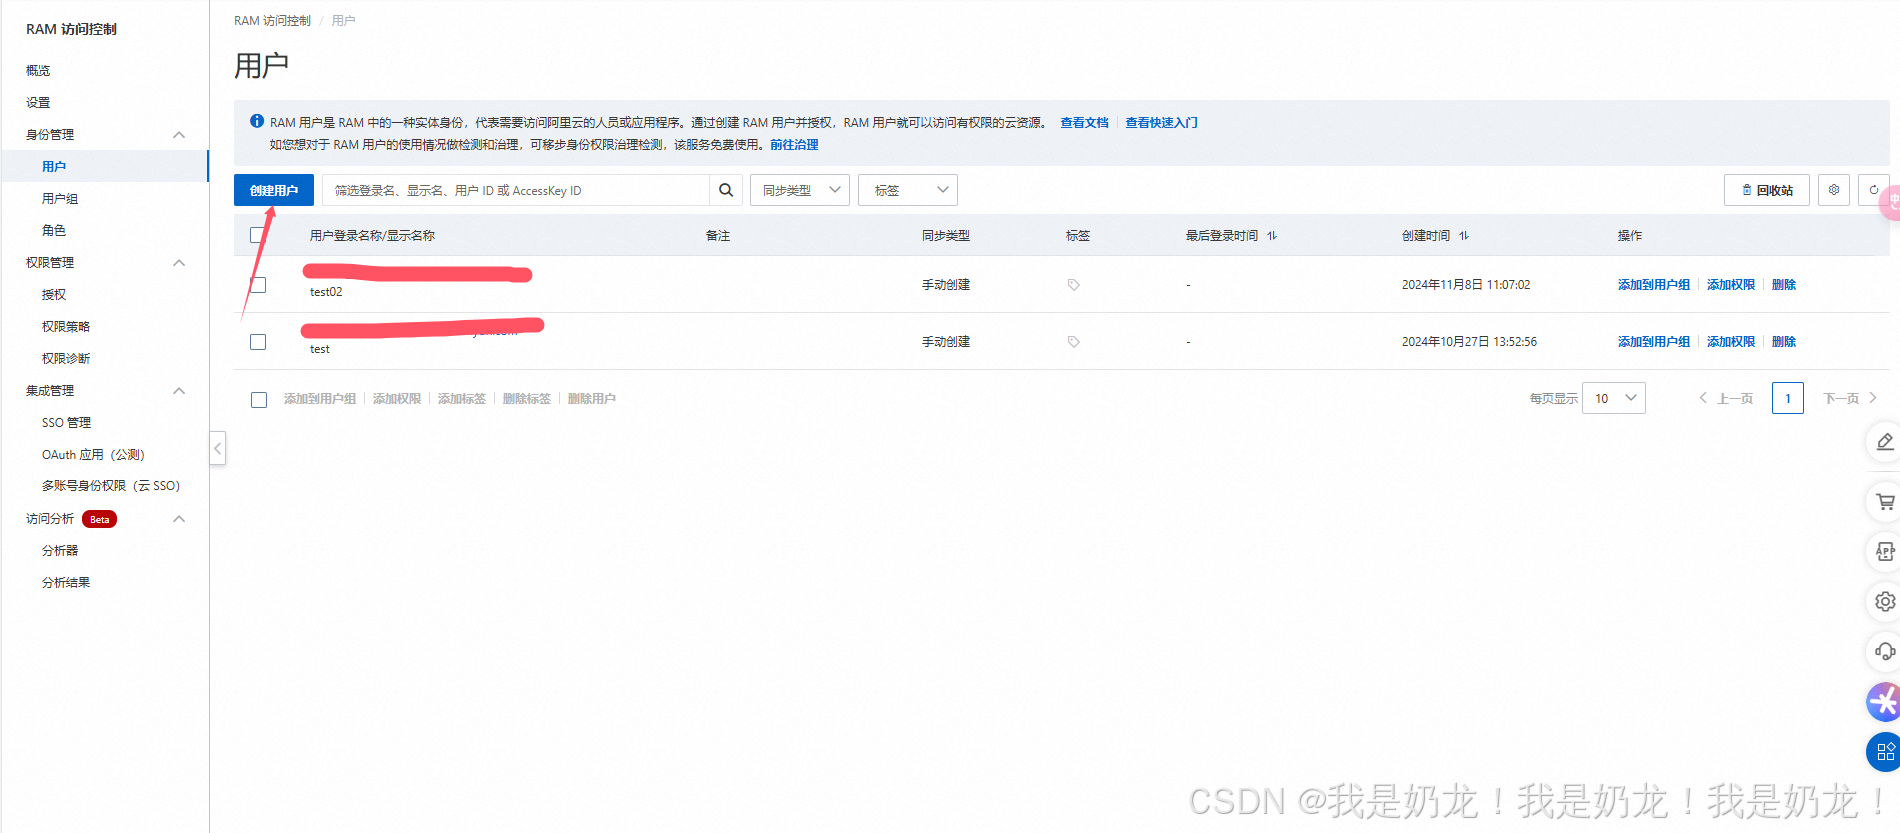
2.创建用户
鼠标悬浮右上角头像,可以看到下拉框有AccessKey,点击进去

这里我们正常关闭就行

这里我们点击左上角的创建用户
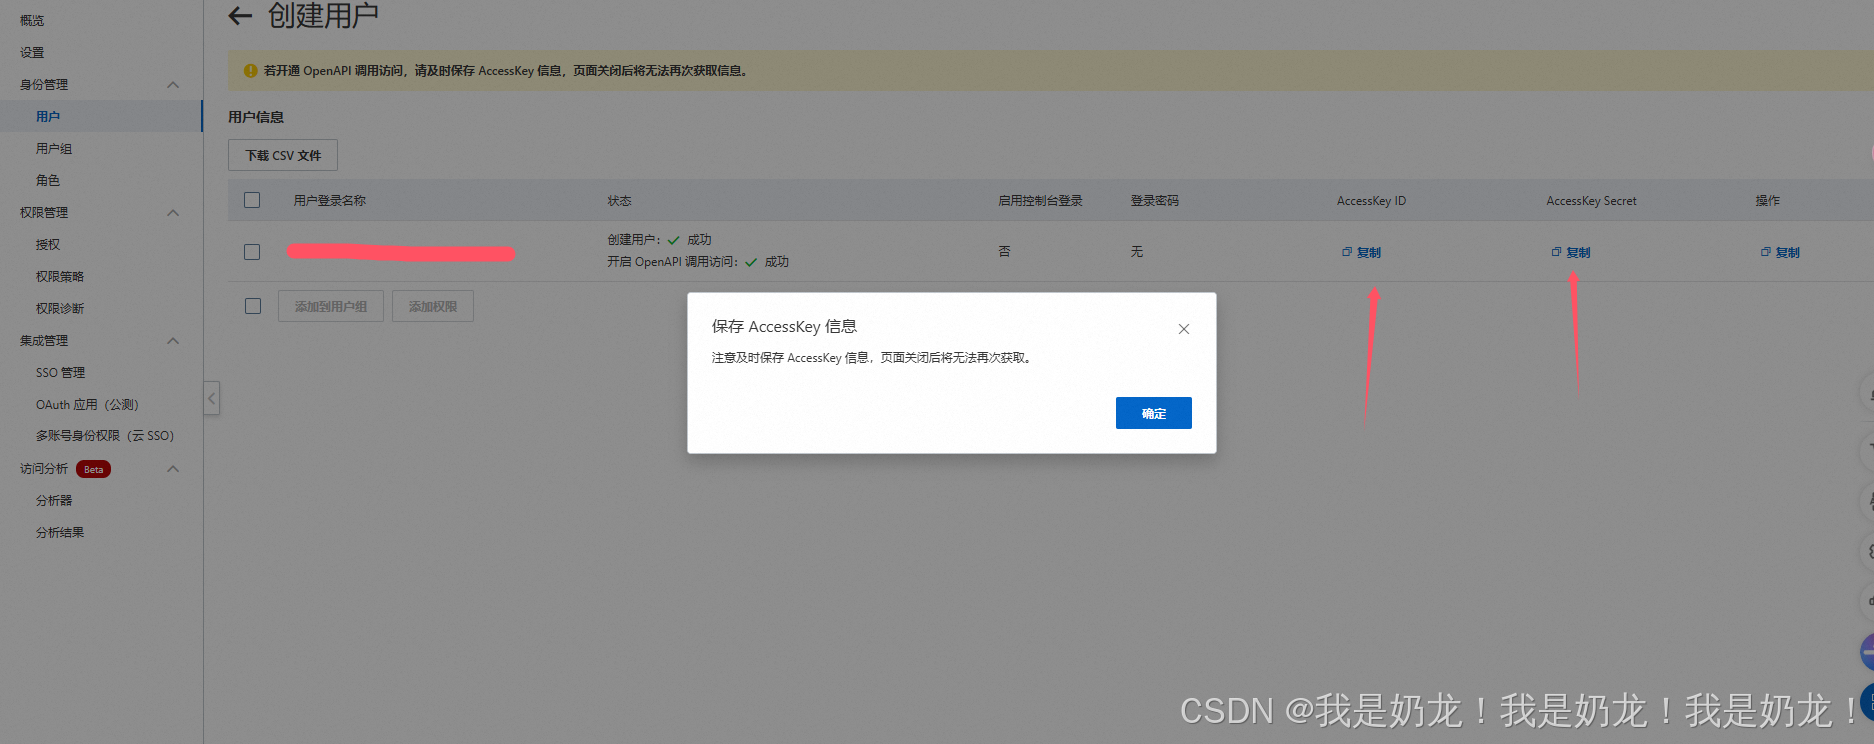
这里我们把使用永久 AccessKey 访问勾选就行,点击确定
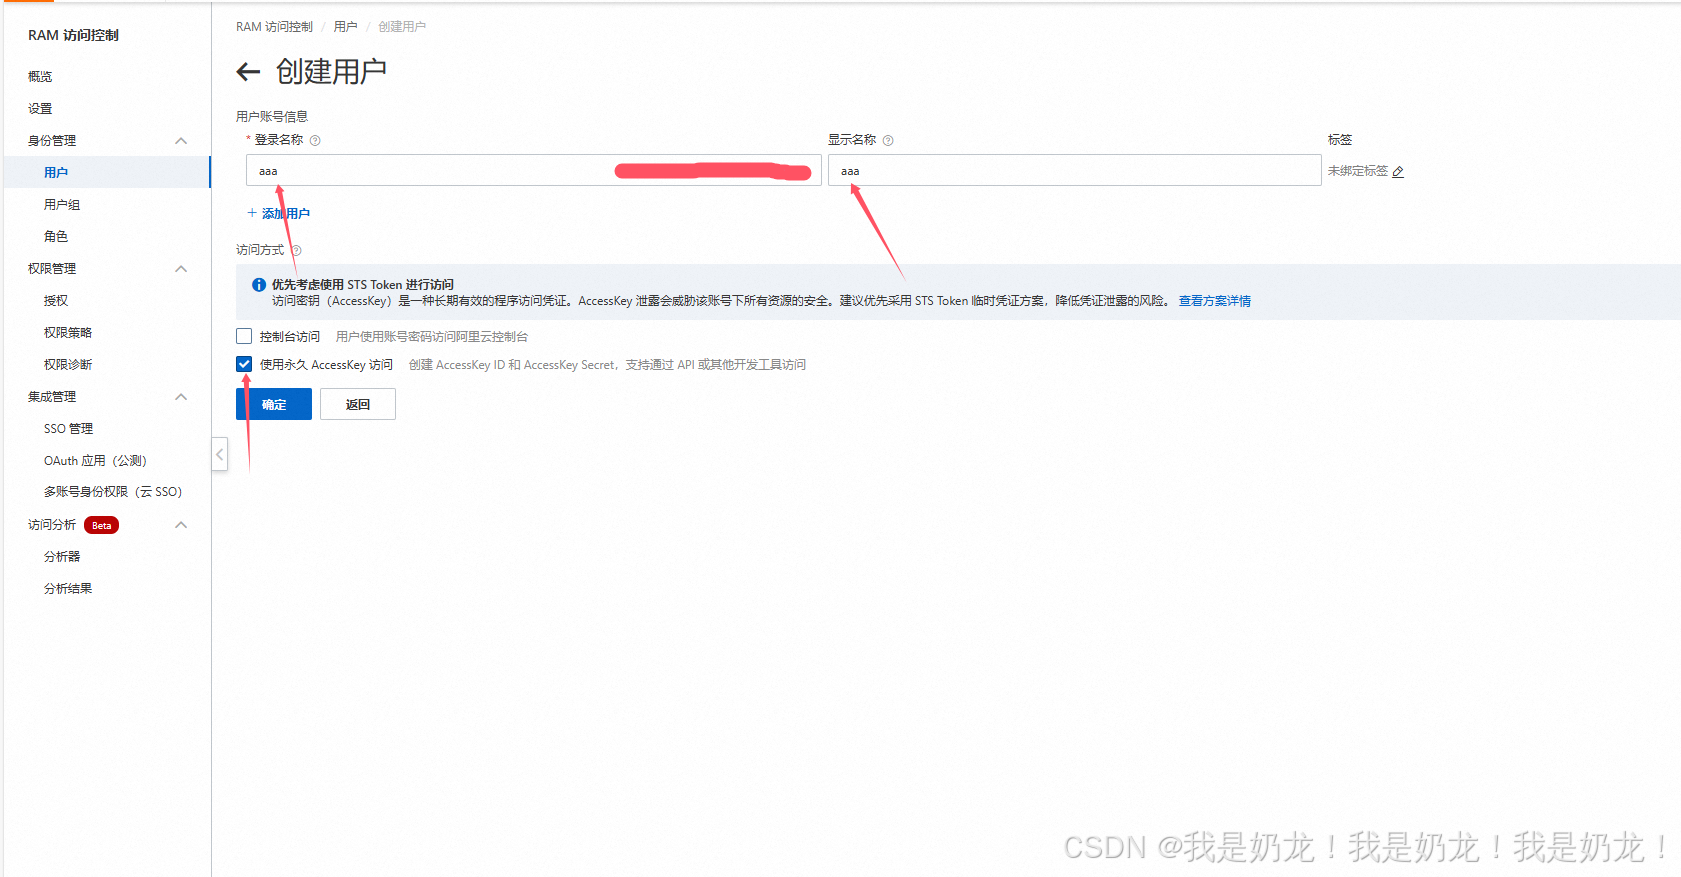
这里我们把AccessKey ID和AccessKey Secret记下来,后面要用
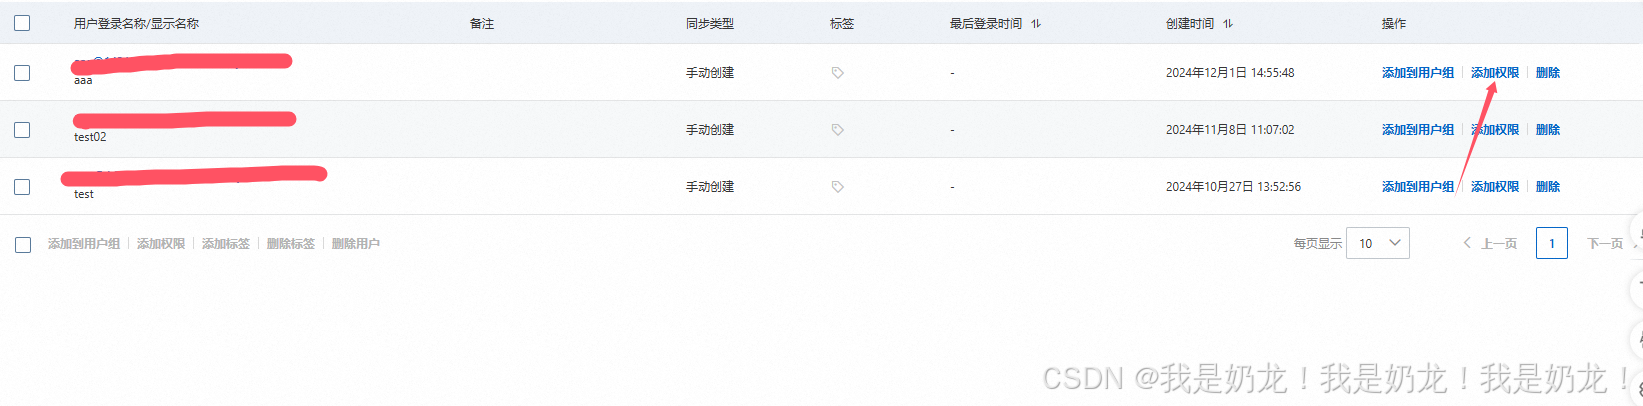
点击右边的添加权限
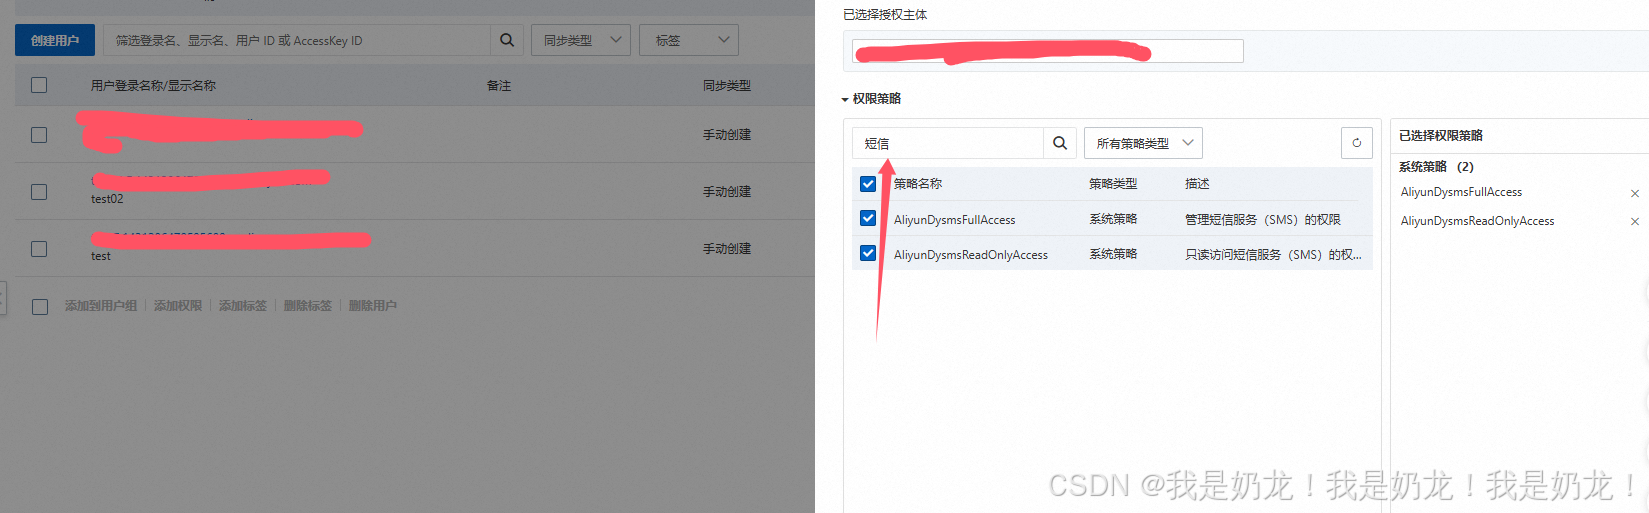
搜索短信,全部勾选,确认授权就行
3.配置发送的信息
点击免费开通
左边有快速学习和测试,点击

绑定完你的手机号码,选择专用模板,当然自定义也行,需要申请一下,这里我不多说
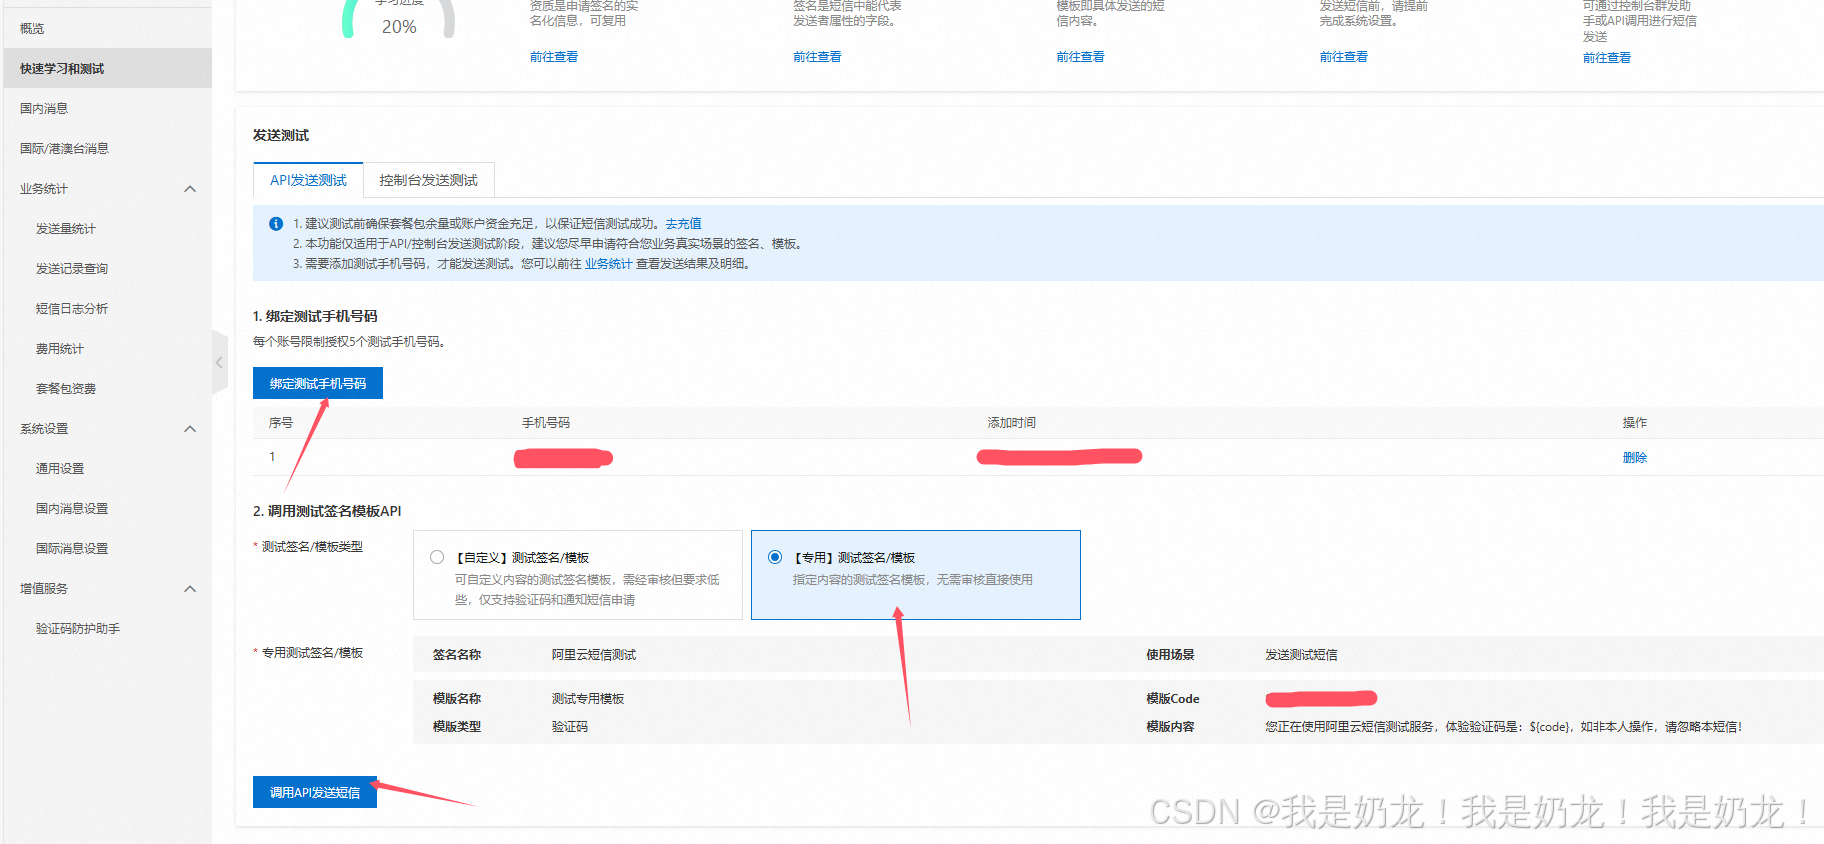
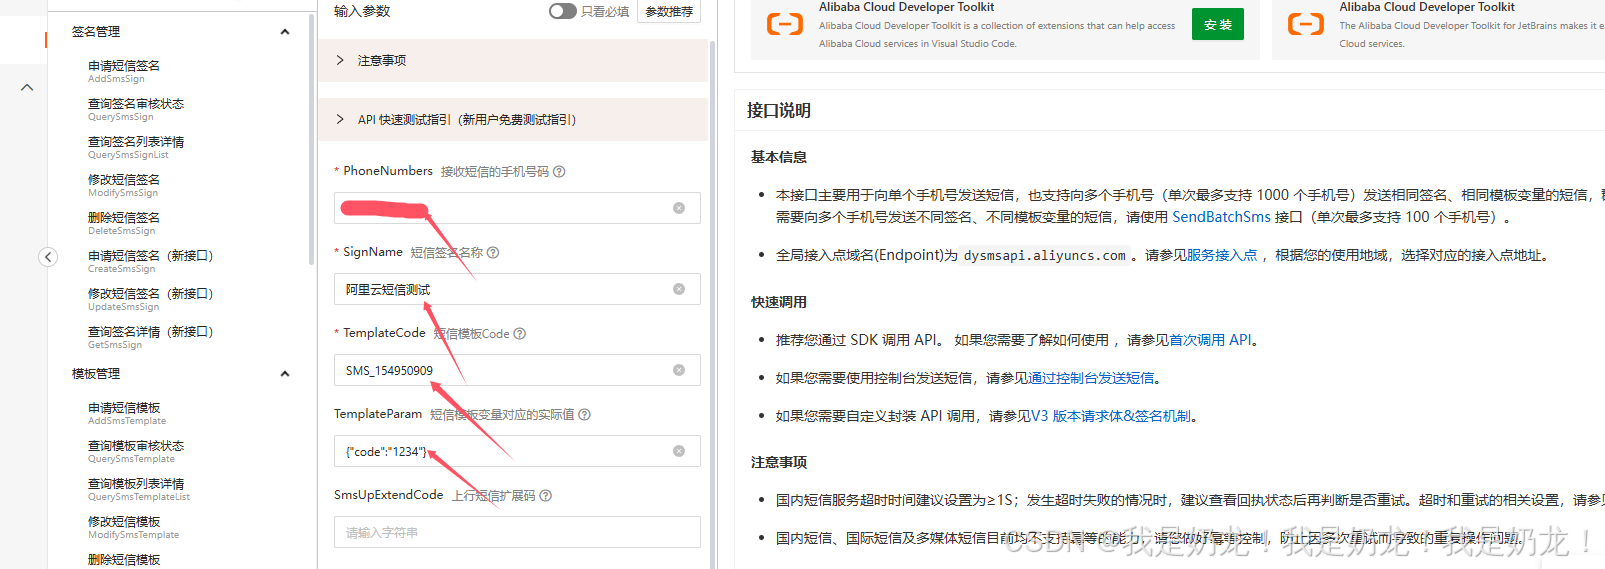
这里面有四个参数,接下来要用
4.写代码
yml里面配置,地区就是杭州,不用动

Aliyunconfig
package com.hz.config;

import com.aliyuncs.DefaultAcsClient;
import com.aliyuncs.IAcsClient;
import com.aliyuncs.dysmsapi.model.v20170525.SendSmsRequest;
import com.aliyuncs.dysmsapi.model.v20170525.SendSmsResponse;
import com.aliyuncs.profile.DefaultProfile;
import org.springframework.beans.factory.annotation.Value;
import org.springframework.context.annotation.Bean;
import org.springframework.context.annotation.Configuration;

/**
 * @Author YangLi
 * @Date 2024/9/12 10:13
 * @注释
 */
@Configuration
public class AliyunSmsConfig {

    @Value("${aliyun.accessKeyId}")
    private String accessKeyId;

    @Value("${aliyun.accessKeySecret}")
    private String accessKeySecret;

    @Value("${aliyun.regionId}")
    private String regionId;

    @Bean
    public IAcsClient acsClient() {
        DefaultProfile profile = DefaultProfile.getProfile(regionId, accessKeyId, accessKeySecret);
        return new DefaultAcsClient(profile);
    }

    public SendSmsResponse sendSms(String phoneNumber, String signName, String templateCode, String templateParam) throws Exception {
        IAcsClient client = acsClient();
        SendSmsRequest request = new SendSmsRequest();
        request.setPhoneNumbers(phoneNumber);
        request.setSignName(signName);
        request.setTemplateCode(templateCode);
        request.setTemplateParam(templateParam);

        return client.getAcsResponse(request);
    }
}
这里我从service开始写的,这是接口
package com.hz.service;

/**
 * @Author YangLi
 * @Date 2024/9/11 18:21
 * @注释
 */
public interface SmsService {

    boolean sendVerificationCode(String phoneNumber, String code);

}
实现类
import com.hz.config.AliyunSmsConfig;
import com.hz.service.SmsService;
import lombok.extern.slf4j.Slf4j;
import org.springframework.beans.factory.annotation.Autowired;
import org.springframework.stereotype.Service;

import javax.annotation.Resource;

/**
 * @Author YangLi
 * @Date 2024/9/11 18:21
 * @注释
 */
@Service
@Slf4j
public class SmsServiceImpl implements SmsService {

    @Autowired
    private AliyunSmsConfig aliyunSmsConfig;


    @Override
    public boolean sendVerificationCode(String phoneNumber, String code) {
        try {
            SendSmsResponse response = aliyunSmsConfig.sendSms(
                    phoneNumber,
                    "网上商城短信接口",
                    "SMS_474850608",
                    "{\"code\":\"" + code + "\"}"
            );
            log.info(response.getCode());
            return "OK".equals(response.getCode());
        } catch (Exception e) {
            e.printStackTrace();
            return false;
        }
    }
}
controller
package com.hz.controller;

import com.hz.service.SmsService;
import lombok.extern.slf4j.Slf4j;
import org.springframework.beans.factory.annotation.Autowired;
import org.springframework.data.redis.core.RedisTemplate;
import org.springframework.stereotype.Controller;
import org.springframework.web.bind.annotation.*;

import javax.annotation.Resource;
import java.util.concurrent.TimeUnit;

/**
 * @Author YangLi
 * @Date 2024/9/11 18:17
 * @注释
 */
@Controller
@RequestMapping("/sms")
@Slf4j
public class SmsController {

    @Autowired
    private SmsService smsService;


    @RequestMapping(value = "/send-sms-code")
    public String sendCode( @RequestParam(value = "phoneNumber" ,defaultValue = "这里其实有值就行,发送的就是你的手机号")String phoneNumber) {
        String code = String.valueOf((int) ((Math.random() * 9 + 1) * 100000));
        System.out.println(111);

        boolean success = smsService.sendVerificationCode(phoneNumber, code);

        if (success) {


            return "验证码发送成功";
        } else {
            return "验证码发送失败";
        }
    }
}
前端界面
<!DOCTYPE html>
<html xmlns="http://www.w3.org/1999/xhtml">
<head>
    <meta charset="UTF-8">
    <meta name="viewport" content="width=device-width, initial-scale=1.0">
    <title>发送验证码</title>
    <style>
        body {
            font-family: Arial, sans-serif;
            display: flex;
            justify-content: center;
            align-items: center;
            height: 100vh;
            background-color: #f0f0f0;
            background-image: url("1.png");
        }
        .container {
            background: white;
            padding: 20px;
            border-radius: 8px;
            box-shadow: 0 0 10px rgba(0, 0, 0, 0.1);
            background-image: url("1.png");
        }
        input {
            margin: 10px 0;
            padding: 10px;
            width: 100%;
            border: 1px solid #ccc;
            border-radius: 4px;
        }
        button {
            padding: 10px;
            background-color: #4CAF50;
            color: white;
            border: none;
            border-radius: 4px;
            cursor: pointer;
        }
        button:hover {
            background-color: #45a049;
        }
        .abc{
            background-image: url("1.png");
        }
    </style>
</head>
<body class="abc">

<div class="container">
    <h2>发送验证码</h2>
    <input type="text" id="phone" placeholder="输入手机号" required>
    <button id="sendCodeBtn">发送验证码</button>
    <input type="text" id="code" placeholder="输入验证码" required>
</div>
<script src="http://libs.baidu.com/jquery/2.1.4/jquery.min.js"></script>
<script>
    $(document).ready(function() {
        $('#sendCodeBtn').click(function() {
            const phone = $('#phone').val();
            alert("发送验证码成功")
            if (!/^\d{11}$/.test(phone)) {
                alert('请输入有效的手机号');
                return;
            }
            $.ajax({
                url: '/sms/send-sms-code',
                type: 'POST',
                data: JSON.stringify({ phoneNumber: phone }),
                contentType: 'application/json',
                success: function(response) {
                }
            });
        });
    });
</script>
</body>
</html>
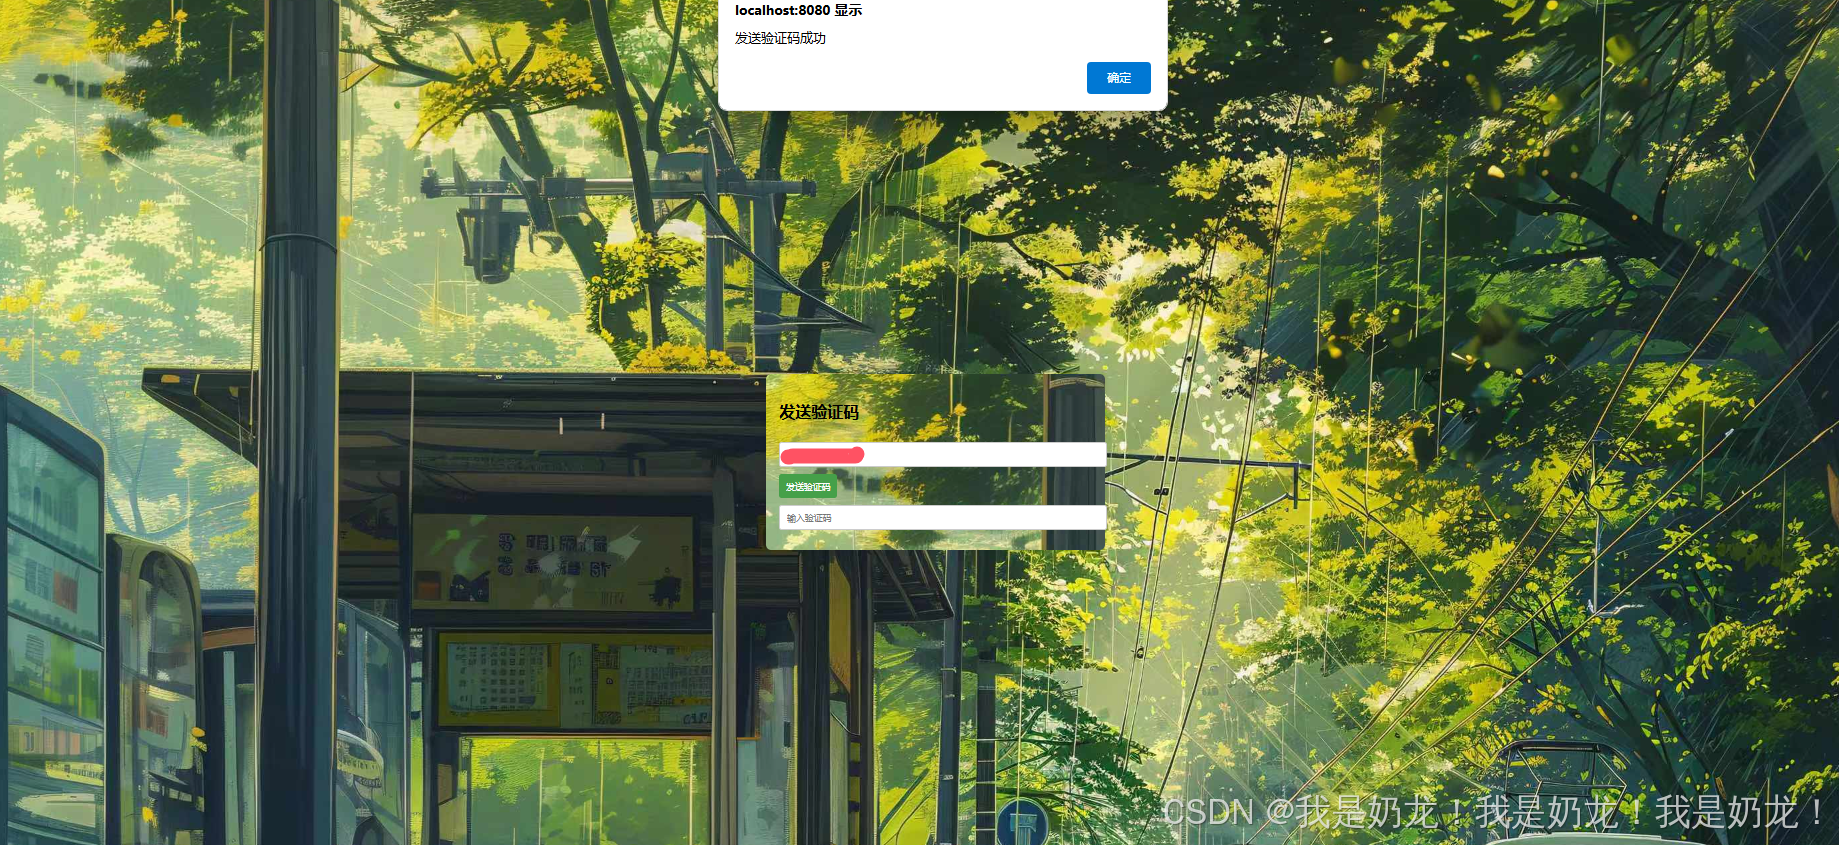
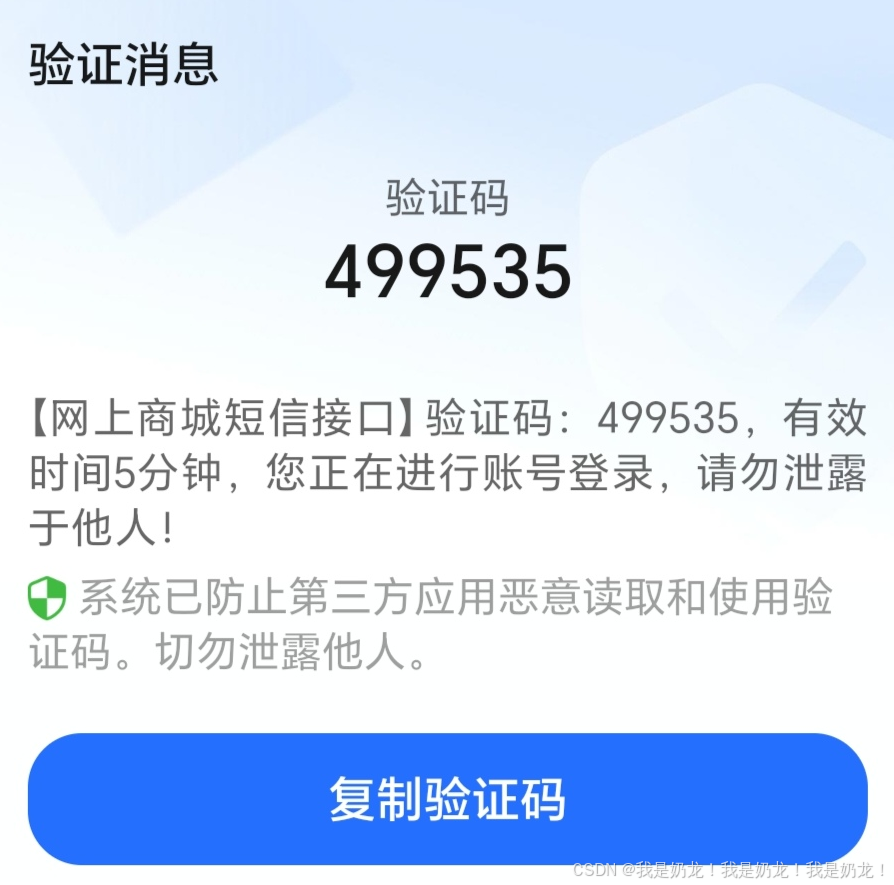
5.效果
这里我用的是自定义模板,其实都一样,自定义可以指定内容什么的


 1019
1019

 被折叠的 条评论
为什么被折叠?
被折叠的 条评论
为什么被折叠?
 到【灌水乐园】发言


