


Spring Boot配置
在spring中我们都知道所有配置定义在配置文件 application.yml 中我们就可以通过注解获取到。
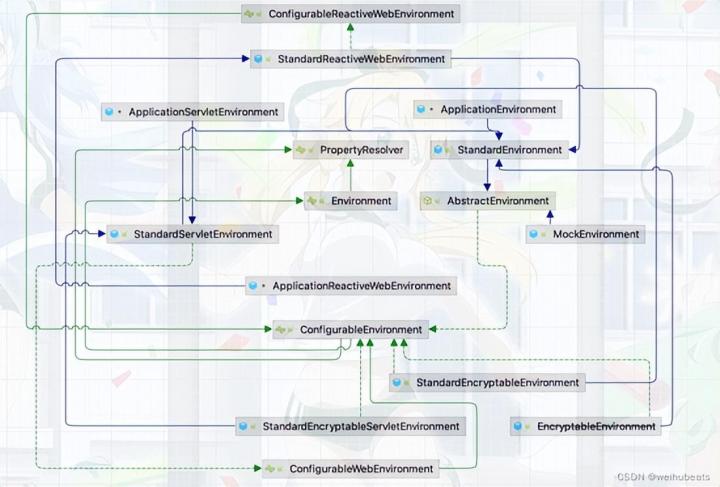
Spring 中对所有配置管理都有一个统一的上层接口
-
Environment
实现类图
编辑切换为居中
添加图片注释,不超过 140 字(可选)
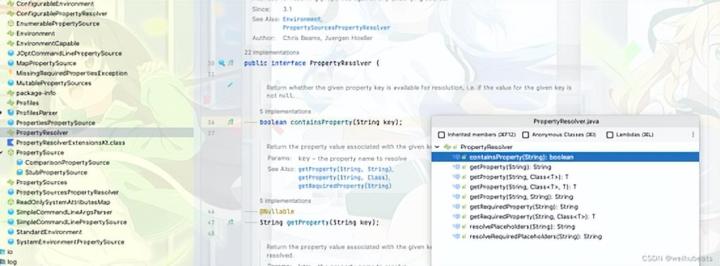
可以看到实现类是非常多的。不过实际所有的配置获取都是封装在最上层的接口 PropertyResolver 中的
编辑切换为居中
添加图片注释,不超过 140 字(可选)
这里需要注意的是 PropertyResolver 的核心实现类 PropertySourcesPropertyResolver

编辑切换为居中
添加图片注释,不超过 140 字(可选)
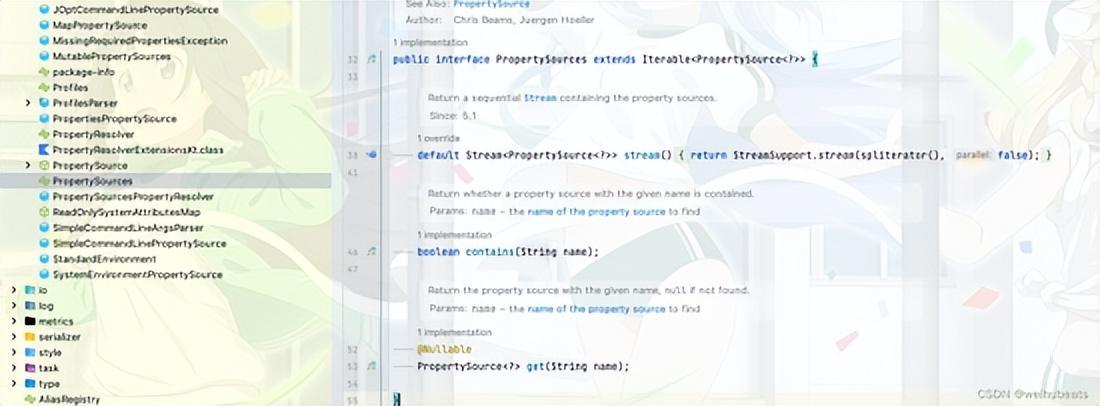
而 PropertySourcesPropertyResolver 中拥有的 PropertySources 最后使用的也还是 PropertySource 类,通过遍历 PropertySource 集合
编辑切换为居中
添加图片注释,不超过 140 字(可选)
而 PropertySource 最终是通过拥有一个泛型T source获取最终的属性

编辑切换为居中
添加图片注释,不超过 140 字(可选)
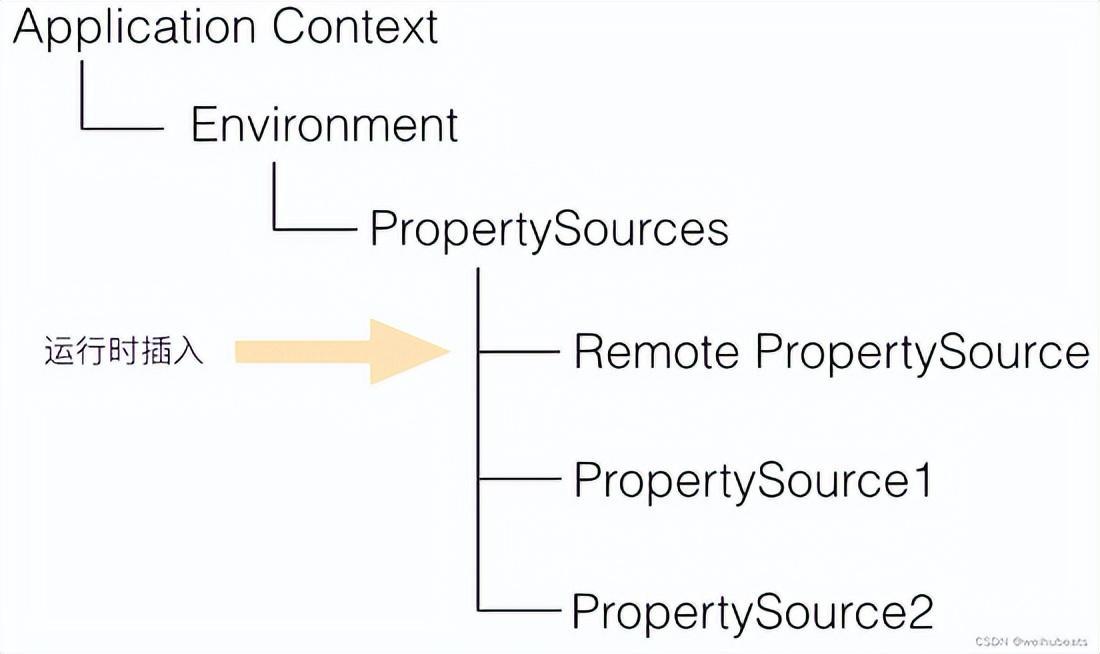
所以这里可以看到我们所有的资源都是一个 PropertySource
需要注意的是,PropertySource之间是有优先级顺序的,如果有一个Key在多个 PropertySource 中都存在,那么在前面的 PropertySource 优先。
大致获取的原理这里引用apollo的一张图
编辑切换为居中
添加图片注释,不超过 140 字(可选)
这张图就是比较清晰的
简单测试使用
spring boot 版本 2.6.8
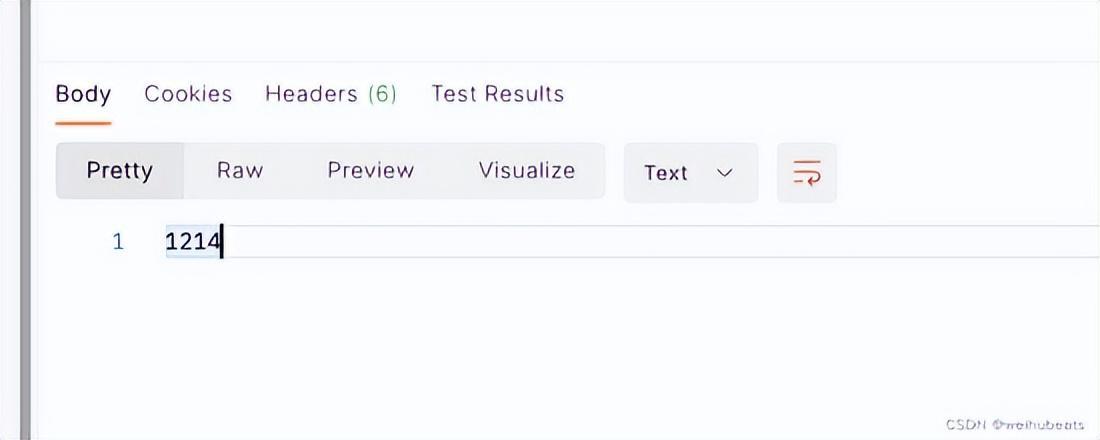
yaml 配置一个name属性
name: 1214
@RestController public class EnvironementController { @Autowired Environment environment; @Value("${name}") private String name; @GetMapping("/name") public String env(){ System.out.println(name); return environment.getProperty("name"); } }
无论是使用 @Value 还是 Environment 都能获取到我们的自定义属性
然后调用接口就能获取到我们配置中的属性了
编辑切换为居中
添加图片注释,不超过 140 字(可选)
Spring Cloud自定义配置文件获取
在了解了上面的原理及基本使用之后我们可以就可以自定义配置文件了。核心思路就是通过读取文件然后加载到 PropertySource 中去。
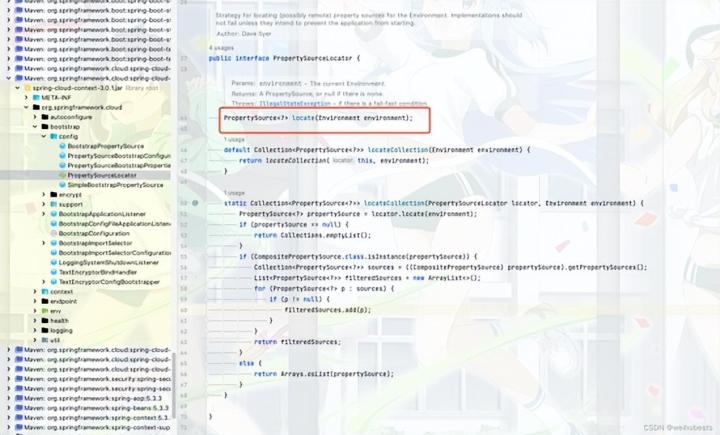
而Spring Cloud刚好提供类这方面的扩展,Spring Cloud 提供了 PropertySourceLocator 接口供我们加载自定义配置成 PropertySource
编辑切换为居中
添加图片注释,不超过 140 字(可选)
我们这里只需要实现locate即可
按这个方式我们来自定义配置试试
1. 引入依赖
<properties> <project.build.sourceEncoding>UTF-8</project.build.sourceEncoding> <maven.compiler.source>1.8</maven.compiler.source> <maven.compiler.target>1.8</maven.compiler.target> <spring-cloud.version>2021.0.2</spring-cloud.version> <spring-boot.version>2.7.0</spring-boot.version> </properties> <dependency> <groupId>org.springframework.cloud</groupId> <artifactId>spring-cloud-context</artifactId> </dependency> <dependency> <groupId>org.springframework.cloud</groupId> <artifactId>spring-cloud-starter</artifactId> </dependency> <dependency> <groupId>org.springframework.cloud</groupId> <artifactId>spring-cloud-starter-bootstrap</artifactId> </dependency> <dependency> <groupId>org.springframework.boot</groupId> <artifactId>spring-boot-starter-web</artifactId> </dependency> <dependencyManagement> <dependencies> <dependency> <groupId>org.springframework.boot</groupId> <artifactId>spring-boot-dependencies</artifactId> <version>${spring-boot.version}</version> <type>pom</type> <scope>import</scope> </dependency> <dependency> <groupId>org.springframework.cloud</groupId> <artifactId>spring-cloud-dependencies</artifactId> <version>${spring-cloud.version}</version> <type>pom</type> <scope>import</scope> </dependency> </dependencies> </dependencyManagement>
注意spring Cloud 2020版本后需要手动引入依赖 spring-cloud-starter-bootstrap
2. 自定义配置
2.1 自定义PropertySource,这里我们直接使用Spring 提供的MapPropertySource
package com.zou.config; import java.util.Map; import org.springframework.core.env.MapPropertySource; /** *@author : wh *@date : 2022/7/12 09:54 *@description: */ public class ZouMapPropertySource extends MapPropertySource { /** * Create a new {@code MapPropertySource} with the given name and {@code Map}. * * @param name the associated name * @param source the Map source (without {@code null} values in order to get * consistent {@link #getProperty} and {@link #containsProperty} behavior) */ public ZouMapPropertySource(String name, Map<String, Object> source) { super(name, source); } }
2.2 自定义PropertySourceLocator
package com.zou.config; import java.io.IOException; import java.nio.charset.StandardCharsets; import java.nio.file.Files; import java.nio.file.Paths; import java.util.HashMap; import java.util.List; import java.util.Map; import org.springframework.boot.json.JsonParser; import org.springframework.boot.json.JsonParserFactory; import org.springframework.cloud.bootstrap.config.PropertySourceLocator; import org.springframework.core.annotation.Order; import org.springframework.core.env.Environment; import org.springframework.core.env.PropertySource; /** * @author : wh * @date : 2022/7/12 09:56 * @description: */ @Order(0) public class ZouJsonPropertySourceLocator implements PropertySourceLocator { @Override public PropertySource<?> locate(Environment environment) { return new ZouMapPropertySource ("ZouMapPropertySource", mapPropertySource()); } private Map<String, Object> mapPropertySource() { Map<String, Object> result = new HashMap<>(); JsonParser parser = JsonParserFactory.getJsonParser(); Map<String, Object> fileMap = parser.parseMap(readFile()); processNestMap("", result, fileMap); return result; } /** * 读取配置文件 zou.json * * @return */ private String readFile() { List<String> lines; try { lines = Files.readAllLines(Paths.get("src/main/resources/zou.json"), StandardCharsets.UTF_8); } catch (IOException e) { throw new RuntimeException(e); } StringBuilder sb = new StringBuilder(); for (String line : lines) { sb.append(line); } return sb.toString(); } private void processNestMap(String prefix, Map<String, Object> result, Map<String, Object> fileMap) { if (prefix.length() > 0) { prefix += "."; } for (Map.Entry<String, Object> entrySet : fileMap.entrySet()) { if (entrySet.getValue() instanceof Map) { processNestMap(prefix + entrySet.getKey(), result, (Map<String, Object>) entrySet.getValue()); } else { result.put(prefix + entrySet.getKey(), entrySet.getValue()); } } } }
2.3 自定义配置Bean config
@Configuration(proxyBeanMethods = false) public class ZouConfiguration { @Bean public ZouJsonPropertySourceLocator zouJsonPropertySourceLocator(){ return new ZouJsonPropertySourceLocator(); } }
2.4 定义BootstrapConfiguration配置
在 resources 添加 spring.factories 配置文件
org.springframework.cloud.bootstrap.BootstrapConfiguration=\ com.zou.config.ZouConfiguration
3. 测试
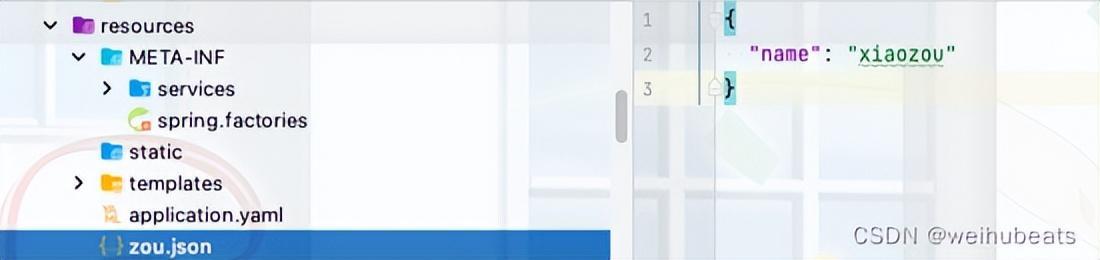
这里简单定义一个我们自己的配置文件 zou.json
编辑切换为居中
添加图片注释,不超过 140 字(可选)
{ "name": "xiaozou" }
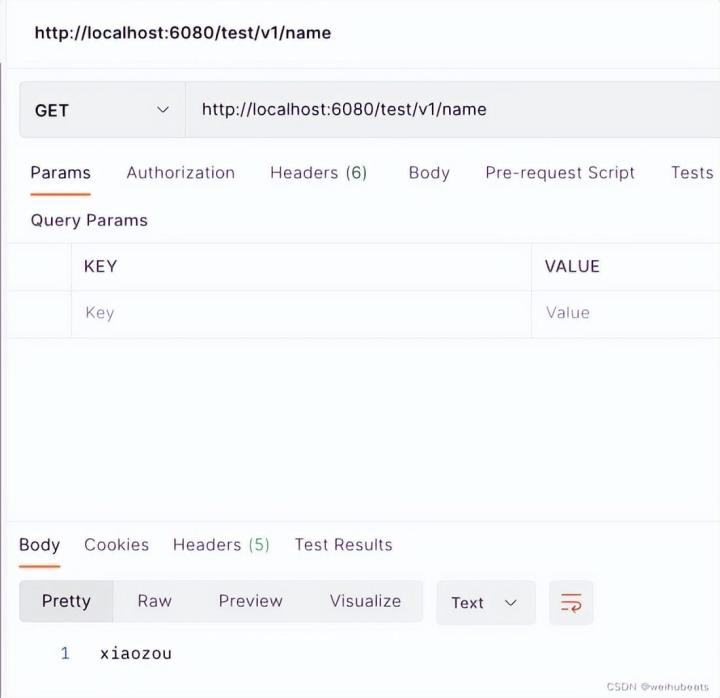
定义一个测试controller
@RestController @RequestMapping("test/v1") public class ZouController { @Autowired Environment environment; @Value("${name:1}") private String name; @GetMapping("/name") public String env(){ System.out.println(name); return environment.getProperty("name"); } }
编辑切换为居中
添加图片注释,不超过 140 字(可选)
可以看到我们自定义配置是生效了的
Spring Cloud 整合自定义配置还是比较容易的,核心还是自定义一个 ZouJsonPropertySourceLocator 然后加载 PropertySource 到Spring中。这里我们整合的是本地文件,其实如果要整合远程配置中心也是类似的,只不过获取文件就不是读取本地配置文件,而是通过http读取远程配置文件然后构造出一个 PropertySource 放入Spring容器中。后续有机会我们对 nacos 整合 Spring Cloud 源码进行分析
资源获取:
大家点赞、收藏、关注、评论啦 、查看👇🏻👇🏻👇🏻微信公众号获取联系方式👇🏻👇🏻👇🏻
精彩专栏推荐订阅:在下方专栏👇🏻👇🏻👇🏻👇🏻


 437
437


 被折叠的 条评论
为什么被折叠?
被折叠的 条评论
为什么被折叠?
 到【灌水乐园】发言


