


1、介绍
nexus的全称是Nexus Repository Manager,是Sonatype公司的一个产品。它是一个强大的仓库管理器,极大地简化了内部仓库的维护和外部仓库的访问。主要用它来搭建公司内部的maven私服。但是它的功能不仅仅是创建maven私有仓库这么简单,还可以作为nuget、docker、npm、bower、pypi、rubygems、git lfs、yum、go、apt等的私有仓库,功能非常强大。
2、部署
2.1、nexus镜像准备
[root@master ~]# docker pull sonatype/nexus3:latest2.2、创建nexus服务的yaml文件
[root@master ~]# cat nexus.yaml
---
apiVersion: v1
kind: PersistentVolume
metadata:
  name: nexus
spec:
  capacity:
    storage: 3Gi
  volumeMode: Filesystem
  accessModes:
    - ReadWriteOnce
    - ReadOnlyMany
    - ReadWriteMany
  storageClassName: nfs
  nfs:
    path: /var/nfs/nexus
    server: 192.168.4.30
---
apiVersion: v1
kind: PersistentVolumeClaim
metadata:
  name: nexus-pvc
  namespace: default
spec:
  accessModes:
    - ReadWriteOnce
  volumeMode: Filesystem
  resources:
    requests:
      storage: 3Gi
  storageClassName: nfs
---
apiVersion: apps/v1
kind: Deployment
metadata:
  namespace: default
  name: nexus3
  labels:
    app: nexus3
spec:
  replicas: 1
  selector:
    matchLabels:
      app: nexus3
  template:
    metadata:
      labels:
        app: nexus3
    spec:
      containers:
      - name: nexus3
        image: sonatype/nexus3
        imagePullPolicy: IfNotPresent
        ports:
          -  containerPort: 8081
             name: web
             protocol: TCP
        resources:
          limits:
            cpu: 1000m
            memory: 2Gi
          requests:
            cpu: 500m
            memory: 1024Mi
        volumeMounts:
        - name: nexus
          mountPath: /nexus-data
      nodeSelector:
        type: nexus
      volumes:
        - name: nexus
          persistentVolumeClaim:
            claimName: nexus-pvc
---
apiVersion: v1
kind: Service
metadata:
  name: nexus3
  namespace: default
  labels:
    app: nexus3
spec:
  selector:
    app: nexus3
  type: NodePort
  ports:
    - name: web
      protocol: TCP
      port: 8081
      targetPort: 8081
      nodePort: 30005
2.3、部署nexus应用
[root@master ~]# kubectl apply -f nexus.yaml
persistentvolume/nexus created
persistentvolumeclaim/nexus-pvc created
deployment.apps/nexus3 created
service/nexus3 created
2.4、查看运行状态
[root@master ~]# kubectl get pod -o wide
NAME                      READY   STATUS    RESTARTS      AGE   IP            NODE     NOMINATED NODE   READINESS GATES
nexus3-7bcf9bd9c7-mwv6l   1/1     Running   1 (67m ago)   22h   10.254.2.61   node02   <none>           <none>
2.4.1、查看pod日志
[root@master ~]# kubectl logs nexus3-7bcf9bd9c7-mwv6l -n default
……………………
2022-09-27 09:43:52,197+0000 INFO  [jetty-main-1] *SYSTEM org.eclipse.jetty.server.Server - Started @39234ms
2022-09-27 09:43:52,197+0000 INFO  [jetty-main-1] *SYSTEM org.sonatype.nexus.bootstrap.jetty.JettyServer -
-------------------------------------------------

Started Sonatype Nexus OSS 3.42.0-01

-------------------------------------------------备注:看到以上输出,表示应用启动成功。
2.4.2、查看service资源
[root@master ~]# kubectl get service
NAME         TYPE        CLUSTER-IP      EXTERNAL-IP   PORT(S)          AGE
kubernetes   ClusterIP   10.244.0.1      <none>        443/TCP          20d
nexus3       NodePort    10.244.217.59   <none>        8081:30005/TCP   3m37s
2.5、访问检查
- 当
pod通过健康检查之后,可以通过NodePort方式访问到nexus

- 查看初始密码
[root@master ~]# kubectl exec nexus3-7bcf9bd9c7-mwv6l -it cat /nexus-data/admin.password
kubectl exec [POD] [COMMAND] is DEPRECATED and will be removed in a future version. Use kubectl exec [POD] -- [COMMAND] instead.
d5882250-337b-4a1e-9621-c8195e3a0643- 登录后进入页面
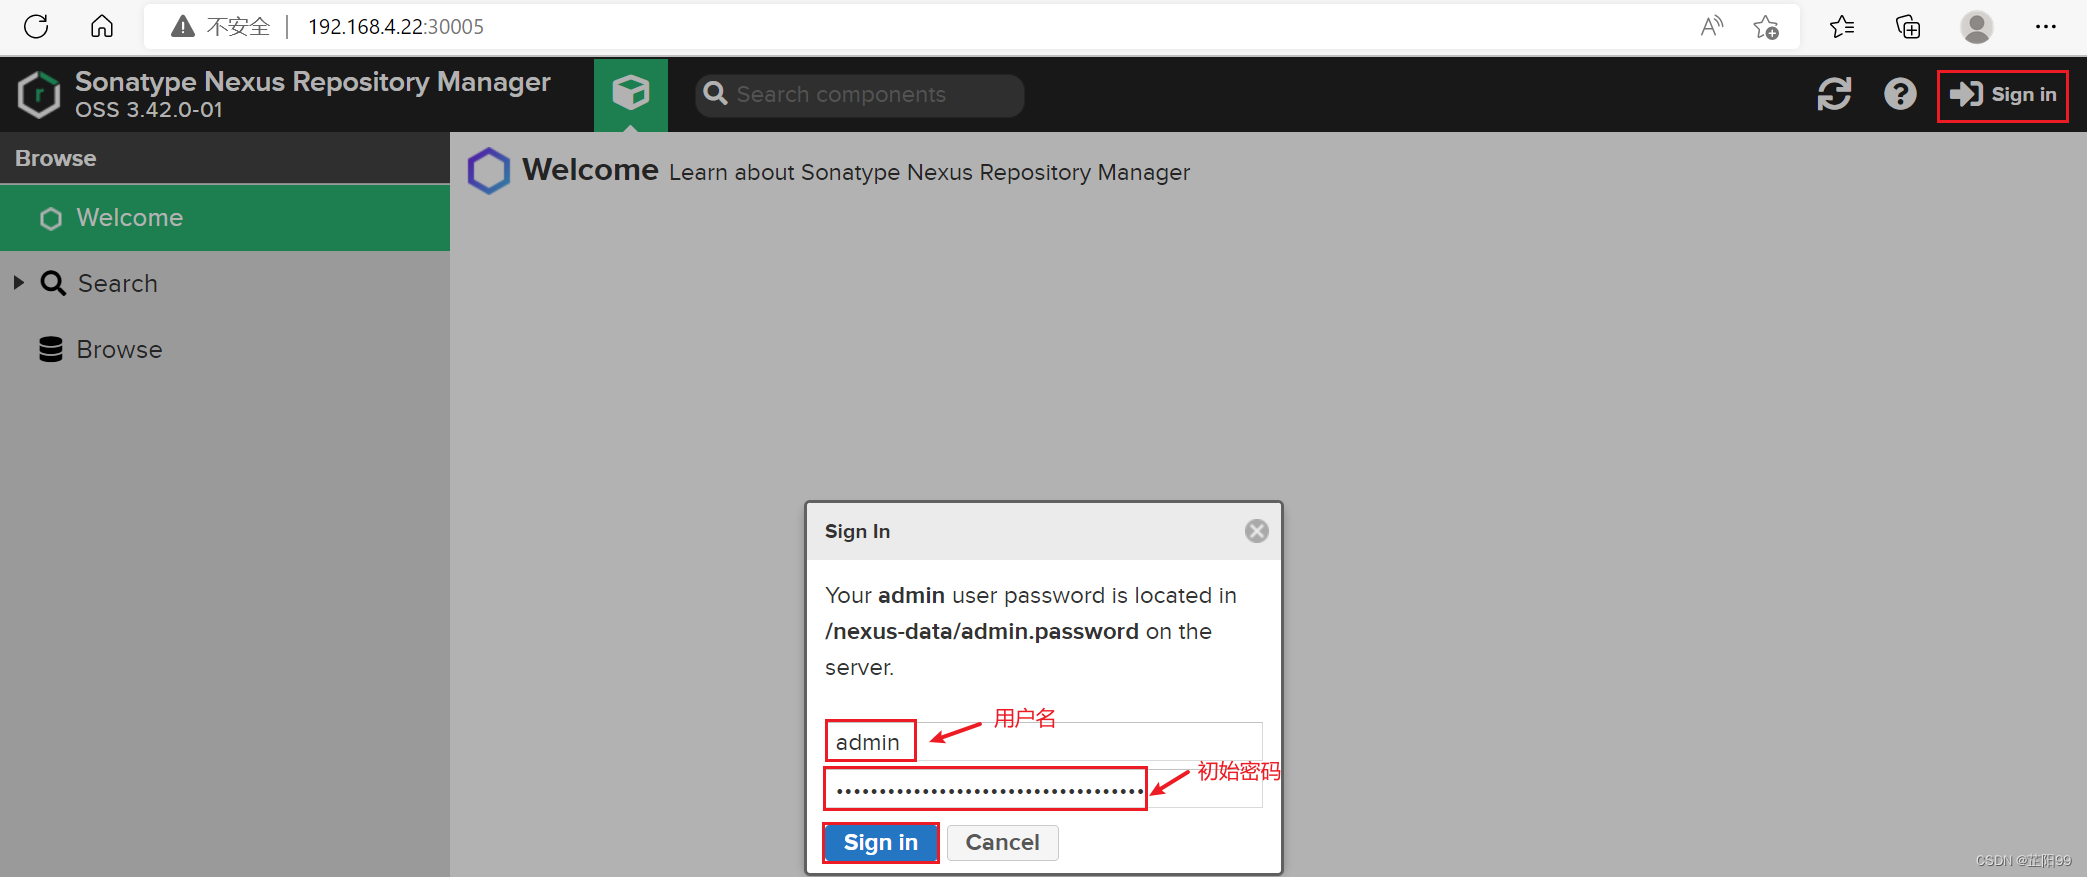
- 修改初始密码

- 设置访问方式

3、仓库配置
一些常用的镜像开源站:yum源
- 阿里开源镜像源:http://mirrors.aliyun.com/centos
- 网易开源镜像站:http://mirrors.163.com/
- Centos社区镜像站:http://mirror.centos.org/centos/
- 中科大开源镜像站:http://centos.ustc.edu.cn/
- 清华开源软件镜像站:https://mirrors.tuna.tsinghua.edu.cn
- docker-ce源地址:https://mirrors.aliyun.com/docker-ce/
3.1、配置内网代理

不管是创建maven还是npm的仓库,在nexus中,仓库主要有proxy,hosted以及group 这3种类型,下面分别介绍一下这3种类型的区别:
- hosted,本地代理仓库,通常用来存储自己编写的一些插件和包到这一类型的仓库,可以push和pull。
- proxy,代理的远程仓库,它们被用来代理远程的公共仓库,如maven中央仓库,只能pull,proxy仓库可以用来加速。
- group,仓库组,用来合并多个hosted/proxy仓库,通常我们配置maven依赖仓库组,只能pull。
3.1.1、先创建一个Blob Stores(Blob存储),用于存储存储库内容
- 点击设置→Blob Stores→Create Blob Store

- 创建Blob Stores界面

3.1.2、创建Repositories(仓库组)
- 点击设置→Repositories→Create repository→yum(group)


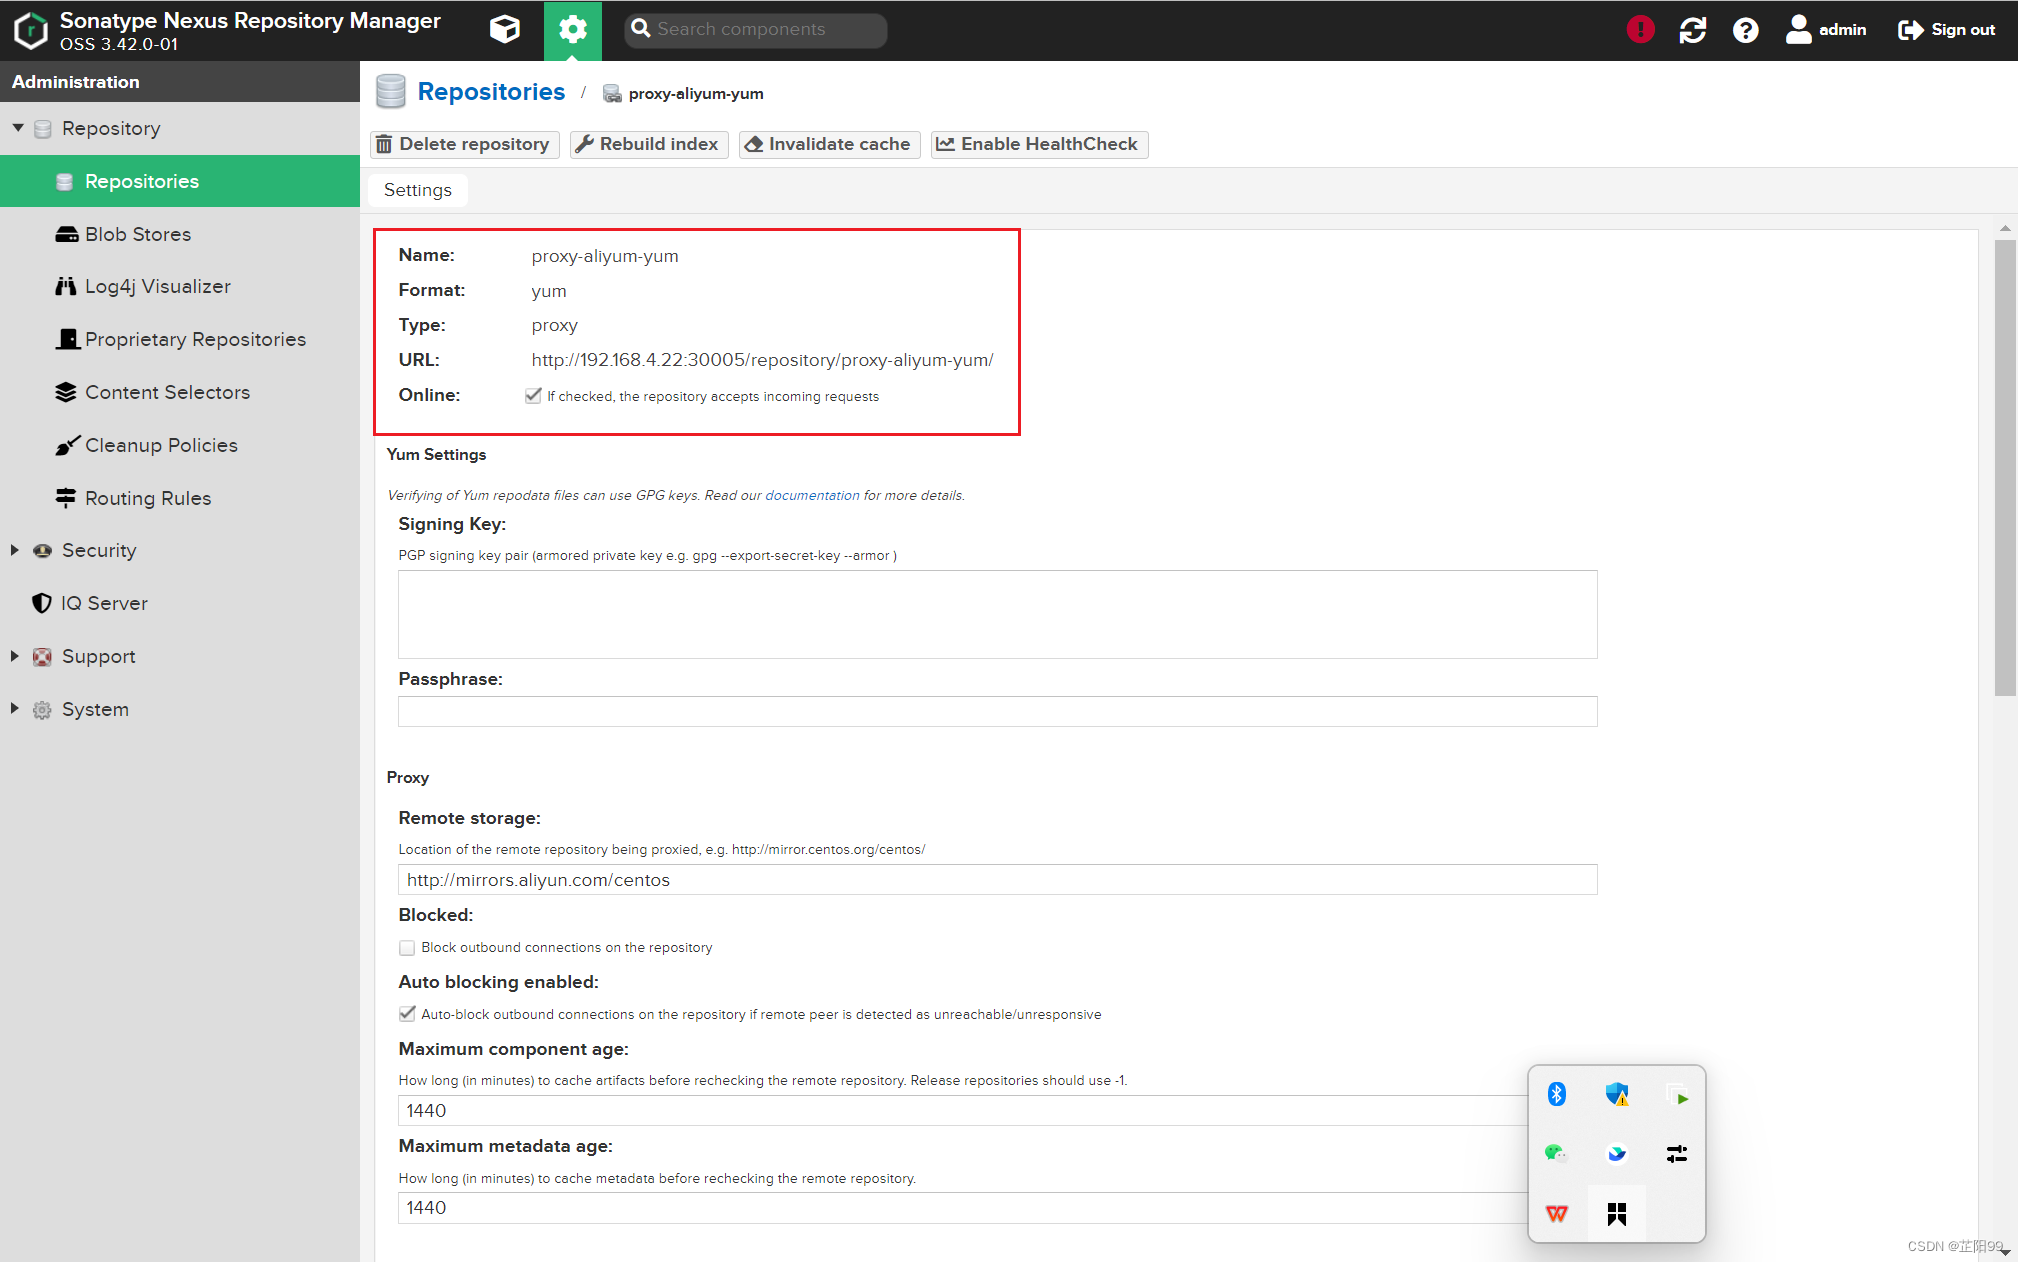
3.1.3、创建Repositories(远程仓库)
- 点击设置→Repositories→Create repository→yum(proxy)

- 点击设置→Repositories→group yum(仓库组名)

- 存储库加入仓库组

- 复制代理链接

3.1.3、设置匿名访问权限

3.1.4、目标机器上配置yum源
[root@node01 ~]# cat /etc/yum.repos.d/CentOS-Base.repo
[os]
name=CentOS-$releasever - Base - mirrors.aliyun.com
failovermethod=priority
baseurl=http://192.168.4.22:30005/repository/group-yum/$releasever/os/$basearch/
gpgcheck=1
gpgkey=http://192.168.4.22:30005/repository/group-yum/RPM-GPG-KEY-CentOS-7

[updates]
name=CentOS-$releasever - Updates - mirrors.aliyun.com
failovermethod=priority
baseurl=http://192.168.4.22:30005/repository/group-yum/$releasever/updates/$basearch/
gpgcheck=1
gpgkey=http://192.168.4.22:30005/repository/group-yum/RPM-GPG-KEY-CentOS-7

[extras]
name=CentOS-$releasever - Extras - mirrors.aliyun.com
failovermethod=priority
baseurl=http://192.168.4.22:30005/repository/group-yum/$releasever/extras/$basearch/
gpgcheck=1
gpgkey=http://192.168.4.22:30005/repository/group-yum/RPM-GPG-KEY-CentOS-7

[root@node01 ~]# yum clean all
[root@node01 ~]# yum makecache
3.2、配置docker镜像仓库
3.2.1、配置nexus的yaml
备注:官方镜像搭建的nexus,不支持https,仓库端口只能选择http,否则服务异常!这里docker服务指定端口8082。
[root@master ~]# cat nexus.yaml
---
apiVersion: v1
kind: PersistentVolume
metadata:
  name: nexus
spec:
  capacity:
    storage: 3Gi
  volumeMode: Filesystem
  accessModes:
    - ReadWriteOnce
    - ReadOnlyMany
    - ReadWriteMany
  storageClassName: nfs
  nfs:
    path: /var/nfs/nexus
    server: 192.168.4.30

---
apiVersion: v1
kind: PersistentVolumeClaim
metadata:
  name: nexus-pvc
  namespace: default
spec:
  accessModes:
    - ReadWriteOnce
  volumeMode: Filesystem
  resources:
    requests:
      storage: 3Gi
  storageClassName: nfs

---
apiVersion: apps/v1
kind: Deployment
metadata:
  namespace: default
  name: nexus3
  labels:
    app: nexus3
spec:
  replicas: 1
  selector:
    matchLabels:
      app: nexus3
  template:
    metadata:
      labels:
        app: nexus3
    spec:
      containers:
      - name: nexus3
        image: sonatype/nexus3
        imagePullPolicy: IfNotPresent
        ports:
          -  containerPort: 8081
             name: web
             protocol: TCP
          -  containerPort: 8082
             name: docker
             protocol: TCP
        resources:
          limits:
            cpu: 1000m
            memory: 2Gi
          requests:
            cpu: 500m
            memory: 1024Mi
        volumeMounts:
        - name: nexus
          mountPath: /nexus-data
      nodeSelector:
        type: nexus
      volumes:
        - name: nexus
          persistentVolumeClaim:
            claimName: nexus-pvc
---
apiVersion: v1
kind: Service
metadata:
  name: nexus3
  namespace: default
  labels:
    app: nexus3
spec:
  selector:
    app: nexus3
  type: NodePort
  ports:
    - name: web
      protocol: TCP
      port: 8081                    # nexus私库容器的端口
      targetPort: 8081
      nodePort: 30005
    - name: docker
      protocol: TCP
      port: 8082                    # docker服务端口
      targetPort: 8082
      nodePort: 30000               # 集群外部访问Service,Pod提供访问接入端口,仅在type为NodePort时才需要指定。
3.2.2、创建docker本地仓库
- 点击设置→Repositories→Create repository→docker(hosted)

3.2.3、测试本地推镜像(哪台需要dockers login哪台就配置)
[root@node01 ~]# vim /lib/systemd/system/docker.service
ExecStart=/usr/bin/dockerd-current \
          --add-runtime docker-runc=/usr/libexec/docker/docker-runc-current \
          --default-runtime=docker-runc \
          --exec-opt native.cgroupdriver=systemd \
          --userland-proxy-path=/usr/libexec/docker/docker-proxy-current \
          --init-path=/usr/libexec/docker/docker-init-current \
          --seccomp-profile=/etc/docker/seccomp.json \
          --insecure-registry=192.168.4.22:30000 \            # 配置镜像源ip和上传端口
          $OPTIONS \
          $DOCKER_STORAGE_OPTIONS \
          $DOCKER_NETWORK_OPTIONS \
          $ADD_REGISTRY \
          $BLOCK_REGISTRY \
          $INSECURE_REGISTRY \
          $REGISTRIES
3.2.4、登录测试
[root@node01 ~]# docker login 192.168.4.22:30000
Username (admin): admin
Password:
Login Succeeded
3.2.5、docker验证
[root@node01 ~]# docker pull nginx
[root@node01 ~]# docker images
REPOSITORY                                                 TAG                 IMAGE ID            CREATED             SIZE
docker.io/nginx                                            latest              51086ed63d8c        7 days ago          142 MB
[root@node01 ~]# docker tag docker.io/nginx:latest 192.168.4.22:30000/nginx:latest
[root@node01 ~]# docker push 192.168.4.22:30000/nginx:latest
[root@node01 ~]# docker pull 192.168.4.22:30000/nginx:latest 


 1733
1733


 被折叠的 条评论
为什么被折叠?
被折叠的 条评论
为什么被折叠?
 到【灌水乐园】发言


