


一、环境准备
1.1 环境说明
本文搭建MongoDB,基于WMware虚拟机,操作系统CentOS 8,且已经基于Kubeadm搭好了k8s集群,k8s节点信息如下:
| 服务器 | IP地址 |
| master | 192.168.31.80 |
| node1 | 192.168.31.8 |
| node2 | 192.168.31.9 |
如需知道k8s集群搭建,可跳转我的文章《kubeadm部署k8s集群》查看。
1.2 安装说明
随着企业级应用程序的增加和需求的增长,开发人员越来越需要一个可靠的、可扩展的、可管理的存储库来存储和共享构件。Nexus是一个流行的存储库管理器,它是一个开源的、基于Java的软件,用于管理和分发构件。Nexus 3是Nexus的新版本,它提供了许多新的功能和改进,使其成为一个更加强大和灵活的存储库管理器。本文将详细介绍如何在k8s上部署一个Nexus 3私服。
二、安装NFS
NFS 存储主要功能是提供稳定的后端存储,当 Nexus 的 Pod 发生故障重启或迁移后,依然能获得原先的数据。
2.1 安装NFS
我选择在 master 节点创建 NFS 存储,首先执行如下命令安装 NFS:
yum -y install nfs-utils rpcbind2.2 创建NFS共享文件夹
cd /var/nfs/

mkdir nexus
2.3 重启NFS服务
systemctl start nfs-server
systemctl enabled nfs-server
systemctl start rpcbind
systemctl enabled rpcbind
2.4 创建nfs 客户端sa授权
  #创建namespace
kubectl create ns nexus

cat > nexus-nfs-client-sa.yaml

apiVersion: v1
kind: ServiceAccount
metadata:
  name: nfs-client
  namespace: nexus
---
kind: ClusterRole
apiVersion: rbac.authorization.k8s.io/v1
metadata:
  name: nfs-client-runner
  namespace: nexus
rules:
  - apiGroups: [""]
    resources: ["persistentvolumes"]
    verbs: ["get","list","watch","create","delete"]
  - apiGroups: [""]
    resources: ["persistentvolumeclaims"]
    verbs: ["get","list","watch","create","delete"]
  - apiGroups: ["storage.k8s.io"]
    resources: ["storageclasses"]
    verbs: ["get","list","watch"]
  - apiGroups: [""]
    resources: ["events"]
    verbs: ["get","list","watch","create","update","patch"]
  - apiGroups: [""]
    resources: ["endpoints"]
    verbs: ["create","delete","get","list","watch","patch","update"]

---
kind: ClusterRoleBinding
apiVersion: rbac.authorization.k8s.io/v1
metadata:
  name: run-nfs-provisioner
  namespace: nexus
subjects:
  - kind: ServiceAccount
    name: nfs-client
    namespace: nexus
roleRef:
  kind: ClusterRole
  name: nfs-client-runner
  apiGroup: rbac.authorization.k8s.io
2.5 执行创建命令
kubectl apply -f nexus-nfs-client-sa.yaml2.6 检查服务是否成功
kubectl get ServiceAccount -n nexus -o wide
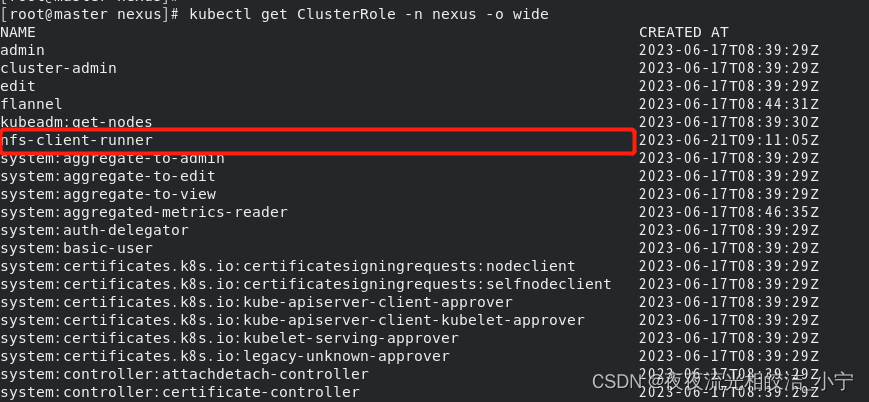
kubectl get ClusterRole -n nexus -o wide
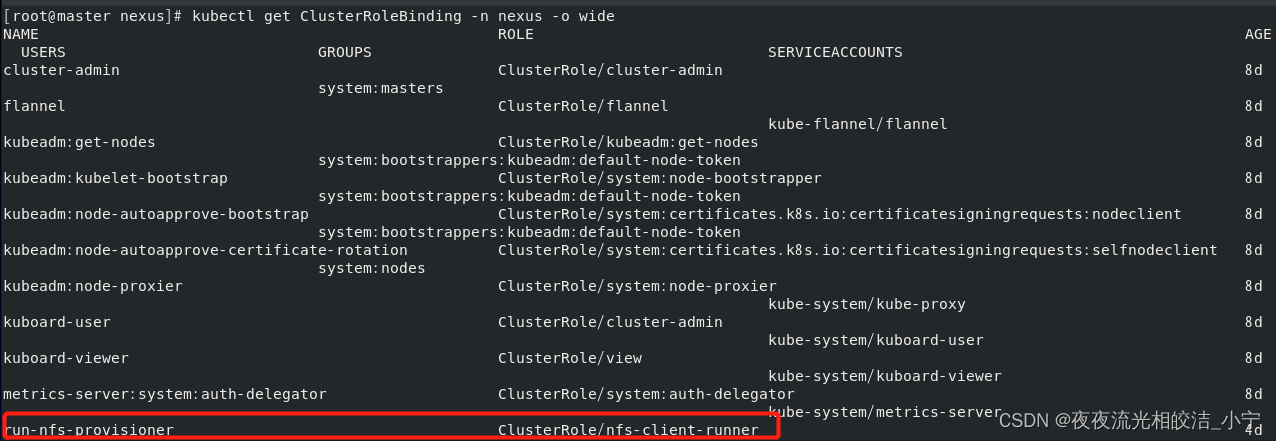
kubectl get ClusterRoleBinding -n nexus -o wide
2.7 创建nfs 客户端
cat > nexus-nfs-client.yaml

apiVersion: apps/v1
kind: Deployment
metadata:
  name: nfs-client
  labels:
    app: nfs-client
  # replace with namespace where provisioner is deployed
  namespace: nexus
spec:
  replicas: 1
  strategy:
    type: Recreate
  selector:
    matchLabels:
      app: nfs-client
  template:
    metadata:
      labels:
        app: nfs-client
    spec:
      serviceAccountName: nfs-client
      containers:
        - name: nfs-client
          image: quay.io/external_storage/nfs-client-provisioner:latest
          volumeMounts:
            - name: nfs-client-root
              mountPath: /persistentvolumes
          env:
            - name: PROVISIONER_NAME   ## 这个名字必须与storegeclass里面的名字一致
              value:  my-nexus-nfs
            - name: ENABLE_LEADER_ELECTION  ## 设置高可用允许选举,如果replicas参数等于1,可不用
              value: "True"
            - name: NFS_SERVER
              value: 192.168.31.80  #修改为自己的ip(部署nfs的机器ip)
            - name: NFS_PATH
              value: /var/nfs/nexus     #修改为自己的nfs安装目录
      volumes:
        - name: nfs-client-root
          nfs:
            server: 192.168.31.80 #修改为自己的ip(部署nfs的机器ip)
            path: /var/nfs/nexus     #修改为自己的nfs安装目录
2.8 创建storeclass
cat > nexus-store-class.yaml
apiVersion: storage.k8s.io/v1
kind: StorageClass
metadata:
name: nexus-nfs-storage
namespace: nexus
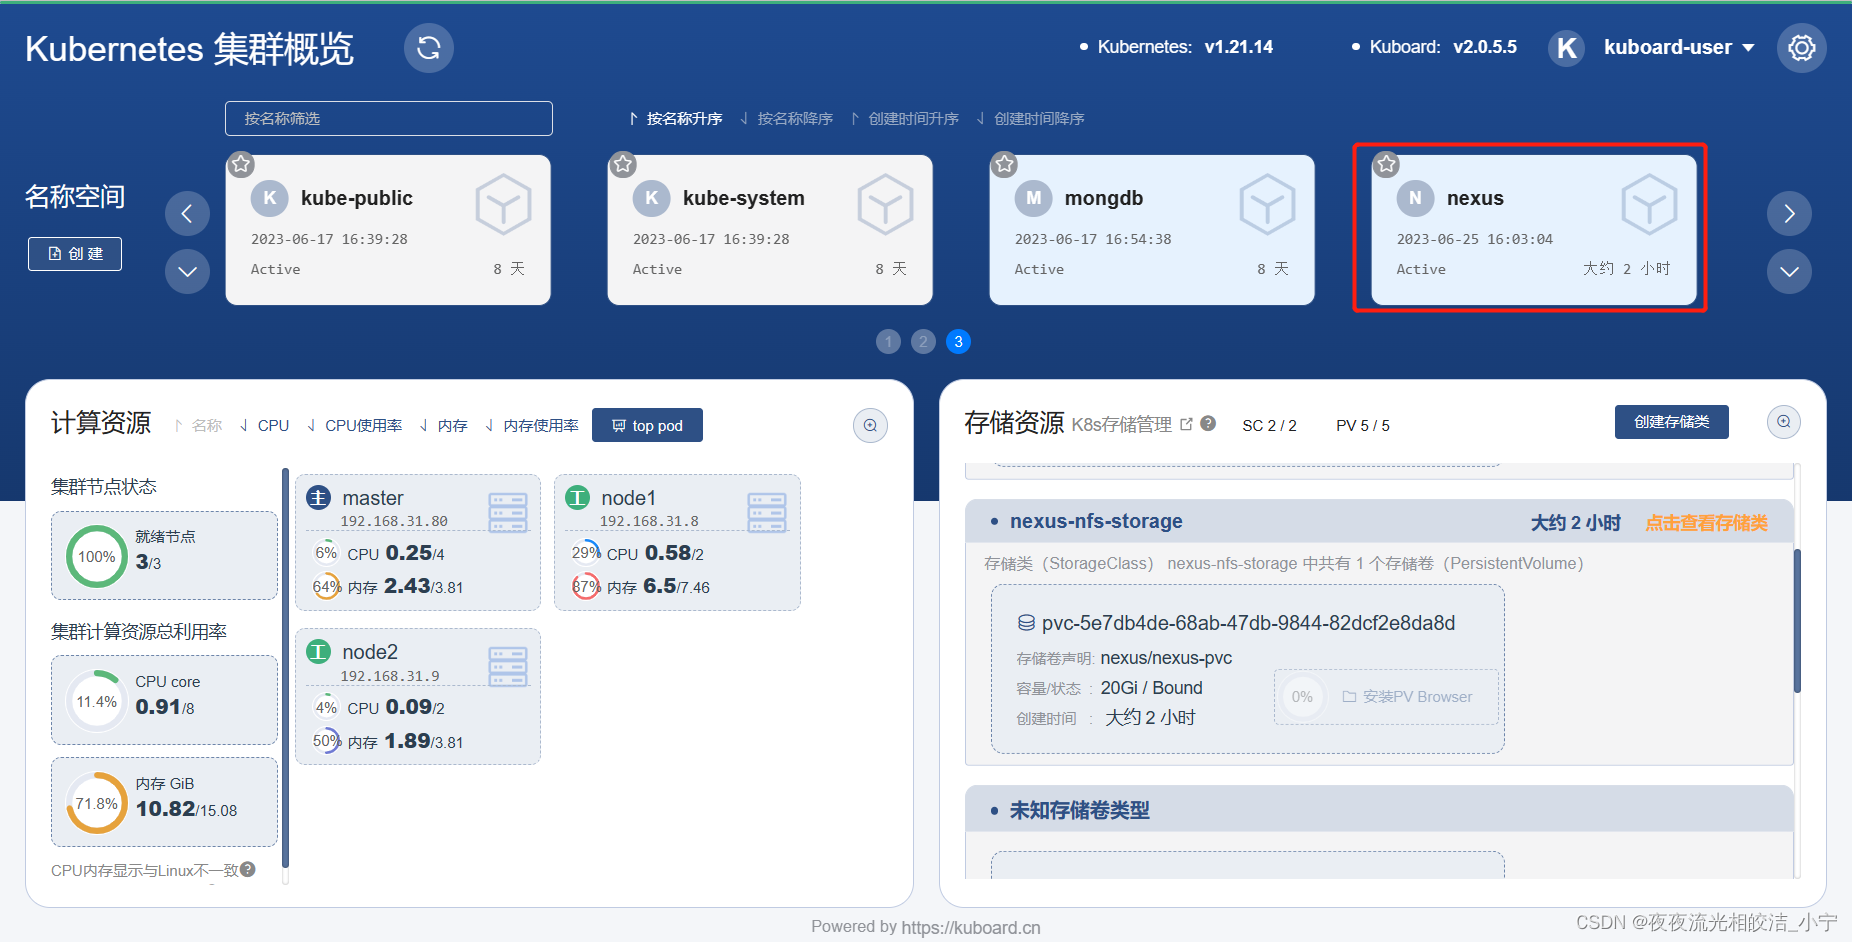
provisioner: my-nexus-nfs2.9 检查nfs客户端和storeclass创建是否成功
kubectl get StorageClass -n nexus -o wide

kubectl get pod -n nexus -o wide


三、创建PV卷
3.1 创建PV卷yaml
cat > nexus-pv.yaml

apiVersion: v1
kind: PersistentVolumeClaim
metadata:
  name: nexus-pvc # 自定义
  namespace: nexus # 自定义,与本文前后所有命名空间保持一致
  labels:
    pvc: nexus-pvc # 自定义
spec:
  storageClassName: nexus-nfs-storage # 创建的StorageClass的名字
  accessModes:
  - ReadWriteOnce
  resources:
    requests:
      storage: 20Gi
3.2 执行命令创建
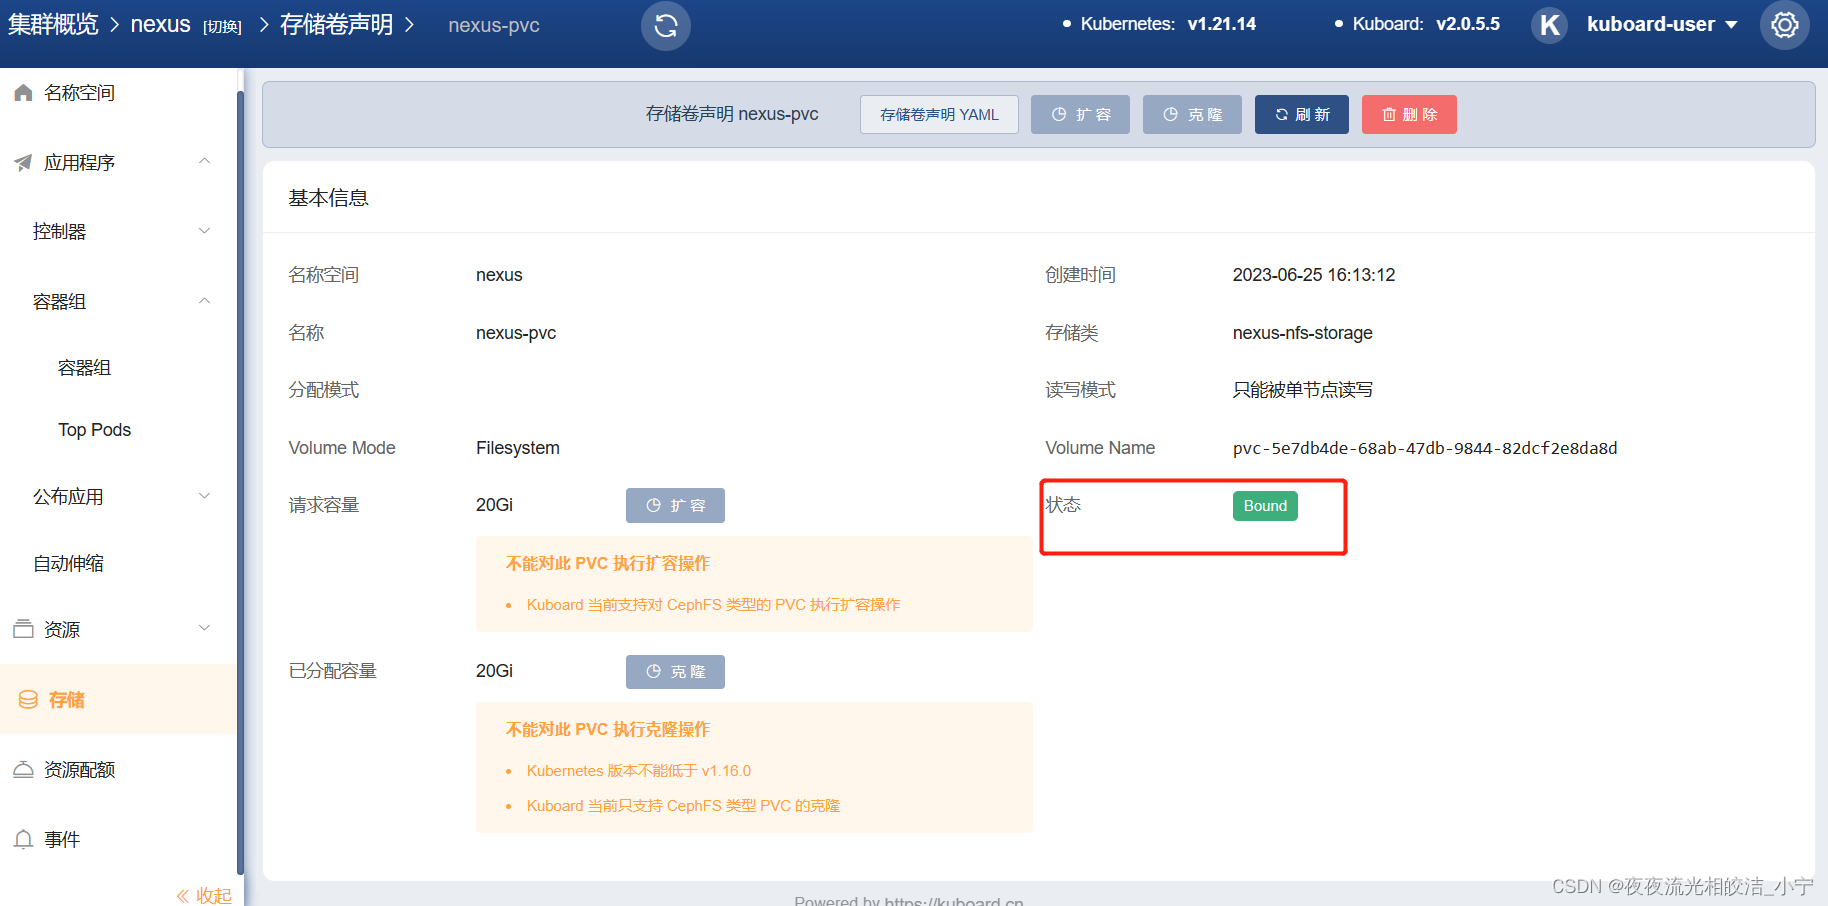
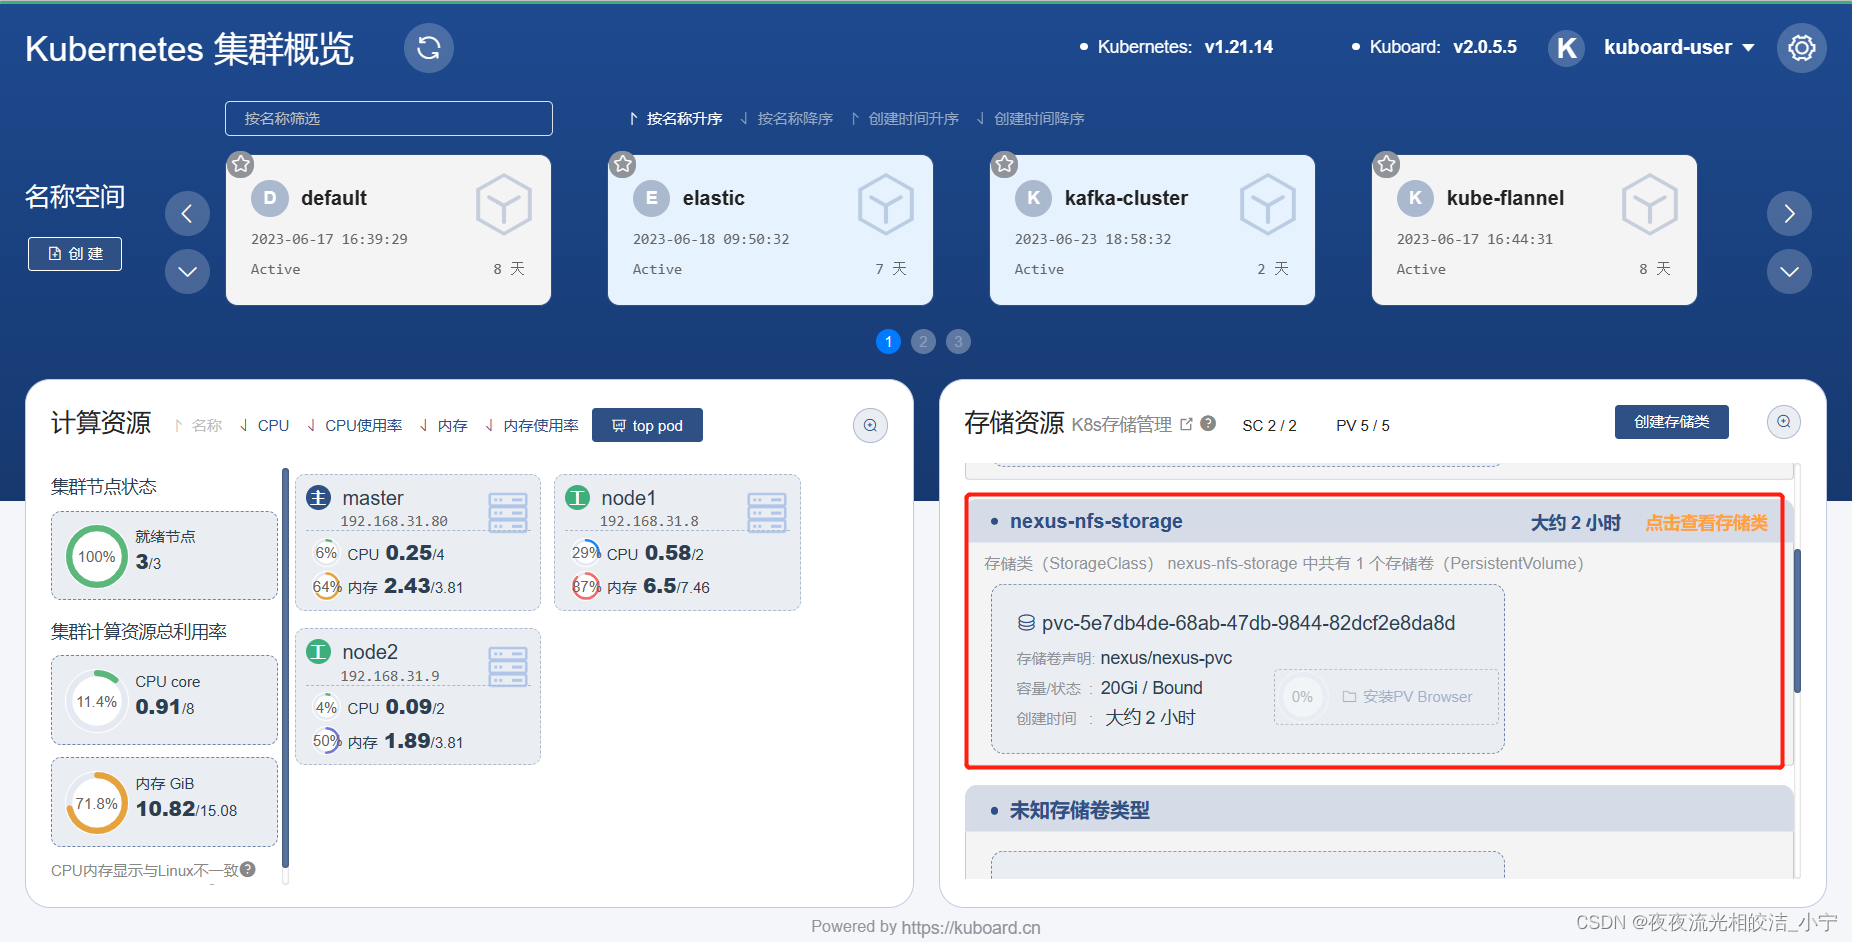
kubectl apply -f nexus-pv.yaml3.3 检查PV卷是否创建成功
kubectl get pv

四、部署Nexus
4.1 创建service
cat > nexus-service.yaml

kind: Service
apiVersion: v1
metadata:
  name: nexus3
  namespace: nexus
  labels:
    app: nexus3
spec:
  type: NodePort
  ports:
    - port: 8081
      targetPort: 8081
      nodePort: 30520 # 对外开发的端口,自定义
  selector:
    app: nexus3
4.2 执行命令创建
kubectl apply -f nexus-service.yaml4.3 创建deployment
cat > nexus-deployment.yaml

kind: Deployment
apiVersion: apps/v1
metadata:
  name: nexus3 # 自定义
  labels:
    app: nexus3 # 自定义
  namespace: nexus # 自定义,与本文前后所有命名空间保持一致
spec:
  replicas: 1 # 副本的数量
  selector:
    matchLabels:
      app: nexus3
  template:
    metadata:
      labels:
        app: nexus3
    spec:
      containers:
        - name: nexus3
          image: sonatype/nexus3
          ports:
            - name: nexus3-8081
              containerPort: 8081 # 容器端口
              protocol: TCP
          resources:
            limits:
              memory: 6G
              cpu: 1000m
          imagePullPolicy: IfNotPresent
          volumeMounts:
          - name: data
            mountPath: /nexus-data # 数据路径挂载出来
      restartPolicy: Always
      volumes:
        - name: data
          persistentVolumeClaim:
            claimName: nexus-pvc # PVC的名字
            readOnly: false
4.4 执行命令创建deployment
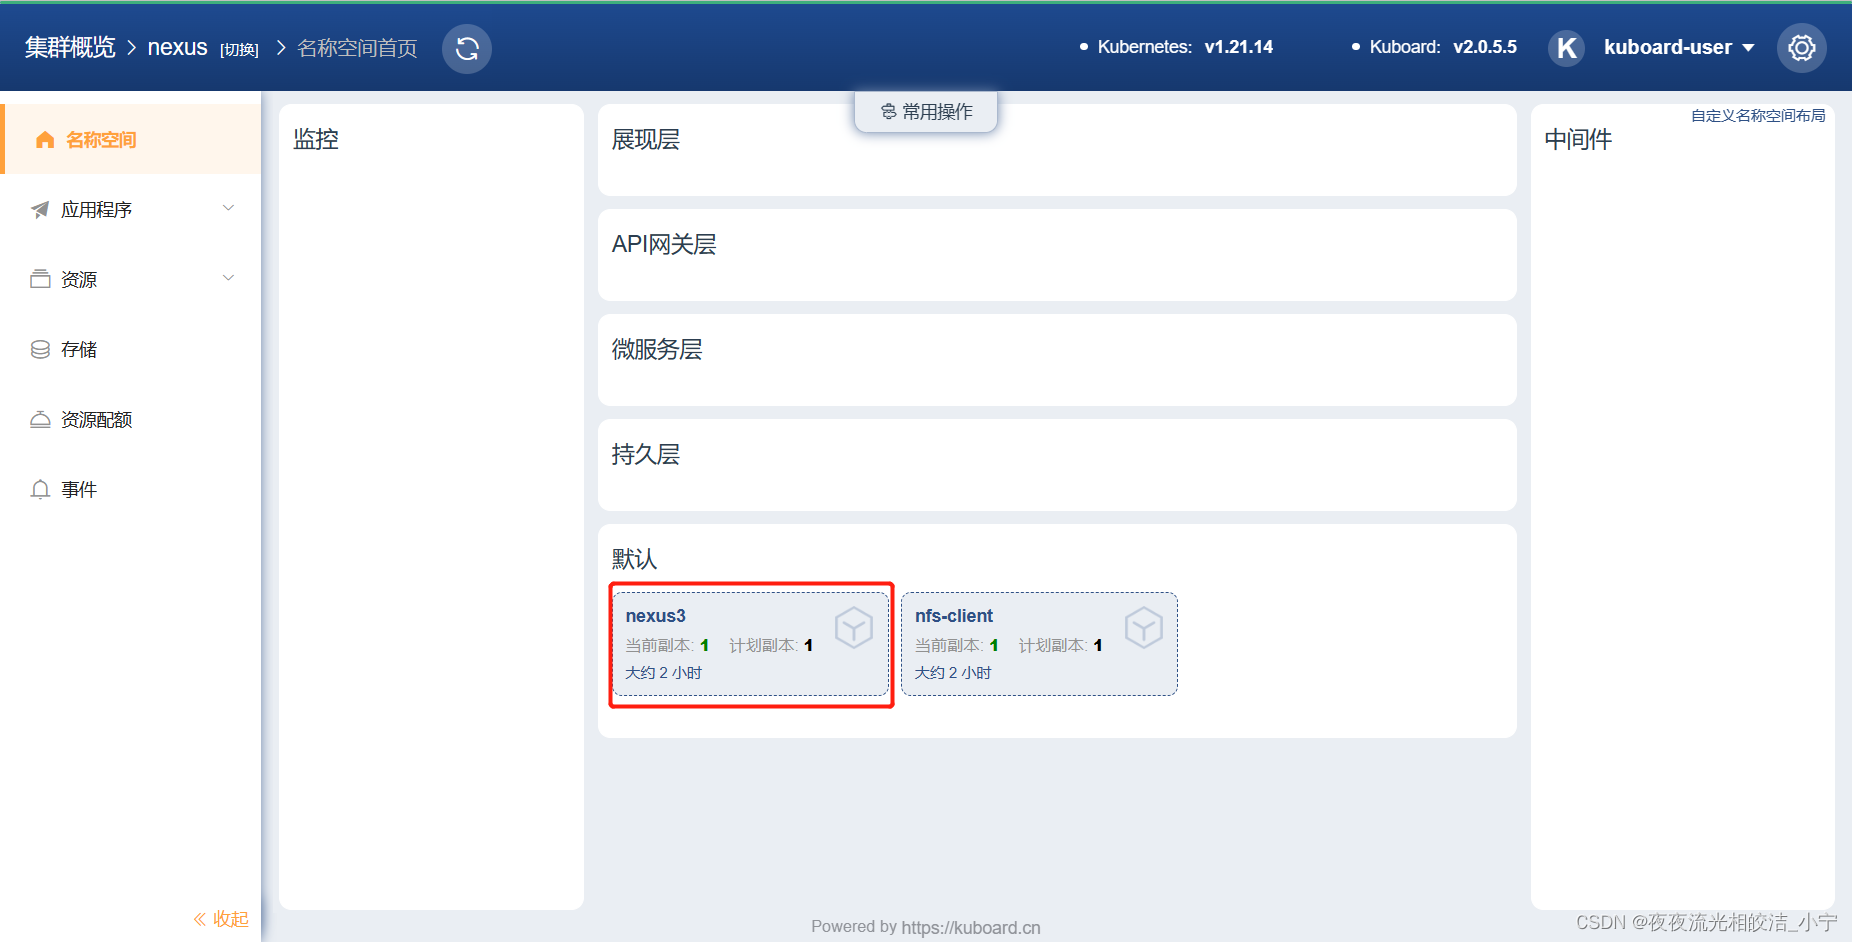
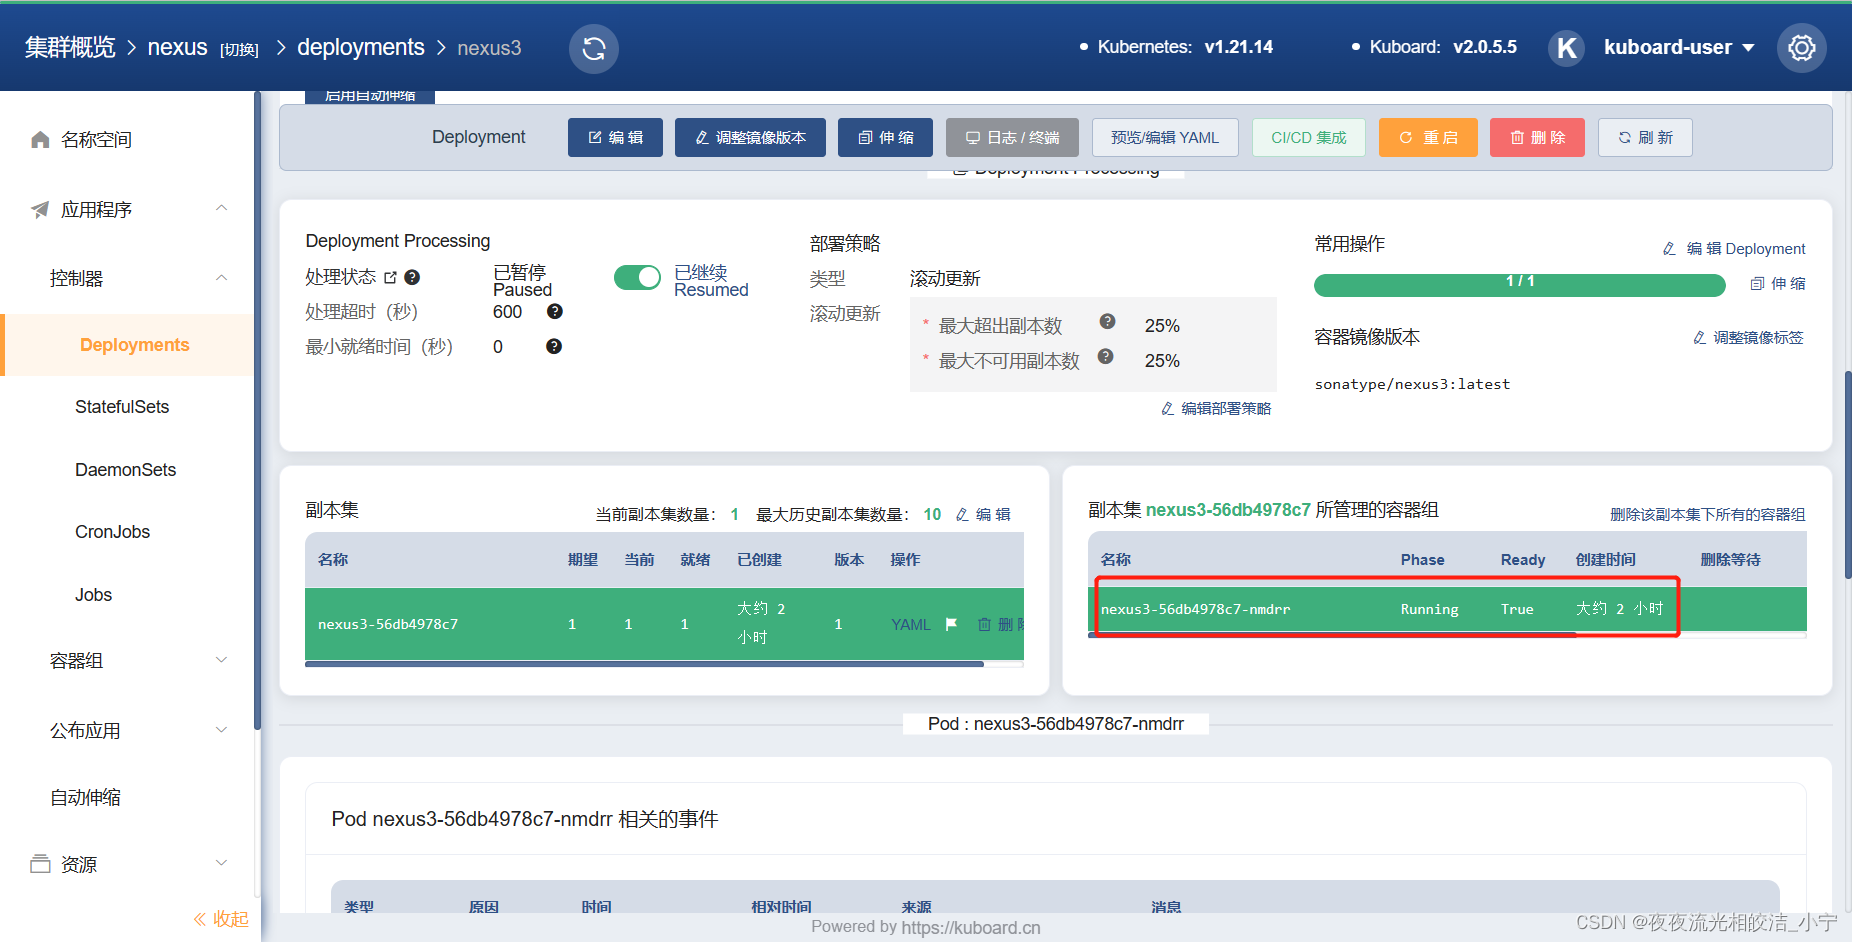
kubectl apply -f nexus-deployment.yaml4.5 检查service和deployment是否创建成功
kubectl get service -n nexus -o wide

kubectl get pod -n nexus -o wide
五、登录测试
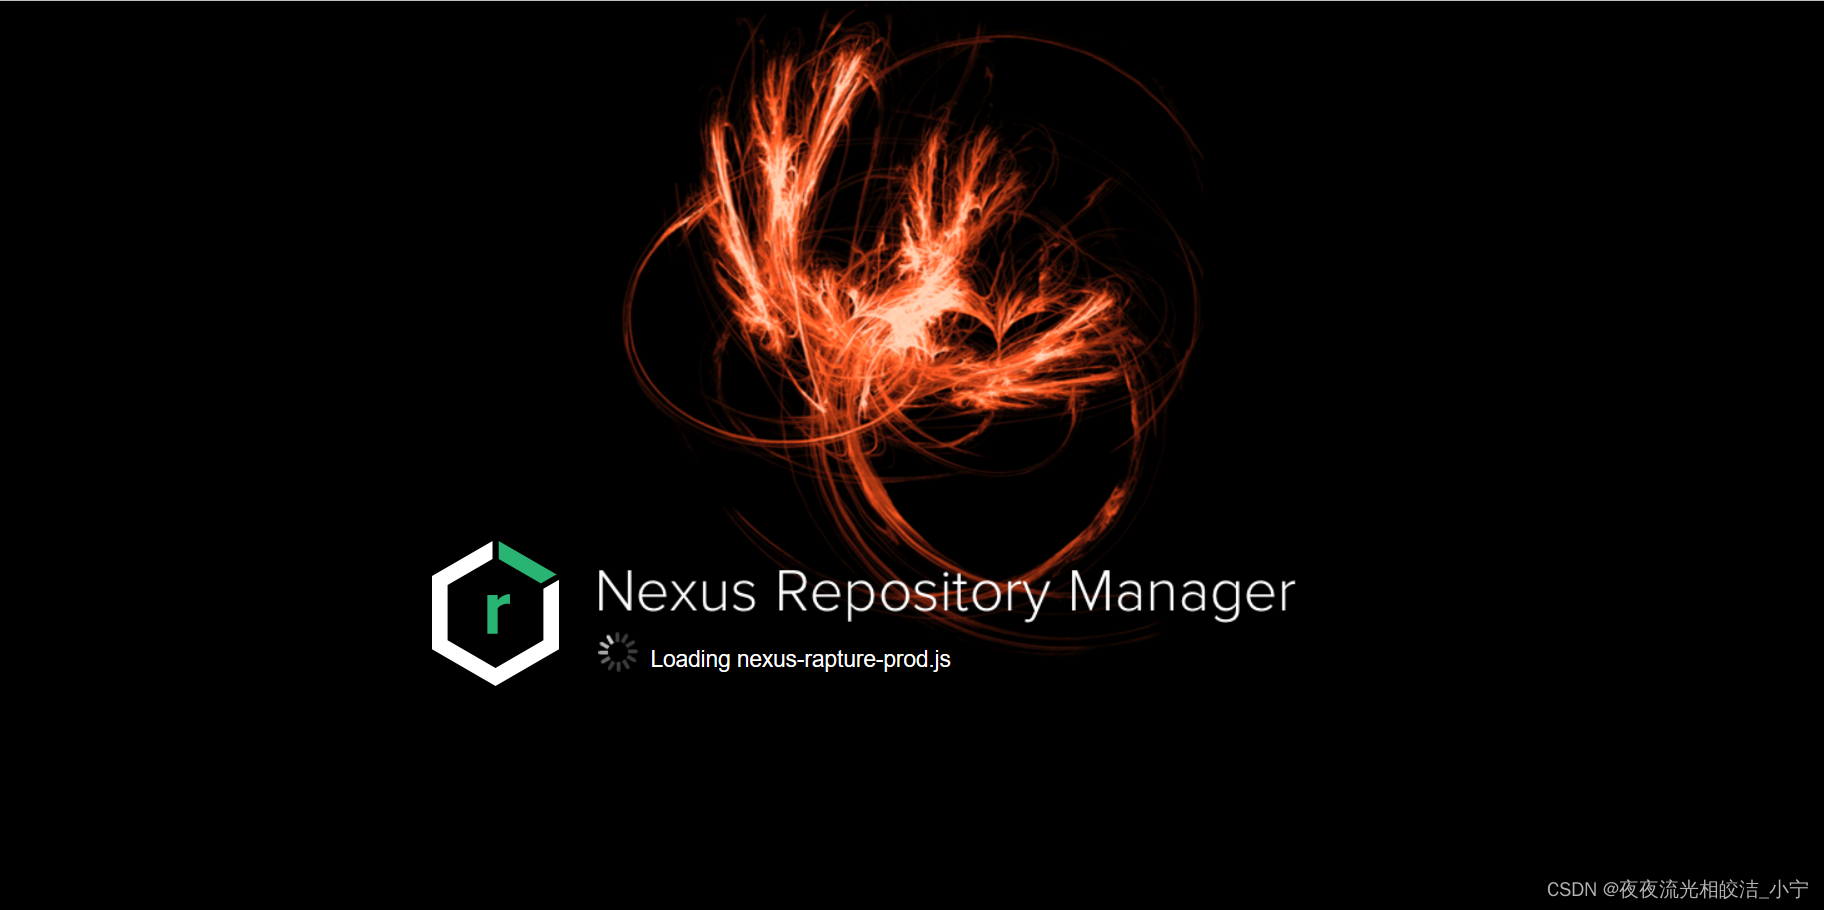
5.1 测试外网访问Nexus
Welcome - Nexus Repository Manager

5.2 获取到默认登录密码
进入Nexus 容器,默认的登录密码在/nexus-data/admin.password 目录下,通过cat /nexus-data/admin.password 把密码打印在屏幕上,默认的账号名是admin

5.3 修改密码
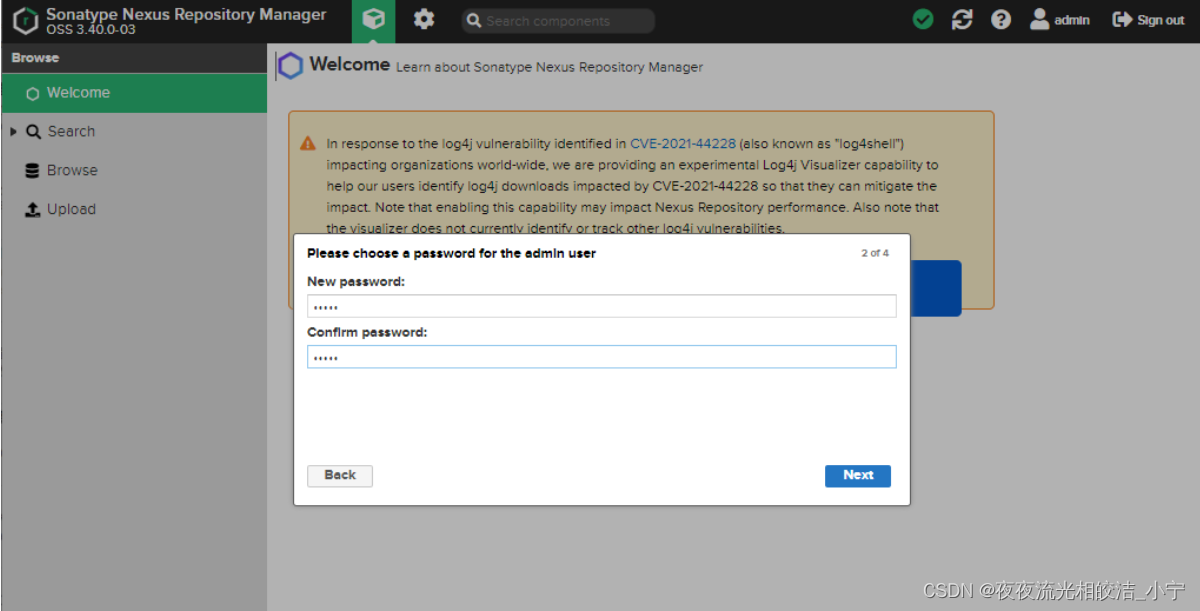
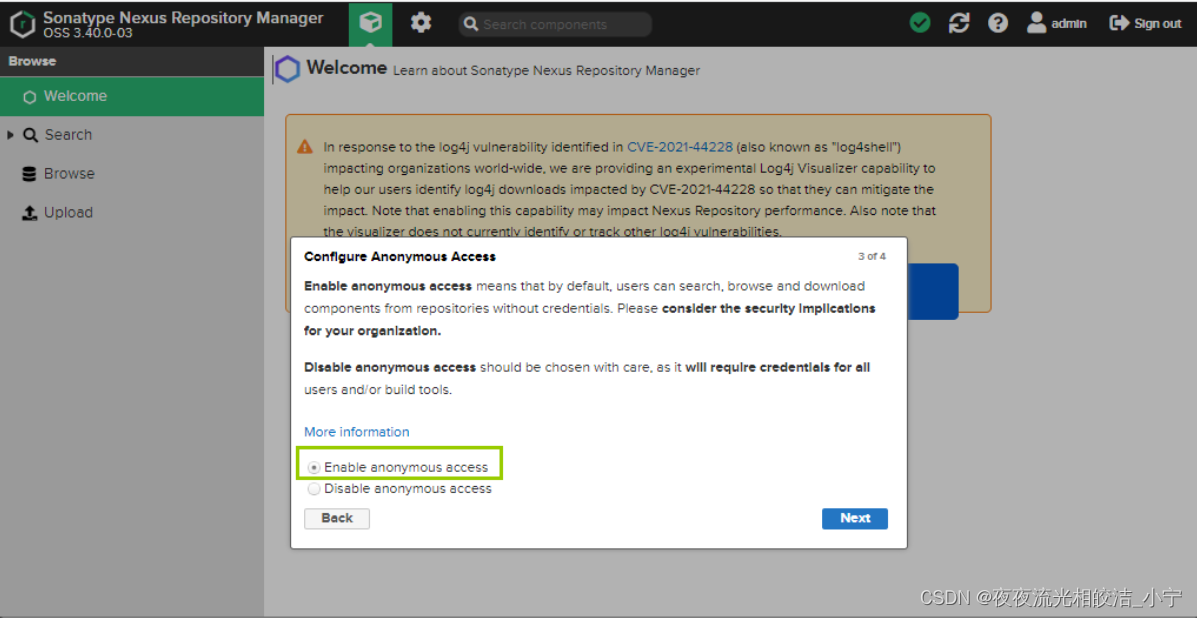
修改完密码,重新登录就可以了。好了,到此通过k8s部署Nexus就完成了!
如果觉得本文对您有帮助,欢迎点赞+收藏+关注!


 812
812


 被折叠的 条评论
为什么被折叠?
被折叠的 条评论
为什么被折叠?
 到【灌水乐园】发言


