


springBoot+springSecurity认证流程
整合springSecurity
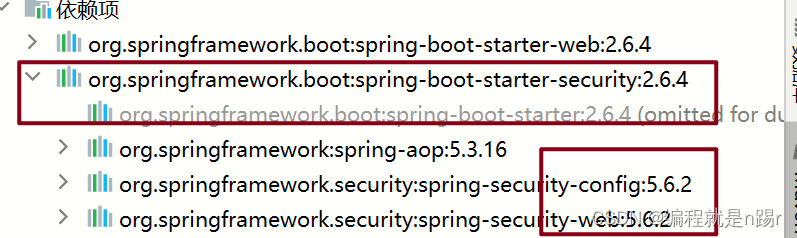
对应springboot版本,直接加依赖,这样版本不会错
<dependency>
    <groupId>org.springframework.boot</groupId>
    <artifactId>spring-boot-starter-security</artifactId>
</dependency>
比如我这里是2.6.4的版本。对应的springSecurity版本是5.6.x
没找到springSecurity对应springboot依赖对应表
但springboot2.x基本对应security的5.x版本
3.x对应6.x版本
最基本的概念:
- 认证和授权
- 认证(Authentication):用户输入账户密码,系统让其登录到系统里
- 授权(authorities):用户的权限不同,他们能在系统做的事情都不同
springSecurity如何实现认证
UsernamePasswordAuthenticationToken可以允许你传入username和password参数
关键代码
UsernamePasswordAuthenticationToken usernamePasswordAuthenticationToken = new UsernamePasswordAuthenticationToken(user.getUserName(),user.getPassword());
然后调用UserDetailsService的loadUserByUsername方法根据username查出数据库中的这个用户
 @Override
    public UserDetails loadUserByUsername(String username) throws UsernameNotFoundException {
        //查询用户信息
        User user = userMapper.findByColumnAndValue("user_name", username);
        if(user==null){
            throw new UsernameNotFoundException("用户名或密码错误");
        }
        //查询用户权限
        List<String> perms = menuMapper.selectPermsByUserId(user.getId());
        return new LoginUser(user,perms);
    }
然后可以调用authenticationManager.authenticate方法对用户输入的账号密码进行验证,密码会经过passwordEncoder去加密,然后和数据库中该用户的账号密码比对。
//加密器 bean
@Bean
    public PasswordEncoder PasswordEncoder(){
        return new BCryptPasswordEncoder();
    }
//验证逻辑
Authentication authenticate = authenticationManager.authenticate(usernamePasswordAuthenticationToken);
如果通过,返回一个Authentication对象,封装了该用户的信息。像这样:
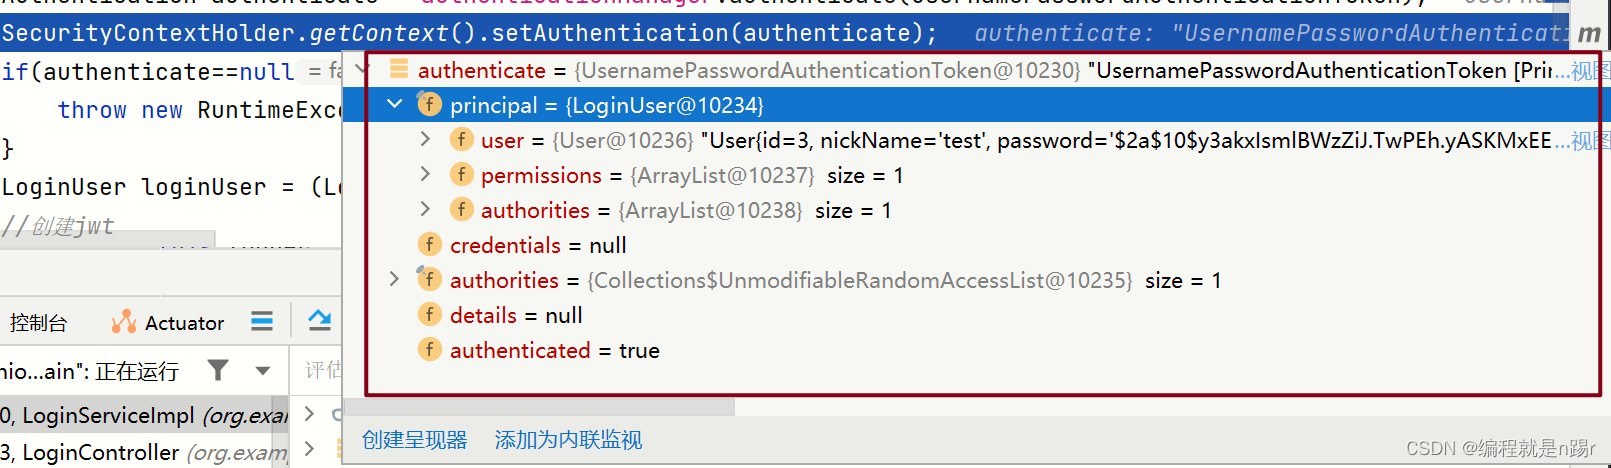
这时需要将信息保存到Security上下文。
像这样:
SecurityContextHolder.getContext().setAuthentication(authenticate);
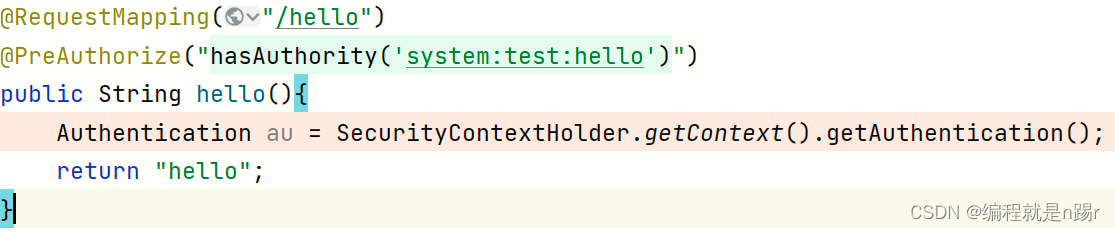
这样,后面的代码就可以通过SecurityContextHolder.getContext()来获取当前用户了。
如果失败,springSecurity会抛出一个异常:AuthenticationException。
框架有默认异常处理器,但一般你可以自定义异常处理器,并把错误信息和业务整合。像这样:
@Component
public class AuthenticationEntryPointImpl implements AuthenticationEntryPoint {
    @Override
    public void commence(HttpServletRequest request, HttpServletResponse response, AuthenticationException authException) throws IOException, ServletException {
        ResponseResult<Object> noAuthentication = ResponseResult.noAuthentication("认证失败");
        String json = JSON.toJSONString(noAuthentication);
        response.setHeader("Access-Control-Allow-Origin", "*");
        response.setHeader("Cache-Control","no-cache");
        response.setCharacterEncoding("UTF-8");
        response.setContentType("application/json");
        response.getWriter().println(json);
        response.getWriter().flush();
    }
}
其他接口如何校验用户是否登录
需要一个检查登录过滤器,这个过滤器要通过检查token,并解析出用户信息,保存到Security上下文
@Component
public class CheckLoginFilter extends OncePerRequestFilter {
    @Autowired
    private UserMapper userMapper;
    @Autowired
    private RedisCache redisCache;
    @Override
    protected void doFilterInternal(HttpServletRequest request, HttpServletResponse response, FilterChain filterChain) throws ServletException, IOException {
        // 如果请求路径是登录接口,直接放行
        String requestURI = request.getRequestURI();
        if ("/user/login".equals(requestURI)) {
            filterChain.doFilter(request, response);
            return;
        }

        //获取token
        String token = request.getHeader("token");
        if(token==null){
            //springSecurity有一个过滤器会自动检查Context有没有认证
            throw new RuntimeException("token为空");
        }
        //解析token,获取userId
        Claims claims = JwtUtils.parserClaimsFromToken(token);
        if(claims==null){
            throw new RuntimeException("token非法");
        }
        //从redis数据库里取
        Long userId = claims.get("userId", Long.class);
        String redisKey="login:"+userId;
        LoginUser loginUser = (LoginUser) redisCache.getCacheObject(redisKey);
        if(loginUser==null){
            throw new RuntimeException("没有登录:redis没有登录key");
        }
        //todo 从数据库查该用户的权限,先写死
        //将用户信息存入Authentication
        //权限存入,全局设置为该请求已经认证过
        UsernamePasswordAuthenticationToken usernamePasswordAuthenticationToken = new UsernamePasswordAuthenticationToken(loginUser,null,loginUser.getAuthorities());
        SecurityContextHolder.getContext().setAuthentication(usernamePasswordAuthenticationToken);
        //checkLogin完成,放行
        filterChain.doFilter(request,response);

    }
}
基本流程图(转自https://www.bilibili.com/video/BV1mm4y1X7Hc?p=39&vd_source=a312f003d7c3e57dfd813b31f9cd4a8e)


 1万+
1万+

 被折叠的 条评论
为什么被折叠?
被折叠的 条评论
为什么被折叠?
 到【灌水乐园】发言


