<?xml version="1.0" encoding="UTF-8"?>
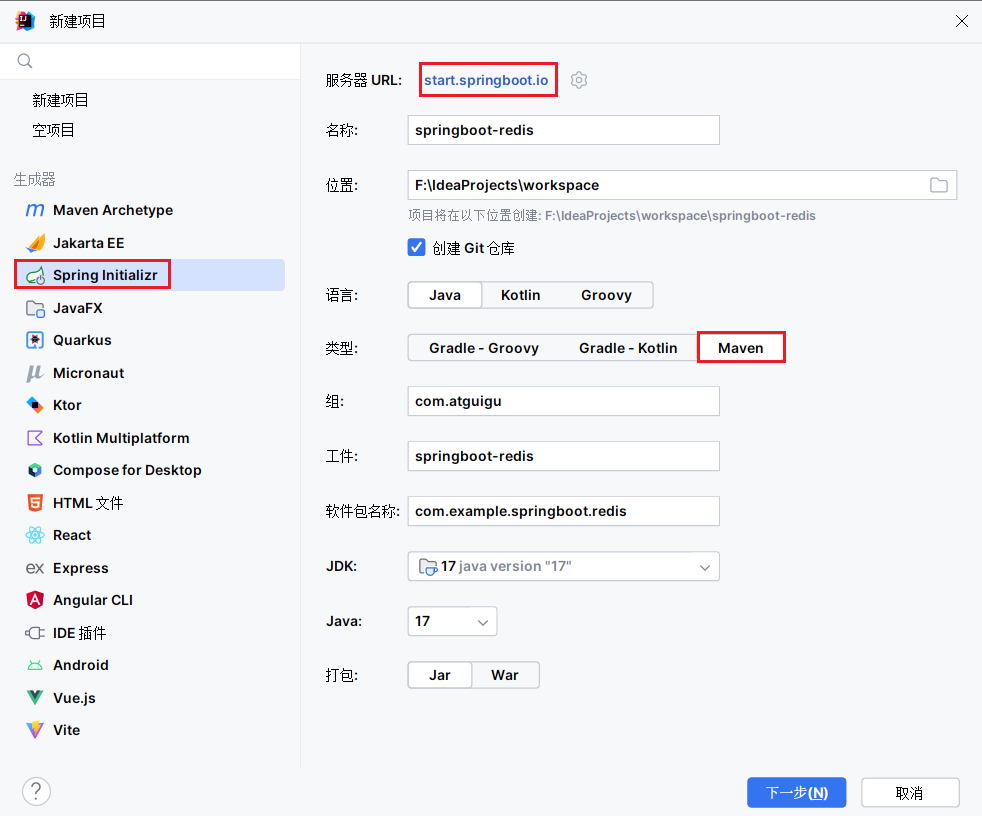
< projectxmlns = " http://maven.apache.org/POM/4.0.0" xmlns: xsi= " http://www.w3.org/2001/XMLSchema-instance" xsi: schemaLocation= " http://maven.apache.org/POM/4.0.0 https://maven.apache.org/xsd/maven-4.0.0.xsd" > < modelVersion> </ modelVersion> < parent> < groupId> </ groupId> < artifactId> </ artifactId> < version> </ version> < relativePath/> </ parent> < groupId> </ groupId> < artifactId> </ artifactId> < version> </ version> < name> </ name> < description> </ description> < properties> < java.version> </ java.version> </ properties> < dependencies> < dependency> < groupId> </ groupId> < artifactId> </ artifactId> </ dependency> < dependency> < groupId> </ groupId> < artifactId> </ artifactId> </ dependency> < dependency> < groupId> </ groupId> < artifactId> </ artifactId> </ dependency> < dependency> < groupId> </ groupId> < artifactId> </ artifactId> </ dependency> </ dependencies> < build> < plugins> < plugin> < groupId> </ groupId> < artifactId> </ artifactId> </ plugin> </ plugins> </ build> </ project> spring :
data :
redis :
host : 192.168.74.148
port : 6379
package com. atguigu. springboot. redis ;
import org. springframework. boot. SpringApplication ;
import org. springframework. boot. autoconfigure. SpringBootApplication ;
@SpringBootApplication
public class SpringbootRedisApplication {
public static void main ( String [ ] args) {
SpringApplication . run ( SpringbootRedisApplication . class , args) ;
}
}
package com. atguigu. springboot. redis ;
import org. junit. jupiter. api. Test ;
import org. springframework. beans. factory. annotation. Autowired ;
import org. springframework. boot. test. context. SpringBootTest ;
import org. springframework. data. redis. core. RedisTemplate ;
@SpringBootTest
class SpringbootRedisApplicationTests {
@Autowired
private RedisTemplate redisTemplate;
@Test
void contextLoads ( ) {
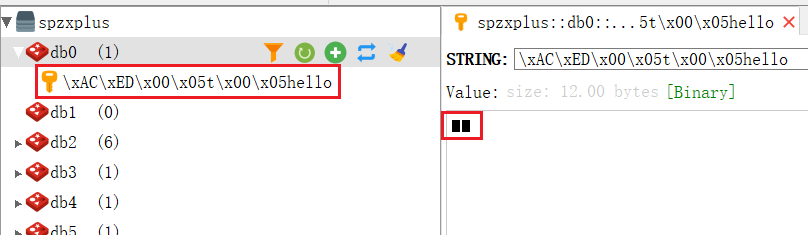
redisTemplate. opsForValue ( ) . set ( "hello" , "world" ) ;
}
}
127.0 .0.1:6379 >select 0
OK
127.0 .0.1:6379 >1 ) "\xac \xed \x00 \x05 t\x00 \x05 hello"
127.0 .0.1:6379 >"\xac \xed \x00 \x05 t\x00 \x05 hello"
"\xac \xed \x00 \x05 t\x00 \x05 world"
127.0 .0.1:6379 >
package com. atguigu. springboot. redis ;
import org. springframework. context. annotation. Bean ;
import org. springframework. context. annotation. Configuration ;
import org. springframework. data. redis. connection. RedisConnectionFactory ;
import org. springframework. data. redis. core. RedisTemplate ;
import org. springframework. data. redis. serializer. GenericJackson2JsonRedisSerializer ;
@Configuration
public class AppRedisConfiguration {
@Bean
public RedisTemplate < Object , Object > redisTemplate ( RedisConnectionFactory redisConnectionFactory) {
RedisTemplate < Object , Object > = new RedisTemplate < > ( ) ;
template. setConnectionFactory ( redisConnectionFactory) ;
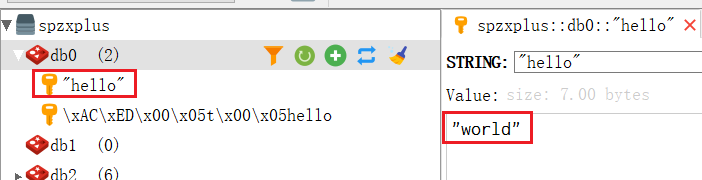
template. setDefaultSerializer ( new GenericJackson2JsonRedisSerializer ( ) ) ;
return template;
}
}
此时再执行一下测试类SpringbootRedisApplicationTests,乱码问题就得到解决
127.0 .0.1:6379 >1 ) "\xac \xed \x00 \x05 t\x00 \x05 hello"
2 ) "\" hello\" "
127.0 .0.1:6379 >"\" hello\" "
"\" world\" "
127.0 .0.1:6379 >


 1048
1048

 被折叠的 条评论
为什么被折叠?
被折叠的 条评论
为什么被折叠?
 到【灌水乐园】发言


