


首先对app.component.html进行简单布局
 <div class="bigBox">
    <div class="content">
      <div class="left">
        <button>去蓝色页面</button>
        <button>去黄色页面</button>
      </div>
      <div class="right"> </div>
    </div>
  </div>
创建好需要的路由组件:在控制台输入 ng g component 组件名 可快速创建组件并自动注册
ng g component blue
ng g component yellow
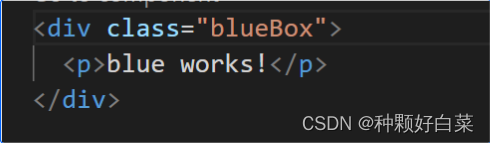
src\app\blue\blue.component.html
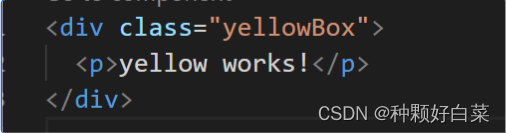
src\app\blue\yellow.component.html
src\app\app.module.ts
import { NgModule } from '@angular/core';
import { BrowserModule } from '@angular/platform-browser';

import { AppComponent } from './app.component';
import { BlueComponent } from './blue/blue.component';
import { YellowComponent } from './yellow/yellow.component';
import { RouterModule } from '@angular/router';
//声明路由词典——路由地址和路由组件的对应集合
let routes = [
  {path:'blue',component:BlueComponent},
  {path:'yellow',component:YellowComponent},
]
@NgModule({
  declarations: [
    AppComponent,
    BlueComponent,
    YellowComponent
  ],
  imports: [
    BrowserModule,
    RouterModule.forRoot(routes)
  ],
  providers: [],
  bootstrap: [AppComponent]
})
export class AppModule { }
定义“路由词典”
let routes = [
  {path:'blue',component:BlueComponent},
  {path:'yellow',component:YellowComponent},
]
路由定义是一个 JavaScript 对象。每个路由通常都有两个属性。第一个属性 path 是一个字符串,它指定路由的 URL 路径。第二个属性 component 是组件类,它指定应用要为该路由显示哪个组件。
当应用程序请求导航到路径 "/blue" 时,路由器激活一个 BlueComponent 的实例,显示它的视图,并将该路径更新到浏览器地址栏和历史。
路由词典中的路由地址不能以“/”开头,但是可以包含“/”。
注册 Router 和 Routes
import { RouterModule } from '@angular/router'
imports: [
    BrowserModule,
    RouterModule.forRoot(routes)
  ],
为了使用 Router,必须注册来自 @angular/router 包中的 RouterModule。定义一个路由数组 routes,并把它传给 RouterModule.forRoot() 方法。RouterModule.forRoot() 方法会返回一个模块,其中包含配置好的 Router 服务提供者,以及路由库所需的其它提供者。
把 RouterModule.forRoot() 注册到 AppModule 的 imports 数组中,能让该 Router 服务在应用的任何地方都能使用。
创建路由组件挂载点——“路由出口”
src\app\app.component.html
  <div class="bigBox">
    <div class="content">
      <div class="left">
        <button routerLink="/blue">去蓝色页面</button>
        <button routerLink="/yellow">去黄色页面</button>
      </div>
      <div class="right">
        <router-outlet></router-outlet>
      </div>
    </div>
  </div>
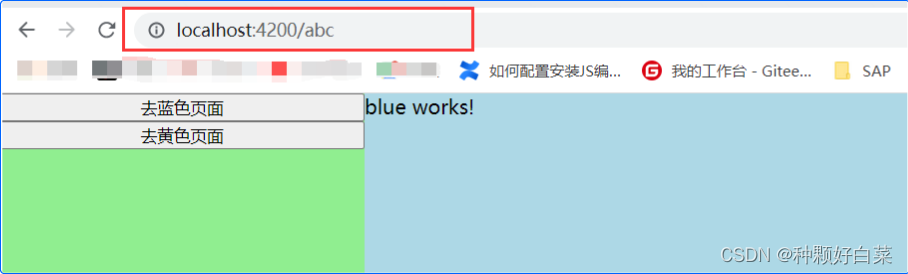
根组件 AppComponent 是本应用的壳。它在左边带两个按钮的导航条,在右边有一个路由器出口,路由器会在它所指定的位置上渲染各个组件.
<button>标签要设置对应的URL,如:routerLink="/blue",routerLink指令将你定义的路由连接到模板文件中。
路由出口<router-outlet>扮演一个占位符的角色,表示路由组件将会渲染到那里。
定义通配符路由
之前在应用中创建过两个路由,一个是 "/blue",另一个是 "/yellow"。 所有其它 URL 都会导致路由器抛出错误,并让应用崩溃。
可以添加一个通配符路由来拦截所有无效的 URL处理它们。 通配符路由的 path 是两个星号(**),它会匹配任何 URL。 而当路由器匹配不上以前定义的那些路由时,它就会选择这个通配符路由(匹配任何没有被定义的路由)。
let routes = [
  {path:'blue',component:BlueComponent},
  {path:'yellow',component:YellowComponent},
  { path: '**', component: BlueComponent },
]
路由器会从上往下按照顺序的策略来选择路由。 由于通配符路由是最不具体的那个,因此务必确保它是路由配置中的最后一个路由。
可以添加 一个404 页面组件(ng g component 404-notFound),利用通配符路由,当用户搜索任何没有被定义的页面都会跳转到该404页面。
添加一个重定向
let routes = [
  {path:'blue',component:BlueComponent},
  {path:'yellow',component:YellowComponent},
  {path:'',redirectTo:'/yellow',pathMatch:'full'},
  { path: '**', component: BlueComponent },
]
重定向路由需要一个 pathMatch 属性,来告诉路由器如何用 URL 去匹配路由的路径。
在本应用中,当我的路径为‘ ’时,就会被重定向到路径“/yellow”,路由器只有在完整的 URL等于 ‘ ’ 时才选择 YellowComponent 组件,因此要把 pathMatch 设置为 'full'(完全匹配)。
pathMatch 的另一个值是 'prefix',表示前缀匹配,只要以该路由的path值开头的路径都会被匹配到。
当地址为localhost:4200,回车时就会被重定向到:

路由传参:
这里我重新添加了一个页面组件(ng g component pink),并把它添加到了路由里:
let routes = [
  {path:'blue',component:BlueComponent},
  {path:'yellow',component:YellowComponent},
  {path:'pink/:name',component:PinkComponent},    //新增的pink页面组件路由
  {path:'',redirectTo:'/yellow',pathMatch:'full'},
  { path: '**', component: BlueComponent },
]
在path为pink的路由上定义了一个叫name路由参数。
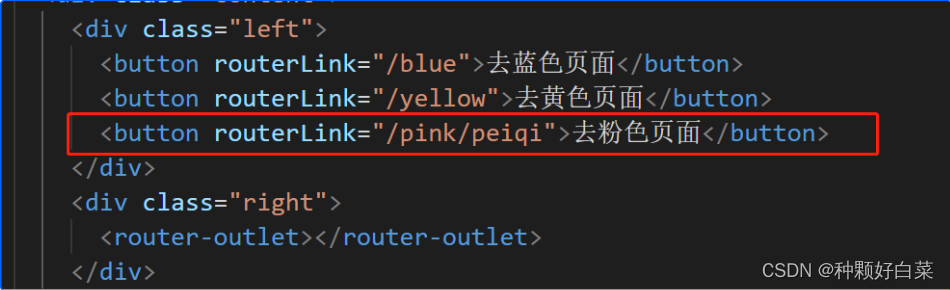
src\app\app.component.html
当需要传递参数时,routerLink的写法就与之前不同,值是以路径/参数的形式呈现/pink/peiqi。peiqi就是要传递的参数name。
如果需要传递的参数是一个变量:
src\app\app.component.ts
import { BlueService } from './blue.service';
import { Component } from '@angular/core';

@Component({
  selector: 'app-root',
  templateUrl: './app.component.html',
  styleUrls: ['./app.component.css']
})
export class AppComponent {
  title = 'AngularDemo';
  information = {key:'aaa',value:'bbb'};
  constructor(private blueService:BlueService){}
  ngOnInit(){
  }
}
此时information.key就是要传递的参数name。
src\app\pink\pink.component.ts
import { Component, OnInit } from '@angular/core';
import { ActivatedRoute } from '@angular/router';

@Component({
  selector: 'app-pink',
  templateUrl: './pink.component.html',
  styleUrls: ['./pink.component.css']
})
export class PinkComponent implements OnInit {
  name: any=''
  constructor(private route:ActivatedRoute) { }

  ngOnInit(): void {
    this.route.paramMap.subscribe(params => {
      this.name = params.get('name');
      console.log("路由中传过来的name是:" + this.name);
    });
  }
}
使用路由一定不要忘了注入依赖private route:ActivatedRoute
 this.route.paramMap.subscribe(params => {
      this.name = params.get('name');
      console.log("路由中传过来的name是:" + this.name);
    });
该方法是获取路由传递的参数,然后赋值给当前组件的name。
paramMap : 一个Observable,其中包含一个由当前路由的必要参数和可选参数组成的map对象。
routerLink中的name参数就是必要参数,如果不写页面将不能跳转。
src\app\pink\pink.component.html
<div class="pinkBox">
  <p>pink works!</p>
  <h4>
    我获取了参数:{{name}}
  </h4>
</div>


 1296
1296


 被折叠的 条评论
为什么被折叠?
被折叠的 条评论
为什么被折叠?
 到【灌水乐园】发言


