


SpringBoot的搭建
一、简介
特点:springboot简化配置,使项目更简单管理和操作,提高开发效率
二、配置环境要求
依赖springboot2.0以上
jdk8及以上
idea
三、搭建方法两种:
使用maven方式和idea自带的spring initializr创建
其一
使用maven创建:
1 使用intelligent IDEA 创建一个名为SpringBootUnion的maven项目
2 在该项目的pom.xml中导入相关依赖
完整pom.xml内容
<?xml version="1.0" encoding="UTF-8"?>
<project xmlns="http://maven.apache.org/POM/4.0.0"
         xmlns:xsi="http://www.w3.org/2001/XMLSchema-instance"
         xsi:schemaLocation="http://maven.apache.org/POM/4.0.0 http://maven.apache.org/xsd/maven-4.0.0.xsd">
    <modelVersion>4.0.0</modelVersion>

    <groupId>org.example</groupId>
    <artifactId>springboot2022</artifactId>
    <version>1.0-SNAPSHOT</version>

    <properties>
        <maven.compiler.source>8</maven.compiler.source>
        <maven.compiler.target>8</maven.compiler.target>
    </properties>

    <dependencies>
        <!--SpringBoot启动依赖-->
        <dependency>
            <groupId>org.springframework.boot</groupId>
            <artifactId>spring-boot-starter-web</artifactId>
            <version>2.6.3</version>
        </dependency>
        <dependency>
            <groupId>org.springframework.boot</groupId>
            <artifactId>spring-boot-starter-test</artifactId>
            <version>2.6.3</version>
            <scope>test</scope>
        </dependency>
    </dependencies>

</project>
3 项目包框架
在项目的src包下的main包中的java包下创建自己的项目结构包,如下

4 在自己创建的包下创建一个主程序SpringBootUnionApplication.java,用于启动springboot
package com.jwh.springboot.springboot;


import org.springframework.boot.SpringApplication;
import org.springframework.boot.autoconfigure.SpringBootApplication;


/**
* @author JING
*/
@SpringBootApplication
public class SpringBootUnionApplication {
    public static void main(String[] args) {
        SpringApplication.run(SpringBootUnionApplication.class,args);
    }
}
5 在controller包里新建一个controller SpringBootUnionController.java,测试springboot启动成功
package com.jwh.springboot.springboot.controller;

import org.springframework.http.MediaType;
import org.springframework.web.bind.annotation.CrossOrigin;
import org.springframework.web.bind.annotation.RequestMapping;
import org.springframework.web.bind.annotation.RequestMethod;
import org.springframework.web.bind.annotation.RestController;

/**
* @author JING
* 此处只能用@RestController注解,不能用@Controller,不然会报错
*/
@RestController
@RequestMapping("/springboot")
public class SpringBootUnionController {
        @CrossOrigin
        @RequestMapping(value = "/test",method = RequestMethod.POST,produces = MediaType.APPLICATION_JSON_VALUE)
    public String test(){
            return "springboot install successfully!";
        }
}
6 启动SpringBootUnionApplication.java主程序,
启动成功的界面

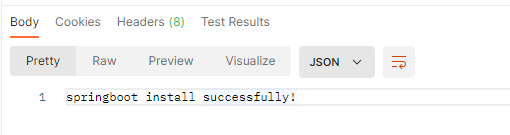
7 使用postman 访问路径为 127.0.0.1:8080/springboot/test

8 结果返回,项目可以正常使用
其二
使用spring initializr
1 新建项目 如图选择Spring Initializr 创建

2 选择web - spring web

3 选择finish 界面如图
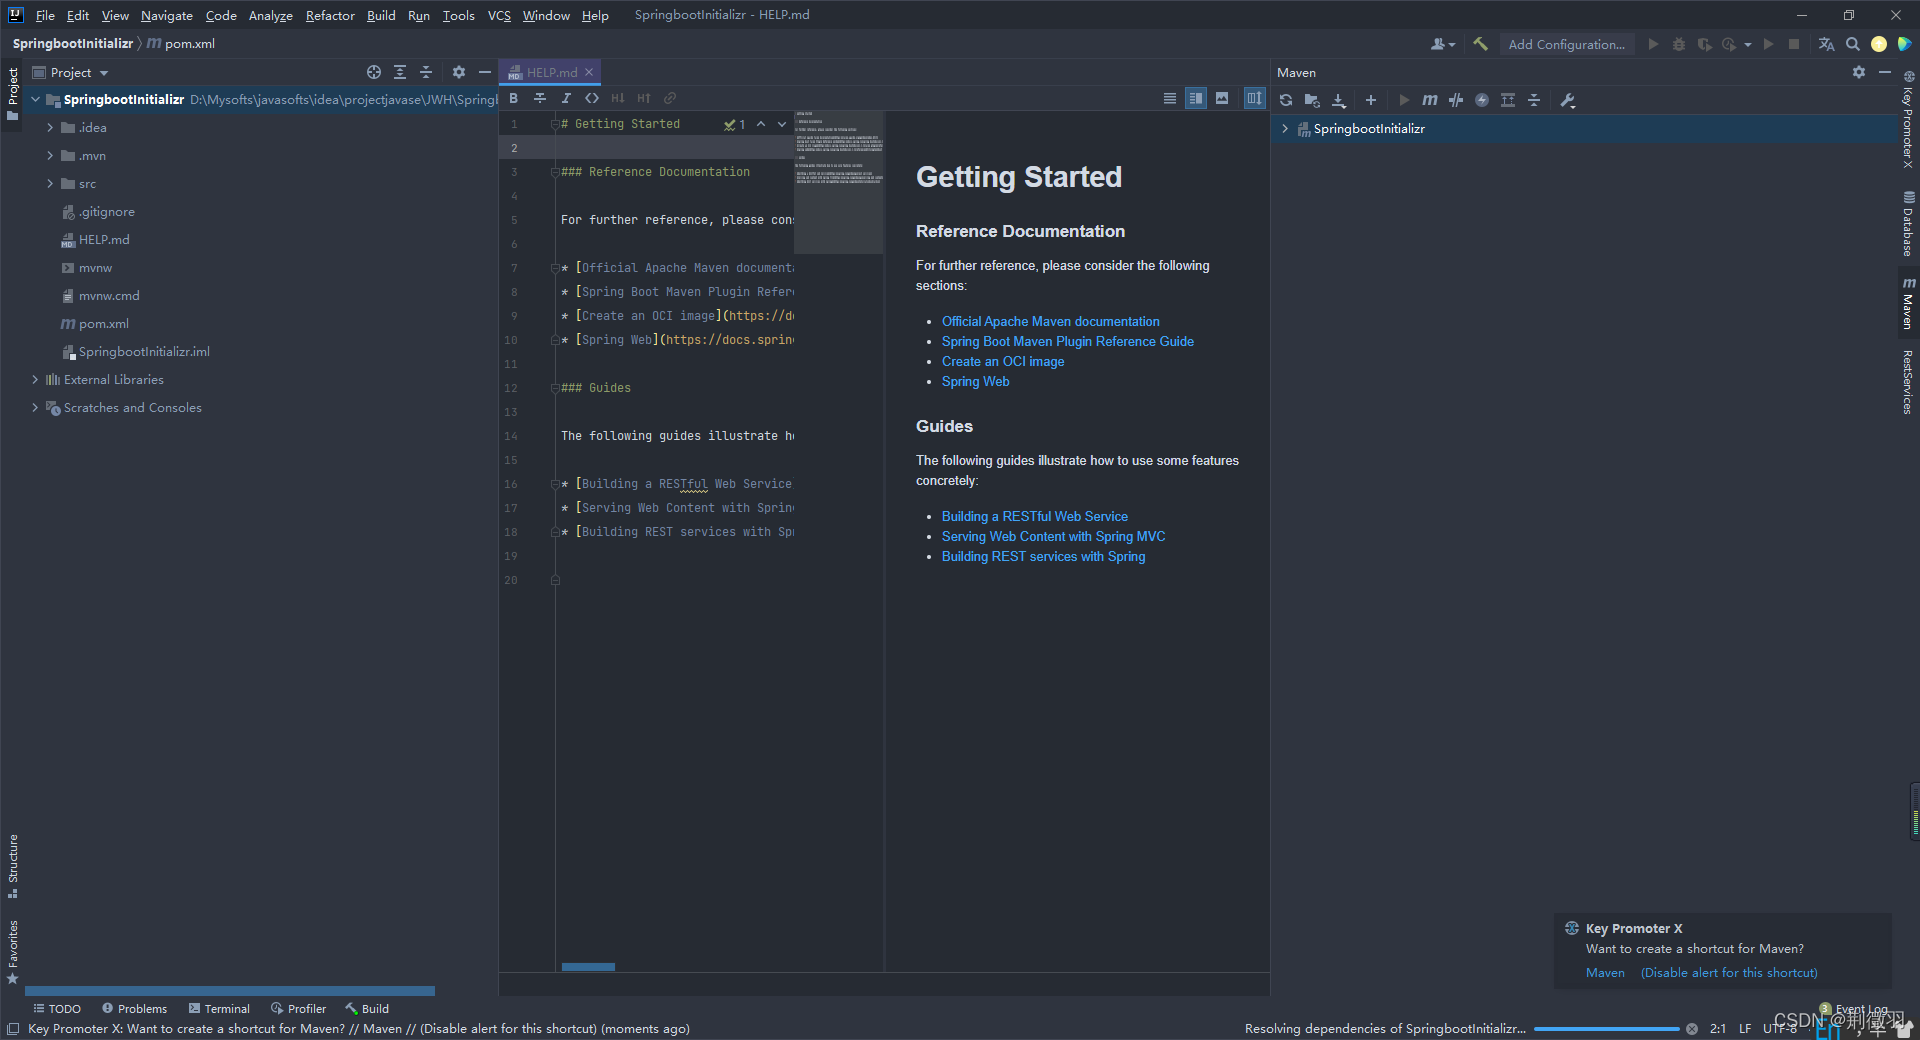
4 项目包结构

5 启动项也自动创建好了,编写controller类进行测试,同之前maven创建后的测试一样
结束!


 1276
1276


 被折叠的 条评论
为什么被折叠?
被折叠的 条评论
为什么被折叠?
 到【灌水乐园】发言


