


<project xmlns=“http://maven.apache.org/POM/4.0.0” xmlns:xsi=“http://www.w3.org/2001/XMLSchema-instance”
xsi:schemaLocation="http://maven.apache.org/POM/4.0.0 http://maven.apache.org/xsd/maven-4.0.0.xsd">

<modelVersion>4.0.0</modelVersion>

<groupId>com</groupId>

<artifactId>springboot</artifactId>

<version>0.0.1-SNAPSHOT</version>

<packaging>jar</packaging>
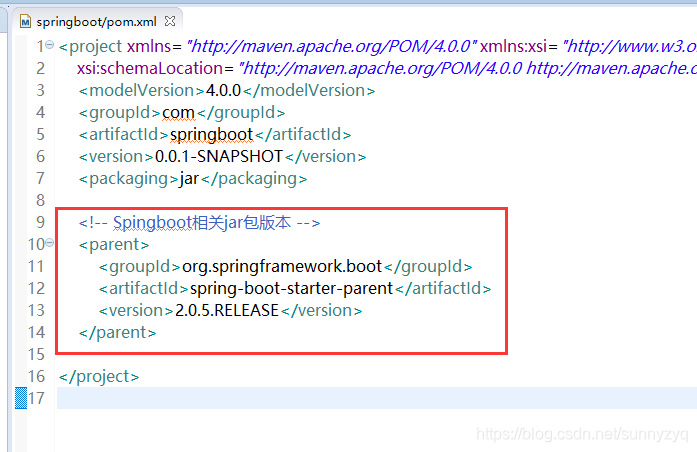
(2.2)定义父类:springboot 所有jar包版本,这里为 2.0.5.RELEASE 版本
<!-- Spingboot相关jar包版本 -->

<parent>

    <groupId>org.springframework.boot</groupId>

    <artifactId>spring-boot-starter-parent</artifactId>

    <version>2.0.5.RELEASE</version>

</parent>
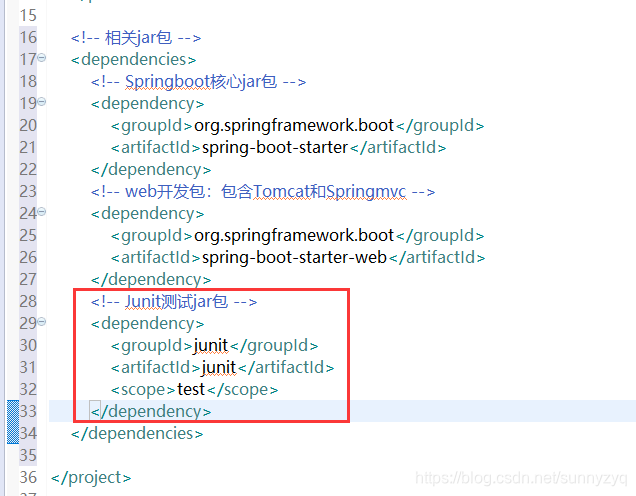
(2.3)加入springboot核心包、和web开发必须的包
<!-- 相关jar包 -->

<dependencies>

	<!-- Springboot核心jar包 -->

 	<dependency>

        <groupId>org.springframework.boot</groupId>

        <artifactId>spring-boot-starter</artifactId>

    </dependency>

    <!-- web开发包:包含Tomcat和Springmvc -->

    <dependency>

        <groupId>org.springframework.boot</groupId>

        <artifactId>spring-boot-starter-web</artifactId>

    </dependency>

</dependencies>

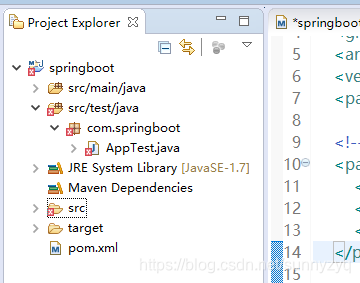
(2.4)可以看到,我们项目测试类现在还有一个大红叉,是因为我们刚刚吧把初始的Junit包干掉了,现在,我们重新加入Junit包。
(2.5)加入Junit测试包,保存。
    <!-- Junit测试jar包 -->

    <dependency>

        <groupId>junit</groupId>

        <artifactId>junit</artifactId>

        <scope>test</scope>

    </dependency>
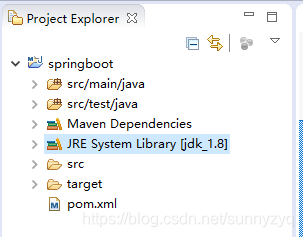
(2.6)重新maven update一下,小红叉就没有了(这里JRE我手动换成了自己常用的jdk1.8)。
(2.7)我们创建一个App类,用来启动项目用(创建项目的时候已经有这个类了,现在只需要修改代码为如下)。

package com.springboot;
import org.springframework.boot.SpringApplication;
import org.springframework.boot.autoconfigure.SpringBootApplication;
/**
- 项目启动类
*/
@SpringBootApplication
public class App {
public static void main(String[] args) {

    SpringApplication.run(App.class, args);

}
}
里面就一个注解,和一个启动程序的方法。
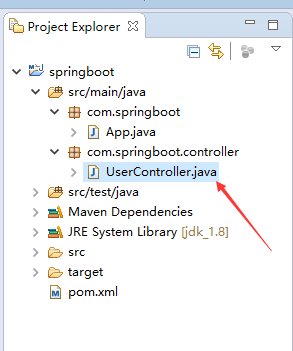
(2.8)创建Controller:我们同样举例以万年不变的User为例,取名UserController。
package com.springboot.controller;
import org.springframework.stereotype.Controller;
import org.springframework.web.bind.annotation.RequestMapping;
import org.springframework.web.bind.annotation.ResponseBody;
@Controller
public class UserController {
@RequestMapping("/hello")

@ResponseBody

public String hello() {

	return "Hello World !!!";

}
}
 最低0.47元/天 解锁文章


 9908
9908


 被折叠的 条评论
为什么被折叠?
被折叠的 条评论
为什么被折叠?
 到【灌水乐园】发言


