


目录
系列文章
前言
Hello,小伙伴们晚上好吖!本文博主想送给大家一份不一样的生日蛋糕,感谢大家对俺滴支持!完整代码在这里哦:https://want595.blog.csdn.net/article/details/128739755
生日蛋糕
底盘
在制作蛋糕之前咱们需要先找到一个好看的盘子吖~

程序设计
def ground_floor(width,height,colors_a,h):
    t.penup()
    t.goto(width, h)
    t.pendown()
    t.begin_fill()
    t.fillcolor(colors_a[0])
    for i in range(360):
        x=draw_x(width, i)
        y=draw_y(height,i)+h
        t.goto(x,y)
    t.end_fill()
    t.begin_fill()
    t.fillcolor(colors_a[1])
    for i in range(180):
        x=draw_x(width, -i)
        y=draw_y(height+10,-i)+h
        t.goto(x,y)
    for i in range(180,360):
        x=draw_x(width, i)
        y=draw_y(height,i)+h
        t.goto(x,y)
    t.end_fill()
程序分析
这个函数用来绘制蛋糕的底面,是整个蛋糕绘制过程中非常重要的一步。它接受四个参数:width表示蛋糕的底面直径,height表示蛋糕的高度,colors_a表示填充颜色,h表示蛋糕距离地面的高度。
在函数开始时,我们先使用penup()函数提起画笔,然后使用goto()函数将画笔移动到指定位置。这里的位置是在地面高度的位置上,离地面高度为h的位置处开始绘制。
在确定好绘制位置后,我们使用pendown()函数将画笔落下,并使用begin_fill()函数开始填充。我们使用填充颜色colors_a中的第一个颜色进行填充。
接下来的绘制过程中需要用到极坐标系来绘制圆形。使用draw_x()和draw_y()函数转换极坐标系的角度和半径,得到每个点的坐标位置。然后,我们使用for循环来绘制整个圆形。从0度开始到360度,每次转动一度,依次连接每个点。
当绘制完整个圆形后,我们使用end_fill()函数结束填充。接下来,我们需要绘制蛋糕的阴影部分。
为了绘制阴影,我们需要先将画笔移动到左侧底部角落的位置。然后,我们开始填充,并将颜色设置为colors_a中的第二个颜色。
绘制阴影的方法与绘制蛋糕的底面类似,但是需要绘制半个圆形,而不是整个圆形。使用for循环绘制从0到180度的半圆形,然后绘制从180度到360度的半圆形,以形成一个完整的半圆形形状。
最后,在绘制完整的阴影后,我们使用end_fill()函数结束填充。这样就完成了蛋糕底面的绘制。
总的来说,这个函数使用了海龟绘图库中的函数和极坐标系,完成了蛋糕底面的绘制。它是整个蛋糕绘制过程中非常重要的一步,为后续的绘制工作提供了基础。
蛋糕
找到了我们喜欢的盘子后,咱们就可以一层层制作蛋糕啦!
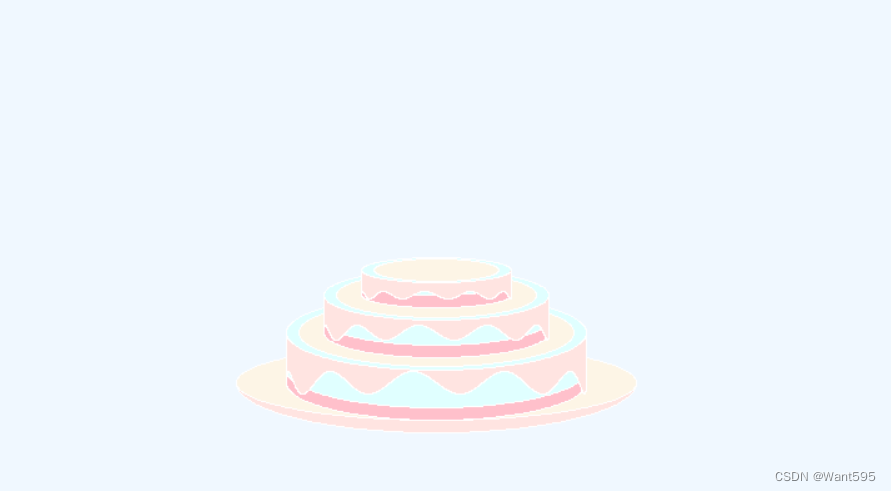
程序设计
def each_piece(width,height_1,height_2,colors_b,h):
    t.penup()
    t.goto(width,h)
    t.pendown()
    t.begin_fill()
    t.fillcolor(colors_b[0])
    for i in range(360):
        x=draw_x(width, i)
        y=draw_y(height_1,i)+h
        t.goto(x,y)
    t.end_fill()
    t.begin_fill()
    t.fillcolor(colors_b[0])
    for i in range(540):
        x=draw_x(width, i)
        y=draw_y(height_1,i)+height_2+h
        t.goto(x,y)
    t.goto(-width,h)
    t.end_fill()
    t.penup()
    t.goto(width-10,height_2+h)
    t.pendown()
    t.begin_fill()
    t.fillcolor(colors_b[1])
    for i in range(360):
        x=draw_x(width - 10, i)
        y=draw_y(height_1*0.9,i)+height_2+h
        t.goto(x,y)
    t.end_fill()
    t.penup()
    t.goto(width,h)
    t.pendown()
    t.begin_fill()
    t.fillcolor(colors_b[2])
    for i in range(180):
        x=draw_x(width, -i)
        y=draw_y(height_1,-i)+10+h
        t.goto(x,y)
    t.goto(-width,h)
    for i in range(180,360):
        x=draw_x(width, i)
        y=draw_y(height_1,i)+h
        t.goto(x,y)
    t.end_fill()
    t.penup()
    t.goto(width,height_2+h)
    t.pendown()
    t.begin_fill()
    t.fillcolor(colors_b[3])
    for i in range(1800):
        x=draw_x(width, 0.1 * i)
        y=draw_y(-height_1*0.3,i)+h
        t.goto(x,y)
    t.goto(-width,height_2+h)
    for i in range(180,360):
        x=draw_x(width, i)
        y=draw_y(height_1,i)+height_2+h
        t.goto(x,y)
    t.end_fill()
程序分析
这个函数用来绘制蛋糕的每一层,即将整个蛋糕分成若干个部分来绘制。它接受五个参数:width表示每一层蛋糕的直径,height_1表示每一层蛋糕的高度,height_2表示每一层蛋糕之间的距离,colors_b表示每一层的填充颜色,h表示整个蛋糕距离地面的高度。
在函数开始时,我们先使用penup()函数提起画笔,然后使用goto()函数将画笔移动到指定位置。这里的位置是在地面高度的位置上,离地面高度为h的位置处开始绘制。
在确定好绘制位置后,我们使用pendown()函数将画笔落下,并使用begin_fill()函数开始填充。我们使用填充颜色colors_b中的第一个颜色进行填充。
接下来的绘制过程中需要用到极坐标系来绘制圆形。使用draw_x()和draw_y()函数转换极坐标系的角度和半径,得到每个点的坐标位置。然后,我们使用for循环来绘制整个圆形。从0度开始到360度,每次转动一度,依次连接每个点。
当绘制完整个圆形后,我们使用end_fill()函数结束填充。接下来,我们需要绘制蛋糕的其他部分。
为了绘制蛋糕的其他部分,我们需要使用一些额外的函数,比如draw_x()、draw_y()以及goto()等。
具体绘制过程包括以下几个部分:
1. 绘制蛋糕底部:使用第一个填充颜色填充整个圆形,这是蛋糕的基础部分。
2. 绘制蛋糕的中间部分:使用第一个填充颜色填充一个长方形,将第1层和第2层蛋糕之间的距离填满。
3. 绘制蛋糕的侧面:使用第二个填充颜色填充整个半圆形,这是蛋糕的侧面。我们使用圆弧的方式来绘制蛋糕的侧面。
4. 绘制蛋糕的花边:使用第三个填充颜色填充整个半圆形,这是蛋糕的花边。我们使用圆弧的方式来绘制花边,然后缩小花边的半径,使其可以放在蛋糕的顶部。
5. 绘制蛋糕的顶部:使用第四个填充颜色填充整个圆形,这是蛋糕的顶部。我们使用极坐标系来绘制圆形。注意,这里的坐标系与之前的坐标系可能略有不同。
绘制完整个蛋糕之后,我们使用end_fill()函数结束填充。
总的来说,这个函数使用了海龟绘图库中的函数和极坐标系,完成了蛋糕每一层的绘制。它是整个蛋糕绘制过程中非常重要的一步,为后续的绘制工作提供了基础。
蜡烛
蛋糕完成后不要忘记制作蜡烛喔~

祝福
最最最重要滴,一定不要忘记写下对她的祝福吖!

完整代码
https://want595.blog.csdn.net/article/details/128739755
尾声
快到文末公众号免费领取完整代码吧!


 2905
2905

 被折叠的 条评论
为什么被折叠?
被折叠的 条评论
为什么被折叠?
 到【灌水乐园】发言


