


一, Harbor简介
VMware的开源项目https://github.com/vmware/harbor
Harbor可帮助用户迅速搭建企业级的注册服务。它提供了管理图形界面,基于角色的访问控制(Role Based Access Control),镜像远程复制(同步),AD/LDAP集成,以及审计日志等企业用户需求的功能,同时还原生支持中文,深受中国用户的喜爱。
该项目自推出以来,在GitHub获得了超过3300多个star和900多个forks。
1.1基于角色的访问控制
用户与Docker镜像仓库通过“项目”进行组织管理,一个用户可以对多个镜像仓库在同一命名空间(project)里有不同的权限。
1.2图形化用户界面
用户可以通过浏览器来浏览,检索当前Docker镜像仓库,管理项目和命名空间
1.3审计管理
所有针对镜像仓库的操作都可以被记录追溯,用于审计管理。
1.4国际化
基于英文与中文语言进行了本地化。可以增加更多的语言支持。
1.5 RESTfulAPI:
提供给管理员对于Harbor更多的操控,使得与其他管理软件集成变得更容易。
1.6LDAP认证
1.7镜像复制
基于策略的Docker镜像复制功能,可在不同的数据中心,不同的运行环境之间同步镜像,并提供友好的管理界面,大大简化了实际运维中的镜像管理工作。
1.8与Clair集成
1.9 Notary签名工具
Notary是Docker镜像的签名工具,用来保证镜像在pull, push和传输工程中的一致性和完整性,避免中间人攻击,避免非法的镜像更新和运行。
二,为Harbor签发域名证书
openssl是目前最流行的SSL密码库工具,提供了一个通用,功能完备的工具套件,用以支持SSL/TLS协议的实现。
官网:https://www.openssl.org/source/
[root@harbor ~]# cat /etc/redhat-release
CentOS Linux release 7.5.1804 (Core)
[root@harbor ~]# uname -r
3.10.0-862.el7.x86_64
官方文档:
https://github.com/vmware/harbor/blob/master/docs/configure_https.md
创建自己的ca证书
[root@harbor ~]# mkdir -p /data/ssl
[root@harbor ~]# cd /data/ssl/
[root@harbor ssl]# which openssl
/usr/bin/openssl
[root@harbor ssl]# openssl req -newkey rsa:4096 -nodes -sha256 -keyout ca.key -x509 -days 365 -out ca.crt
Generating a 4096 bit RSA private key
.++
.++
writing new private key to 'ca.key'
-----
You are about to be asked to enter information that will be incorporated
into your certificate request.
What you are about to enter is what is called a Distinguished Name or a DN.
There are quite a few fields but you can leave some blank
For some fields there will be a default value,
If you enter '.', the field will be left blank.
-----
Country Name (2 letter code) [XX]:CN
State or Province Name (full name) []:Beijing
Locality Name (eg, city) [Default City]:Beijing
Organization Name (eg, company) [Default Company Ltd]:yunjisuan
Organizational Unit Name (eg, section) []:yunjisuan
Common Name (eg, your name or your server's hostname) []:www.yunjisuan.com
Email Address []:
$生成证书签名请求
[root@harbor ssl]# openssl req -newkey rsa:4096 -nodes -sha256 -keyout www.yunjisuan.com.key -out www.yunjisuan.com.csr
Generating a 4096 bit RSA private key
......................................................................................................................................................................................................++
..................................................................................................++
writing new private key to 'www.yunjisuan.com.key'
-----
You are about to be asked to enter information that will be incorporated
into your certificate request.
What you are about to enter is what is called a Distinguished Name or a DN.
There are quite a few fields but you can leave some blank
For some fields there will be a default value,
If you enter '.', the field will be left blank.
-----
Country Name (2 letter code) [XX]:'www.yunjisuan.com.key'
string is too long, it needs to be less than 2 bytes long
Country Name (2 letter code) [XX]:CN
State or Province Name (full name) []:Beijing
Locality Name (eg, city) [Default City]:Beijing
Organization Name (eg, company) [Default Company Ltd]:yunjisuan
Organizational Unit Name (eg, section) []:yunjisuan
Common Name (eg, your name or your server's hostname) []:www.yunjisuan.com
Email Address []:
Please enter the following 'extra' attributes
to be sent with your certificate request
A challenge password []:
An optional company name []:
生成注册表主机证书
[root@harbor ssl]# openssl x509 -req -days 365 -in www.yunjisuan.com.csr -CA ca.crt -CAkey ca.key-CAcreateserial -out www.yunjisuan.com.crt
Signature ok
subject=/C=CN/ST=Beijing/L=Beijing/O=yunjisuan/OU=yunjisuan/CN=www.yunjisuan.com
Getting CA Private Key
Error opening CA Private Key ca.key-CAcreateserial
139681757263760:error:02001002:system library:fopen:No such file or directory:bss_file.c:402:fopen('ca.key-CAcreateserial','r')
139681757263760:error:20074002:BIO routines:FILE_CTRL:system lib:bss_file.c:404:
unable to load CA Private Key
#查看证书情况
[root@harbor ssl]# ll
总用量 16
-rw-r--r-- 1 root root 2049 8月 3 17:52 ca.crt
-rw-r--r-- 1 root root 3272 8月 3 17:52 ca.key
-rw-r--r-- 1 root root 0 8月 3 18:01 www.yunjisuan.com.crt
-rw-r--r-- 1 root root 1716 8月 3 17:56 www.yunjisuan.com.csr
-rw-r--r-- 1 root root 3272 8月 3 17:56 www.yunjisuan.com.key
- 信任自签发的域名证书
由于ca证书是我们自己签发的linux操作系统是不信任的,因此我们需要把证书加入到系统的信任证书里
#将自签的ca证书添加到系统信任
[root@harbor ssl]# pwd
/data/ssl
[root@harbor ssl]# cp www.yunjisuan.com.crt /etc/pki/ca-trust/source/anchors/
#让系统ca信任设置立刻生效
[root@harbor ssl]# update-ca-trust enable
[root@harbor ssl]# update-ca-trust extract
以上是走https来用
下面为http配置
安装docker-ce社区版本
[root@harbor ssl]# sestatus
SELinux status: disabled
[root@harbor yum.repos.d]# yum -y install yum-utils device-mapper-persistent-data lvm2
[root@harbor yum.repos.d]# curl https://download.docker.com/linux/centos/docker-ce.repo -o /etc/yum.repos.d/docker-ce.repo
[root@harbor yum.repos.d]# yum -y install docker-ce
[root@harbor yum.repos.d]# systemctl start docker
[root@harbor yum.repos.d]# systemctl enable docker
Created symlink from /etc/systemd/system/multi-user.target.wants/docker.service to /usr/lib/systemd/system/docker.service.
[root@harbor yum.repos.d]# docker version
3.2.3、安装docker compose
curl -L https://github.com/docker/compose/releases/download/1.18.0/docker-compose-`uname -s`-`uname -m` -o /usr/local/bin/docker-compose
#授权
[root@docker02 ~]# chmod +x /usr/local/bin/docker-compose
#查看版本
[root@docker02 ~]# docker-compose version
查看版本
ll
总用量 591292
-rw-r--r-- 1 root root 70 8月 12 09:57 1.yaml
drwxr-xr-x 3 root root 180 8月 19 11:11 harbor
-rw-r--r-- 1 root root 605477475 8月 6 12:43 harbor-offline-installer-v2.3.2.tgz
tar xf harbor-offline-installer-v2.3.2.tgz
cd harbor/
cp harbor.yml.tmpl harbor.yml
修改配置单
vim harbor.yml
hostname: 192.168.200.13
http:
port: 80
harbor_admin_password: Harbor12345
database:
password: root123
max_idle_conns: 50
max_open_conns: 100
data_volume: /data
clair:
updaters_interval: 12
jobservice:
max_job_workers: 10
notification:
webhook_job_max_retry: 10
chart:
absolute_url: disabled
log:
level: info
local:
rotate_count: 50
rotate_size: 200M
location: /var/log/harbor
_version: 1.9.0
proxy:
http_proxy:
https_proxy:
no_proxy: 127.0.0.1,localhost,.local,.internal,log,db,redis,nginx,core,portal,postgresql,jobservice,registry,registryctl,clair
components:
- core
- jobservice
- clair
安装harbor私有镜像仓库
[root@harbor harbor]# ./install.sh --with-notary --with-clair #notary启用镜像签名,--with-clair启用漏洞扫描
docker ps
访问测试
账号admin 密码Harbor12345


[root@localhost harbor]# cat /etc/docker/daemon.json
{
"registry-mirrors": ["https://registry.docker-cn.com"],
"insecure-registries": ["192.168.200.13"]
}
[root@localhost harbor]# systemctl restart docker
[root@localhost harbor]# docker login 192.168.200.13
Username: admin
Password:
WARNING! Your password will be stored unencrypted in /root/.docker/config.json.
Configure a credential helper to remove this warning. See
https://docs.docker.com/engine/reference/commandline/login/#credentials-store
Login Succeeded
下载测试
[root@localhost harbor]# docker pull nginx
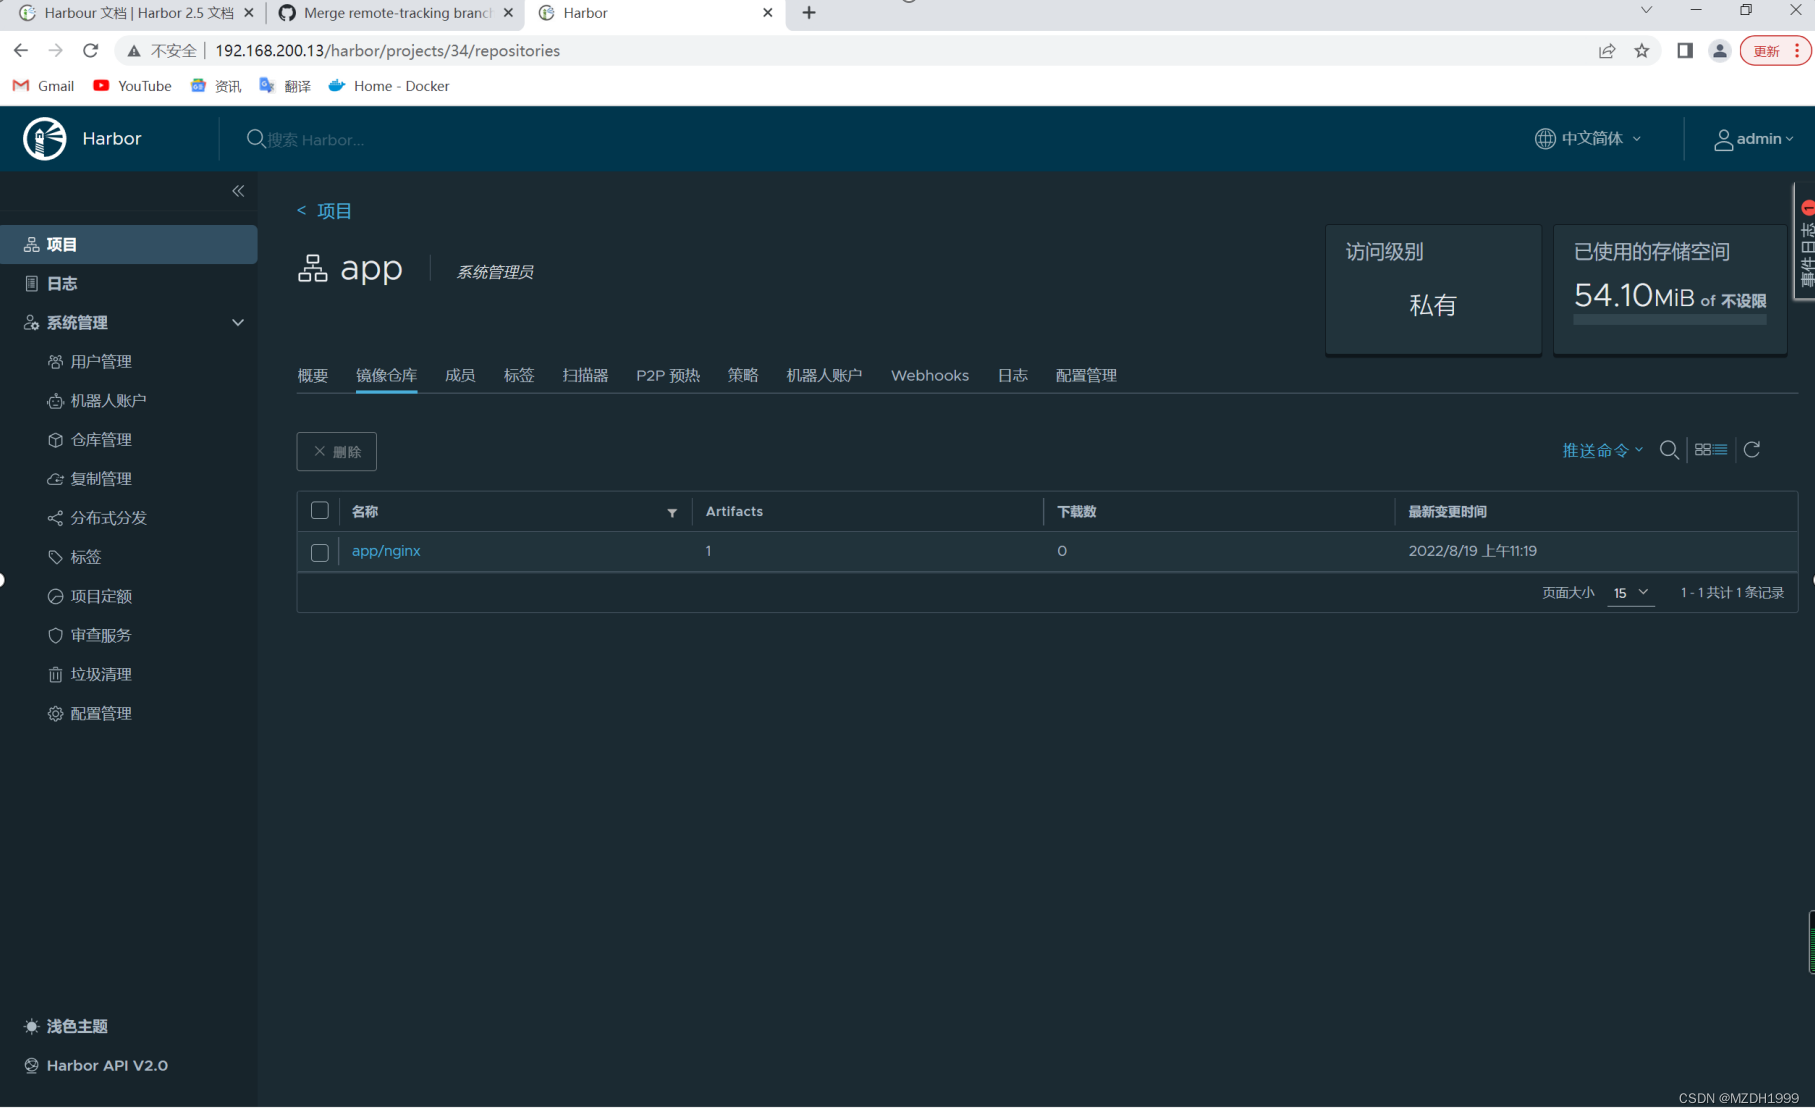
跟镜像打标签
[root@localhost harbor]# docker tag nginx:latest 192.168.200.13/app/nginx:alpine
上传镜像
[root@localhost harbor]# docker push 192.168.200.13/app/nginx:alpine
Harbor服务相关说明
日志路径可以在harbor.yml自行配置
[root@localhost harbor]# ls /var/log/harbor/
core.log jobservice.log portal.log postgresql.log proxy.log redis.log registryctl.log registry.log
harbor启停命令
在使用./install.sh命令后,会在harbor目录下生成docker-compose.yml文件
#停止harbor
[root@docker02 ~]# cd harbor/ #需要进入harbor目录
[root@docker02 harbor]# docker-compose down -v
#启动harbor
[root@docker02 harbor]# docker-compose up -d
docker-compose相关命令:
docker-compose up -d # 后台启动,如果容器不存在根据镜像自动创建
docker-compose down -v # 停止容器并删除容器
docker-compose start # 启动容器,容器不存在就无法启动,不会自动创建镜像
docker-compose stop # 停止容器
需要注意:
其实上面是停止docker-compose.yml中定义的所有容器,默认情况下docker-compose就是操作同目录下的docker-compose.yml文件。
如果使用其他yml文件,可以使用-f自己指定。
测试修改端口
#停止harbor
[root@docker02 harbor]# docker-compose down -v
#修改harbor配置文件,比如这里修改harbor的web登录端口,由80端口修改为8080端口
[root@docker02 harbor]# vim harbor.yml
....
http:
# port for http, default is 80. If https enabled, this port will redirect to https port
port: 8080
#将harbor修改的配置更新到 docker-compose.yml 文件
[root@docker02 harbor]# ./prepare


 1404
1404


 被折叠的 条评论
为什么被折叠?
被折叠的 条评论
为什么被折叠?
 到【灌水乐园】发言


